Affiliate links may be included for your convenience. View our privacy and affiliates policy for details.
I haven’t been doing a lot of crafting lately, other than knitting for my book, which is going to be the way it is for the next six weeks. We’re going to get pretty far away from the goal that’s stated in the name of this blog, and I beg for your patience in that regard.
Anyway, one thing I have been playing with the past couple of days is chalkboard paint coating. I know there are recipes all over Pinterest (I have one pinned from the CSI Project, for instance) on how to make your own chalkboard paint in any color and how it’s cheaper than buying the pre-made stuff anyway.
Well. That may well be. But I don’t happen to have any non-sanded grout in the house, and I don’t plan on going to the hardware store just to get some. I was already at Hobby Lobby and I saw that they have something called Clear Chalkboard Coating from DecoArt. I got it for $5.99 for 8 ounces, which is says will cover 57 square feet — more chalkboard than I will ever need.
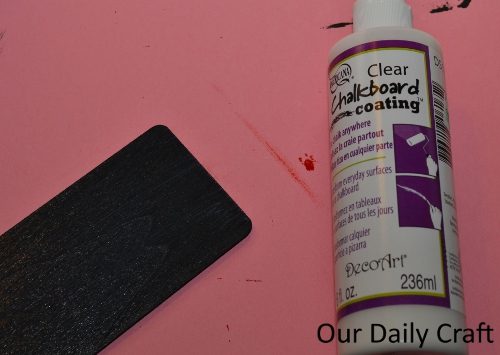
I was making a little sign that’s supposed to be for a wreath that I just cannot get done (sorry, Shannon!) and couldn’t find any real little chalkboards at the store so I decided to make my own.
What You’ll Need
- Small wooden plaque (mine was 79 cents at Hobby Lobby)
- Paint of your choice (I got black acrylic paint for $1.67)
- Clear Chalkboard Coating (as I said, $5.99)
- Paintbrush
- Chalk
- Some method for hanging the board up (optional)
What You’ll Do
- Paint the plaque with your base color. A single coat was fine for mine, but you may need two. Allow to dry.
- Paint the coating on. First you will paint it on horizontally, then allow to dry, then paint again vertically. Allow to dry for 24 hours.
- Cover the board with chalk.
- Erase.
- Use as a chalkboard.
- If you want to be able to hang it, use my paperclip and hot glue method— it’s still holding the Bit’s clippies nine months later.

My homemade chalkboard with a sentiment locals can agree to.
How it Worked
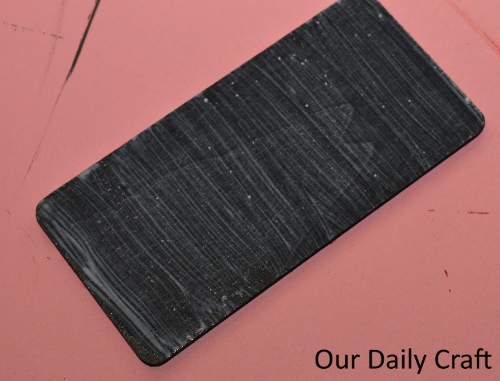
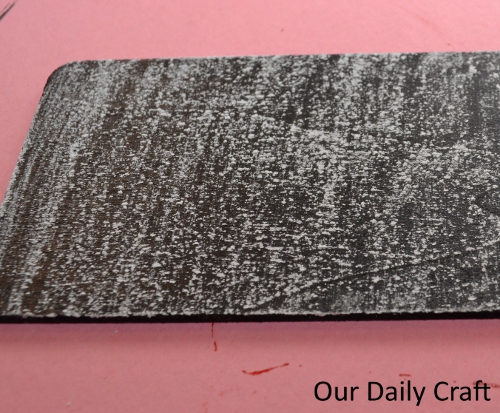
As you can see, the chalk didn’t erase completely. That could be because I don’t own an actual chalk eraser, or because I only waited about 18 hours instead of 24 before I tried it. I actually don’t mind it too much because it makes it look like an old chalkboard.
I kind of want to try it on some wall in my office, but they’re beige and I’d be afraid to use bright-colored chalk in case it wouldn’t wipe up, and I don’t think white would show. Alas. I could always paint a canvas and use that as a chalkboard, I suppose.
Hmmm…
Have you ever used chalkboard paint? I’d love to hear your experience.
Thanks for visiting, commenting and sharing!
