Affiliate links may be included for your convenience. View our privacy and affiliates policy for details.
The Iron Craft challenge this week was to make something involving the letter E. I was thinking about embossing, and then I remembered a big stack of cardboard sheets I’d recently acquired (they were used as packing material in a box of books) and decided I really wanted to make embossed texture plates for the girl and I to play with.
This is a super simple project and while it didn’t come out perfect it’s still fun. 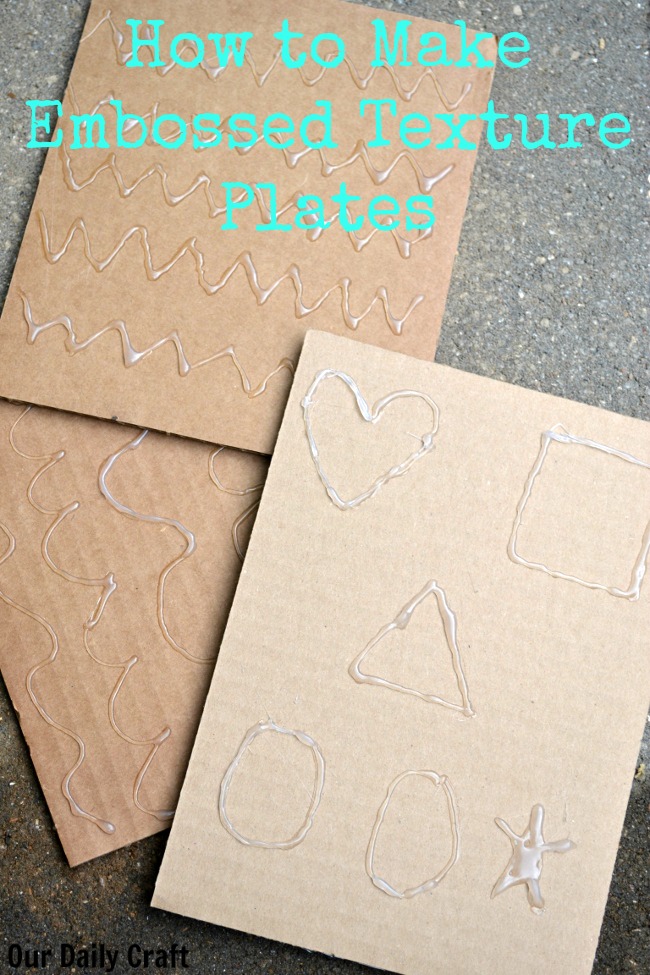
What You’ll Need
- Pieces of cardboard
- glue gun
What You’ll Do
Decide what sorts of shapes or textures you want to put on your pieces. I did zigzags, waves and then some simple shapes. If you want you can draw them out, or just freehand draw with the glue.
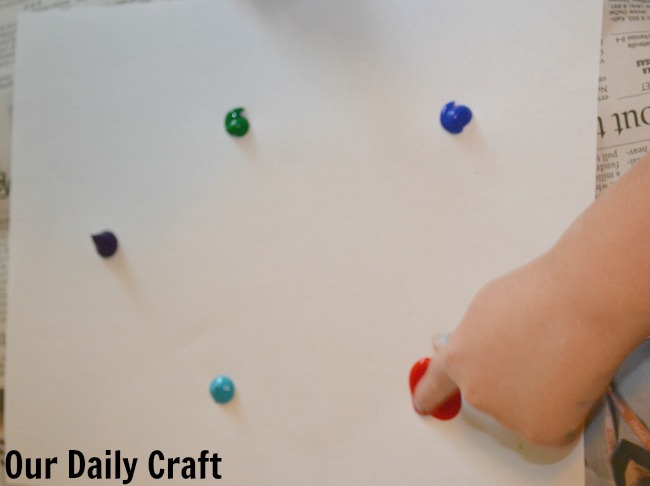
Using a hot glue gun, draw out the shapes.
Allow to dry, then use the side of crayon on paper to make rubbings. 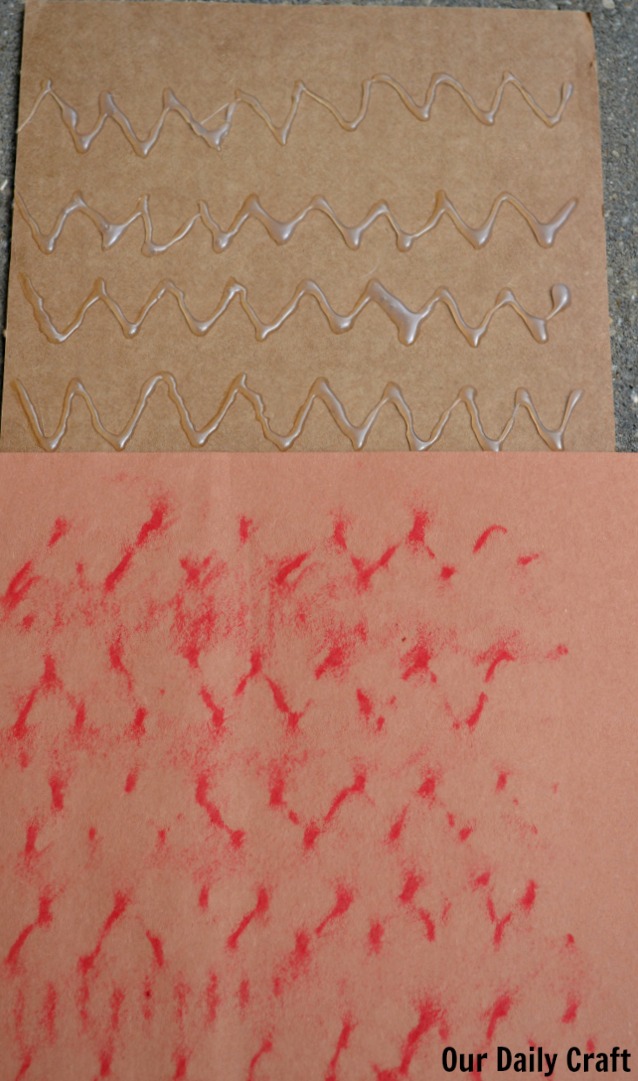
I really like the zigzag one, though it doesn’t quite look like zigzags. 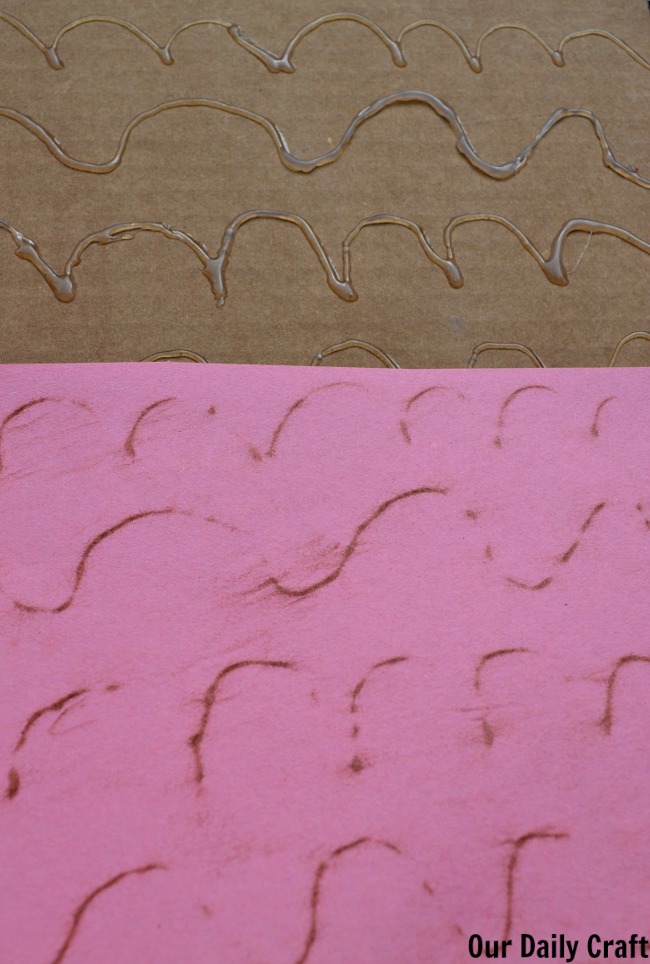
The waves are more literal and still pretty. 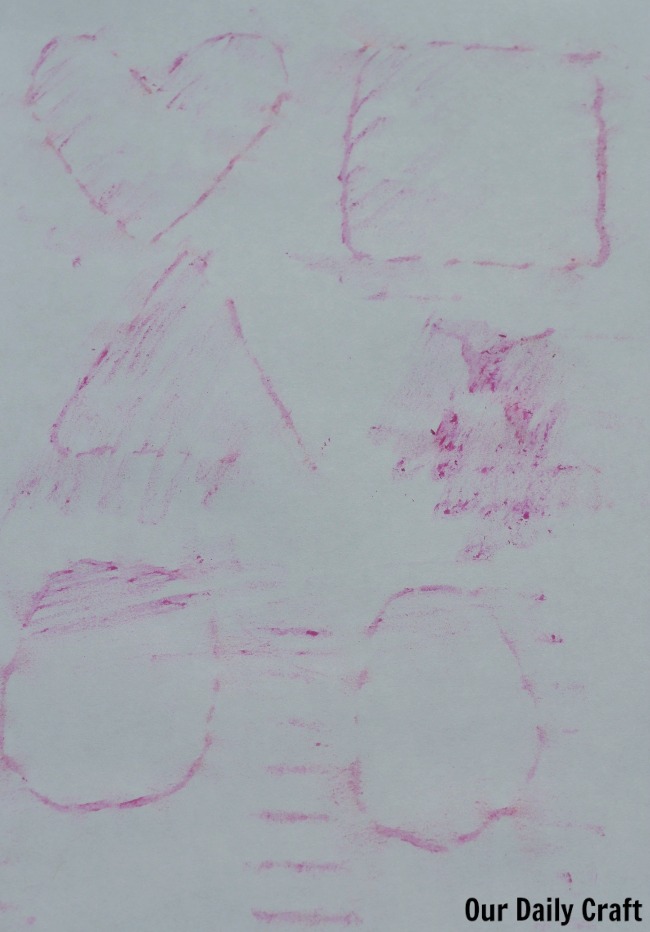
The shapes are great, too, though the star didn’t work at all.
I think these will be fun for the girl to experiment with, and the rubbings would make a great background for an art journal page or even a greeting card.
Have you ever made an embossed texture plates DIY to make rubbings? I’d love to hear how it went for you.
1 Comment
What a fun idea for kids to play with!