Affiliate links may be included for your convenience. View our privacy and affiliates policy for details.
I’ve always wanted to make a play/reading tent for the girl, so much so that several years ago I bought a bunch of fabric and supplies to make one. I’d swear the pattern was on the JoAnn website, but I can’t find it now. 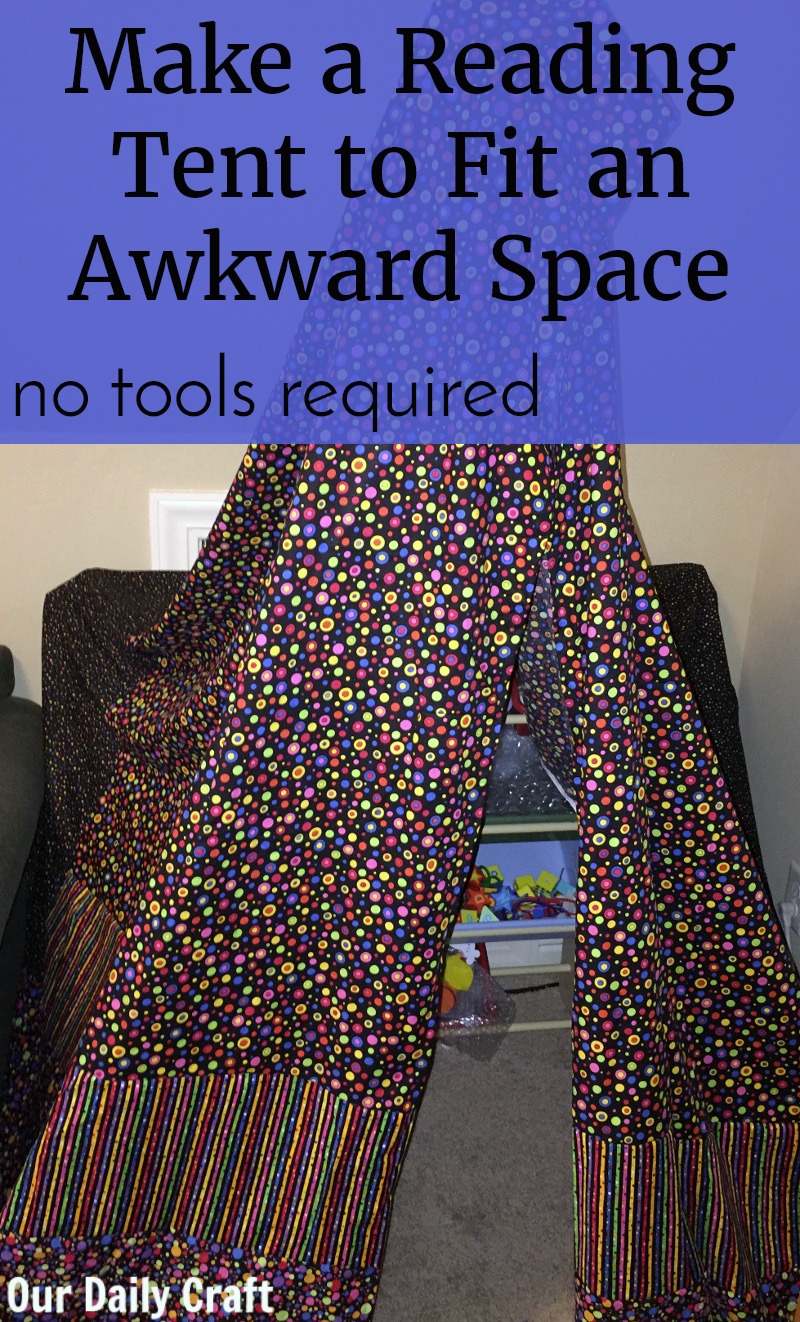
I have no real memory of it, but it called for a bunch of different lengths of a bunch of different fabrics. I went with black fabric, mostly with polka dots of different sizes, and one fabric that was striped.
I guess I was going for circus tent.
Anyway, the fabric languished for years, because, let’s be honest, I was a little intimidated, and I didn’t really have a place in the house to put it.
I recently did some rearranging in the playroom to make it a more family-friendly space, and I realized I had the perfect place to put up a reading tent.
The only problem was, the playroom has low walls and slanty, attic-like ceilings, meaning I couldn’t just put up a teepee.
This was going to require a creative solution.
My favorite.
Warning: this is kind of a project without a pattern because it’s all about making something that fits your space, but I hope it will inspire you to find a creative solution to a problem you might be having in your space.
Making the Reading Tent Frame
I decided to make a frame for my reading tent out of large dowels from the hardware store (I went to Lowe’s, but I’m sure the selection is similar anywhere).
I bought two 3-foot-long dowels for the back wall of the tent, two 5-foot long dowels to serve as the crossbeam for the back and the top, and two 6-foot-long dowels for the front pieces. The taller ones are thinner than the others.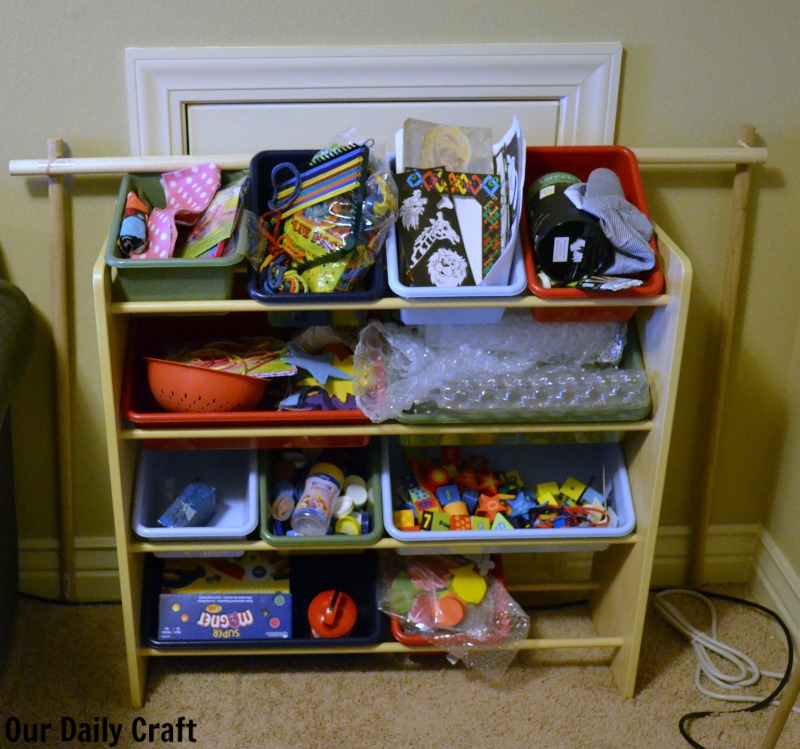
I set up the tent so that the back wall, which sits against the short wall of the playroom, is basically a rectangle with the shortest pieces going up and down and the longer one across. (In case you’re wondering, the wee door is attic access, but we never use it. And yes, I will clean up this shelf eventually.)
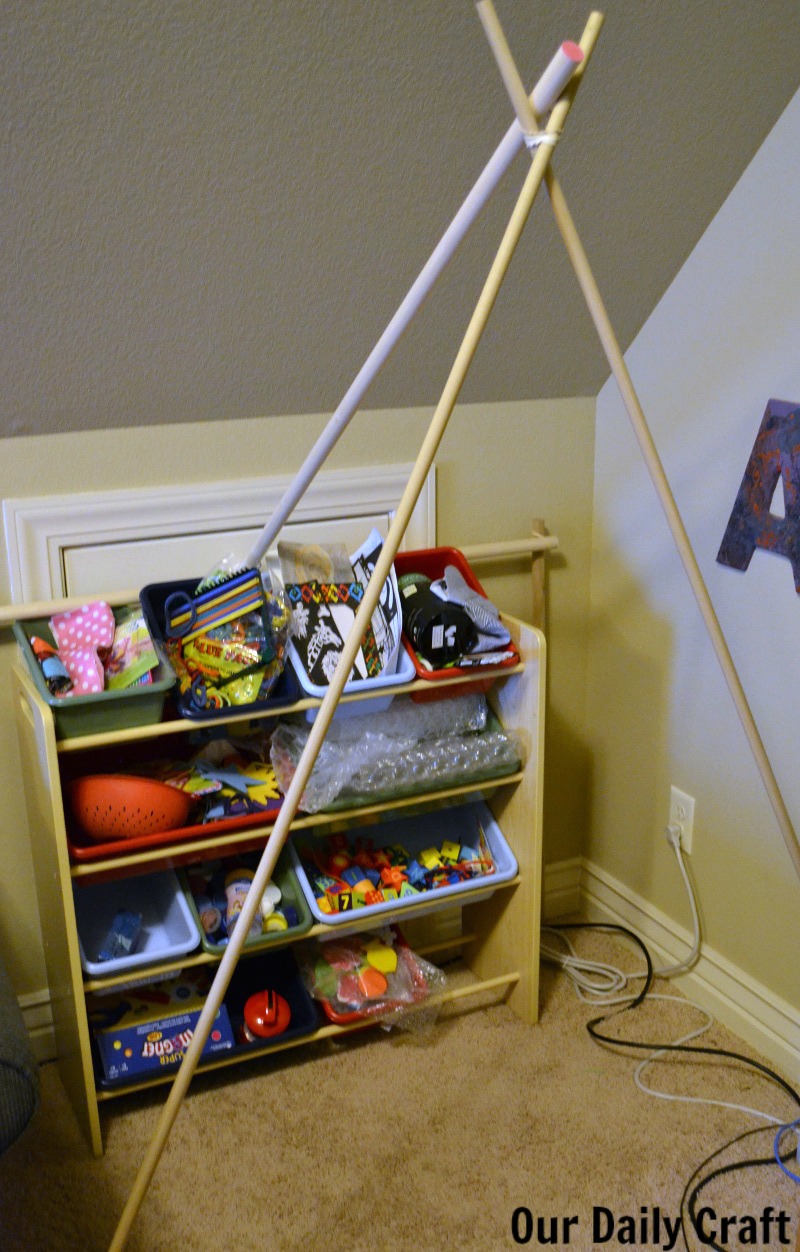 The two long dowels form the front teepee shape and the final dowel is placed in the crook made by those two pieces and then sits on the horizontal piece on the back.
And holding it all together? Rubber bands.
The bands are strong and make it easy for me to put the tent up and take it down when we need the space for something else. And it makes me feel really smart that I managed to put it together without the use of a single tool.
Making the Reading Tent Cover
Well, I did use one tool on this project, and that was my sewing machine. Though I’ve got to be honest again: for a while the tent just had a sheet covering it and that was totally fine. 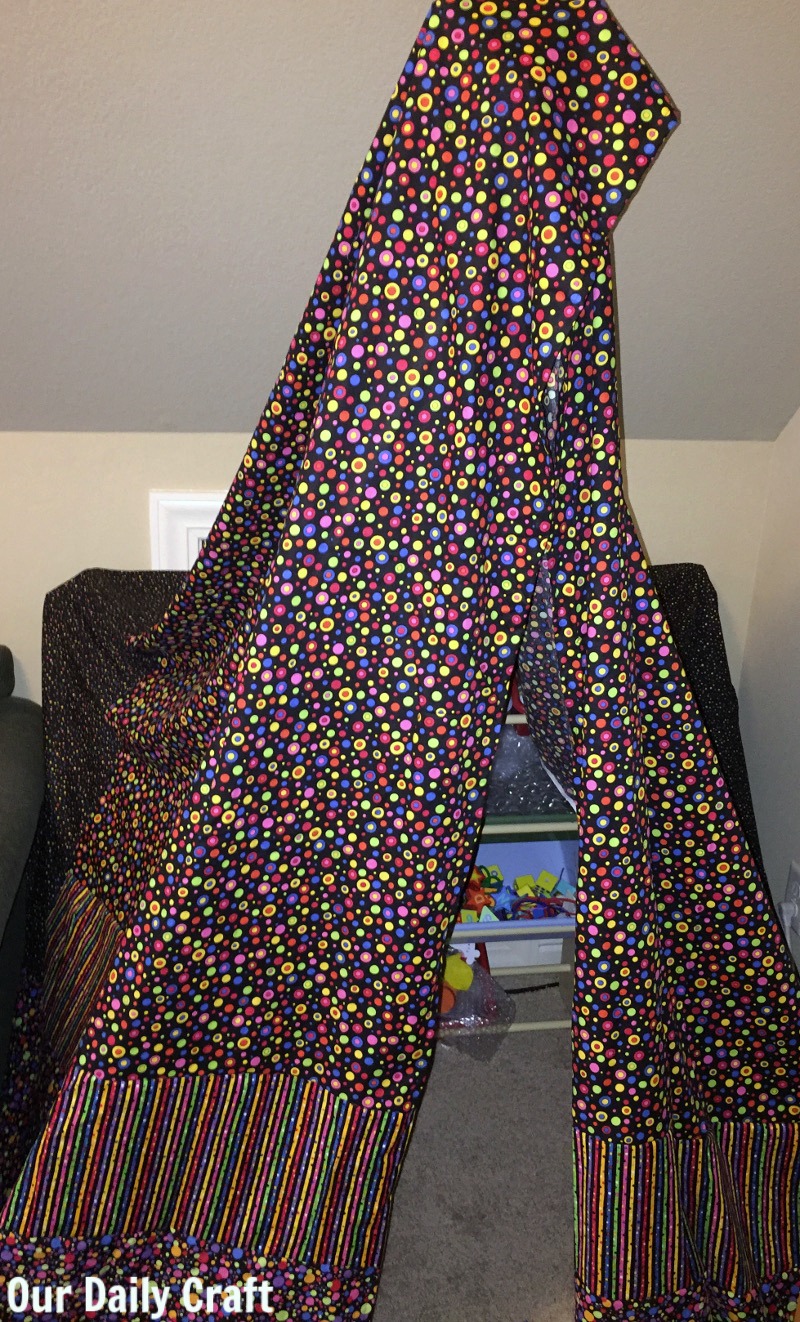
But I had all that fabric and I wanted to allow it to fulfill its destiny as a tent, finally.
So I basically sewed a bunch of it together into a giant sheet.
I started with one piece that was almost big enough to cover the front of the tent down to the ground. I had smaller lengths of a couple of fabrics I added in even amounts to each side. A fourth fabric was added to the back to make enough fabric to go down the back of the tent (though there’s a shelf there now, it might not always be there, so I wanted to make sure it was all covered).
Then when I need the tent I can just throw the fabric on. I like how the fabrics line up on the sides of the “door” and the scrappy look of all the fabrics is kind of cute, too. A little circus tent, but in a good way, I think.
And I think I have just enough fabric left to cover the floor pillow that will go inside.
I love it when a plan comes together.
Do you have a reading tent or play tent installed in your house? Do your kids (or you) use it a lot? I’d love to hear your thoughts.

3 Comments
super cute. I really like the tent. .With the instructions being
clear and concise it will have any beginner sewer feeling like a professional sewer in no time!! I have also subscribed to your
Blog for more posts like this.Thanks again for this post
that’s adorable! Love it! Also love nice easy projects like this that still look great – thanks for sharing!