Affiliate links may be included for your convenience. View our privacy and affiliates policy for details.
I love the idea of a needle minder for stitching, so I decided to try my hand at making a DIY needle minder.
What’s a Needle Minder?
A needle minder is a decorative pair of magnets that is used most commonly by people who do cross stitch or embroidery but it can be used by other hand stitchers as well.
You put the decorative part (which is attached to one magnet) on the front of your project and the second magnet on the back, with the fabric in between.
Once the needle minder is in place, you can put your needle on top and the magnets will hold it in place. This keeps you from losing your needle or needing to stick it into the fabric while you’re not stitching.
You can use anything for the part that goes on top of the needle, including buttons, glass pieces with flat backs, the other kind of buttons/pins, or really anything you can attach to a magnet with glue.
For my DIY needle minder I used air dry clay.
How to Make a DIY Needle Minder
All you need for this DIY needle minder project is some air dry clay and a couple of magnets, as well as whatever you want to decorate your needle minder with.
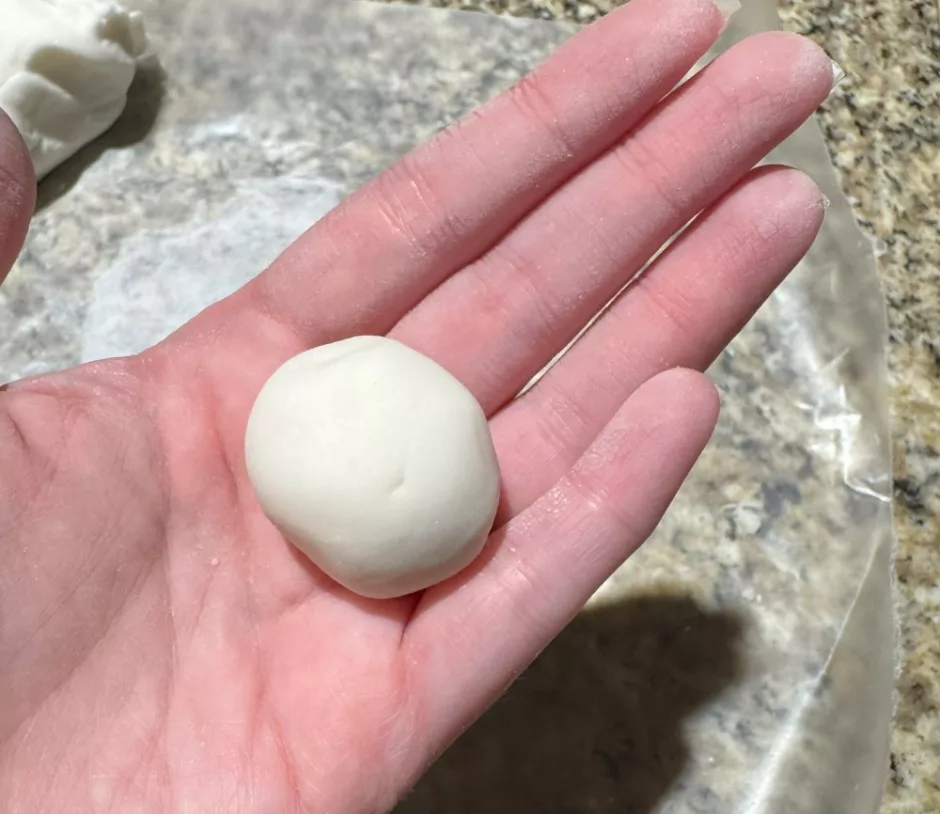
I like to use this homemade air dry clay recipe because it’s quick and easy. For this project you’ll just need a tiny bit so it’s perfect if you have some left over from another project.
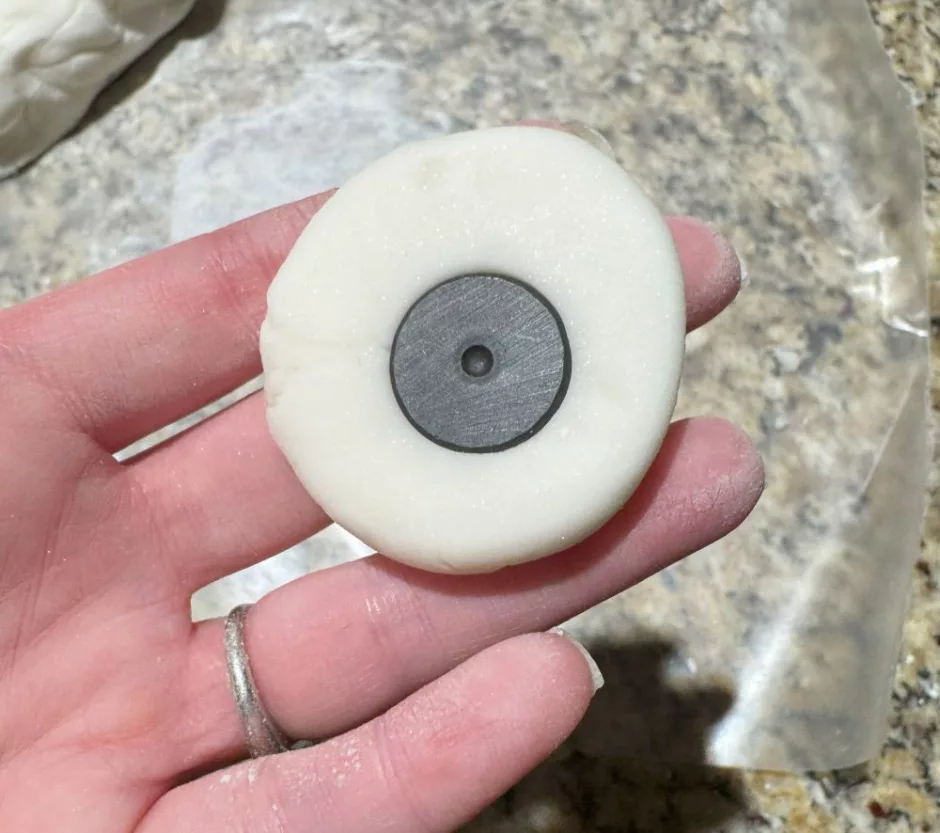
Start with a small ball of clay and flatten it a bit, then stick your magnet into the dough on the back. I used button magnets because that’s what we have in the house. The size and shape of your magnet will determine the size of your needle minder.
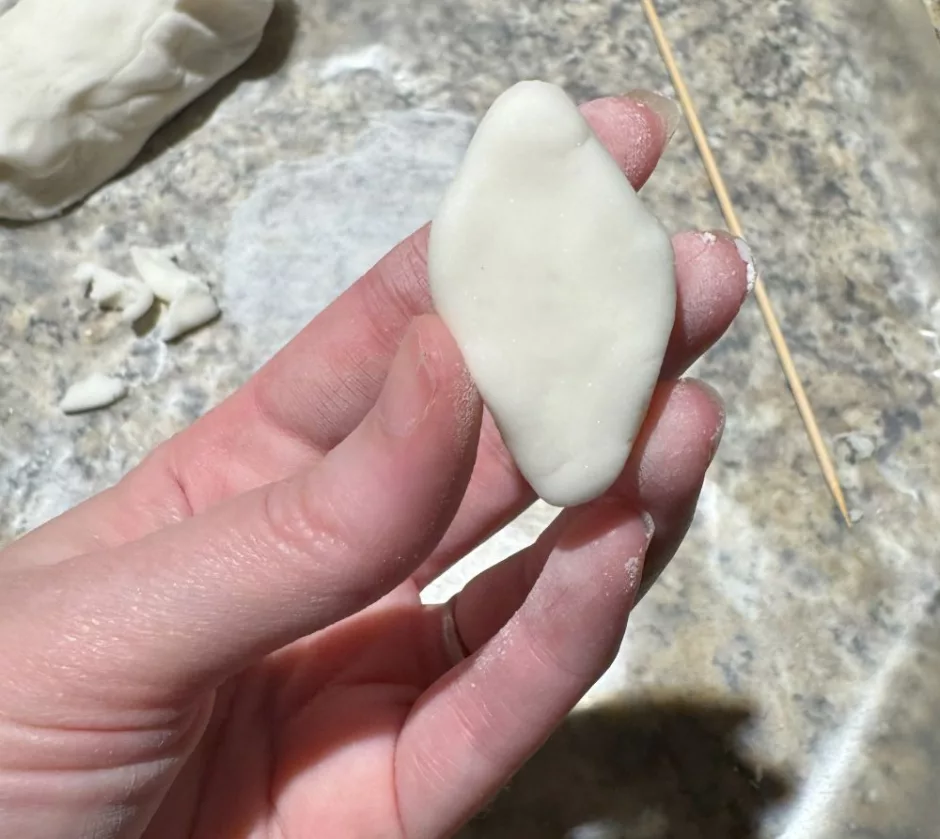
Shape the dough as you like. I made a sort of diamond and a circle. If you have tiny cutters like you’d use with polymer clay, you might be able to cut out a shape, or you can just do it freehand.
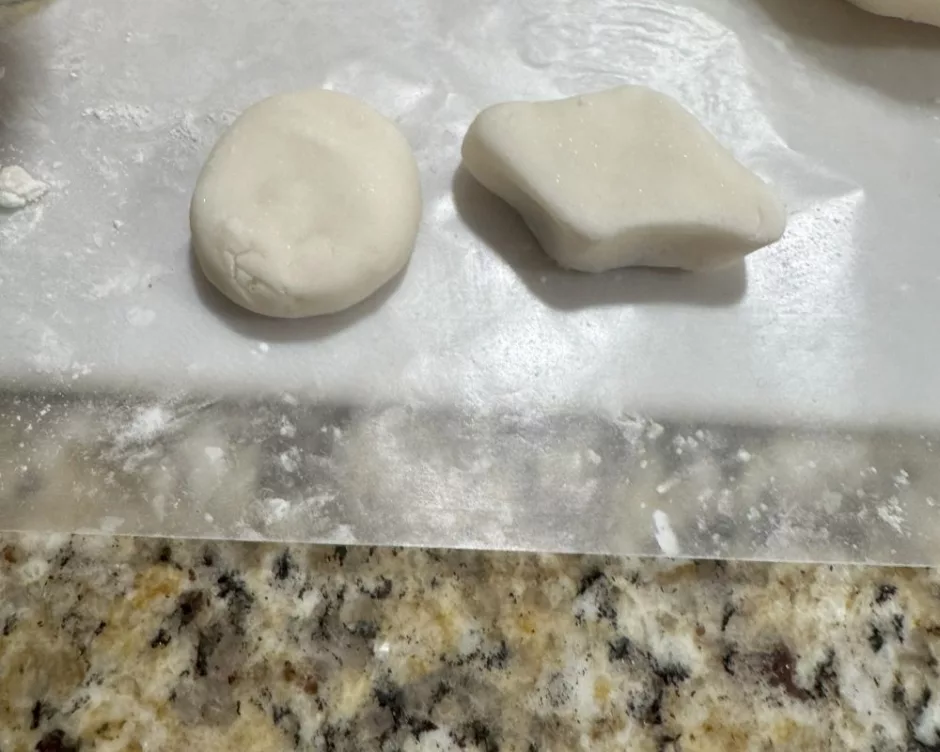
Once you have it shaped the way you like, let it dry. I left the magnet in place for drying but you can also take it out and glue the magnet to the back of your needle minder if you’d rather.
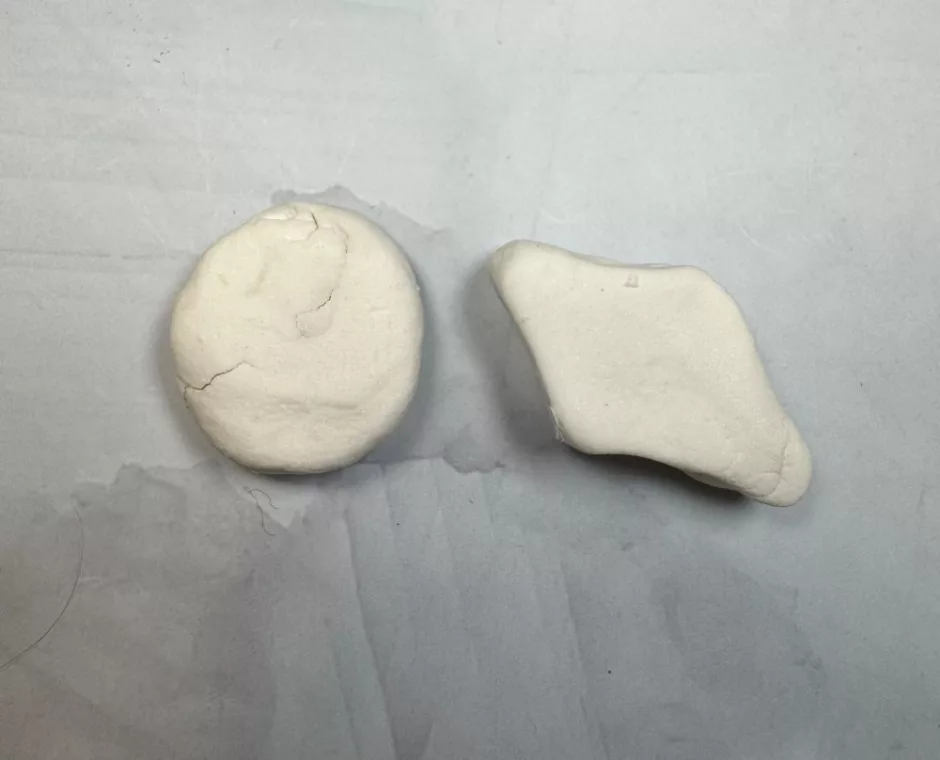
Finishing Your Needle Minder
Once your DIY needle minder is dry, it’s time to decorate!
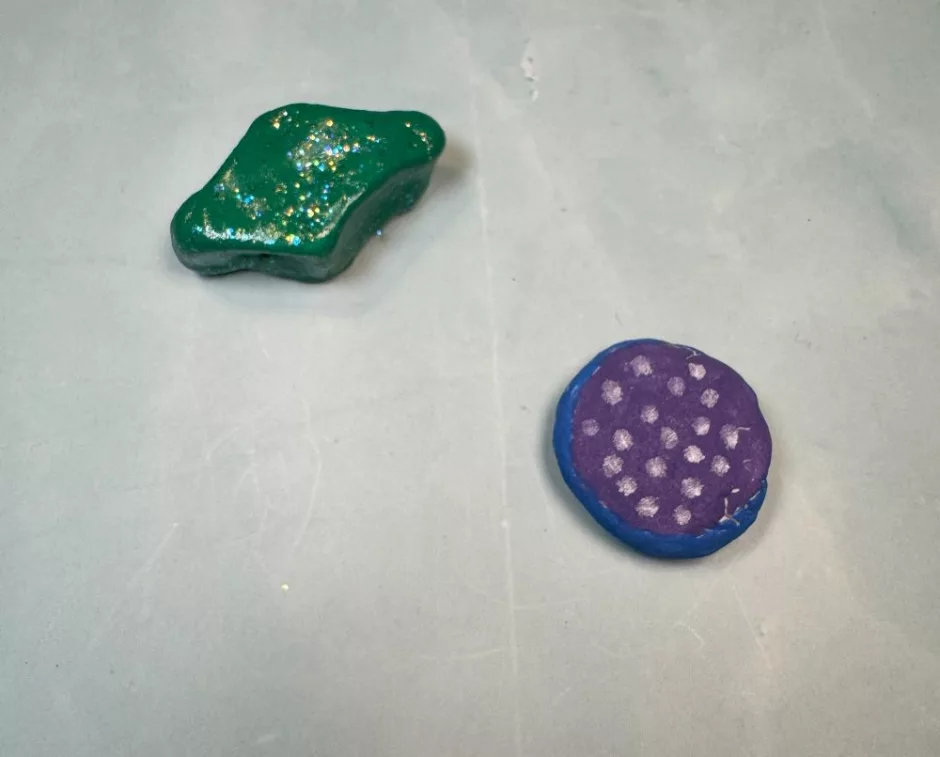
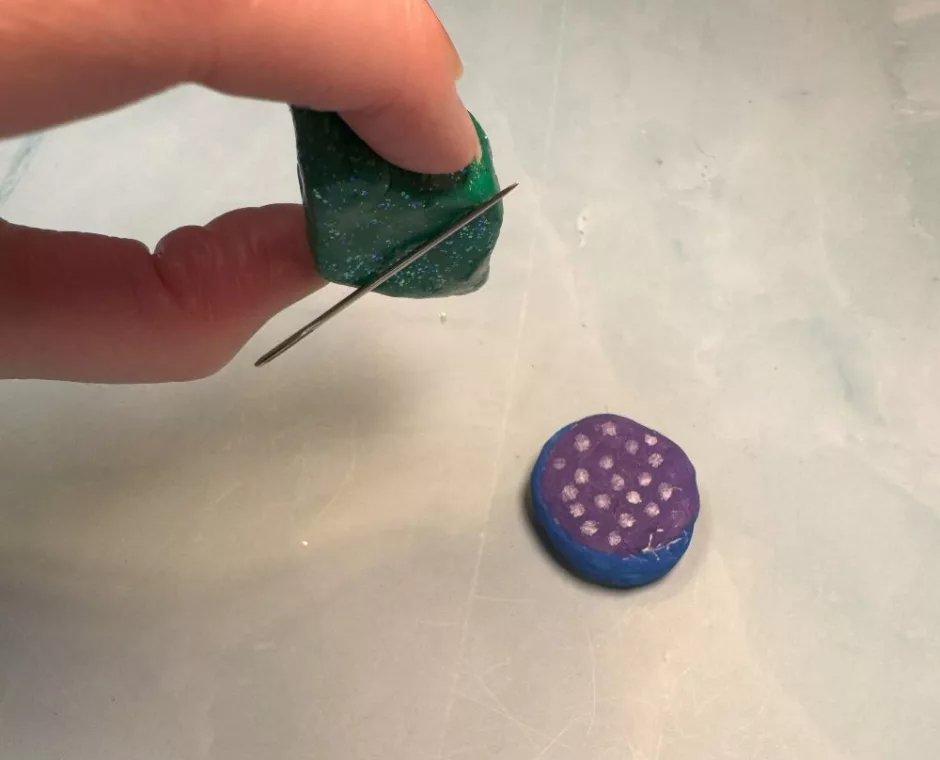
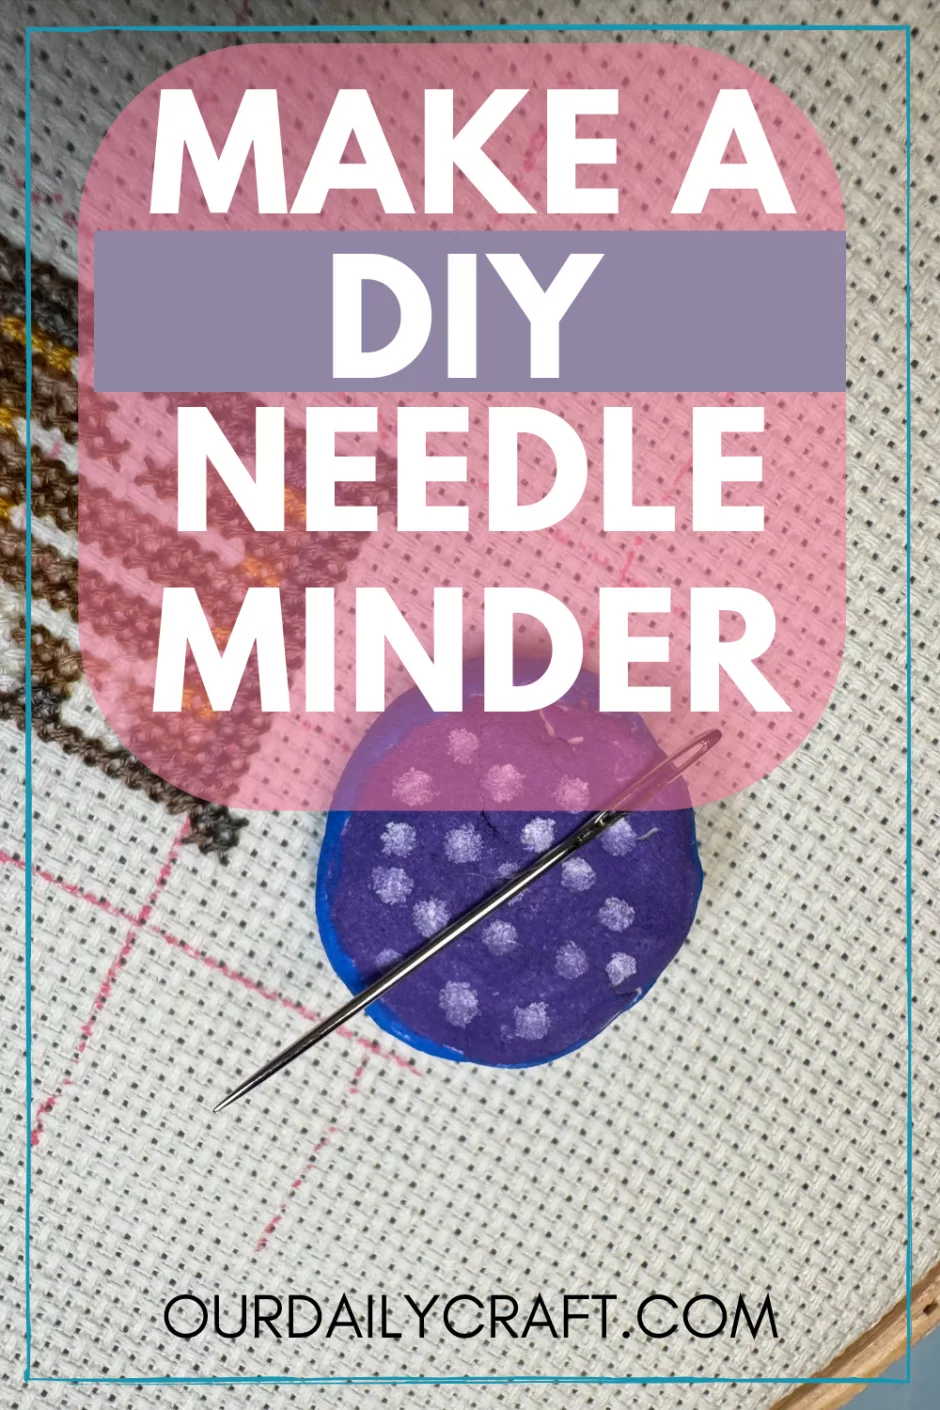
I used blue and purple permanent markers to color the round one, with chalk marker for the dots.
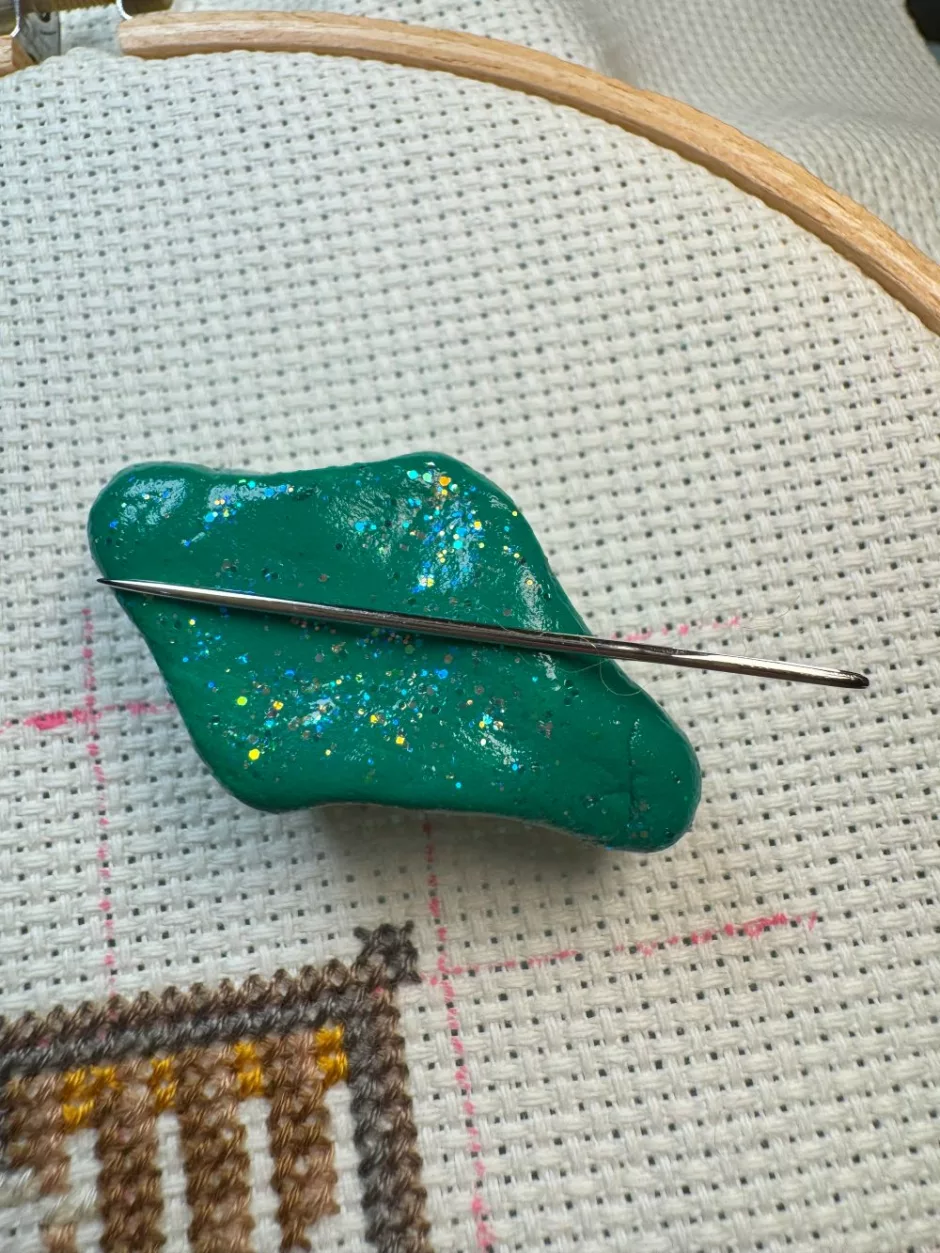
The green one is regular acrylic paint with sparkle Mod Podge on top. In both cases I tried not to get color on the bottom of the needle minder just in case it might rub off on my fabric.
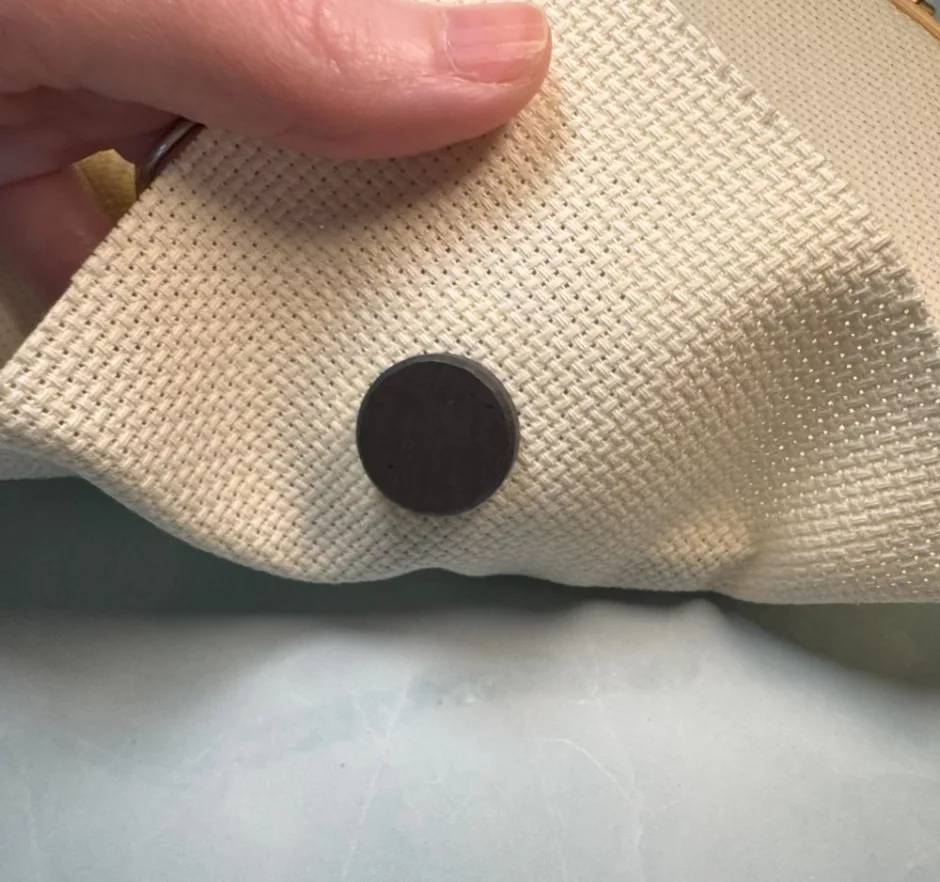
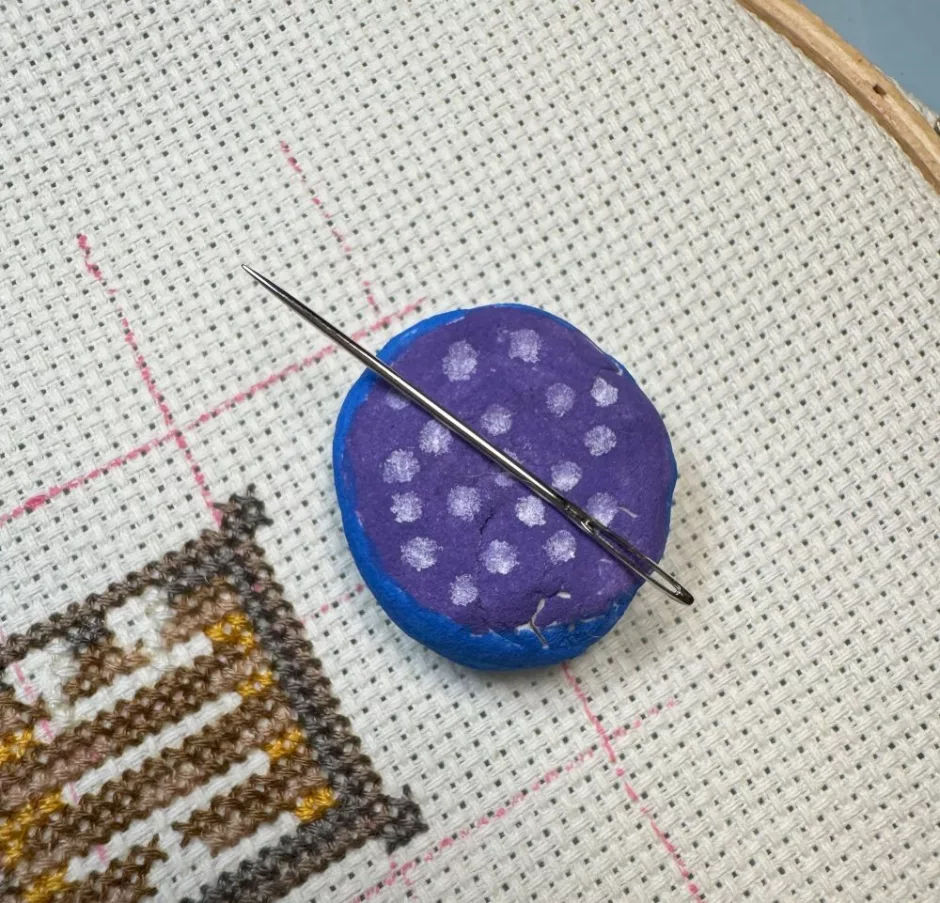
To use your DIY needle minder, place a magnet at the back of your fabric and place the needle minder on top. Add your needle.
And that’s it! Once you’ve made and started using a DIY needle minder I’m sure you’re going to want to make a bunch.


1 Comment
This tutorial is super helpful and easy to follow! I love how customizable the needle minder is – cant wait to make one with different shapes and colors. Great idea for keeping track of my stitches!Mercury Coder