If you want to learn to cross stitch, you’ve come to the right place! Here you’ll find everything you need to know to get started cross stitching including what supplies you need, how to prepare your fabric, read a pattern and form your stitches.
What is Cross Stitch?
Cross stitch is a particular kind of embroidery that uses special fabric with evenly spaced holes in it. Stitches are worked across a square at a time, most commonly by forming x shapes on the fabric.
Cross stitch can range from simple, one-color, graphic designs to elaborate, photo-realistic projects and everything in between.
It’s a great craft for kids and adults alike because it doesn’t require a lot of supplies and it’s pretty easy to get the basics down.
About Cross Stitch Fabric
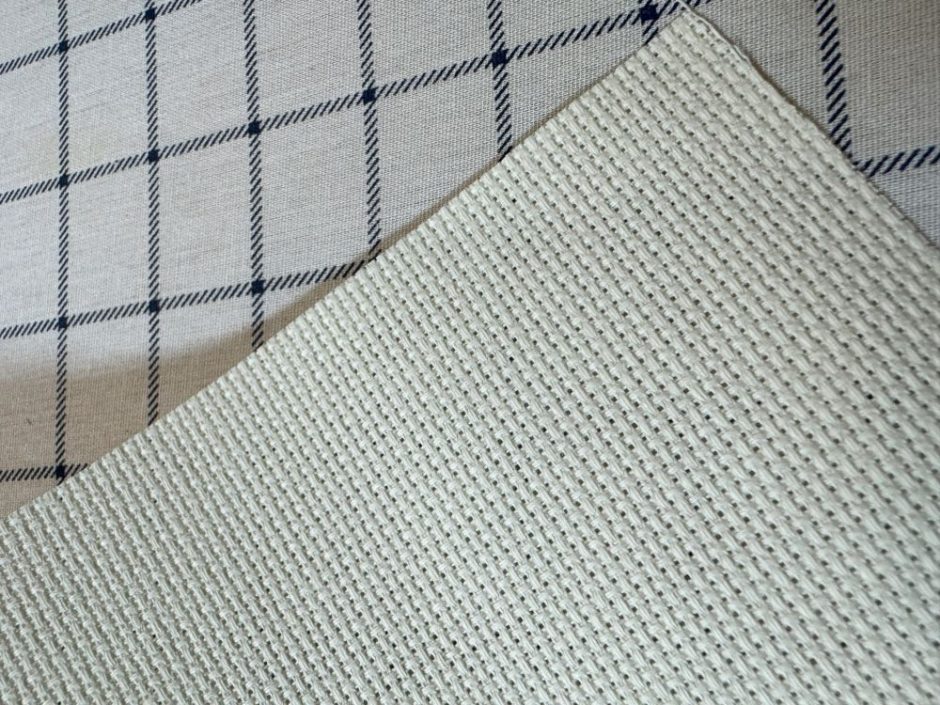
There are several different options when it comes to cross stitch fabric, but when you first learn to cross stitch you will probably want to choose what’s called Aida fabric. If you have an idea of what cross stitch fabric looks like, this is probably what you are thinking of.
Aida is a cotton fabric with open mesh squares that make it easy to see where your needle needs to go as your form stitches. It’s somewhat stiff, which makes it easy to work with in your hand or in a hoop. It comes in a wide variety of colors (and sometimes even has designs printed on it), is relatively inexpensive and widely available at your local craft store or online.
Aida fabric is designated a number based on the number of squares per inch of fabric. For example, 14 count fabric has 14 squares per inch. This is probably the most common count you’ll see called for in patterns and it’s a good size to use while you learn cross stitch. Other sizes include 16, 18 and 20 count.
For your first projects, choose 14 count fabric in whatever color you like. Might as well make it fun, right?
Does Cross Stitch Fabric Have a Front and Back?
Technically cross stitch fabric has a front side and a back side because it is woven, so the side that was the front as it was made should be the front when you stitch it.
But it isn’t easy to tell which side that was just by looking.
If your fabric has a selvedge edge attached, the holes that are on the edge will feel smoother on the front compared to the back, which will feel bumpier.
A lot of fabric doesn’t come with selvedge, though, and while you might feel a slight difference in the smoothness or one side might look a bit shinier, it really doesn’t make a difference and you can use whichever side you want as the front.
Needles and Floss
Once you have your fabric selected, the only other things you need to learn cross stitch are a needle and some cross stitch floss.
The needles typically used for cross stitch are known as tapestry needles. They have an eye that is larger than the shaft and a blunt tip so they don’t easily pierce the fabric but they do easily slide through the holes where they need to go.
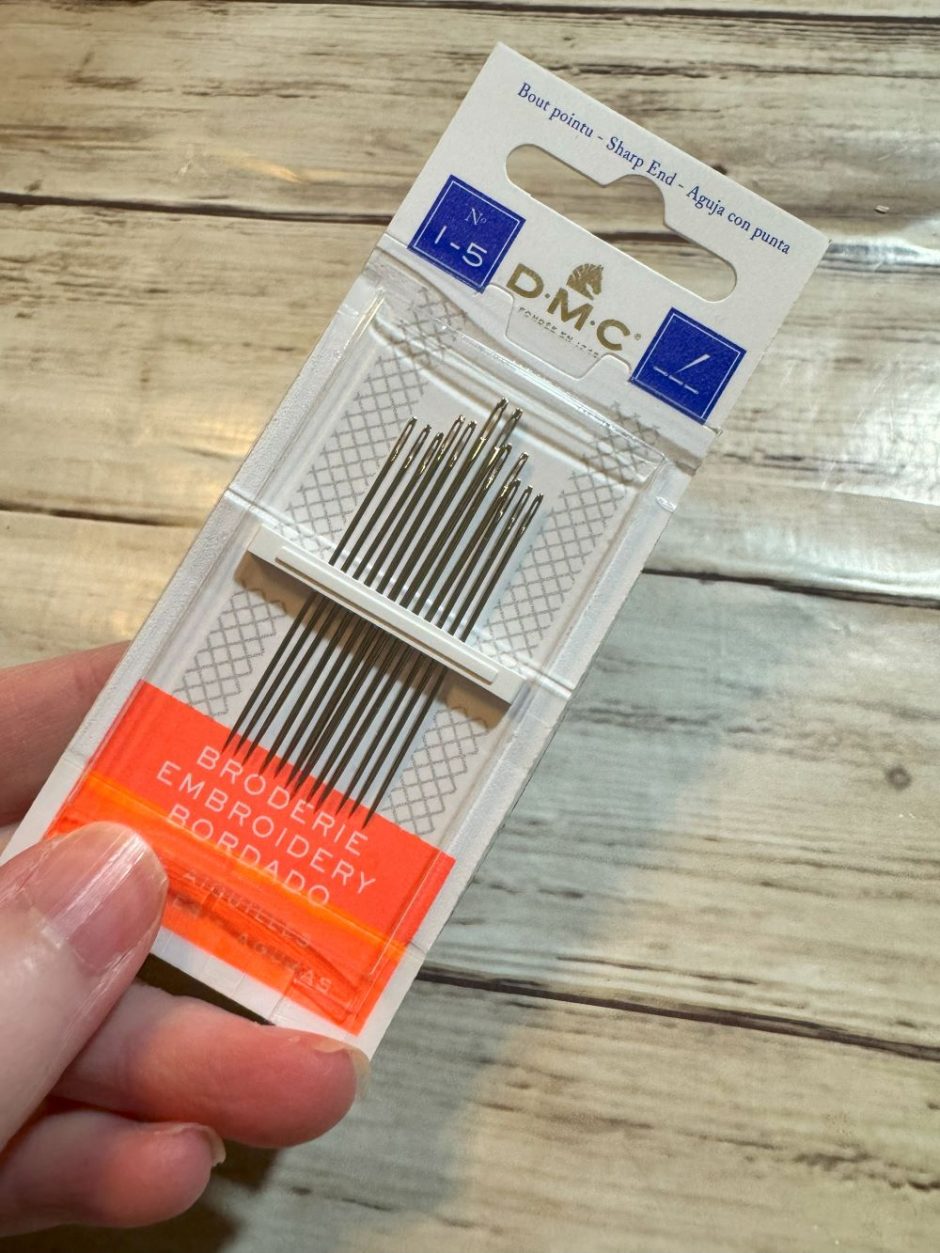
Tapestry needles have different sizes, ranging from numbers 13 to 28. The higher the number, the finer the needle. For working with 14 count fabric, a size 24 needle is ideal.
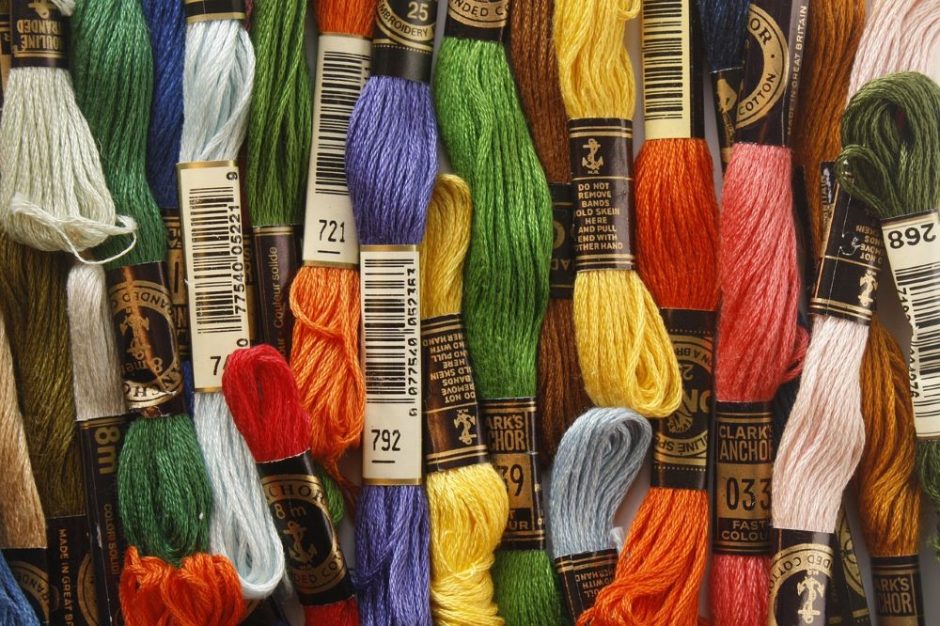
When it comes to cross stitch floss, there are lots of brands and a seemingly unlimited number of colors to choose from. It doesn’t really matter what brand of floss you use, but if you are trying to match colors in a project you’ll want to use the same brand the designer did.
The most common and widely available cross stitch floss brand in the United States is DMC. Coats & Clark is another common brand, and sometimes in patterns you will see both numbers. There are also conversion charts like these from Cyberstitchers that allow you to find the equivalent color in the other brand.
You can use whatever floss and needles you have available to practice (I promise I won’t tell!) but if you plan to do a lot of cross stitching it is worth it to invest in the right needles and all the floss colors you need for your projects.
What about a Hoop?
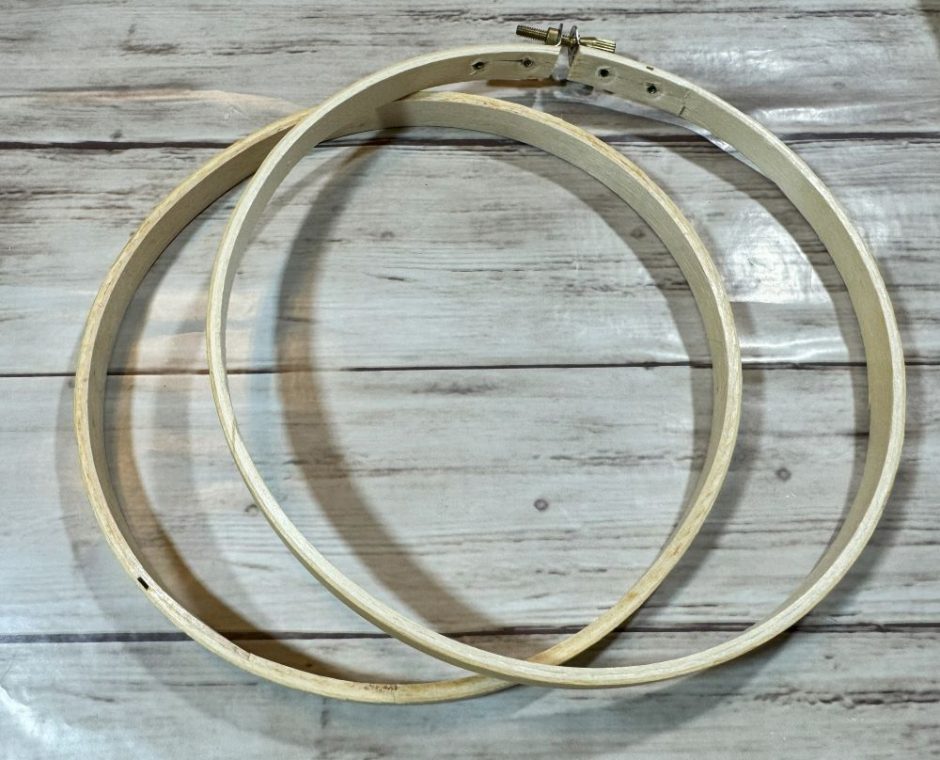
Most images of cross stitching you see out in the world will show the fabric in a hoop while it’s being stitched. If you want to use a hoop, you just need one that is smaller than the piece of fabric you are stitching on. The hoop keeps the fabric taut, which can make stitching easier.
If you’re working on a small project, or just in general as you learn cross stitch, you may find you prefer to just hold the fabric in your hand. Because Aida is kind of stiff it won’t flop around too much, and you may feel like you have more control that way. Try it both with and without a hoop and you can decide what you prefer.
Preparing to Cross Stitch
The best way to learn cross stitch is to choose an easy pattern and just get stitching. The easiest patterns are a single color and often symmetrical or repeating patterns so you can focus more on making the stitches than following the pattern.
How Big Should My Cross Stitch Fabric Be?
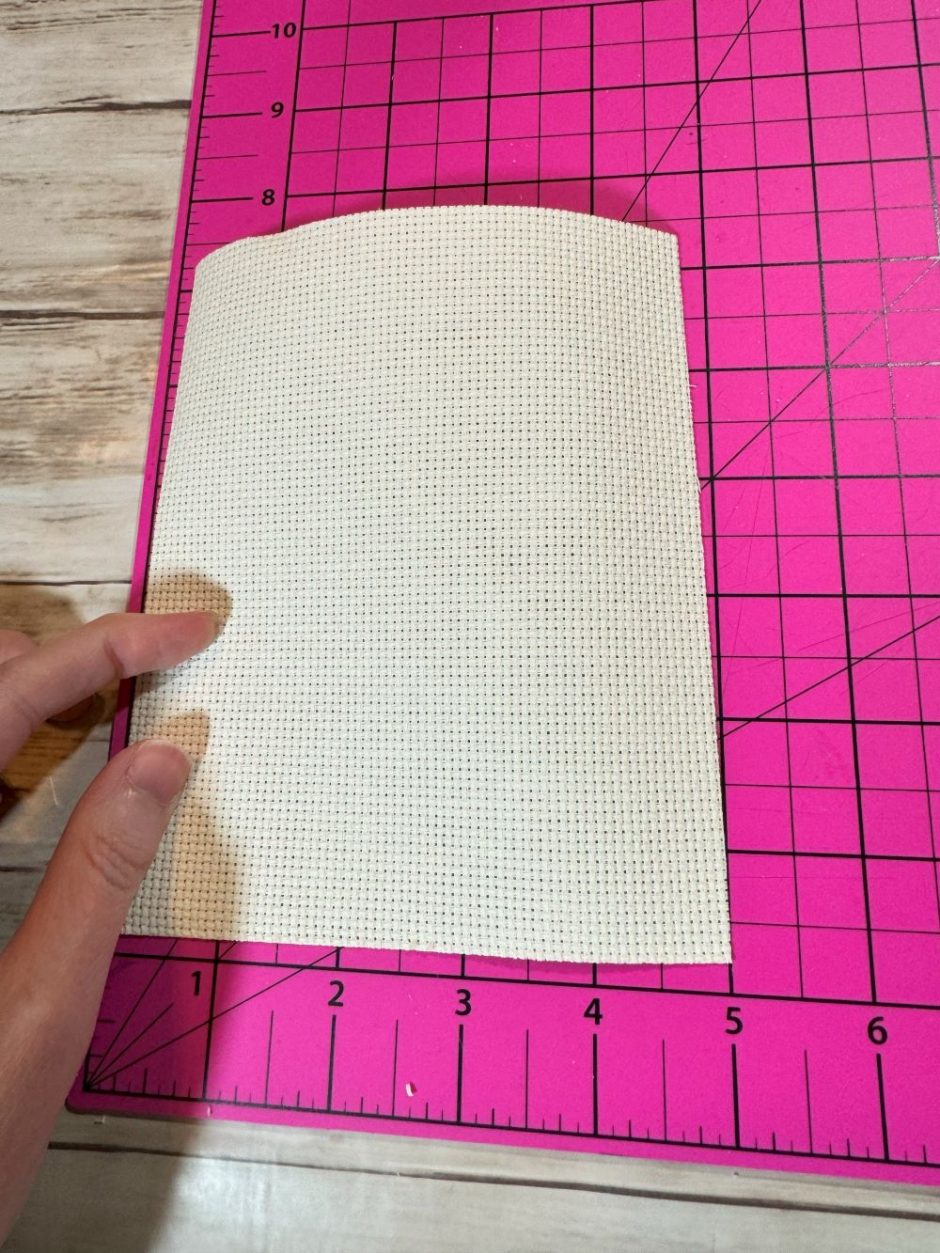
If you want to use a hoop, your fabric will need to be cut so that it can fit easily in the hoop with a little overhang. Sometimes projects are finished by framing them with a hoop, so you’ll need fabric that fits easily in the hoop if that’s your plan.
If you don’t want to use a hoop, you can cut it to any size that the project will fit on. If the project you’re working doesn’t say how big it is, you can use the number of stitches as a guide.
Say the pattern says (or you can count on the chart) that it has 30 stitches across and 25 up and down. If you’re using 14 count fabric that means your finished project will come out to 2.14 by 1.78 inches (or 5.43 by 4.52 cm). You get these numbers by dividing the stitch count into the number of stitches per inch such as 30/14.
I like to keep at least an inch/2.5 cm on each side of the fabric beyond the stitching area to make room for mounting or otherwise finishing the project. If you know you want to put it in a frame of a particular size you’ll want to make sure your fabric is a little larger than the frame requires so it will fit properly.
You can always trim excess fabric after stitching, but you can’t add it back, so starting with a larger piece than you may need is always a good idea.
How to Find the Center of Your Fabric
It’s important to find the center of your fabric if you want your project to be centered. It’s also easy to start from the center of a pattern and work your way out.
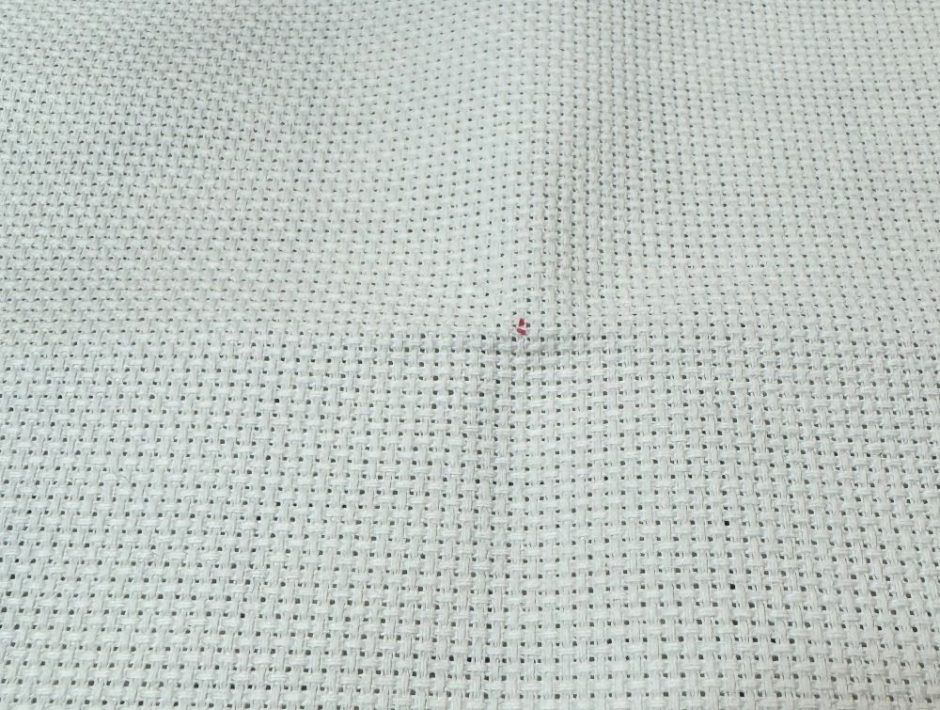
Once you’ve trimmed your fabric to the desired size, fold it in half lengthwise and widthwise. The stitch in the middle of those folds is the center of the fabric.
I like to mark the center with a heat-erasable fabric pen so that it’s easy to find when I start stitching. It’s not really visible once you stitch over it but you can erase it with an iron later if you want.
How to Use a Hoop
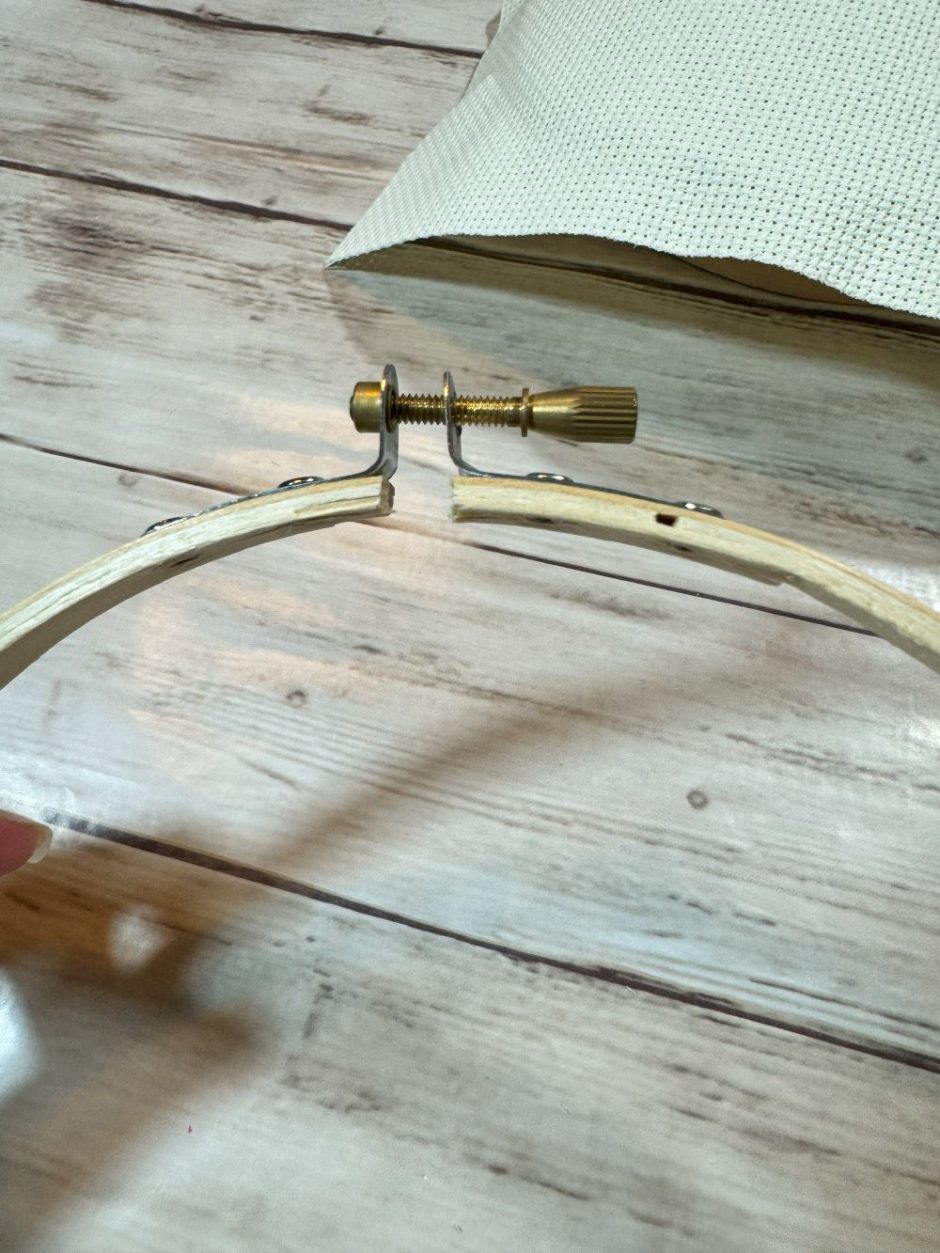
Embroidery hoops are usually plastic or wooden (though there are metal ones, too) and come in two pieces. The inside is a smooth, uninterrupted circle, while the outside ring has a gap with a metal bracket and a screw running through it.
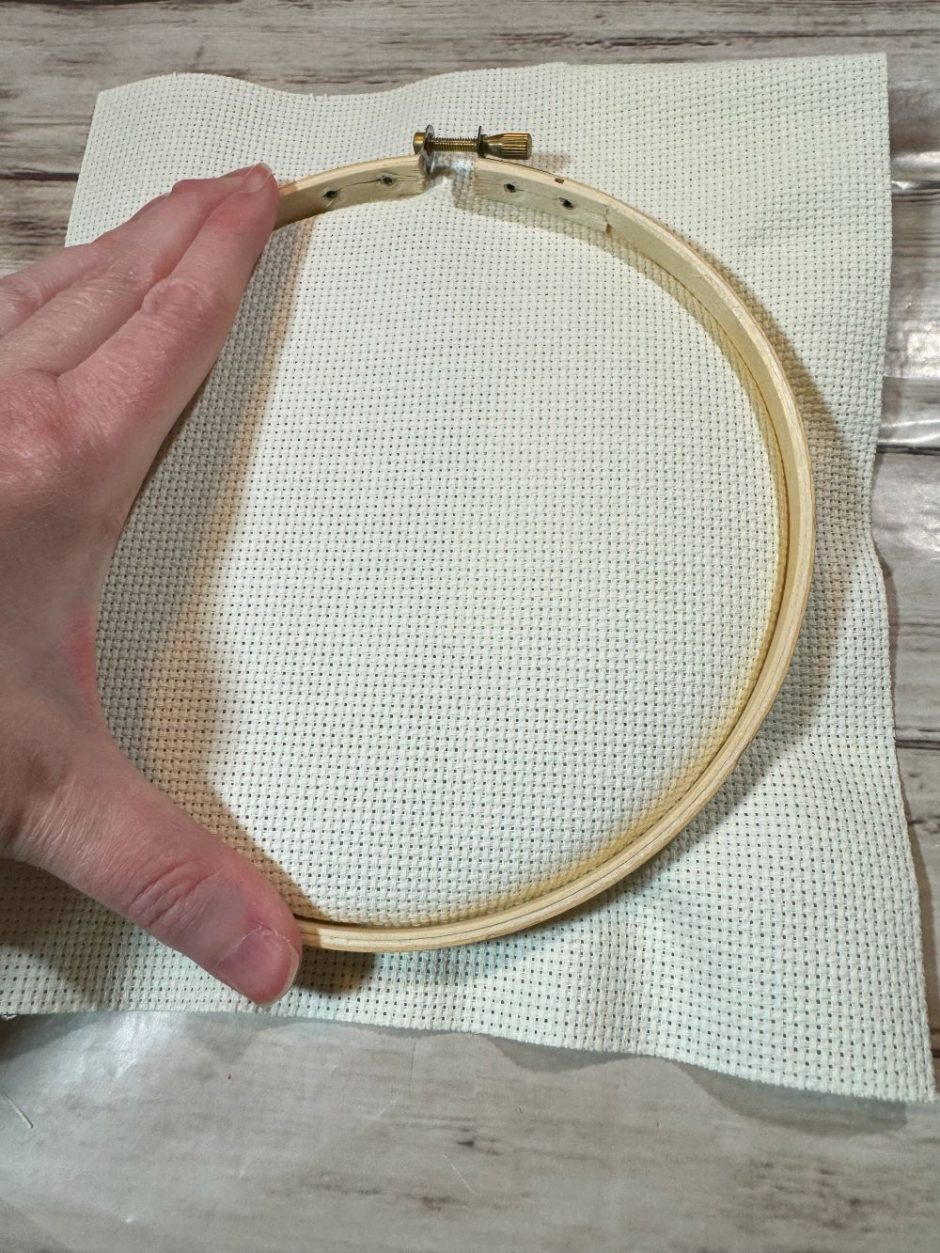
Turn the screw to loosen the ring and separate the two pieces. Put the cross stitch fabric on top of the inside hoop, getting your center stitch as close to the center of the hoop as you can.
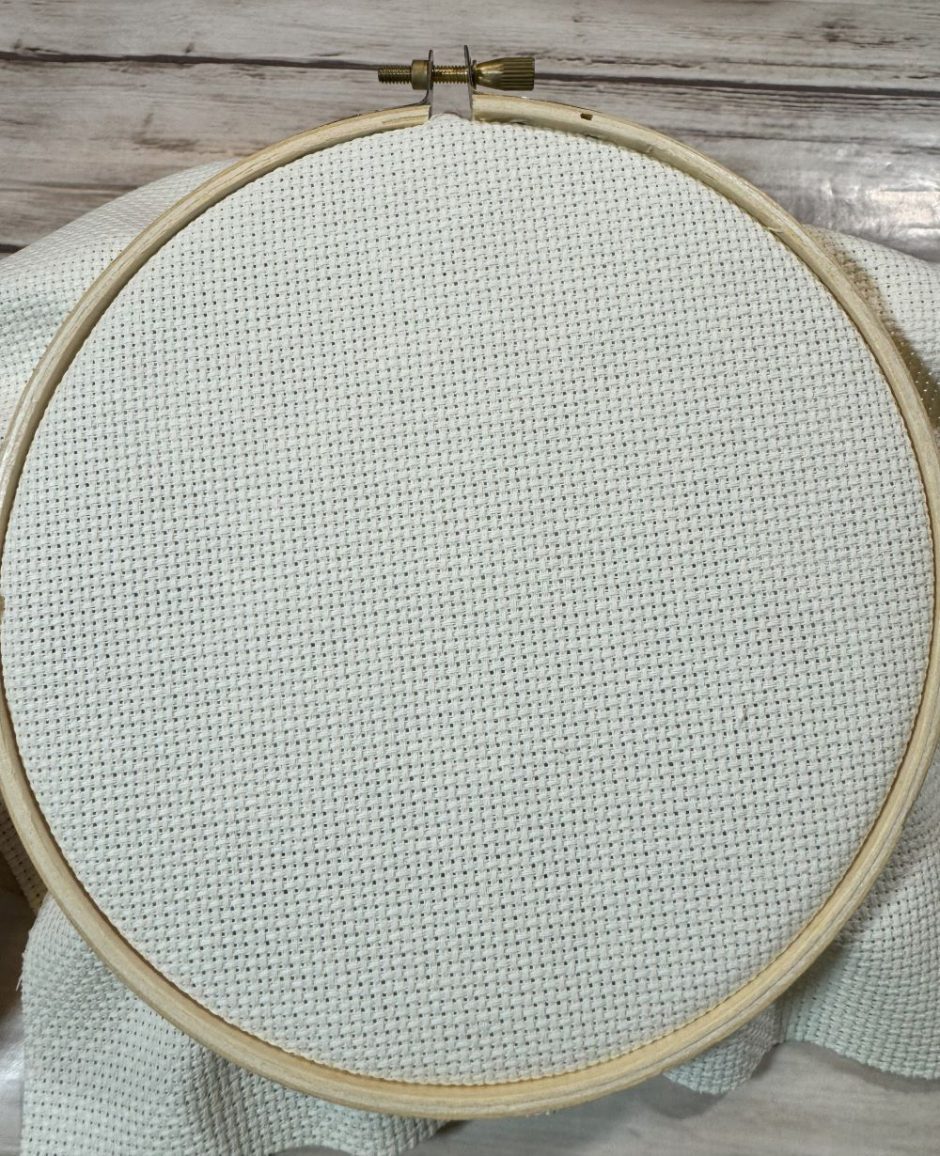
Slide the outside hoop on top of the fabric and turn the screw to secure. It should be snug enough to hold the fabric but not so tight that it’s stretching the fabric so the squares aren’t square.
Preparing Your Thread
Embroidery floss comes folded on itself in a special way that’s called a skein. You should be able to easily find an end and gently pull on it and have thread come out without removing the labels.
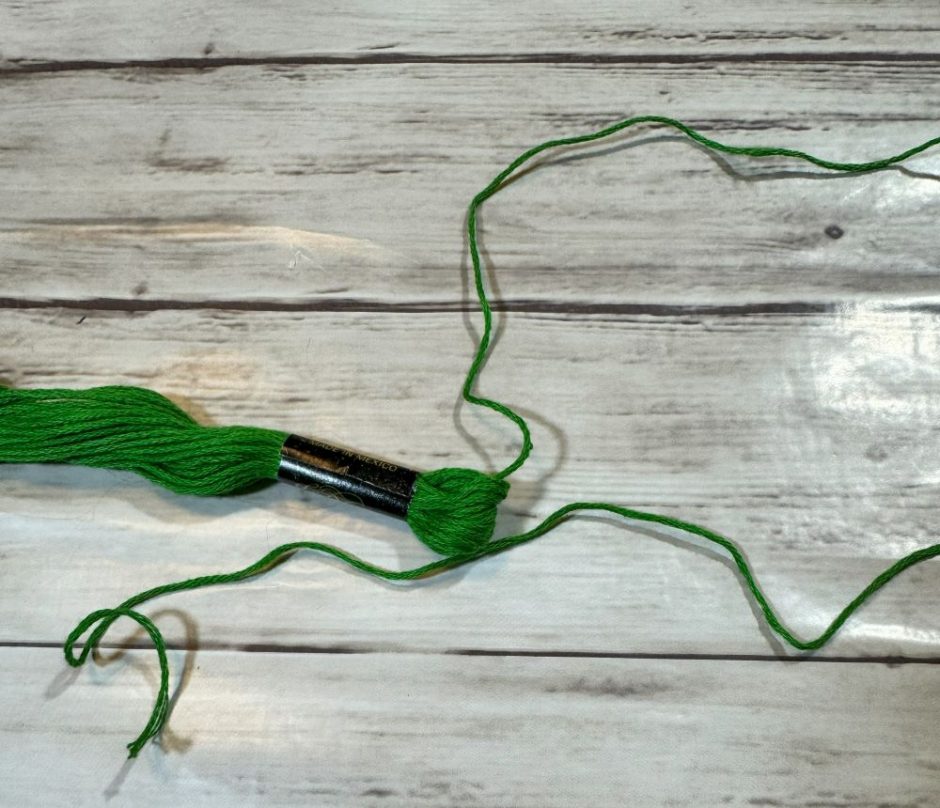
Pull out a length about as long as your arm to start, and cut it with your scissors.
Most embroidery floss is six ply, and the pattern should tell you how many strands or plies were used to stitch the sample. Two or three are the most common options if your pattern doesn’t say.
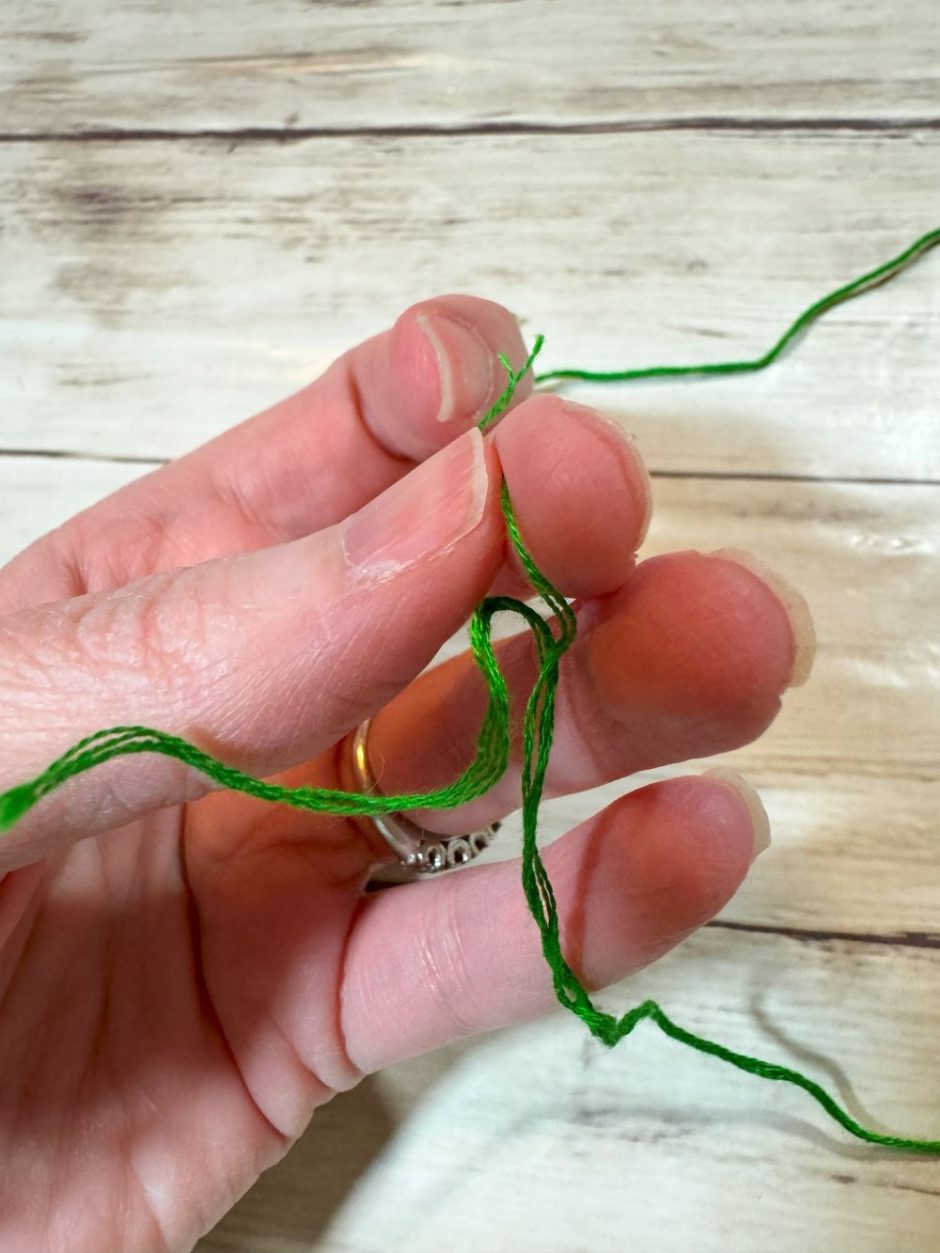
To separate the plies, start at one end and gently pull the threads apart. Some people say you should pull one ply at a time and then put them back together, but I always separate out however many I need all at once. There are no crafting police.
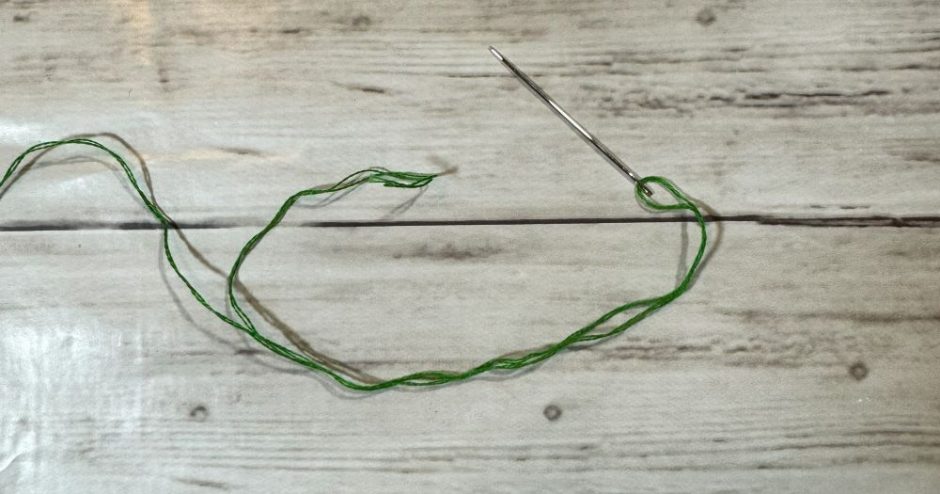
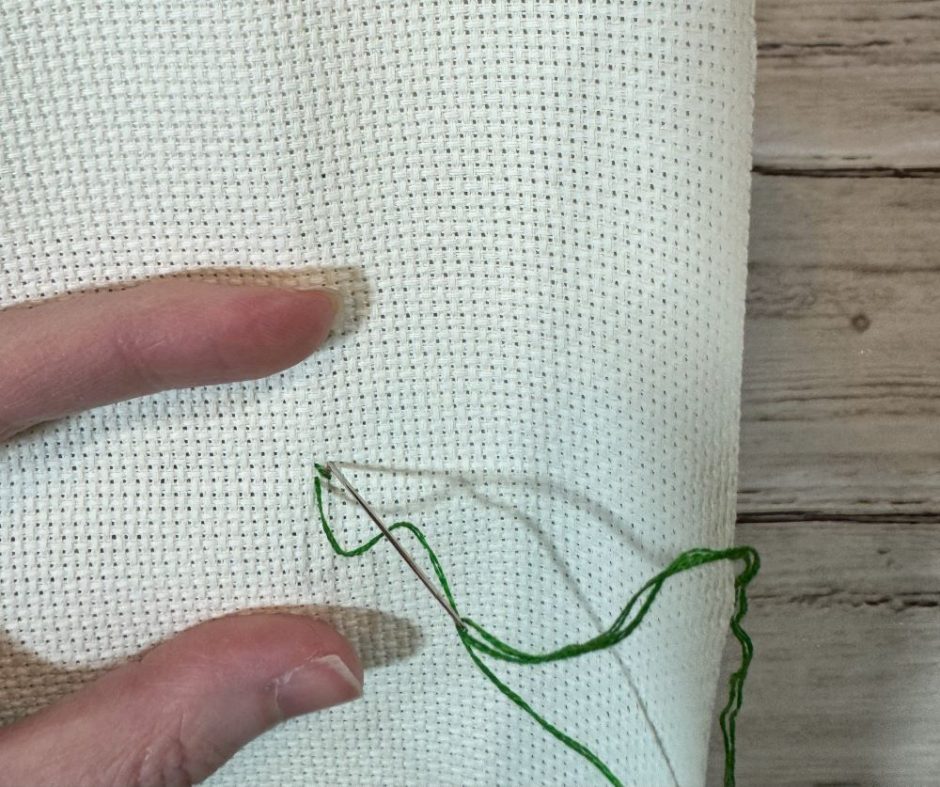
Thread the needle with the separated threads, and tie a knot at the opposite end. (Some people don’t like to use knots but I don’t mind them. My backs are always messy.)
Where to Start Cross Stitching

Generally a cross stitch pattern is started from the center because that makes it easy to ensure that your project will fit on the fabric.
Many cross stitch charts are marked with lines or arrows to indicate where the center of the pattern is, which makes it easier to read a cross stitch chart and keep track of where you are in the pattern.
If you don’t want to start at the exact center, you can count from the center to an edge or the end of a section of a particular color and start there. If you’re working on a large project, adding a grid to your cross stitch fabric can make it easier to orient yourself on your fabric relative to the chart.
How to Cross Stitch
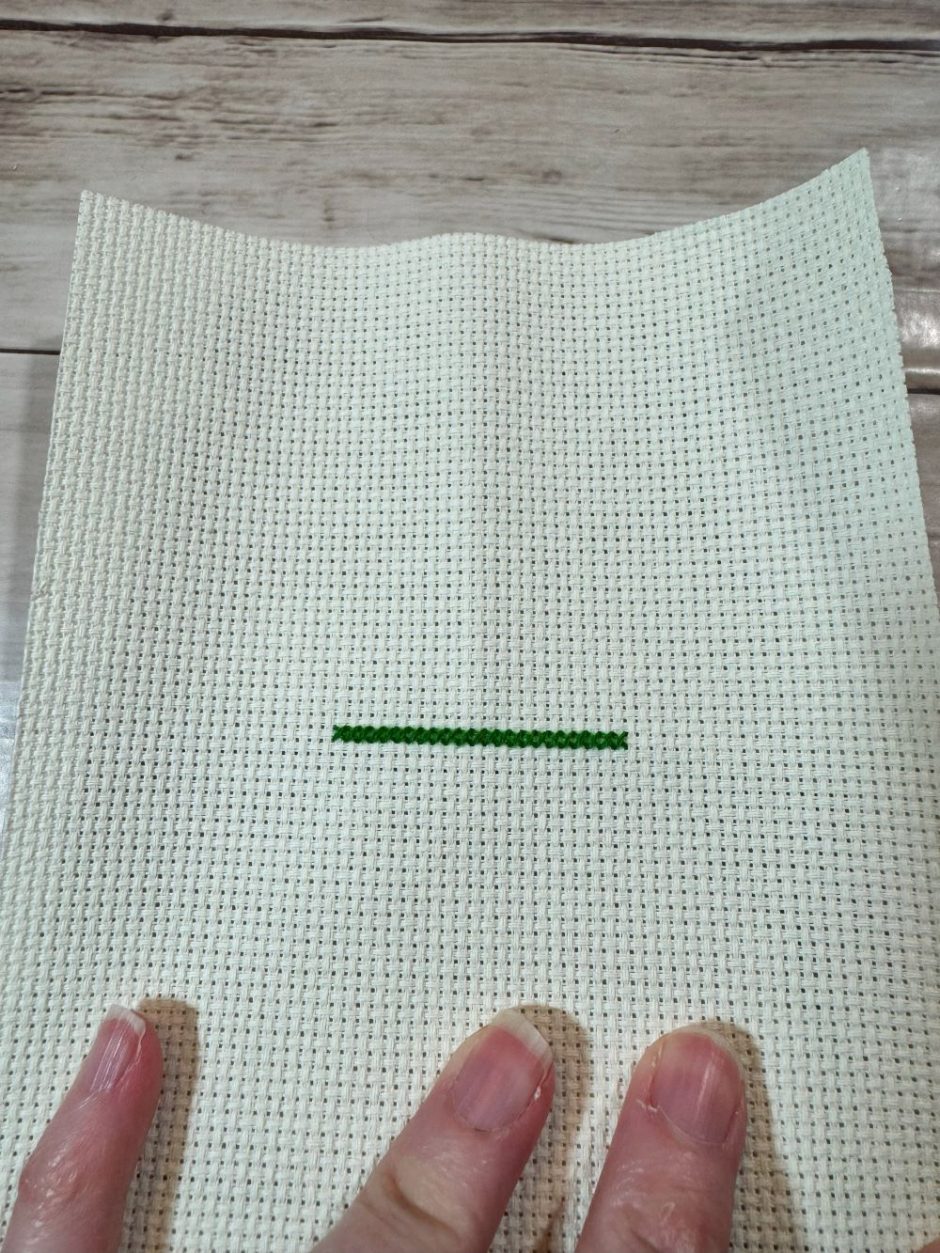
Most cross stitch patterns mostly use whole cross stitches, which are the x designs we’re all familiar with when we think of cross stitch.You can work one stitch at a time or, if there are many stitches of the same color in a row, you can work one leg of each stitch across, then work back in the same way.
As you learn to cross stitch and advance in your cross stitch career, you may encounter special cross stitches including partial stitches like quarter, half and three-quarter stitches. Cross stitch patterns also sometimes include back stitching as a way to outline parts of the pattern, add details or lettering.
You can work across each row sequentially, which is easy to do if your project only includes a couple of colors, or you can work sections of different colors at a time instead. As you learn to cross stitch and practice with more complicated projects you will determine the best working method for you.
Finishing Cross Stitch
Some projects are small enough to keep in the hoop you stitched them in, which is basically an automatic frame.
You can also frame them with mats or in a picture frame. Just make sure that any materials that will touch your project are acid free and that your cross stitch project is not displayed in direct sunlight if possible so the colors won’t fade.
