Affiliate links may be included for your convenience. View our privacy and affiliates policy for details.
This ibotti heat erasable pens review shows the pens being used on different kinds of fabric in different colors so you can determine how useful they will be for you.
I am about to embark on a large cross stitch project and I wanted to see if I could use these heat-erasable markers on cross-stitch fabric. But I figured while I was testing it I might as well look at a bunch of different fabrics to see how erasable they truly are. So I raided my scraps and conducted a couple of experiments.
What are Heat Erasable Pens?
Heat erasable pens like these from ibotti are meant to be used to mark fabric for sewing projects. You can use the lines for sewing hand embroidery, marking stitching lines, measuring, etc., and erase them when you’re done by applying heat from an iron.
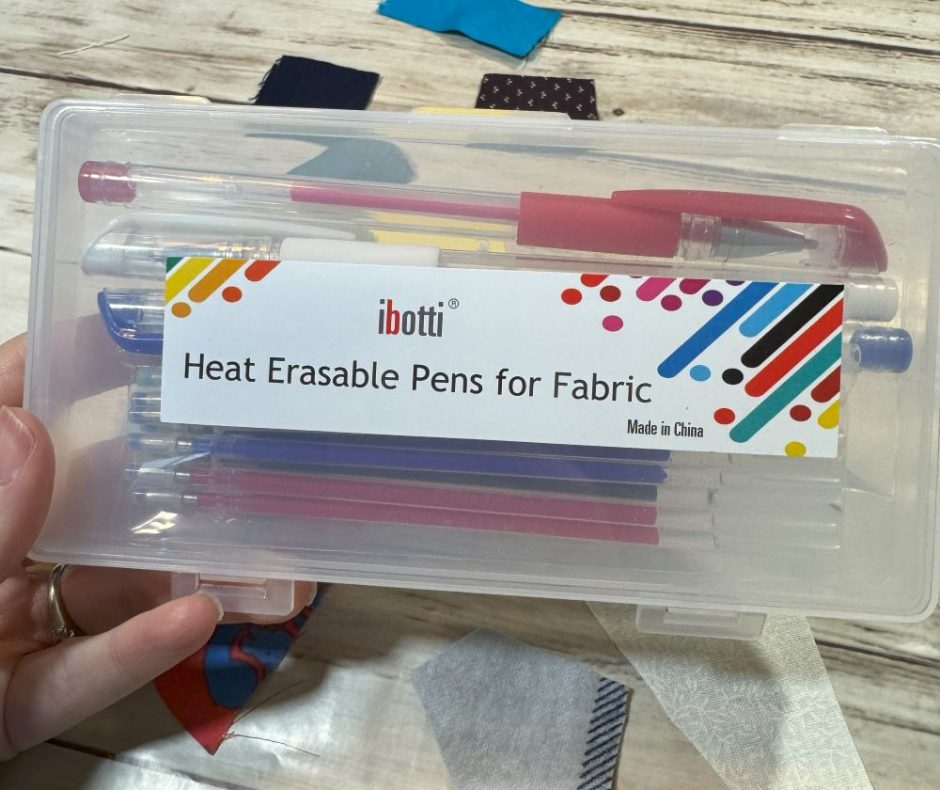
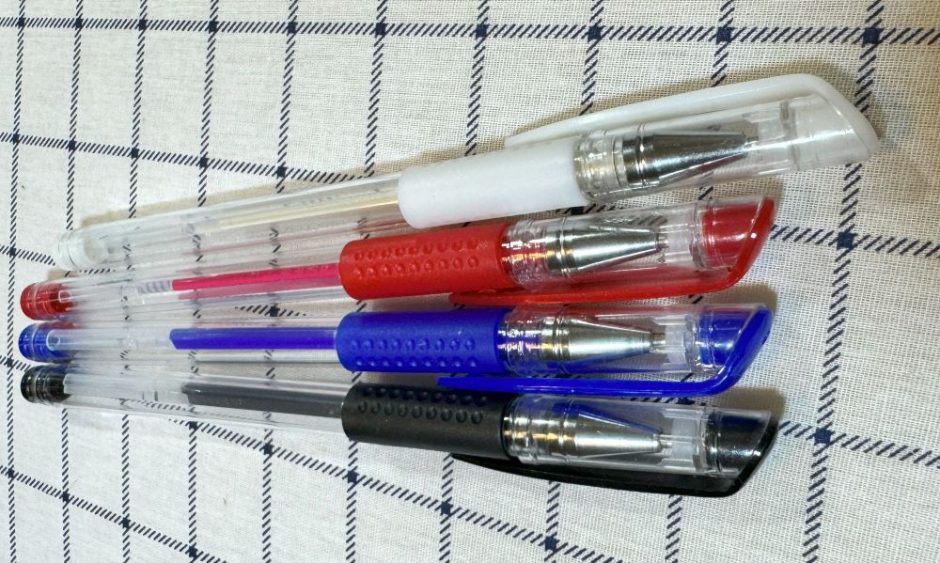
This particular set includes four pens, each with a different color of ink — red, blue, white and black — as well as two refills of each color. They also come in a little case so you can keep them together, which is good because the pens have no markings on them. That makes it potentially easy for to confuse them with regular pens.
ibotti Heat Erasable Pens Review Methodology
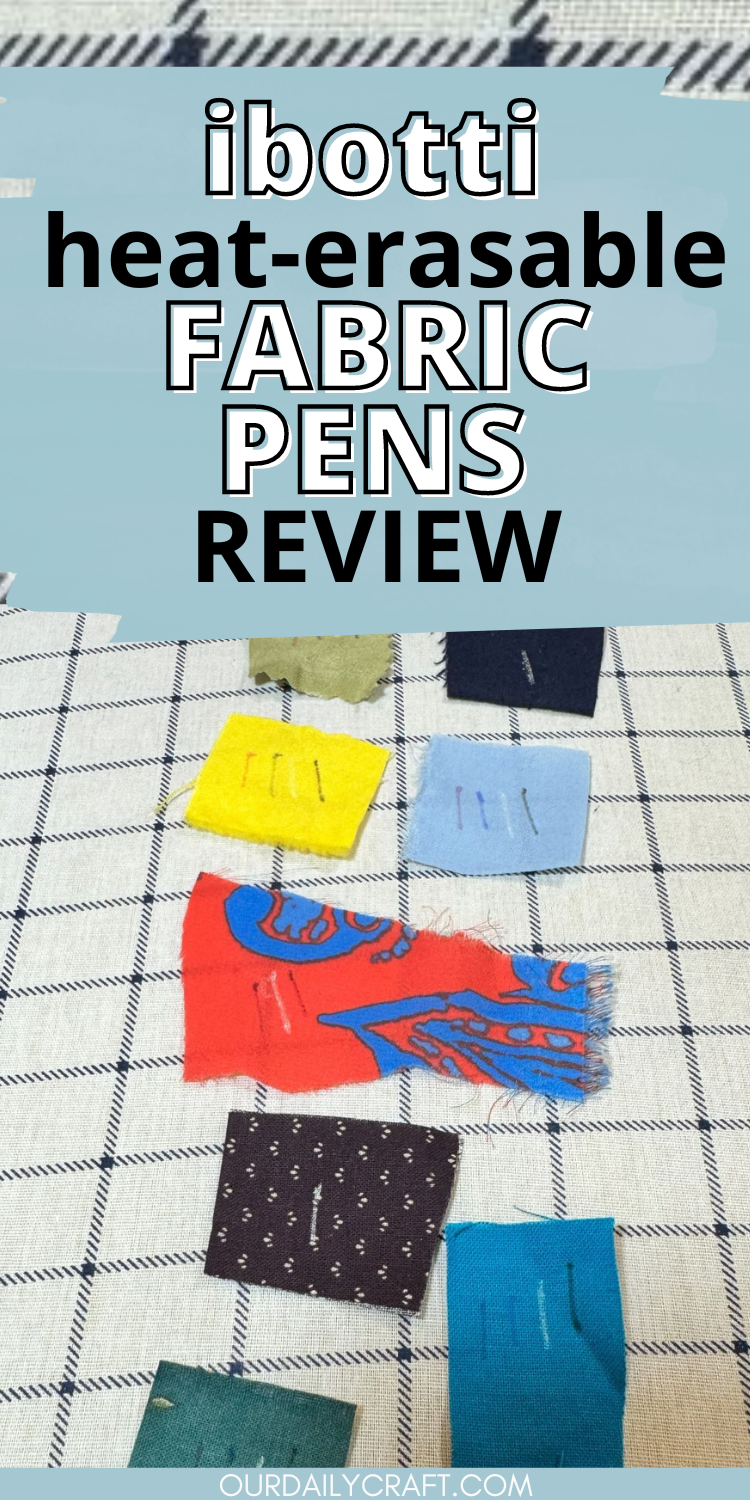
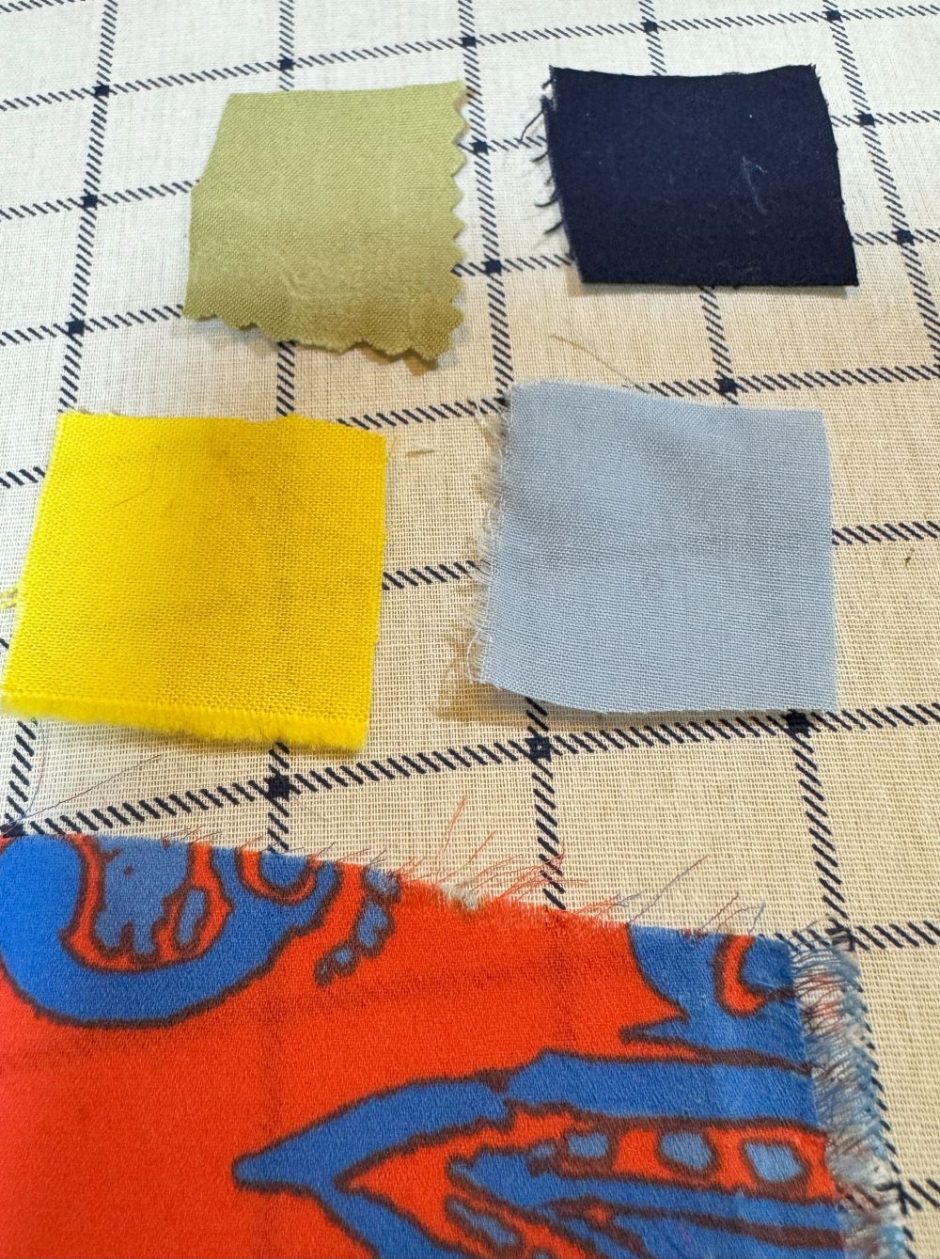
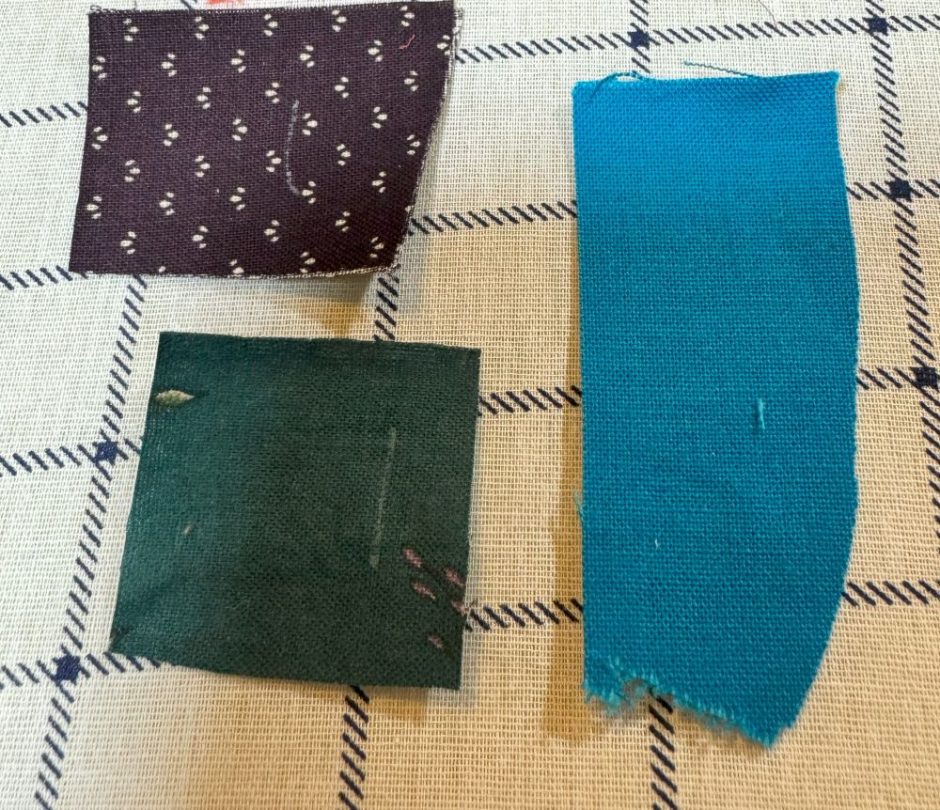
To do this ibotti heat erasable pens review, I made a bunch of little swatches of a bunch of different kinds of fabric I had in my scrap box or within easy reach. I ended up with six white/light samples and eight dark samples.
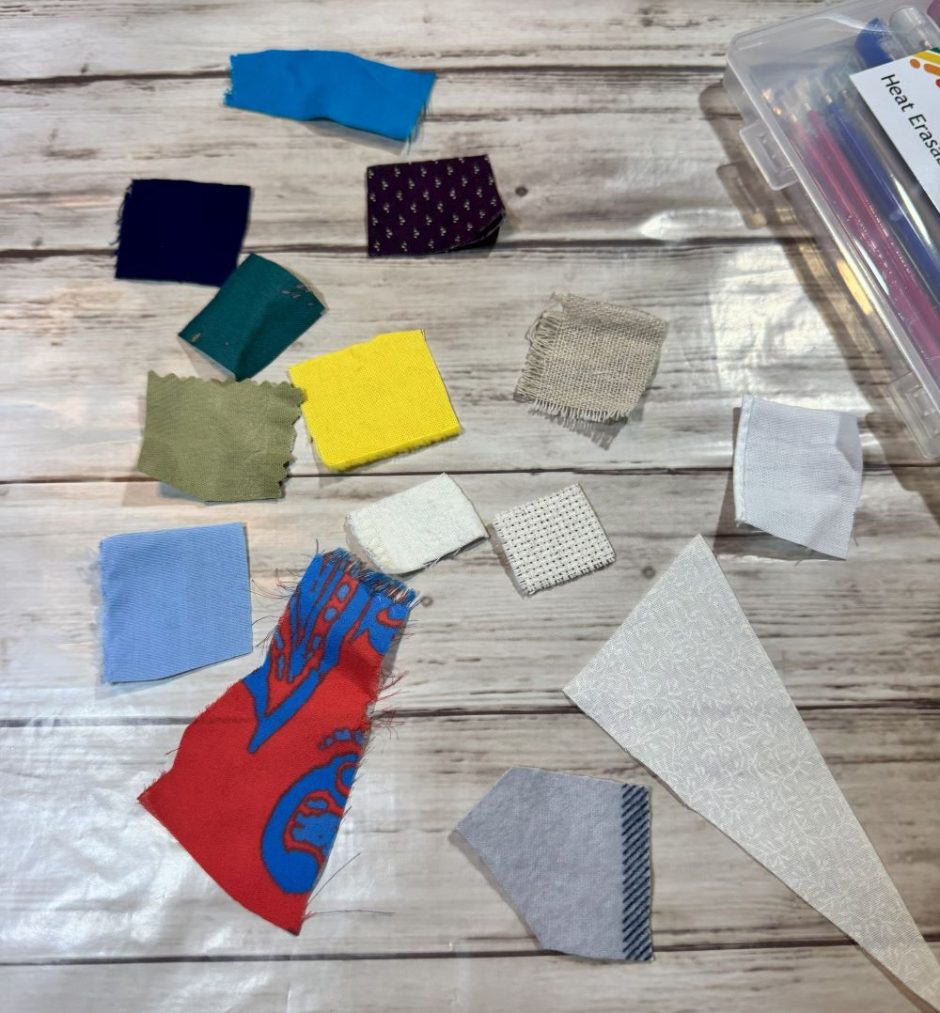
The dark fabrics are mostly cotton woven (I think the darker green one might have polyester and the sort of olive color one was a napkin, so it’s probably a blend, too), except the orange one is a polyester knit.
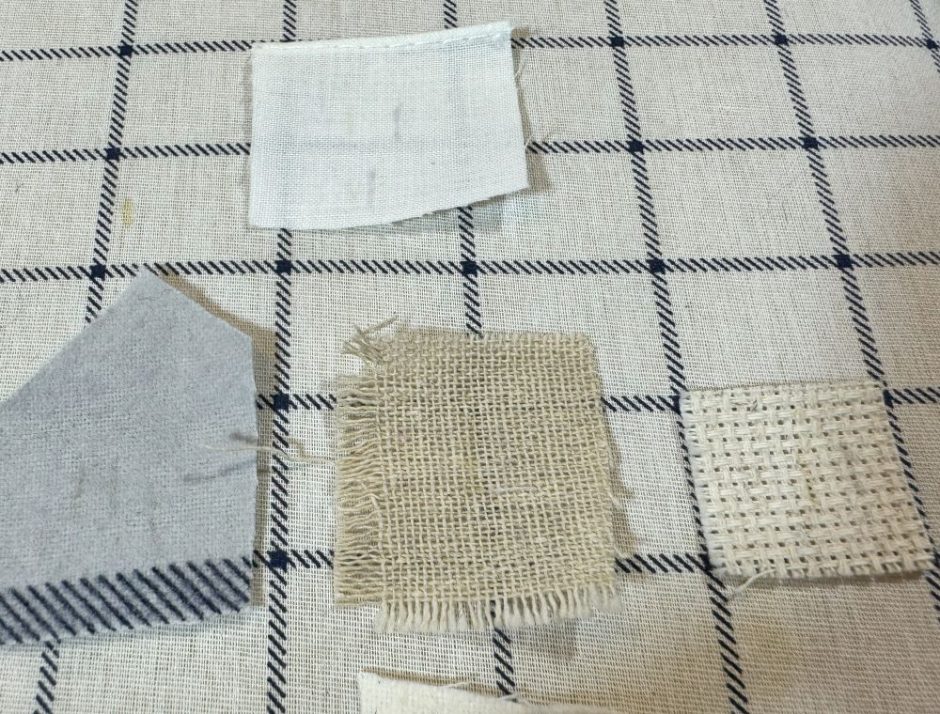
The whites and lights include cotton woven, a piece of a handkerchief that might be polyester, a couple of different cotton flannels, a woven muslin for embroidery and a piece of cross stitch fabric.
I marked each piece of fabric with a line with each color, and let it sit for about 10 minutes before ironing over with medium heat. The white swatches got marked twice, which we’ll get to.
The Heat Erasable Pen Test
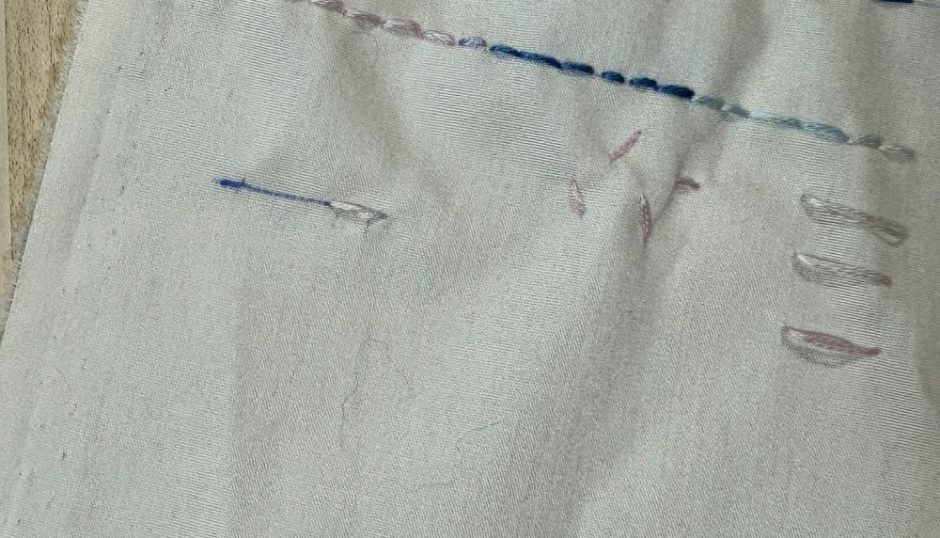
First let’s check out the white/light fabric. My first pen, the red one, wasn’t flowing well so I ended up going back and forth and back (three total swipes across the fabric) to get a good solid line.
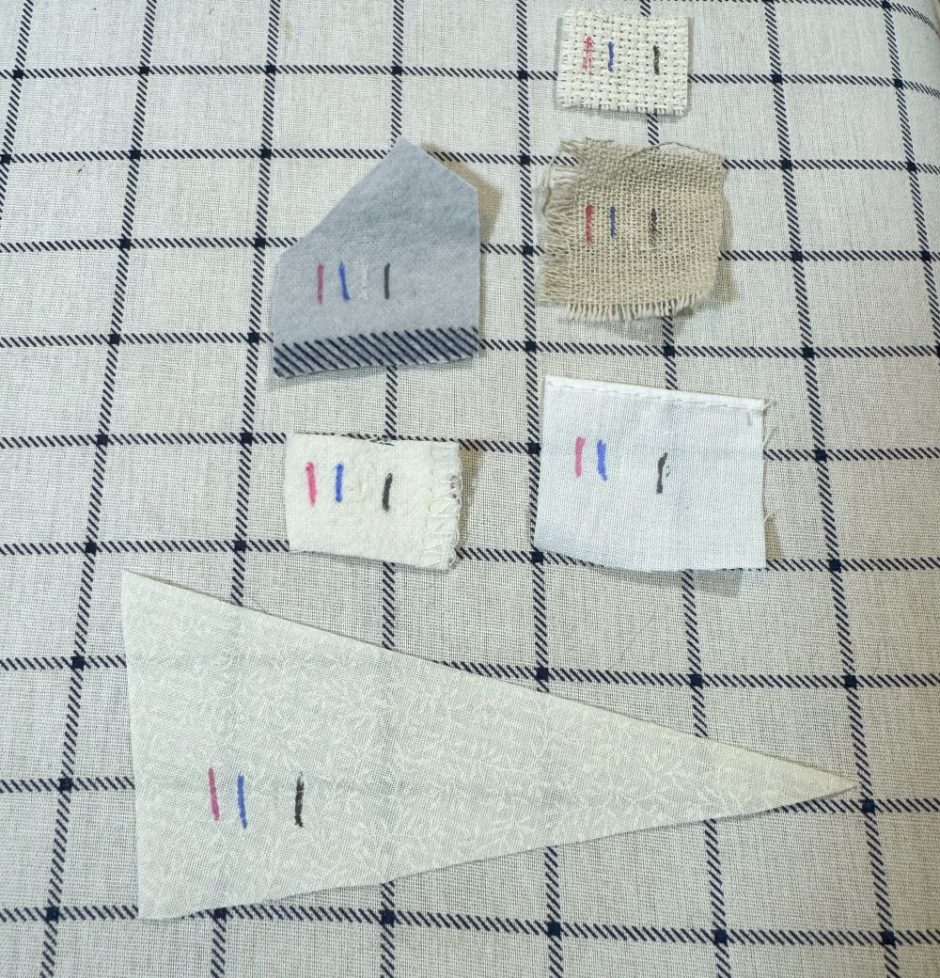
I repeated that three stroke move for each color on each fabric, then let it sit for around 10 minutes.

I wasn’t super thrilled with the results. The muslin is the only one that came out totally clean, though some of these are less noticeable than others.
I wondered if it was because my marks were so dark, so I did another test with a single swipe. There’s no picture of the before, but the second set of lines was above the first.
I feel like these came out better, but the black and blue pens in particular still show a bit on the lighter fabrics.

The white, which wasn’t that visible at all, turned a little yellow after ironing on some samples.
But the red is the champion here; it seems to have erased well on all the fabrics.
Dark Fabric Test
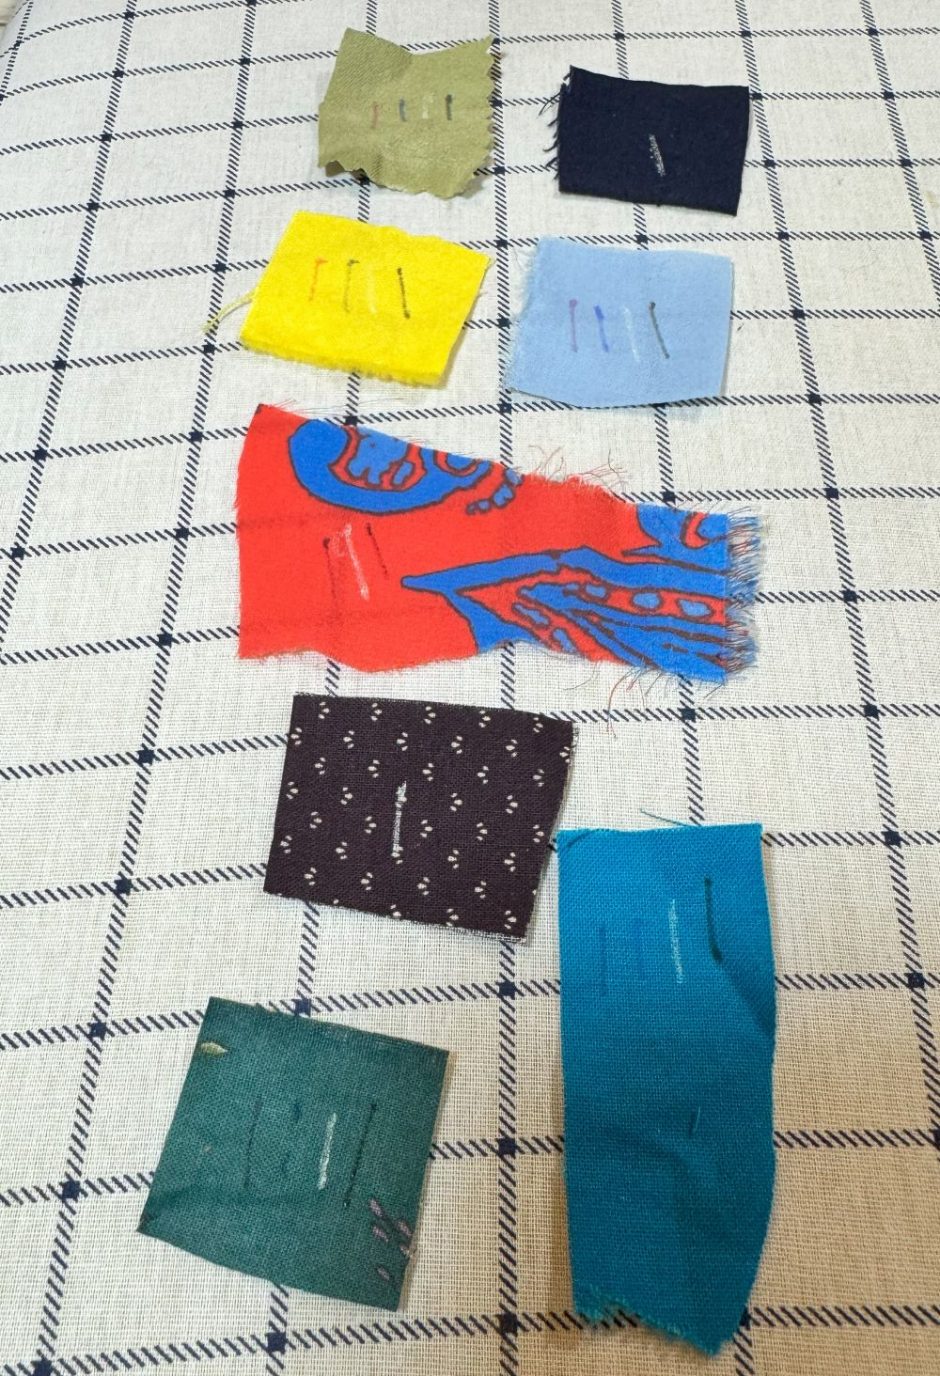
I did the dark fabrics with a single swipe of each color allowed to set for 10 minutes. None of them were really visible on the brown and dark blue except the white. (It should be noted the pen maker says it can take the white ink a couple of minutes to show up.)
The pens performed a lot better on the dark fabrics. Every color disappeared totally on the knit fabric and on a few of the wovens.
The white pen is still visible on a few of the darker fabrics.
ibotti Heat Erasable Pens Review: Bottom Line
I do think these pens are a good option for marking fabric, but a test of your fabric is key to ensure that any ink that remains visible after stitching can be ironed away. I’d probably steer clear of the white pen on most dark fabrics and the black pen on super light fabrics, but I’m sure it depends on the fiber content and your experience may vary.
Further study is needed to know if more heat/higher heat would remove more of the lines, or if laundering the fabric would further lighten the remaining lines.
In real-life use I used the blue ink to make some lines and shapes for my embroidery stitches tutorial and all but a tiny bit in the selvedge disappeared. I think I will try either the red or the blue to gently grid my cross-stitch fabric for this big project I’m planning, which I’m sure you will see the results of and I will update here when it’s done.
Do you have an ibotti heat erasable pens review? Would you try these if you haven’t already? I’d love to hear your thoughts and what you use to mark fabric.