Affiliate links may be included for your convenience. View our privacy and affiliates policy for details.
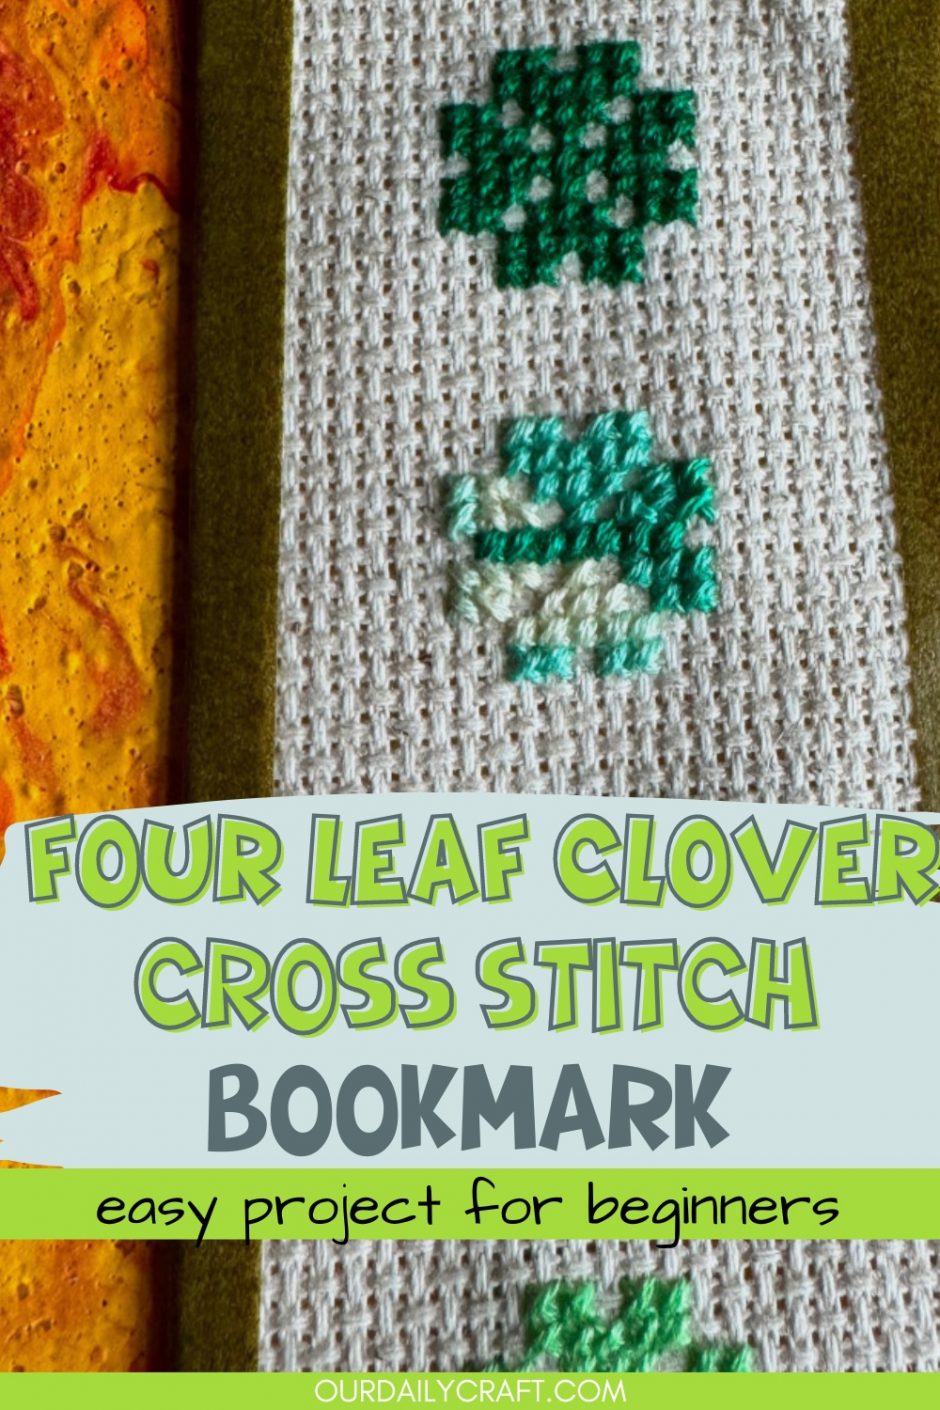
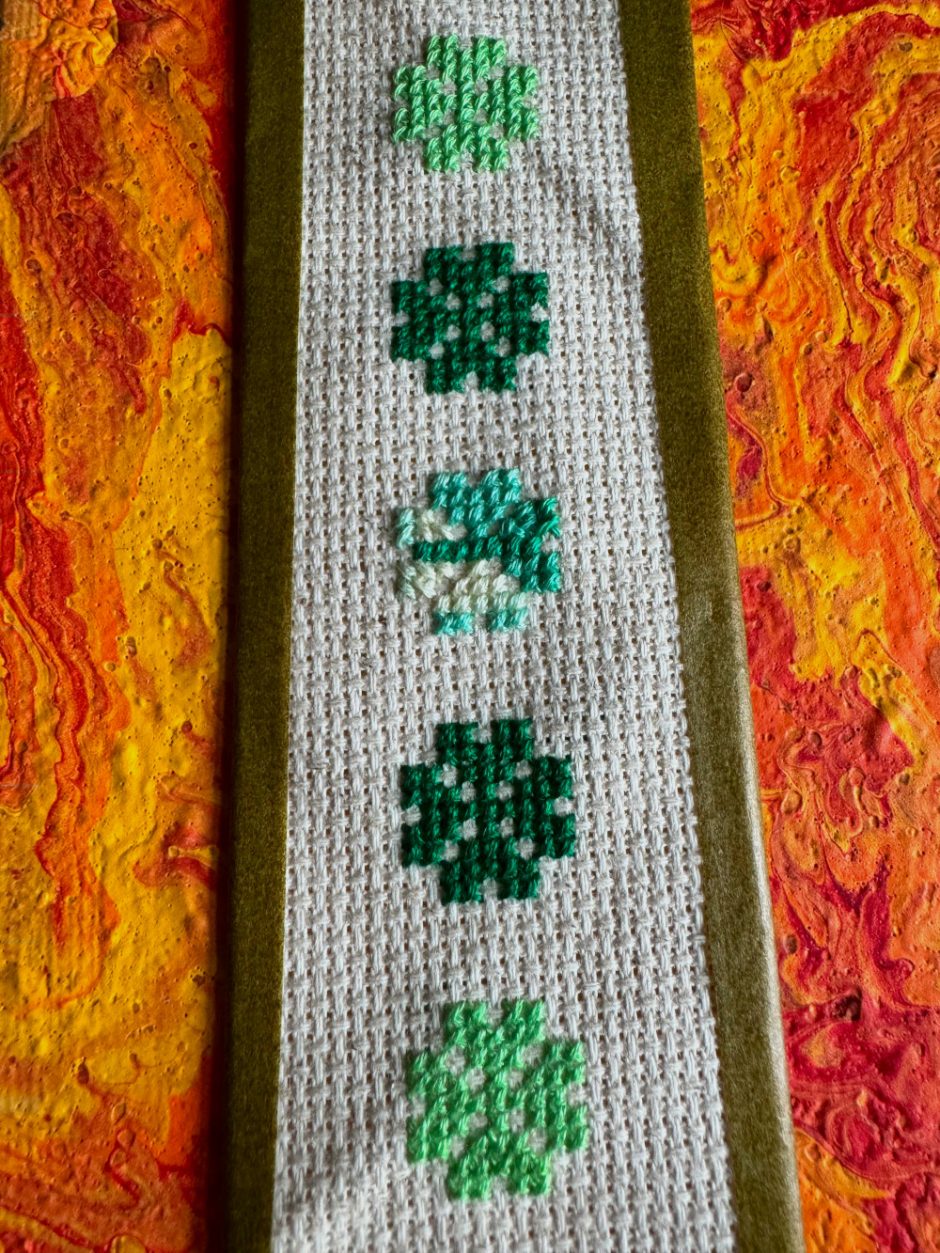
This four leaf clover cross stitch bookmaker pattern is perfect for St. Patrick’s Day or any other time you need a little luck! It’s quick to stitch up and a great beginner cross stitch pattern.
Why You Should Make Cross Stitch Bookmarks
Cross stitch bookmarks are some of my favorite little cross stitch projects. They’re just about ideal for beginners because they’re small, quick to stitch up, often include repeating patterns (see also my heart cross stitch bookmark) and you can hide the back if it gets messy.
Bookmarks are also useful if you are a reader or know a reader, and they’re a great addition to a gift of a book or a gift card for your person’s favorite bookstore.
I hope you’ll give this four leaf clover cross stitch bookmark a try!
Supplies
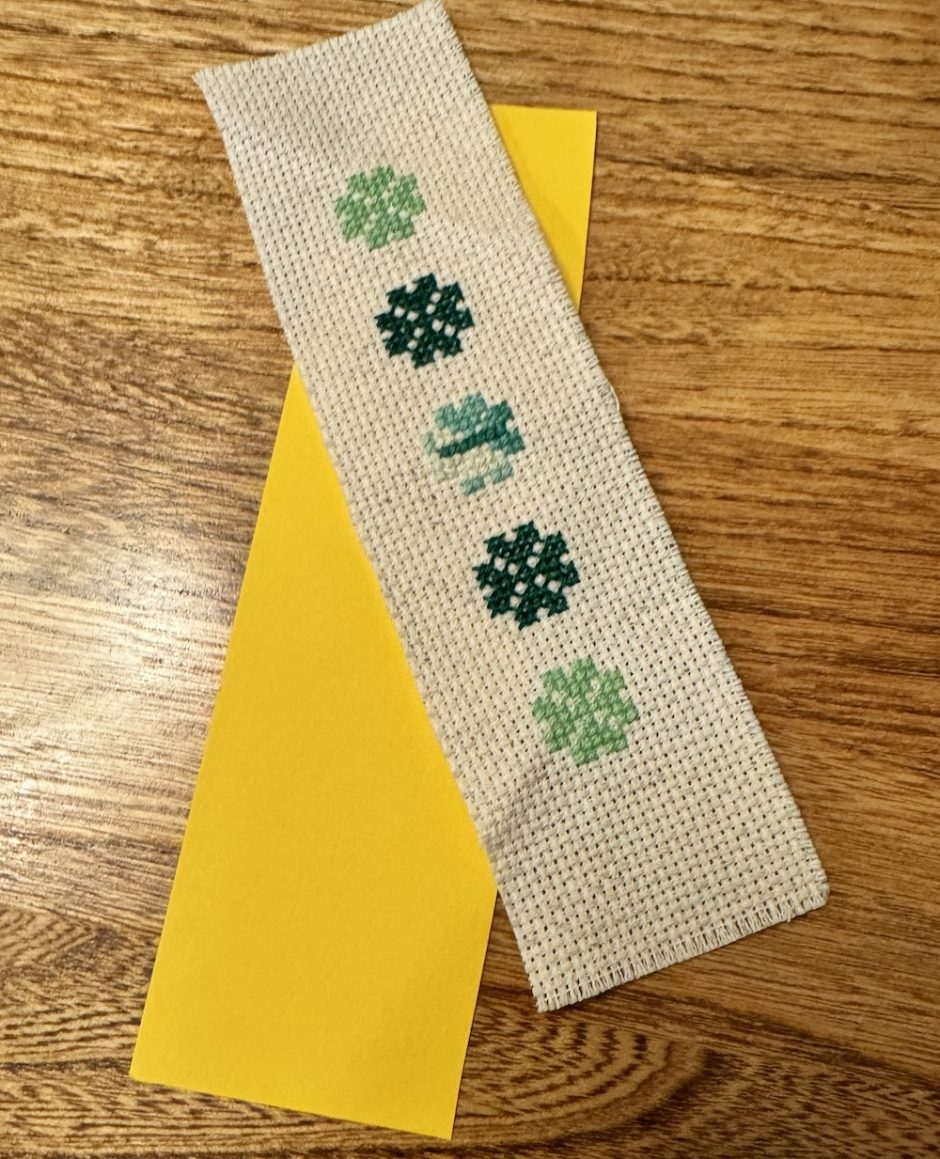
I used a piece of 14 count cross stitch fabric that’s 2 inches/5 cm wide and just over 7 inches/17.78 cm long. This was a scrap I cut off another project; the width is more important than the length.
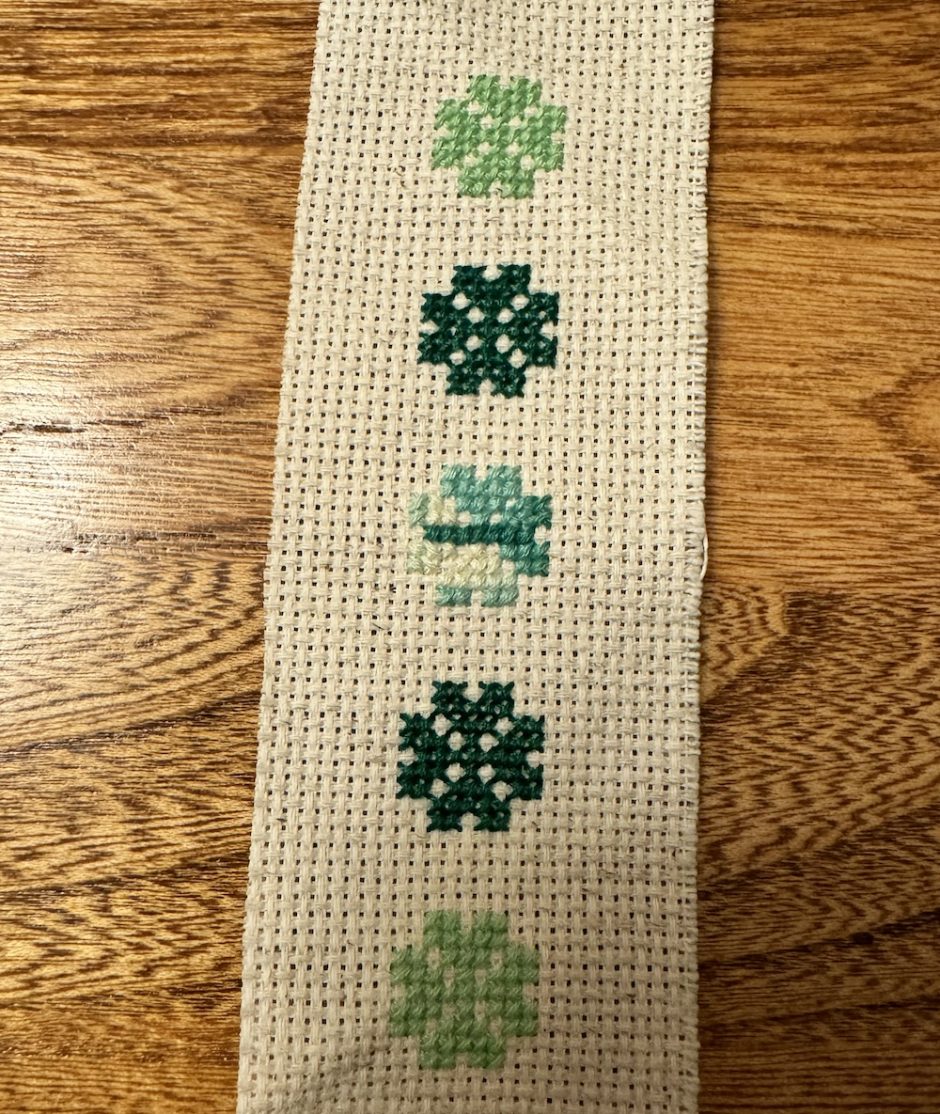
For the floss I chose a variety of green thread: the one in the middle is a Coats & Clark variegated colorway, the other two were random bits from my stash. Use what you have! The variegated one is similar to this one from DMC.
You’ll also need a tapestry needle for sewing, and whatever you want to use to back or finish the project (I used a piece of cardstock and washi tape; more on that below).
Four Leaf Clover Cross Stitch Bookmark Pattern
This is a super simple, symmetrical, repeating pattern. If you want to get as many four leaf clovers into your bookmark as you can, fold your fabric in half and start stitching from the center. I did this, making the center one a different color, then the two on each side of it a second color and the ones at the top and bottom a third.
You can of course work them all in the same color, or make each one different. Since these four leaf clover cross stitch designs use heart-shaped “petals,” you could make them any color you like and consider them flowers instead of clover if you like!

You can work each clover from the center, from top to bottom or from side to side.
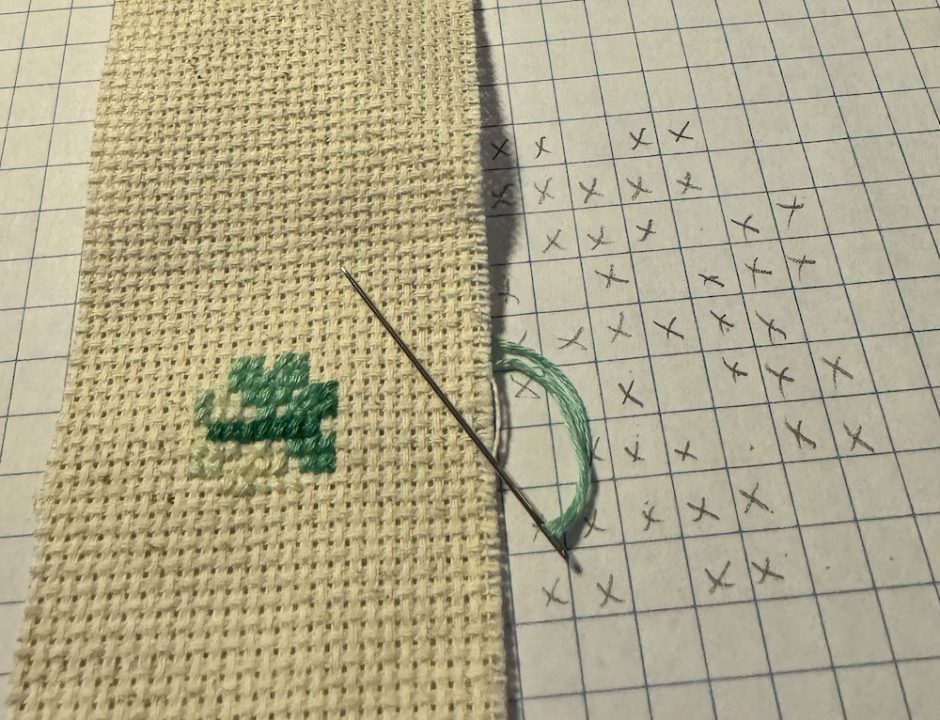
I did some of each, starting the middle one from the center and working one “leaf” at a time. The others were worked across from top to bottom or bottom to top. Because the variegated thread included some white, this one isn’t as visible as the others, but I still like it.
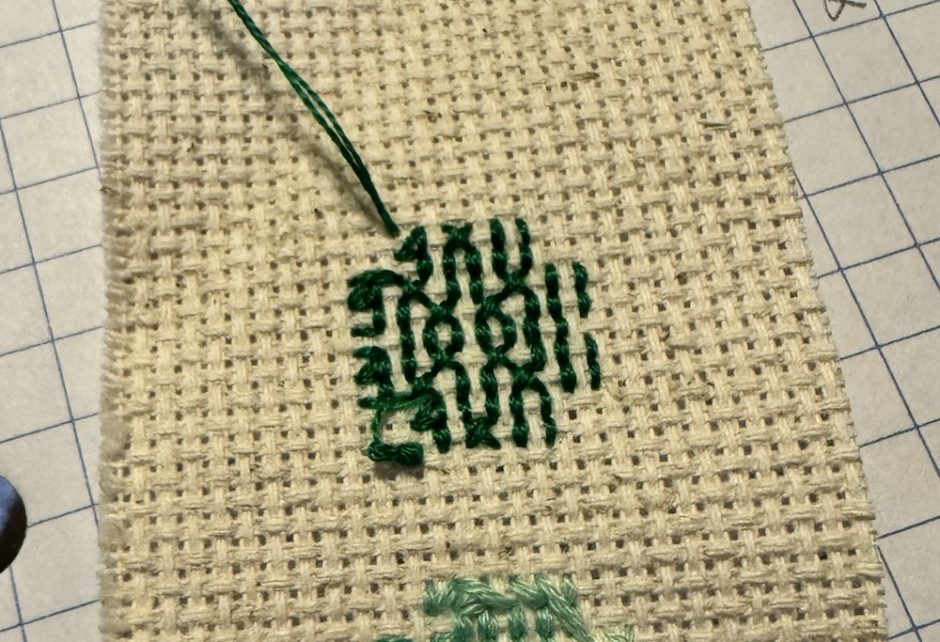
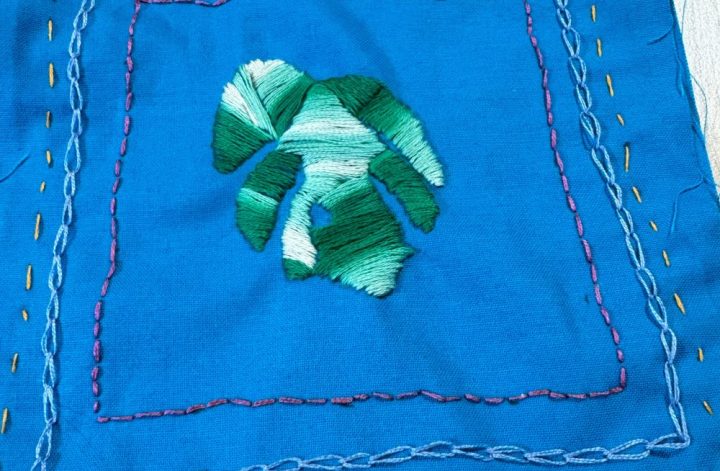
The back of the work mostly isn’t pretty but I couldn’t resist sharing this clover’s pretty back.
When you have as many four leaf clovers stitched as you want or have room for, it’s time to finish your bookmark!
Finishing the Bookmark
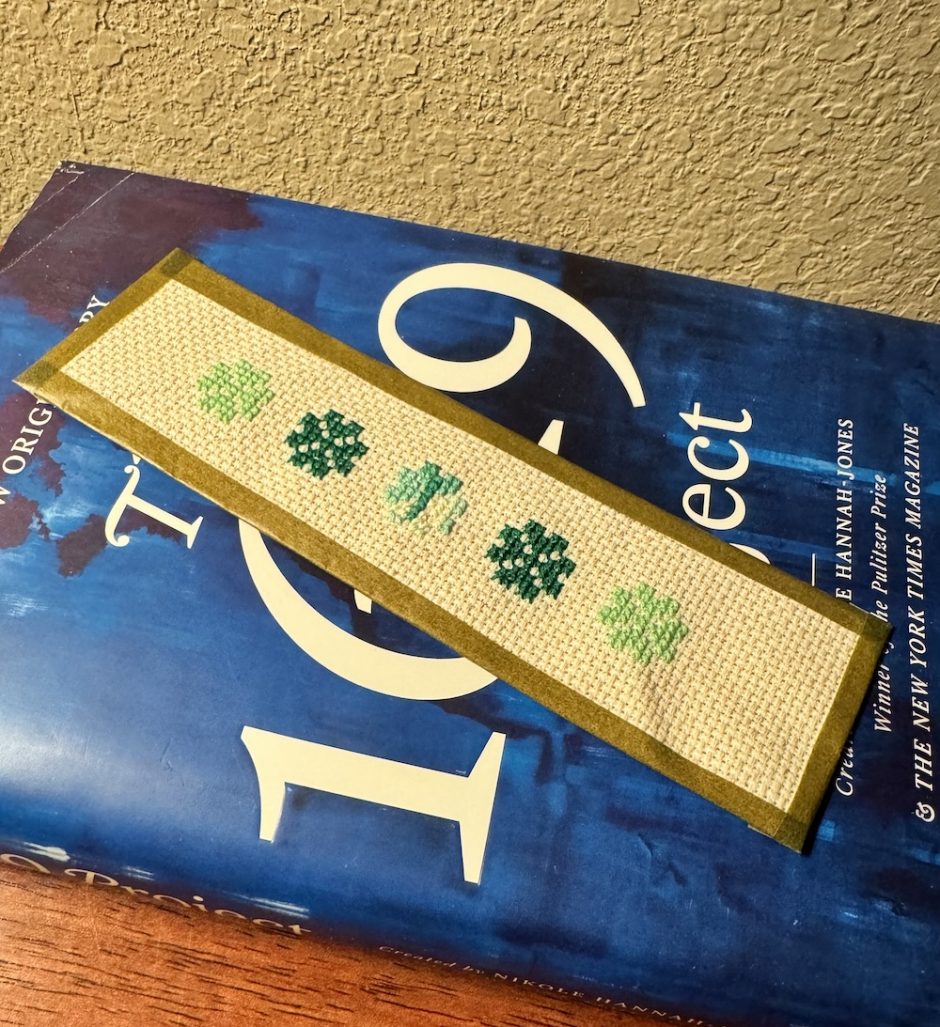
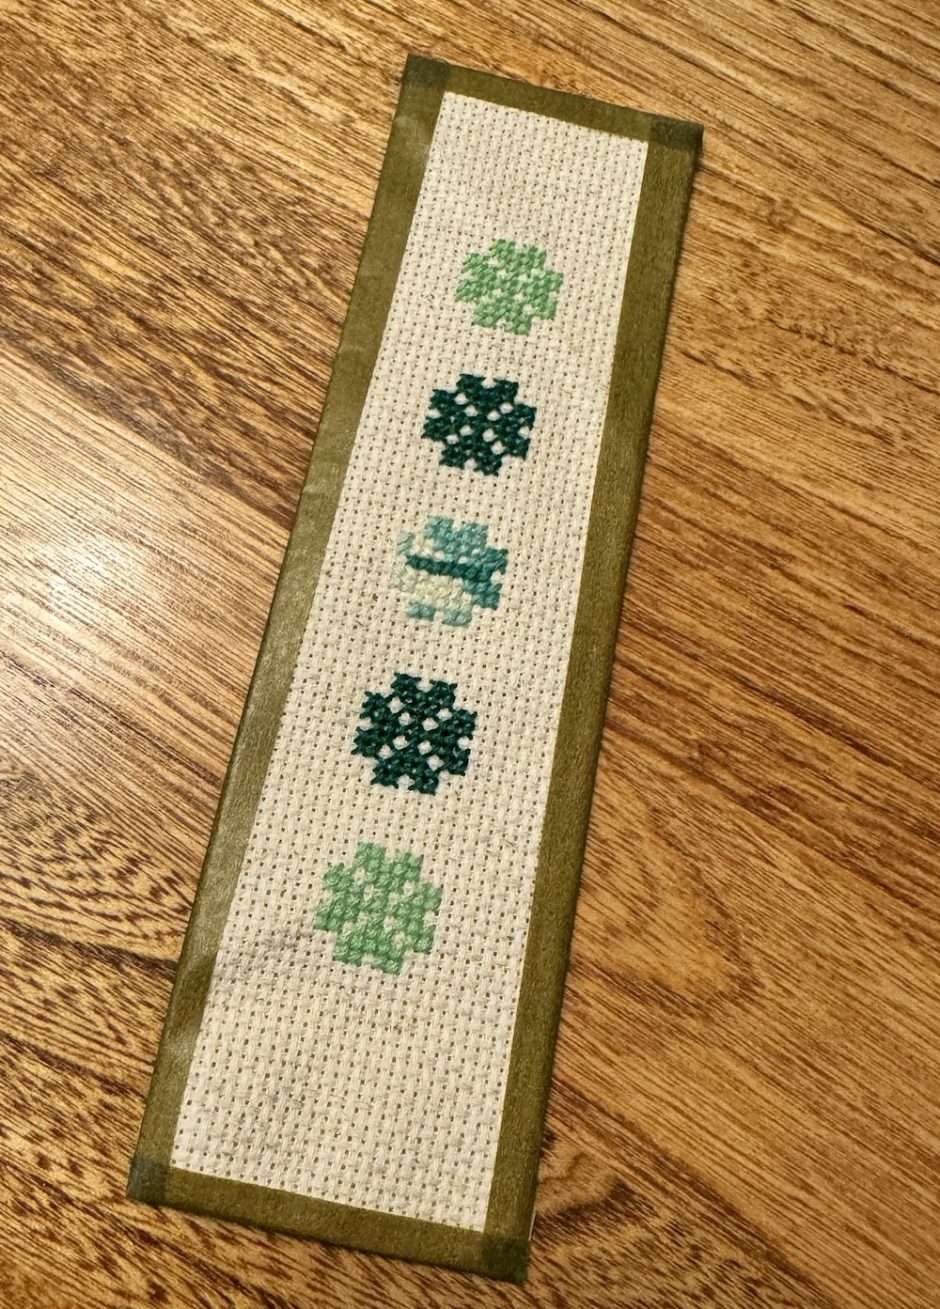
To finish your four leaf clover cross stitch bookmark, you have a few options. I like to cover the back and the raw edges in some way.
You can use cardstock on the back and tape along the sides, or try felt backing that’s sewn or glued to the cross stitch fabric (folding the edges to the front to cover the raw edges of the fabric).
Or try folding a piece of ribbon in half and sewing it down with the raw edges folded into the ribbon.
I cut a piece of card stock to the same dimensions as the bookmark, then used pieces of washi tape folded in half to secure the card to the bookmark.
These little clovers would also be cute as the border on another project. Speaking of borders, you could also stitch a little border along the outside of your bookmark if you want to add a little something extra. Just make sure whatever finishing you are going to do won’t cover it up.