Affiliate links may be included for your convenience. View our privacy and affiliates policy for details.
Acrylic paint pouring art is a lot of fun to make, but the pouring medium can be expensive, so I wanted to develop a homemade pouring medium recipe.
What is Acrylic Paint Pouring?
Acrylic paint pouring art is a kind of trendy technique in which you add a pouring medium to acrylic paint that allows you to pour it and keeps the colors from mixing together.
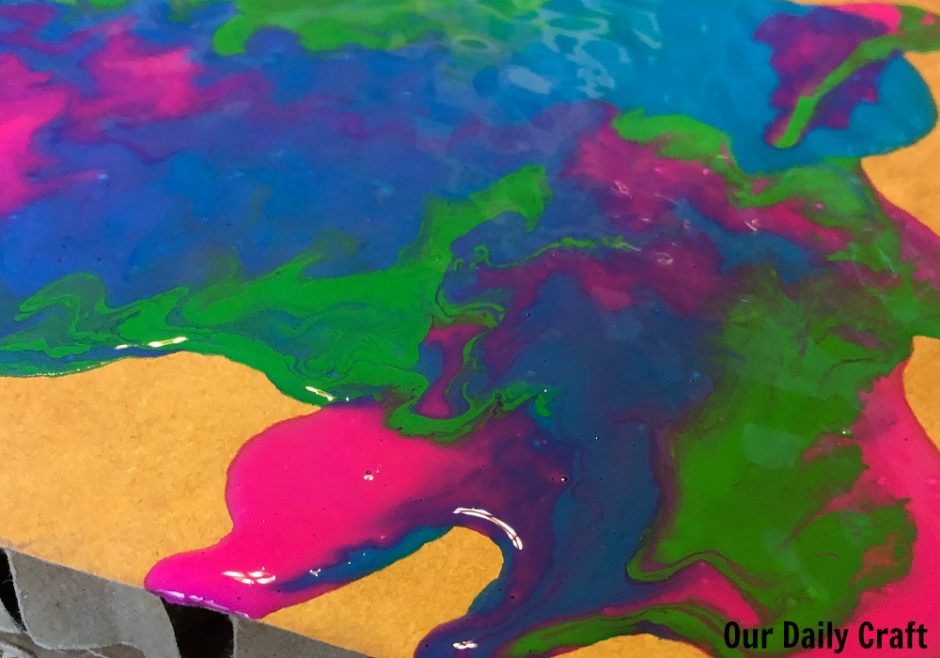
It produces some really neat effects and is a great way to paint abstract designs.
And while you don’t need a lot of supplies to make great acrylic pouring art, you do need some kind of pouring medium. And it can get expensive if you want to do this type of project a lot. Enter homemade paint pouring medium.
Homemade Pouring Medium Recipe Options
Most homemade pouring medium recipes use a combination of glue and water, often combined with some other substances, to make a substance that can be used to thin out paint so it is pourable.
Glue and Water
I started out with just using half glue and half water, and the results were not great. Honestly that could have been user error, though, because I didn’t really measure anything, I just eyeballed it. And it didn’t work. Imagine that!
Glue and Floterol
Other recipes for homemade pouring medium use a product called Floterol along with glue and sometimes water as well.
Floterol is a substance used by professional painters that changes the thickness of paint without changing the color. It makes it easier to use acrylic house paint in a paint sprayer, or when you use a roller it’s supposed to eliminate the roller marks.
Recipes for pouring medium using Floteral are kind of all over the place on quantity, from one part glue to four parts Floteral to roughly the opposite proportions.
I haven’t tried Floterol yet because you have to buy two quarts at a time from Amazon and I haven’t been to the hardware store lately. But I do want to try it out because it seems to give you really cool results and it’s still less expensive than regular pouring medium.
Other Additives for DIY Pouring Medium
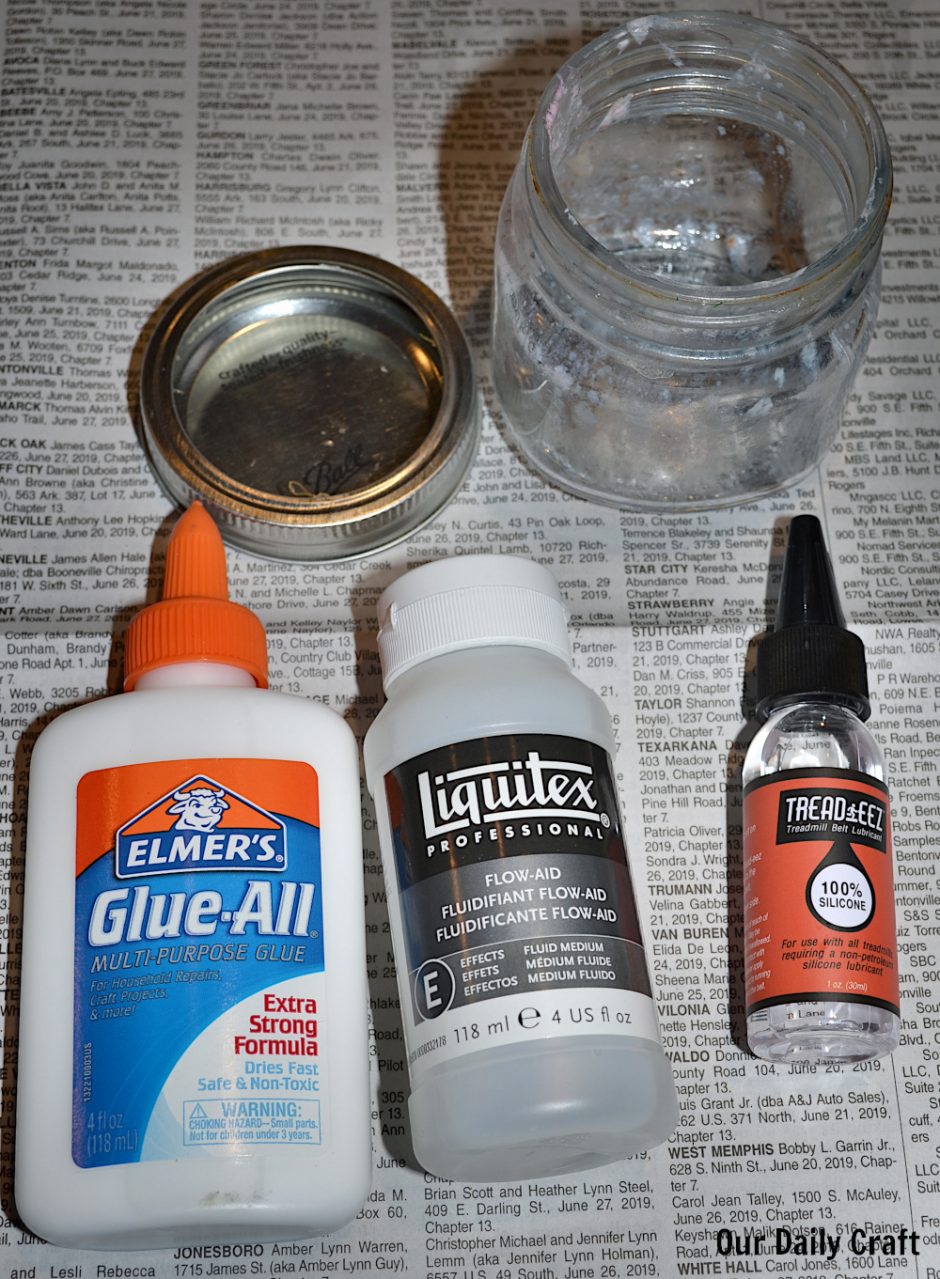
Another somewhat common addition to homemade pouring medium recipes is Flow-Aid, a product from Liquitex (which also makes pouring medium) that helps increase flow and workability in acrylic paints.
I feel like it helped keep my colors separate, too, but again that could just be because I messed up the first time.
One other thing I purchased to use in my DIY pouring medium experiments is silicone oil, which is used to lubricate machinery. It’s pretty cheap and it is supposed to help with forming the bubbly cells that are a common feature of paint pouring projects. Actually most people add this to the individual paints as they make them; I’ve done it both ways. #rebel
My Homemade Acrylic Paint Pouring Medium Recipe
Now, I should also say I have not done a ton of paint pouring but so far this DIY paint pouring medium recipe is working well for me. I will definitely keep changing it up and experimenting and will update you as I go.
You can of course make as much or as little as you like so long as you keep the proportions the same. I tend to make only about as much as I use on any one painting because I haven’t yet invested in a giant bottle of glue. But I probably will do that soon, since between this and homemade gesso I use a lot of glue.
The main recipe part of making your own paint pouring medium is to start with half glue and half water. Even though I say above that didn’t work great, it will work better if: 1. you measure it and 2. you add some other things.
Of course your “part” can be anything from tablespoons to cups, as long as you use the same measure with both parts. I happened to have a 2 ounce condiment cup that I used this time. (I don’t love using disposable things, but in this case I don’t mind so much because I don’t want to use glue on anything I would later have touching food.)
Add your parts to a larger container (I use a little glass jar) and stir with a craft stick or shake to combine.
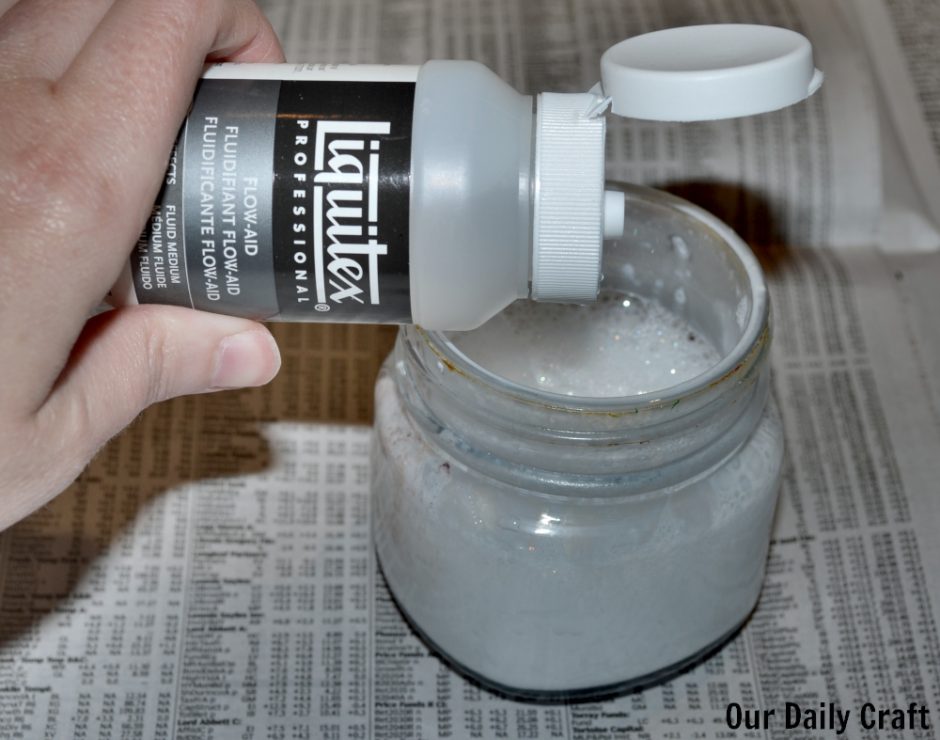
Add some Flow-Aid. I realize “some” is not a very helpful measure, but not knowing how much of the base you made I can’t offer specific instructions. I used about 30 drops in my 4 ounces. If you are making a smaller quantity you’ll use less, and more for a larger amount. Stir to combine.
To add to your paint, I usually do roughly 50-50 paint and pouring medium. You can use less pouring medium if you like. You’re looking for a flowing consistency to your paint, not drippy. If heard it described as the consistency of warm honey. It will depend a bit on the consistency of the paint you started with how much pouring medium you need, and you can experiment with using more or less and see what happens.

Once you have your color mixed, add a few drops of silicone oil if using. I use maybe five drops per each little bit of paint I mix (again, I try to only do enough for one painting at a time). The oil is supposed to help make bubbles, so maybe I’m not using enough because my bubbles (such as they are) are really subtle.
How to Use Paint Pouring Medium
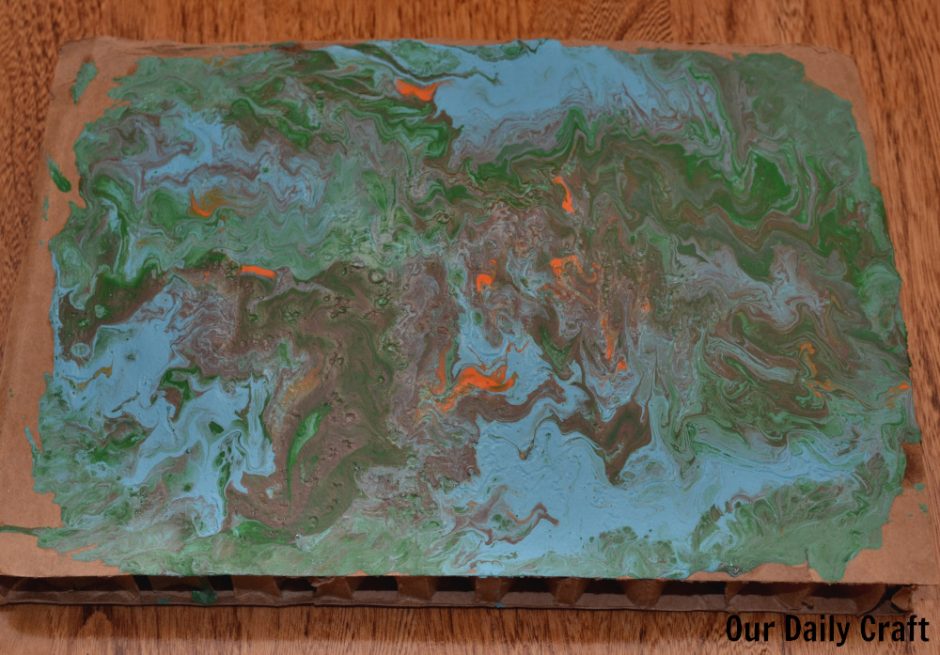
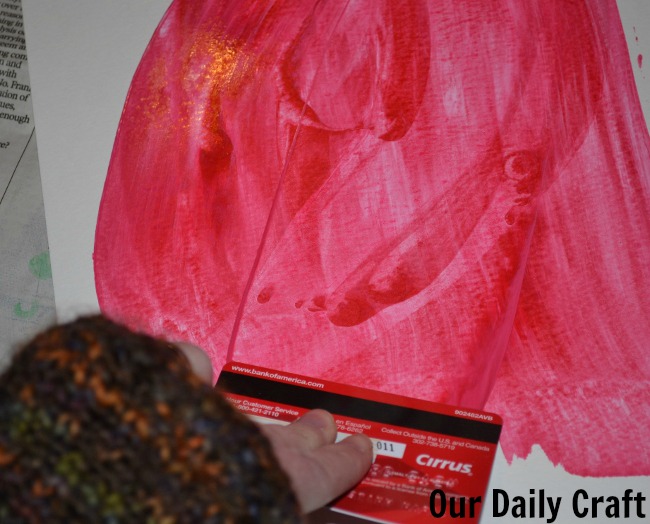
Once you have your paint and your pouring medium mixed, it’s time to pour. I like a technique known as dirty pouring, where you add all the colors you want to use to a single cup and then pour them onto whatever you are painting (in this case, some cardboard).
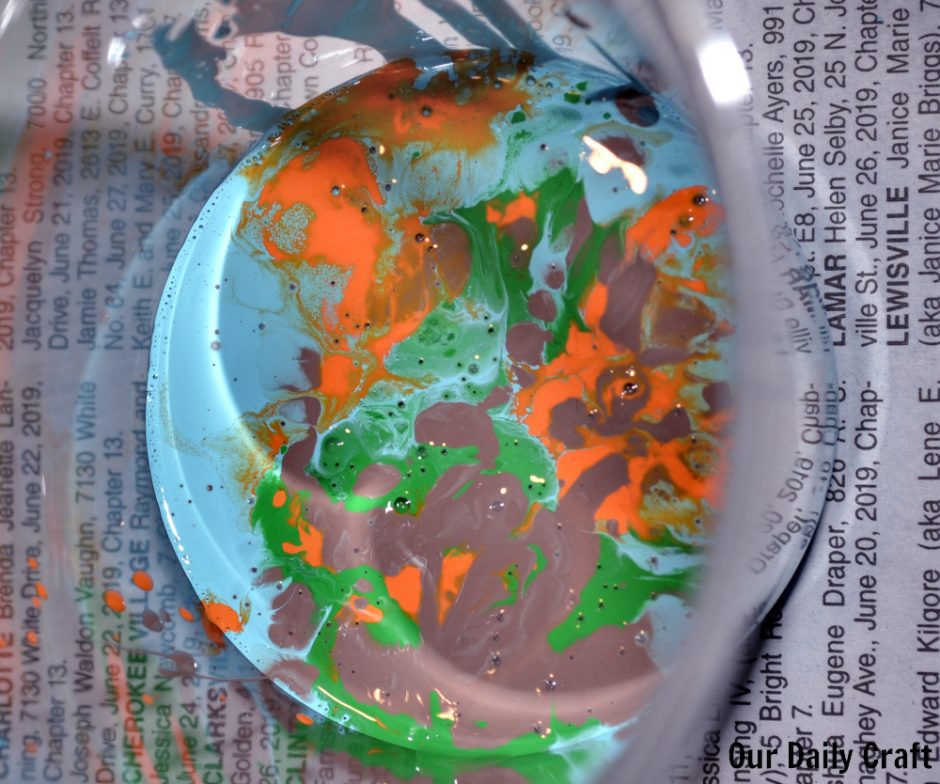
You add all the colors but don’t mix them, then just confidently pour all over your surface. Then you can slowly move the surface around to give the paint the marbled effect we’re going for.
This is why I put down newspaper, because sometimes your paint flows right off the side.
You can also use your craft stick to gently move the paint around at the edges.
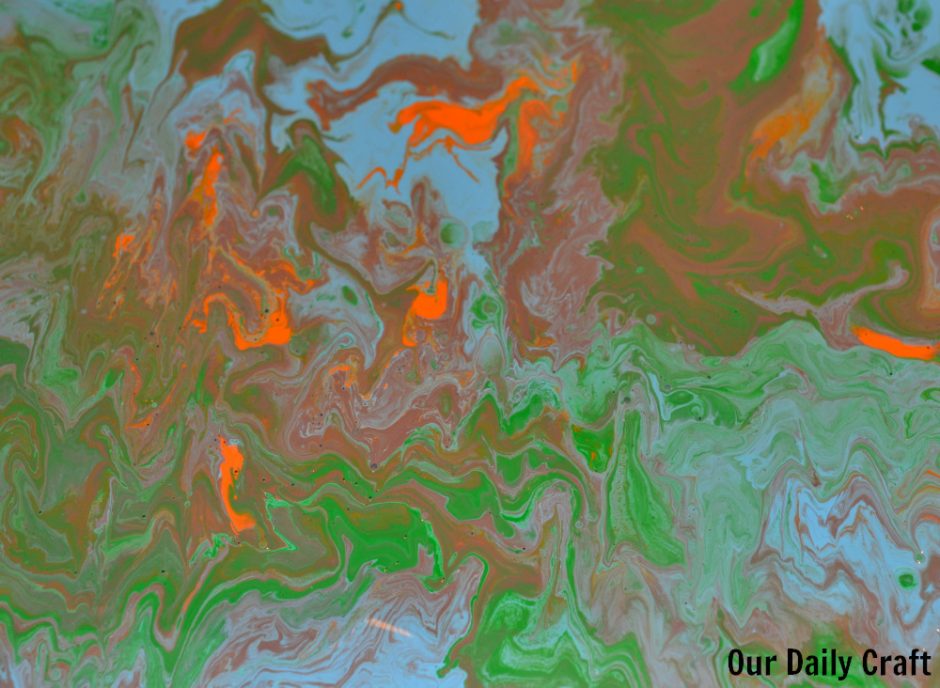
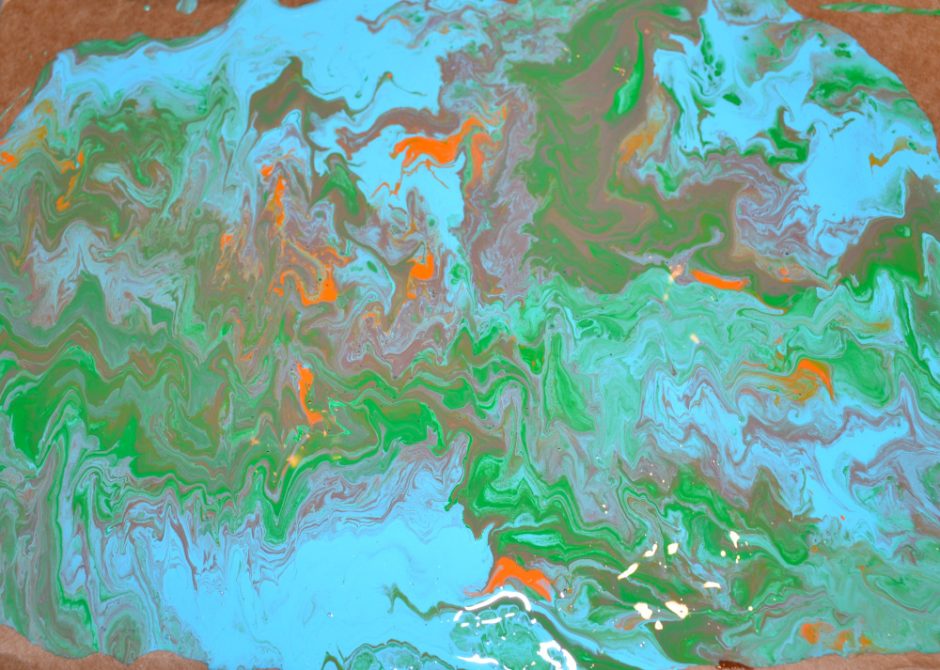
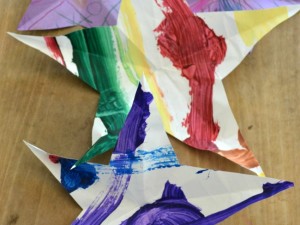
Again, while I don’t get a lot of bubbles (you can see some little ones in the orange paint) I really love the way this looks. These colors turned out great together; it reminds me of a topographical map.
Making your own paint pouring medium is really easy to do, and a lot less expensive than buying your own if you just want to try out the technique and see if you like it.
Have you ever done paint pouring? I’d love to know what you think of this craft.
12 Comments
You need to use a bakers torch to bring up the air bubbles and activate the cells. You’ll fine you get a lot more just don’t burn you work but heat it enough to pop the air bubbles trapped inside the pain. Hope that helps!
I really can’t get the right consistency Sarah. NOT sure what to add if it is too thin. I have bought a bottle of Flurtol and added 50 /50 for the medium ..would love to do string pulls. What ratio do you use for the base paint. ? I am using acrylic artists paint from tubes. Perhaps not right amount or too much? Love your help ..Thanks
You people need to learn how to spell. It’s NOT “Floterol” or “Flurtol.” It’s Floetrol!
Hi Sarah, it is just ordinary white craft glue that you can get in Tesco or Asda (craft glue that you might glue paper together with). Thanks Steve
I also do Rocks it comes out fantastic.
I read somewhere that if you want bigger cells, use less silicone. I haven’t mastered that yet but that’s what I read.
This homemade paint pouring medium recipe is a game changer! I love how easy it is to mix and the results are stunning. Can’t wait to try it out on my next project. Thanks for sharing!
Aww, thank you! I hope you like it!
I love this homemade paint pouring medium recipe! It’s so exciting to find a DIY option that works just as well as store-bought ones. Can’t wait to try it on my next project — thanks for sharing your tips!
I tried your homemade paint pouring medium recipe, and it turned out amazing! The colors blended so beautifully, and it saved me a lot of money compared to store-bought mediums. Thank you for sharing this! Can’t wait to experiment with more techniques.
I can’t wait to try this homemade paint pouring medium! It sounds so easy to make, and I love the idea of customizing my own. Thank you for sharing the recipe and tips!