Affiliate links may be included for your convenience. View our privacy and affiliates policy for details.
Affiliate links are included for your convenience.
My girl is tall for her age. At 2.5 she’s about as tall as some of the 3-year-olds she knows. Officially she’s in about the 90th percentile for height for her age.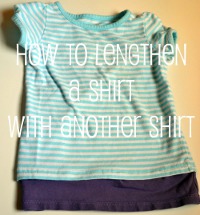
But she’s also skinny, so just buying bigger clothes isn’t really a good option when all her pants turn capri and her belly starts showing. I’ve been known to say she needs a 3T in length but an 18 month in girth.
A bunch of her long-sleeved T-shirts were getting much too short when I had the idea to modify them in this way, but in the time it took me to get to my sewing machine spring has made a pretty convincing appearance (it was 78 yesterday) so I decided to try it on a short-sleeved shirt instead. I hope this will make it last a little longer through the warm season than it would otherwise.
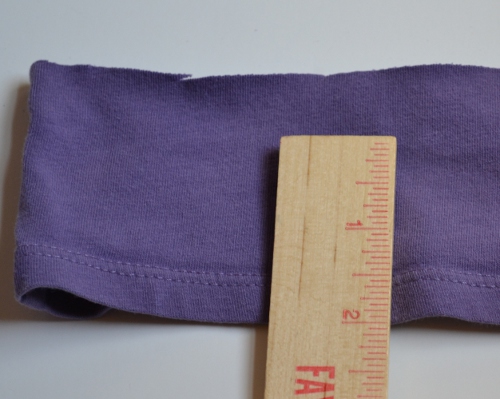
This is a quick and simple project if you have a shirt of the same size you can harvest the hem from (say, something stained or that has a hole in it), but you can do this with a hem from a shirt that’s bigger — even one of your own — too. All you have to do is measure the length of the hemline of the shirt you want to lengthen, measure out and cut a little more than that in length on the shirt you’re cutting up, then sew a seam to make it a loop. Then follow the same method outlined here to make your shirt longer.
What You’ll Need
- a too-short shirt
- a stained shirt or one you’re willing to sacrifice, in the same size or larger and a color that works with the original shirt
- ruler or measuring tape
- sewing scissors
- straight pins
- sewing machine and thread that at least coordinates with if not matches the original stitching on the shirt
How to Lengthen a Shirt
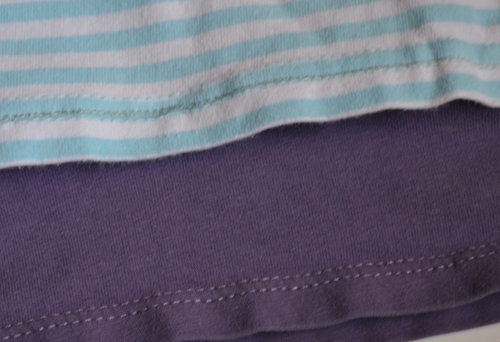
- Put the shirt you’re keeping on top of the shirt you’re harvesting and decide how much of the second shirt you want to show. I decided two inches looked nice.
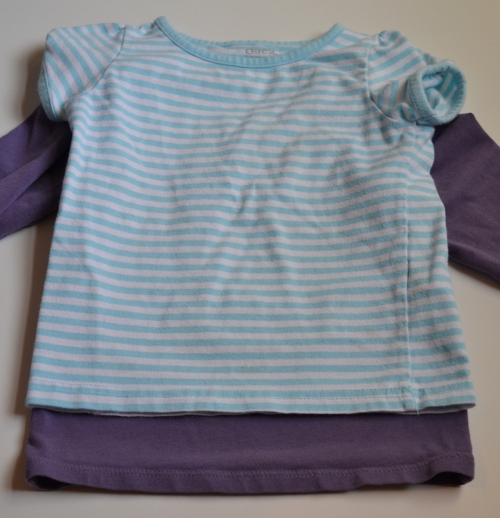
This length looks good to me and should keep her belly better covered. - Cut the second shirt, leaving a little more length than you want to show for sewing purposes.
- Pin the shirts together, matching the side seams if possible.
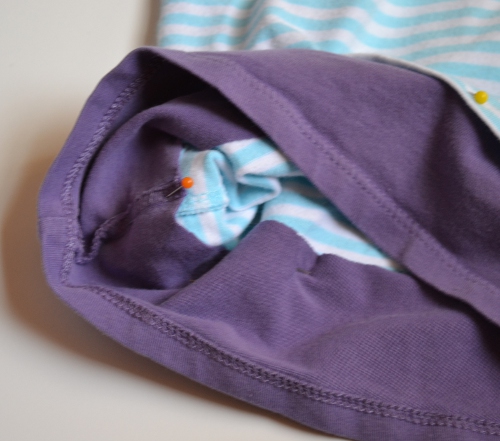
The seams are lined up but they lie to opposite sides to limit bulk. - Sew the shirts together, lining up with the original stitching as best you can. But this is so cute no one will really notice.
So there you have it: a quick and easy way to extend the life of your kids’ shirts and reuse shirts that would otherwise be unusable. It’s worth noting you can do this for yourself, too, to give a layered look without the bulk or warmth of wearing two shirts.
This post is linked to We Did It! Wednesday at Sew Much Ado, Whatever Goes Wednesday at Someday Crafts and Wow Me Wednesday at Polka Dots on Parade.

6 Comments
Very clever and frugal idea! I would love it if you would consider linking to Busy Monday at A Pinch of Joy, a Monday through Thursday link party for ideas that make life easier, better and more fun!
Done. 🙂 Thanks for thinking of me.
Thanks so much for linking this cute shirt on Busy Monday at A Pinch of Joy! Hope to see you again soon – the links are open
I think I’m trying this on one or two of my own t-shirts! Thanks for sharing it!
Sarah, this is such a great idea
I followed your instructions on blending two shirts and love the results! Thank you!