Affiliate links may be included for your convenience. View our privacy and affiliates policy for details.
Here’s an easy way to sew a button on a coat so it will stay on no matter how much you bundle up underneath.
Affiliate links provided for your convenience.
It’s a good thing I’m a knitter, because there’s nothing I like more than a big, bulky sweater, indoors or out, for much more of the year than most people require it.
But those thick layers under a coat can cause a problem.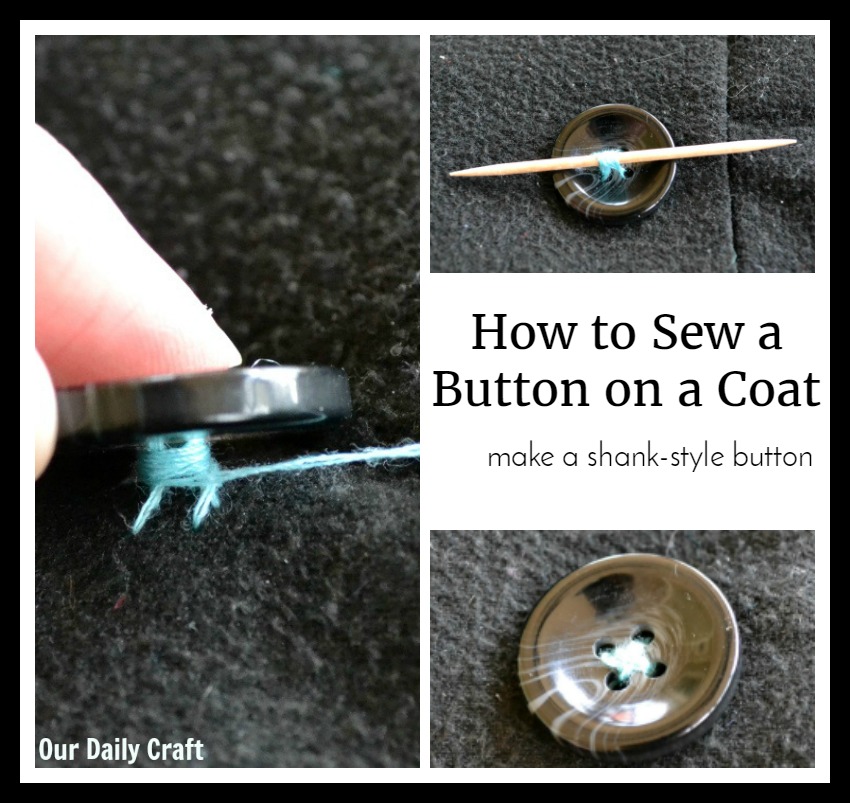
For me, it’s the semi-annual falling off of the button I use to hold my coat closed.
I decided this year I was going to take the time to do it right, so hopefully it will last through more than half a season before I have to do it again.
How to Sew a Button on a Coat, the Right Way
You might be thinking that you’d sew a button on a coat the same way you’d sew a button on anything, but it really helps to add some extra reinforcement to the button and a little more space for the button to move in, especially if you wear heavy layers underneath.
There are buttons called shank buttons that serve the same purpose. They have a little piece of metal or plastic on the back (whatever material the button is made from) that ensures the button isn’t flush against the fabric, giving the button a little more wiggle room.
But because we’re sewing a button on a coat that already has buttons, we want it to match, so we can make our own “shank” for our button with just a few simple tools.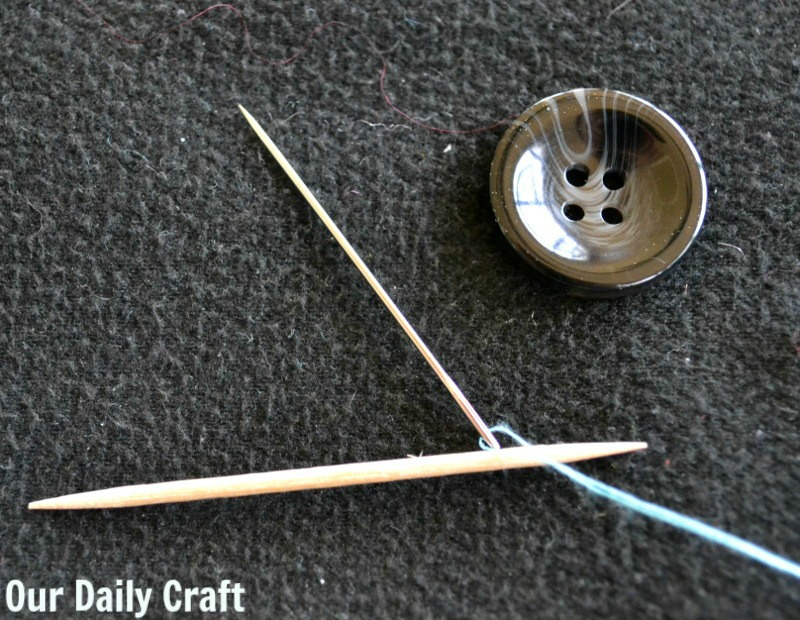
Namely: the button, some thread, a needle and a toothpick (a matchstick or wooden skewer would work, too).
Sewing the Button
First, cut a length of thread (match it to your coat if you must, but I like using a different color), thread it on your needle so that you have a double thickness of thread and tie a knot.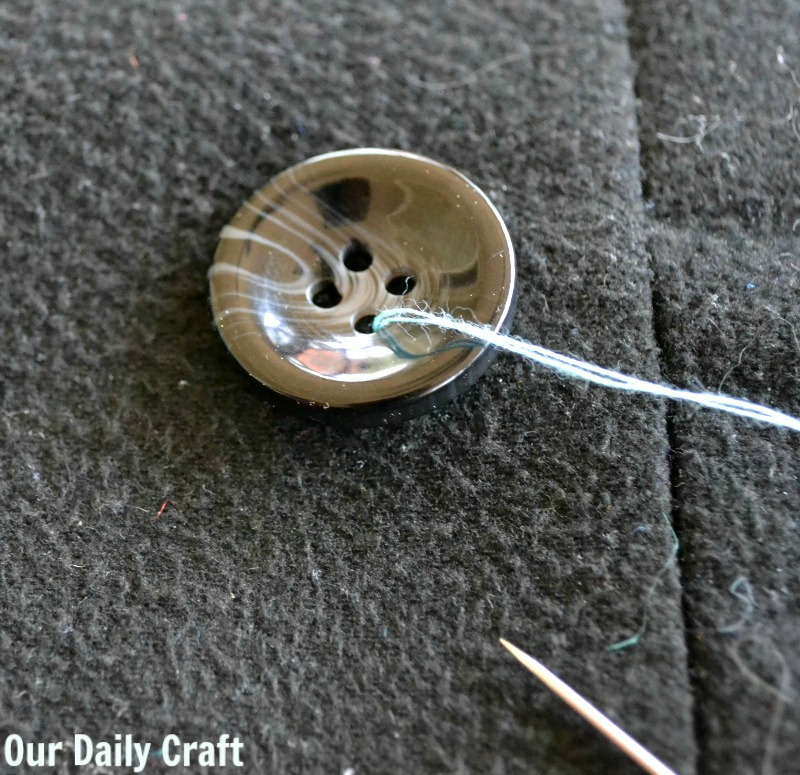
Find the place where the button needs to go and insert your needle from the back to the front through the fabric. Slip the button into place.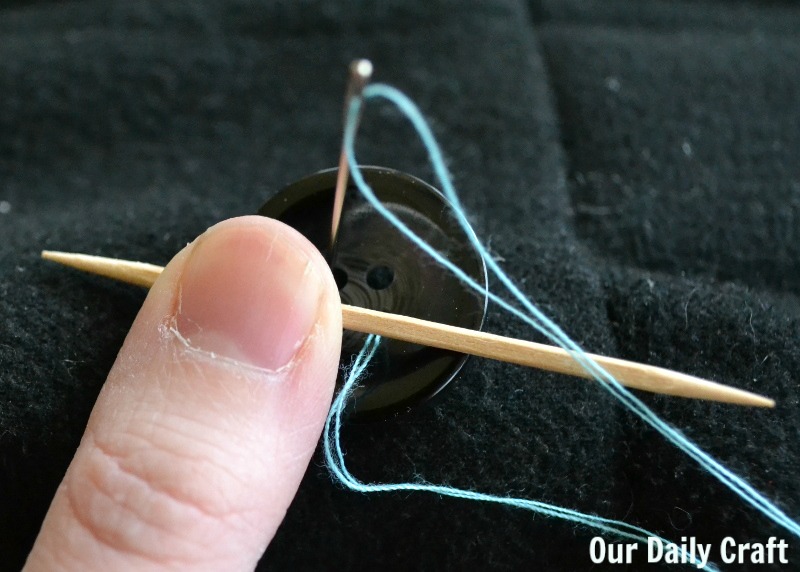
Place the toothpick over the center of the button and begin to sew the button down as you normally would, making sure the thread crosses over the toothpick each time you make a stitch.
Slide the toothpick out and pull the button gently so all that extra thread goes behind the button instead of on top.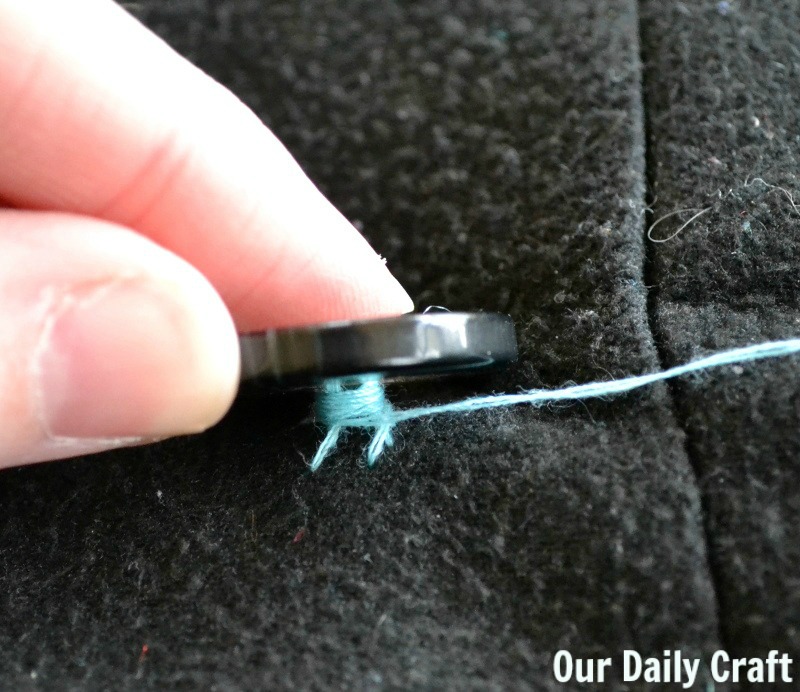
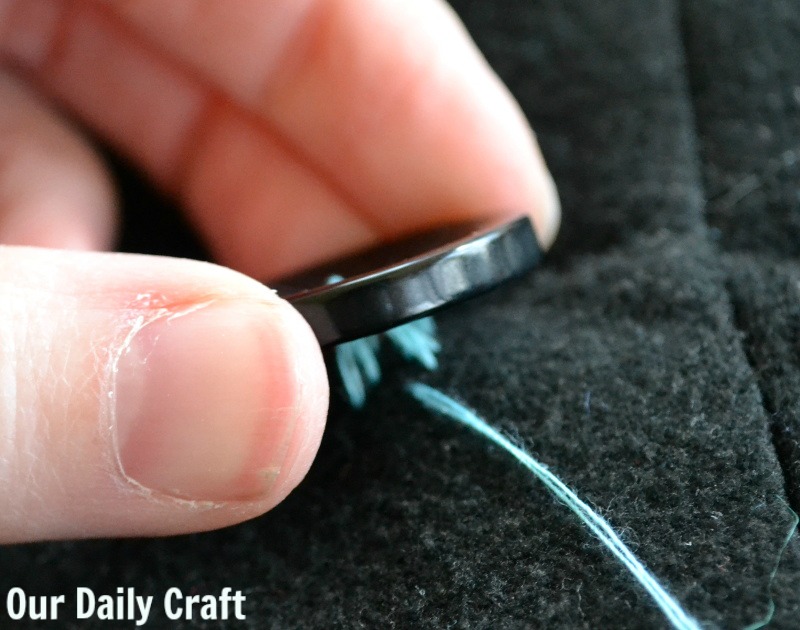
Bring the needle to the front of the coat, but not through the button. Wrap the thread that’s on the needle around those threads numerous times. I think I did 14. You want it pretty firmly wrapped, because this makes your shank.
Take the needle back through the fabric to the inside of the coat, tie a knot and trim any excess thread.
Button up over all the layers you want.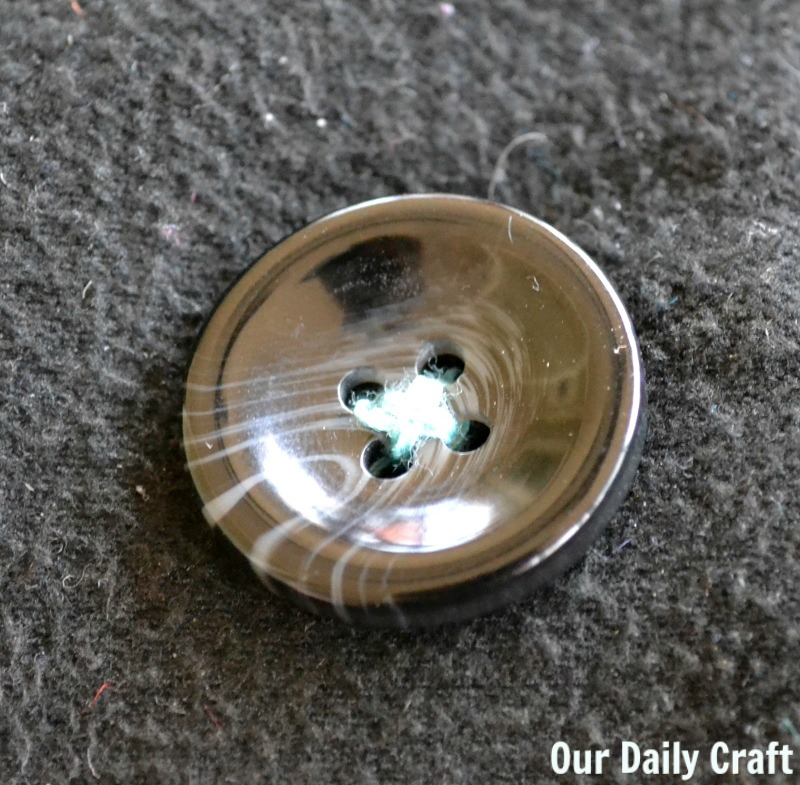
Other Uses for Shank Buttons
This button sewing method is great for bulky projects, but it also gives a more professional look to all sorts of garments. Shank buttons — whether purchased or where you make the shank yourself — can improve the drape of a garment (fancy talk for making it look better on your body).
Have you ever used or made your own shank button? I’d love to know what you used them for!
3 Comments
Thanks for the post. I never really knew how to get that button on my winter coat correctly. This makes much more sense than trying to see it the same way as a regular button ????????
For projects using thick material, you can use waxed dental floss for thread. (Maybe not the mint, unless your coat is green. 🙂
THANKS TERRIFIC EXPLANATION. AND I’VE BEEN SEWING FOR 50 YEARS!