Affiliate links may be included for your convenience. View our privacy and affiliates policy for details.
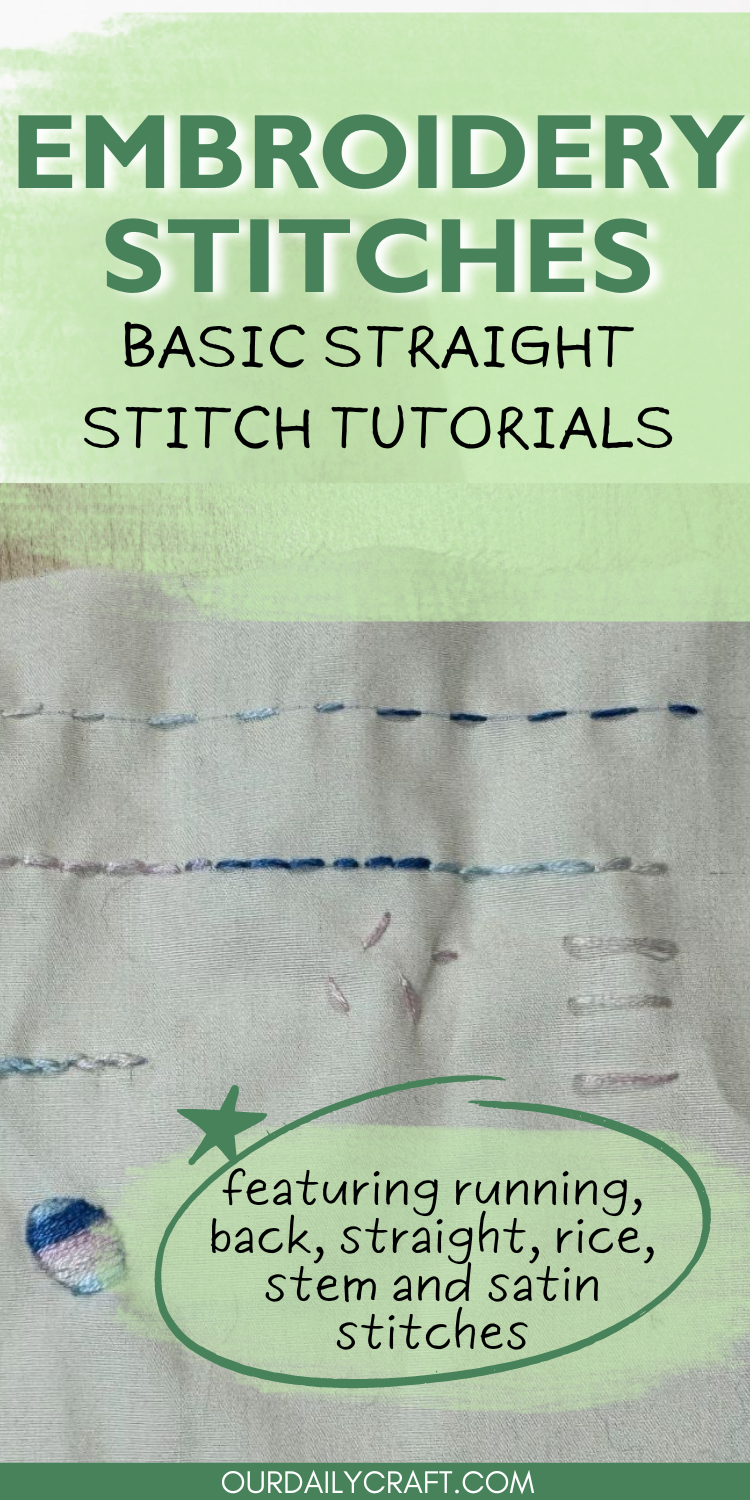
There are so many embroidery stitches out there it can feel overwhelming when you are first starting to learn. These six basic embroidery stitches will allow you to do a lot of things just with straight stitches.
Basic Embroidery Stitches: Running Stitch and Back Stitch
I actually already have a post about running stitch and back stitch, because I think these are the two stitches that most people learn first, or should learn first, in their embroidery journey. They’re quick and easy and you can make them in straight lines or use them to outline any shape you like. (Just for fun I’m using variegated embroidery floss in these tutorials.)
To cover them again quickly, to make running stitch you start with your needle and thread on the top/front side of the work. Pierce the fabric where you want your first stitch to end.
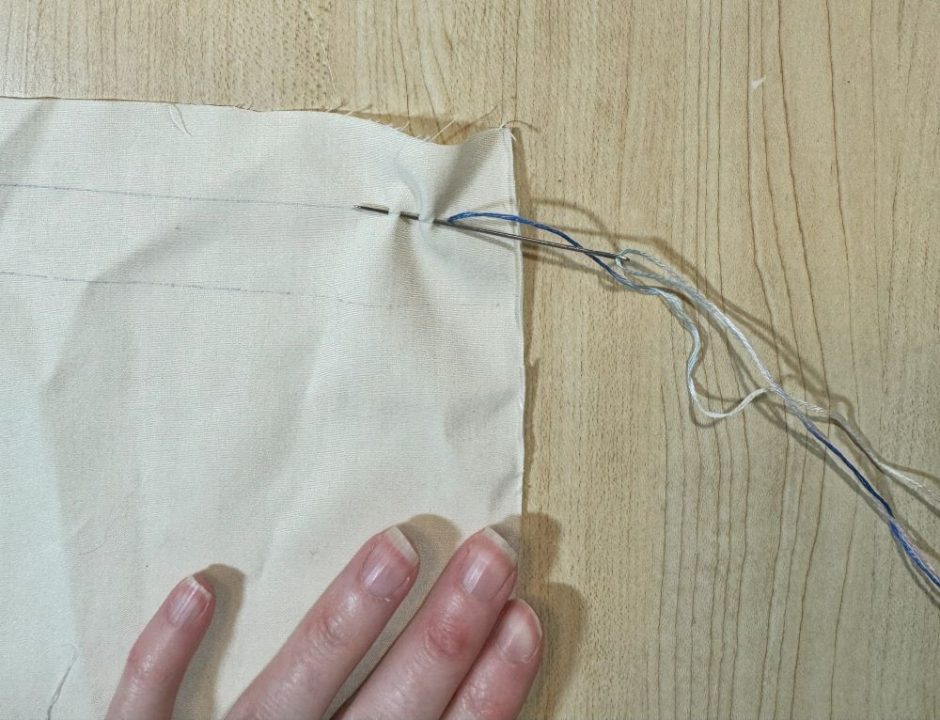
Instead of pulling the thread all the way through with each stitch, you can bring the needle back through the fabric to the front, then to the back again, and so on, working three or four stitches at a time.
The speed with which you can do this gives the stitch its name.
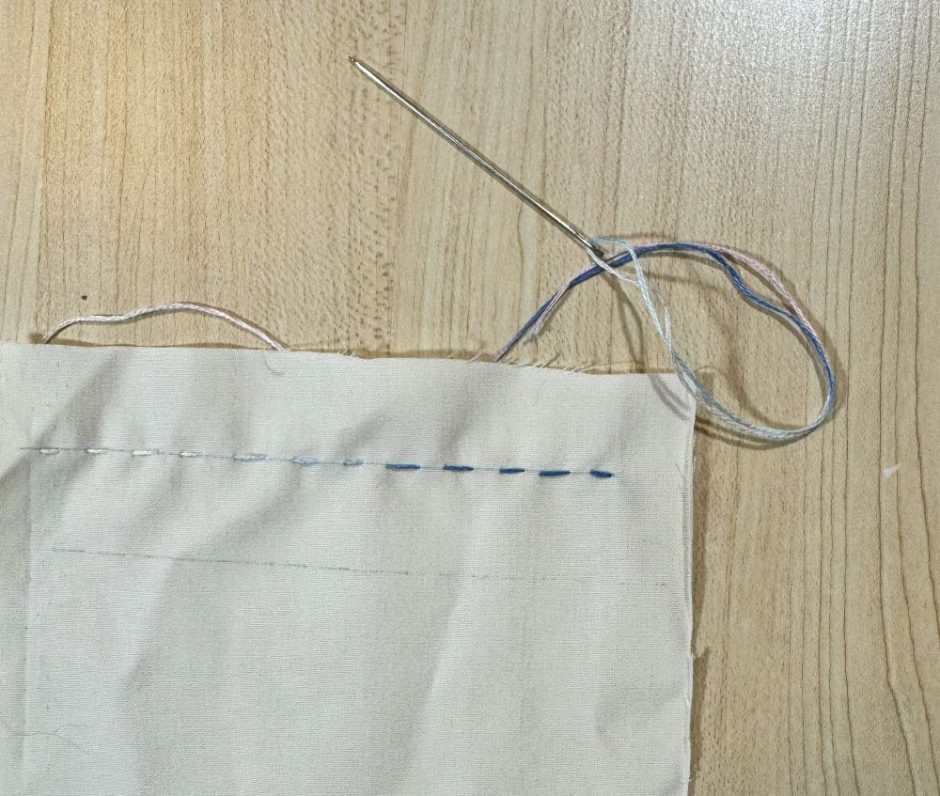
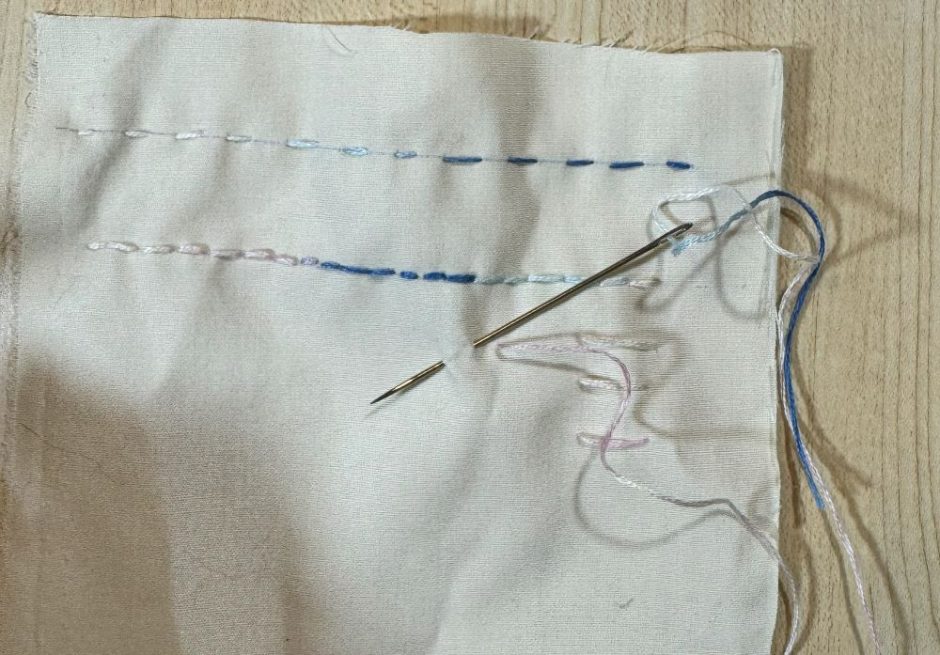
Back stitch starts the same, with the needle and thread at the front of the work. Start like you would a running stitch, with a stitch going to the back, but where you come out on the front is where you want the next stitch to end.
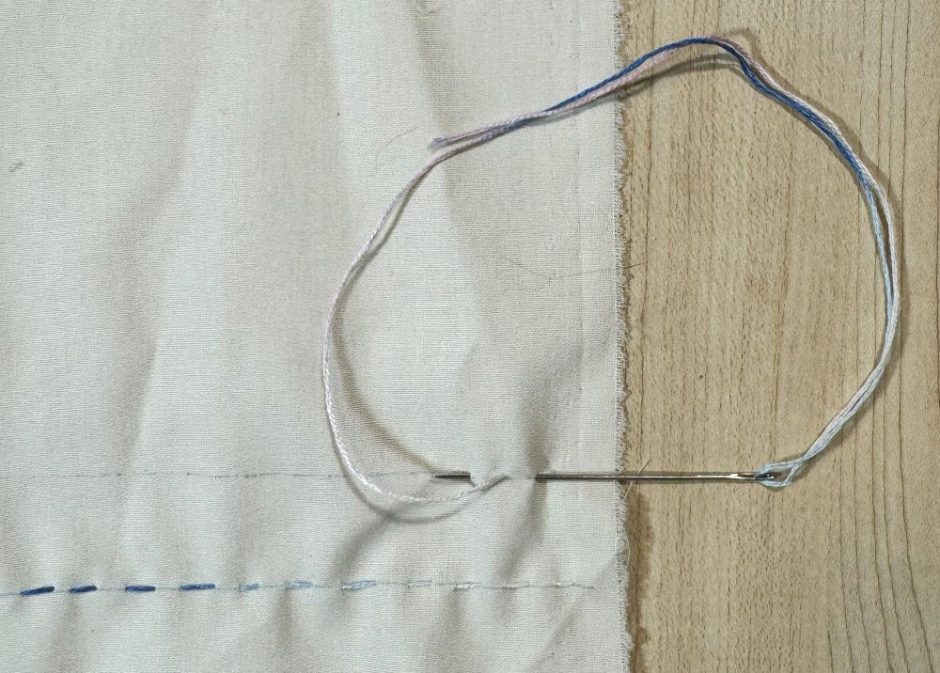
Now take the needle through the fabric from front to back in the same place where the first stitch ended, and come back to the front where you want the next stitch to end.
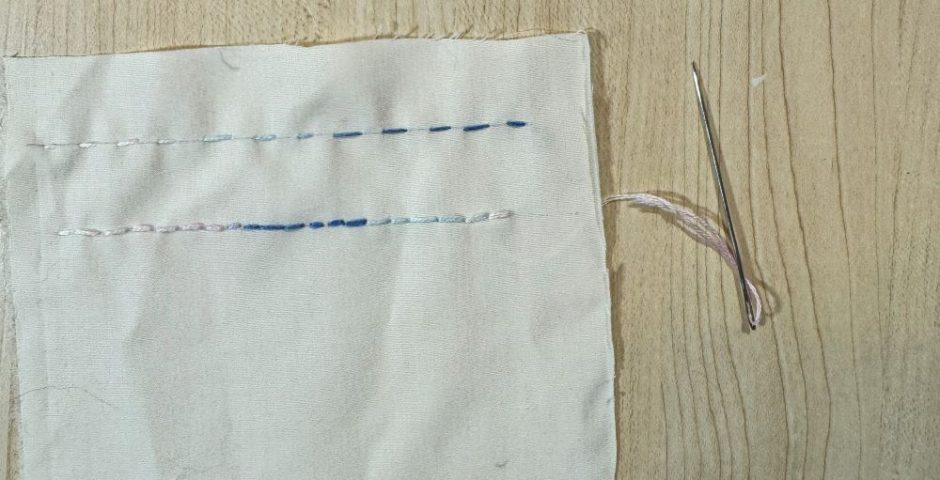
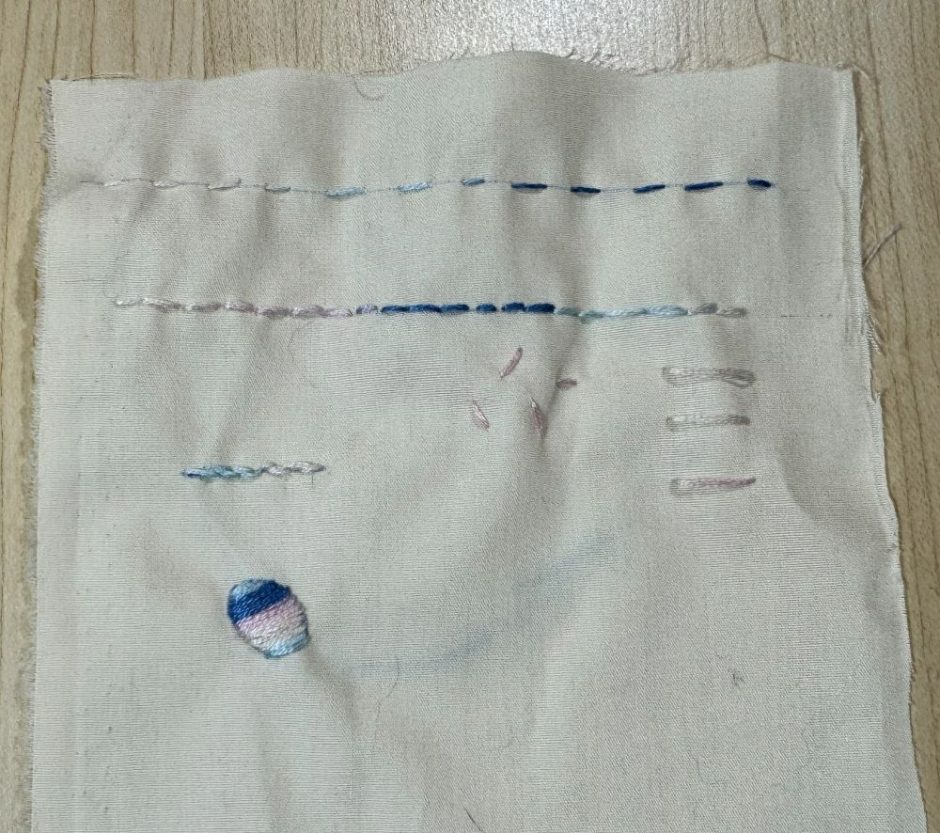
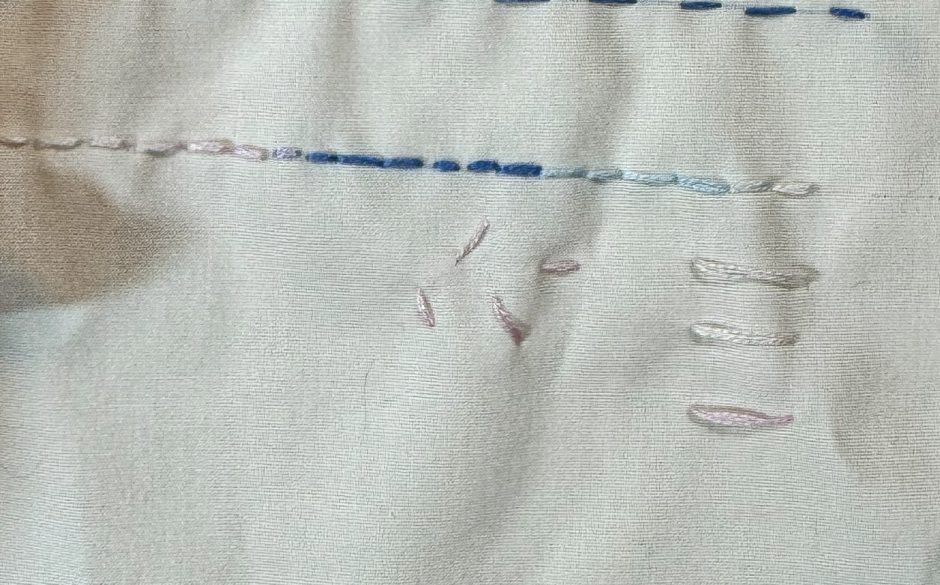
This gives you a solid line (seen here at the bottom) rather than the dotted line of running stitch (at top). It’s probably my favorite of the basic embroidery stitches.
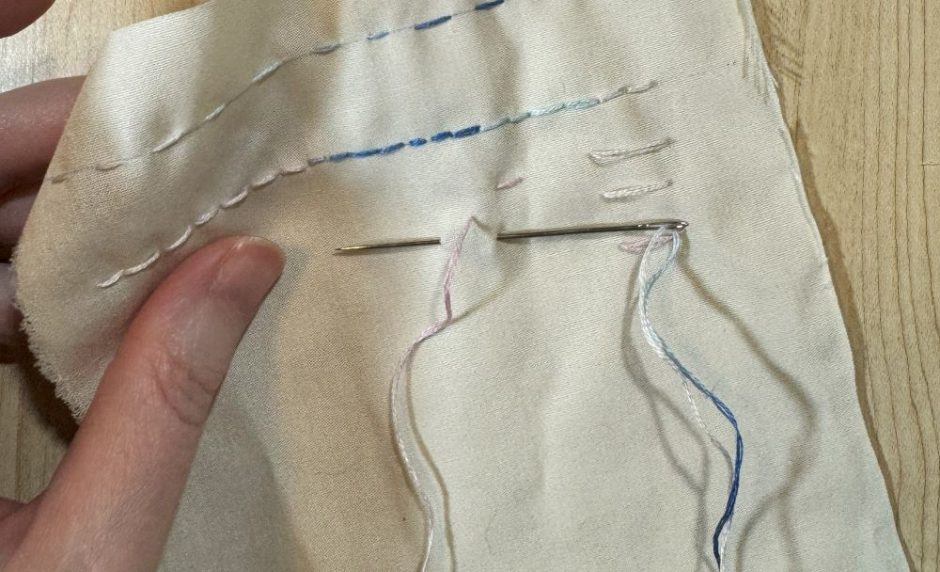
Straight Stitch
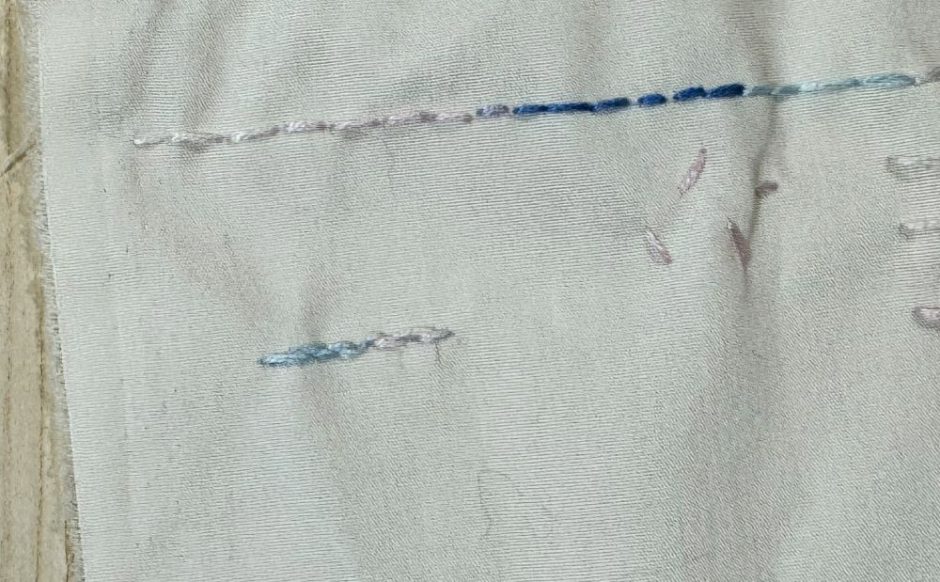
Straight stitches are, well, straight stitches. You can do them horizontally or vertically across the fabric.
To work horizontal straight stitch you bring the needle and thread to the front of the work where you want your stitch to start, and pierce the fabric from front to back where you want the stitch to end.
This is one of the few times you pull all the way through before starting the next stitch, which should be as close to the end of the first stitch as you can get it.

If you’re working a series of stitches vertically, that is, stacked on top of each other, you can take the needle down where you want the first stitch to end and bring it back up where you want the next stitch to start in one motion.

Rice Stitch
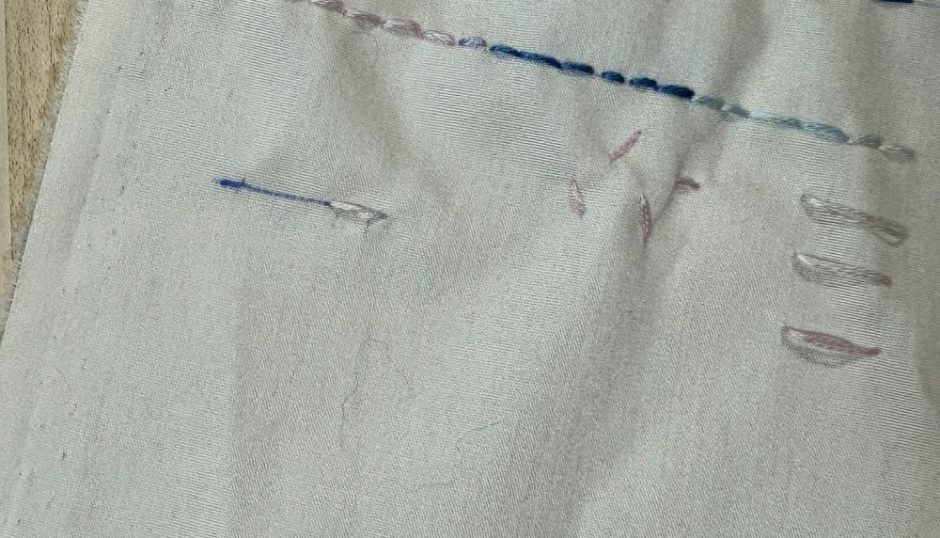
If you work straight stitches that aren’t connected to each other, you’re working what’s known as rice stitch. It gets the name from how each stitch looks like a grain of rice.
You make it just like you would straight stitches, starting where you want your first stitch to start, and taking the needle down to the back where you want it to end.
Bring the needle back up where you want the next stitch to begin. Rice stitch is best when it’s random, so try not to put too much thought into it.
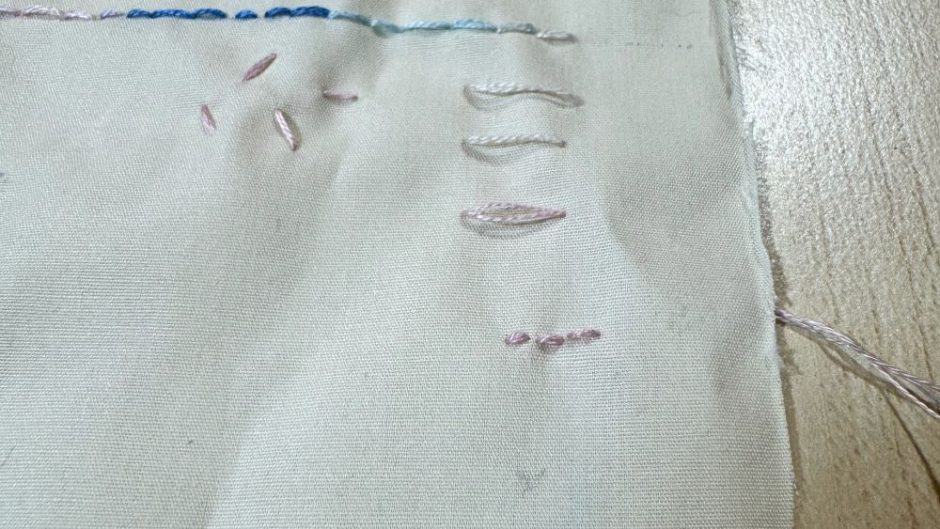
Stem Stitch
Another of the basic embroidery stitches where the needle is pulled through one stitch at a time (at least the way I make it) is stem stitch.
This stitch is great for making a textured straight line, like the stem of a flower.
Start with a normal straight stitch. Bring the needle back up from back to front about halfway through the length of the first stitch, either just above or just below the original stitch.
Take the needle back to the back where you want the first stitch to end.
In this sample I’m going back and forth to make a straight line, so my next stitch starts in line with the original stitch, about halfway through the length of the second stitch and right next to it. You can go back and forth to make a straight line or make it curve as needed for your design.
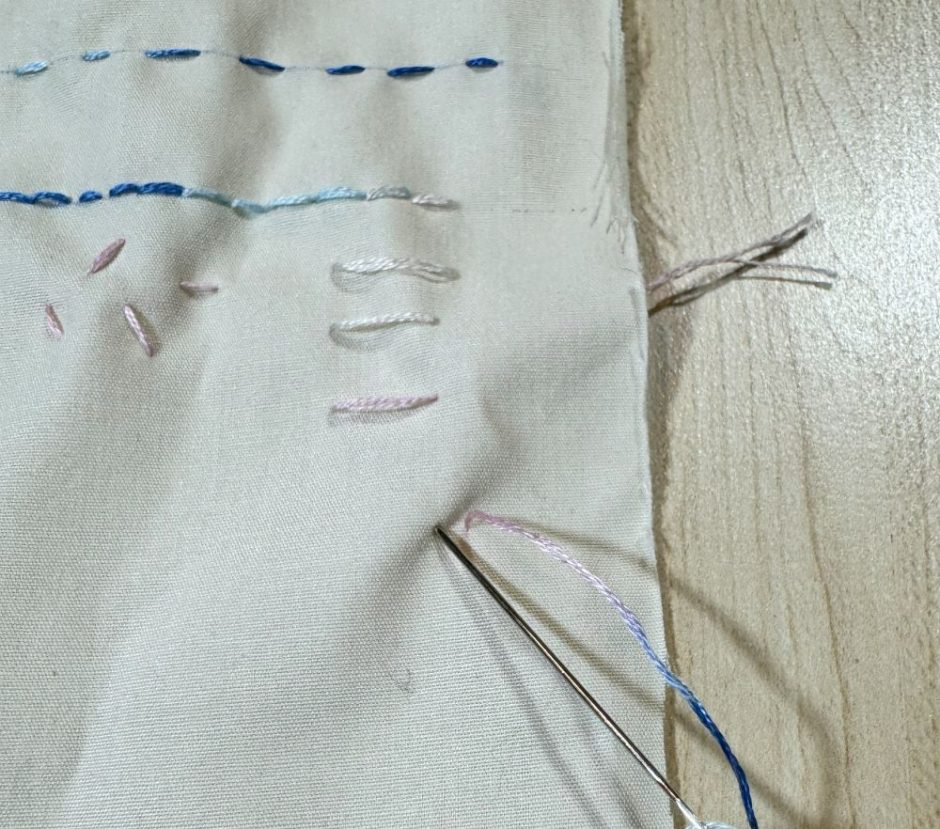
Fun Embroidery Stitches to Try: Satin Stitch
Another one of the basic embroidery stitches you’re sure to return to again and again is satin stitch. Satin stitch is used to fill in large areas of a design, whether as part of the background or to fill in a shape.

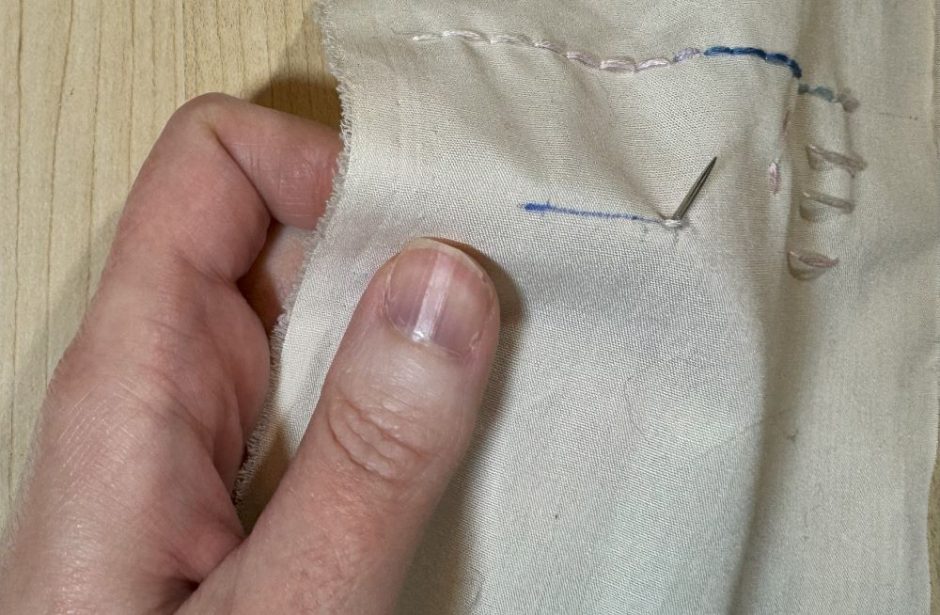
Here I drew a sort of circle using heat-erasable pen and started with a straight stitch at the top of the shape. With the needle at the front, make a straight stitch as close to the previous stitch as you can. If you want you can take the needle to the back and go back up to the front where you want to make the next stitch in one move.
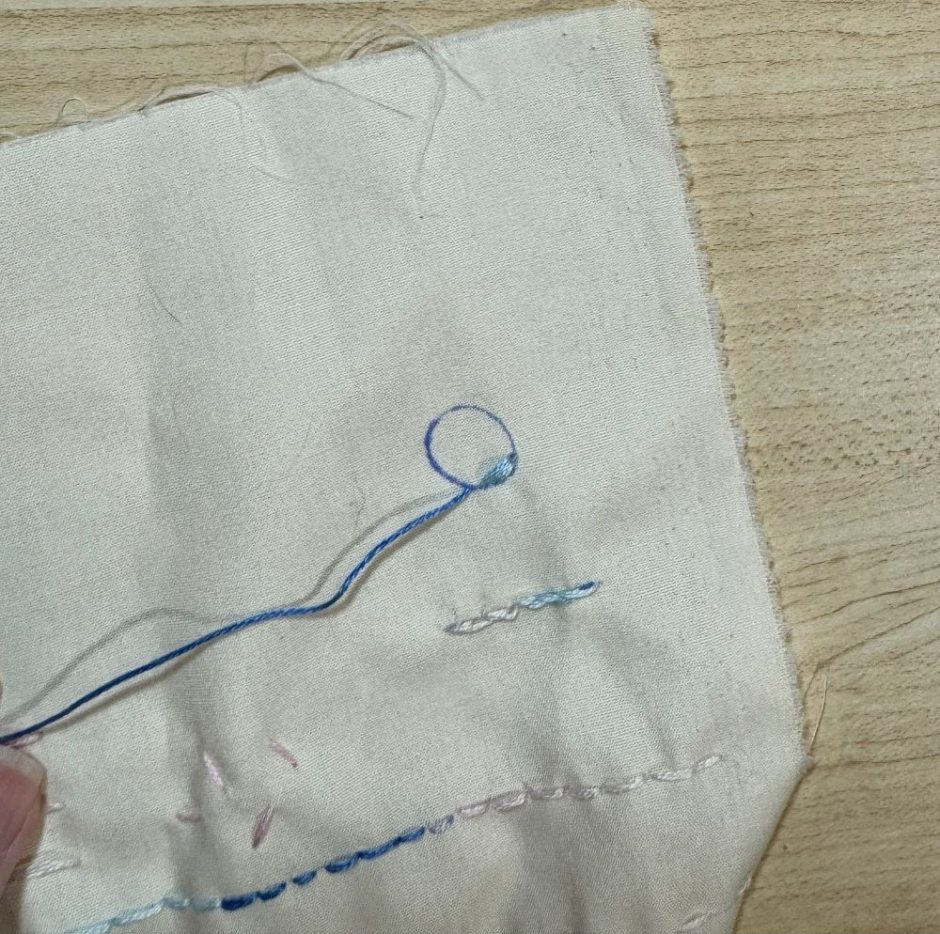
The key here is really to try to get the stitches as close to each other as possible but not on top of each other. The stitching should look solid when you’re done.
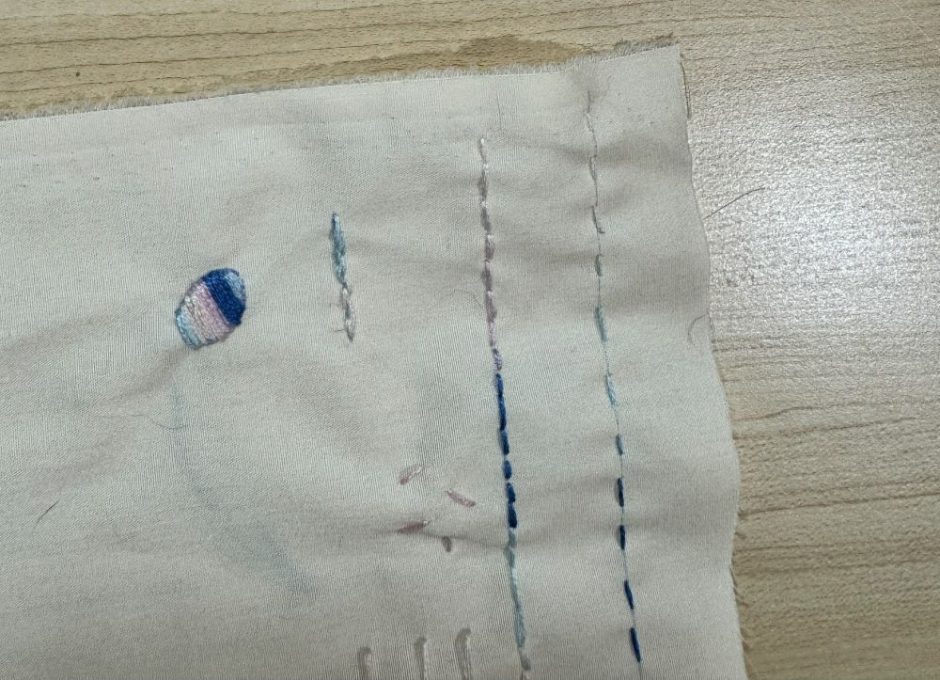
I think I accidentally made an Easter egg!
Learning these embroidery stitches doesn’t take a lot of time, but they are stitches you’ll use over and over as you explore embroidery.