Affiliate links may be included for your convenience. View our privacy and affiliates policy for details.
I was sure I had shared this project when I did it with the girl’s class earlier this year, but I can’t find it in my archive, so, because I’m doing it again I thought I would share it this time.
Burlap is a great material for new hand-stitchers to work with because it’s pretty sturdy and has big holes. You can sew with yarn and a big plastic needle and there’s very little danger of injury. 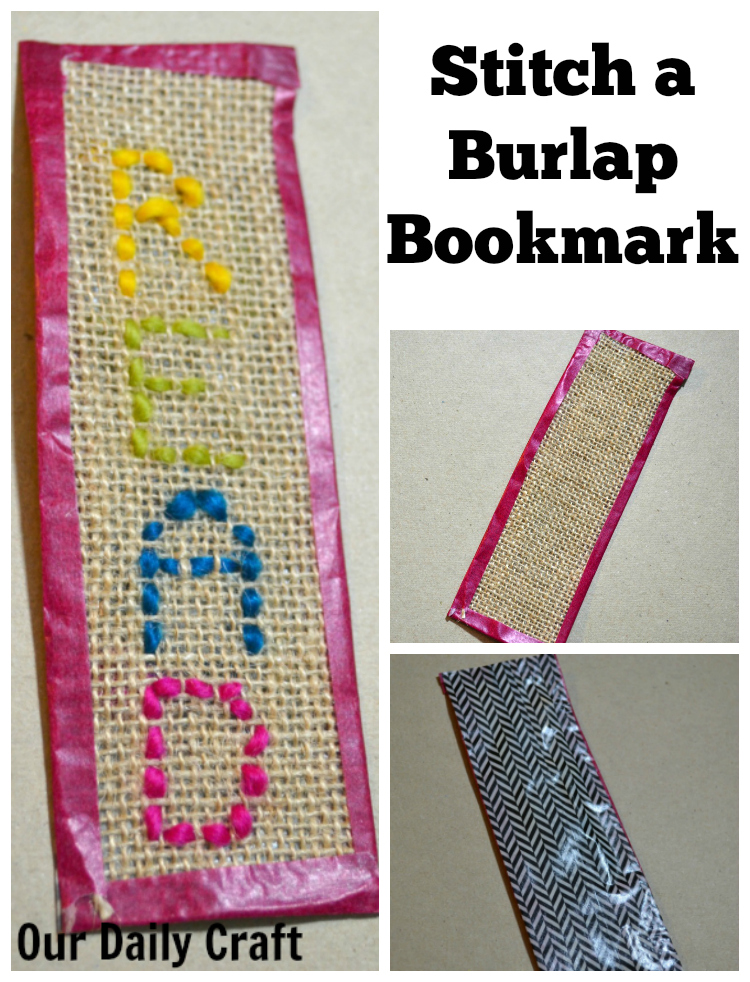
It’s also fun for people with more experience because it’s larger scale fabric than most cross stitch fabric you come across.
Making a burlap bookmark is really easy and you can use yarn scraps if you happen to have them, which is always good.
What You’ll Need
- I like to use burlap ribbon for my burlap bookmarks because it’s already the perfect width (about 2 inches wide). I made mine 6 inches long but you can make yours whatever size you like
- washi tape or duct tape
- yarn or thread
- big plastic sewing needle
How to Make a Burlap Bookmark
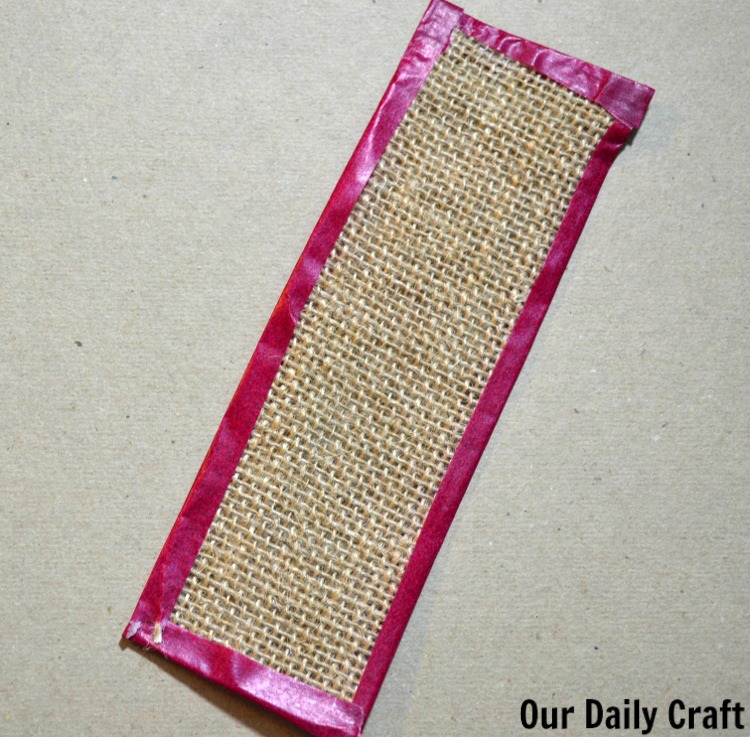 Cut your burlap to size and cover the edges with tape so they won’t fray.
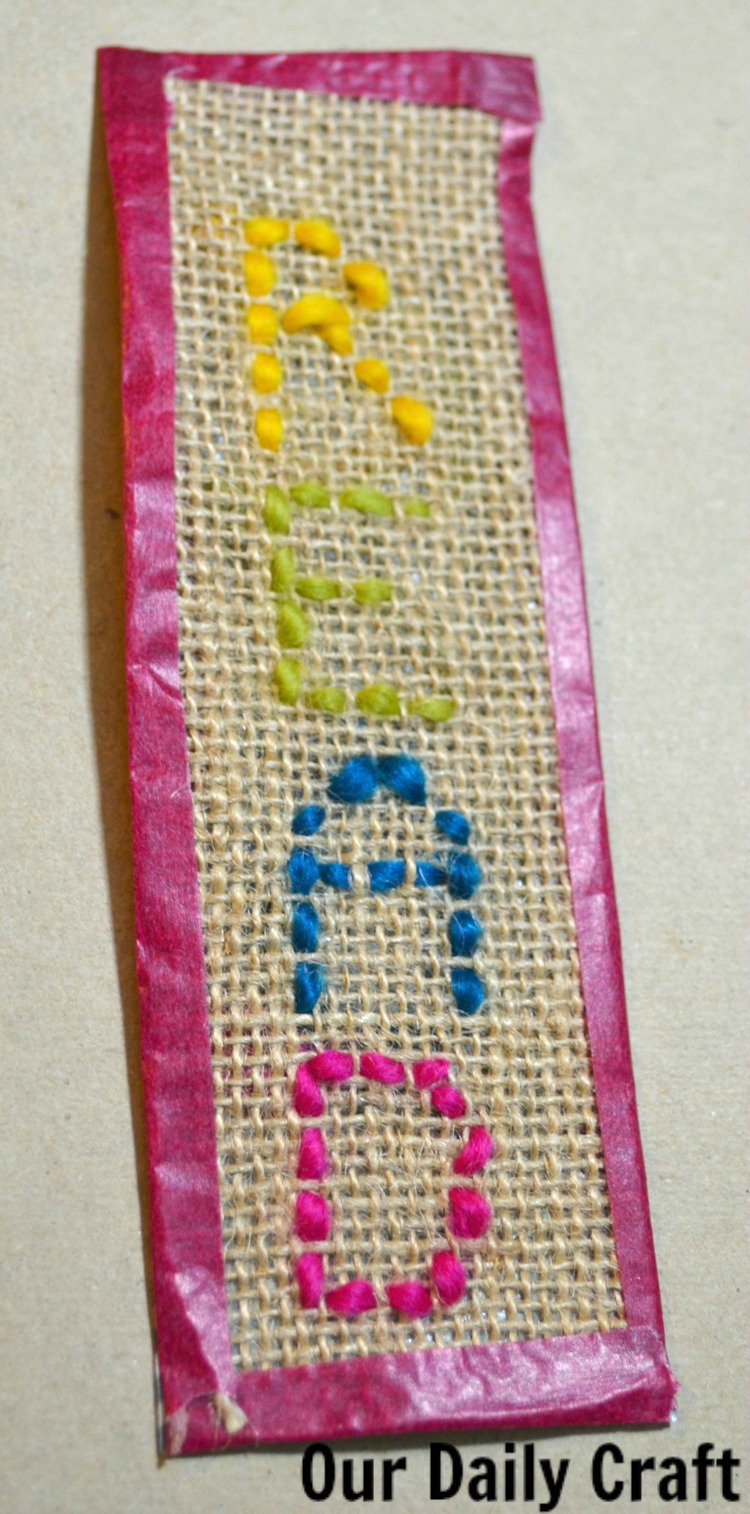
Stitch anything you like. I went with the word read. I didn’t plan it out, which you can tell because it’s not spaced evenly.
You can make designs, stitch a word, practice an embroidery stitch, whatever you like. 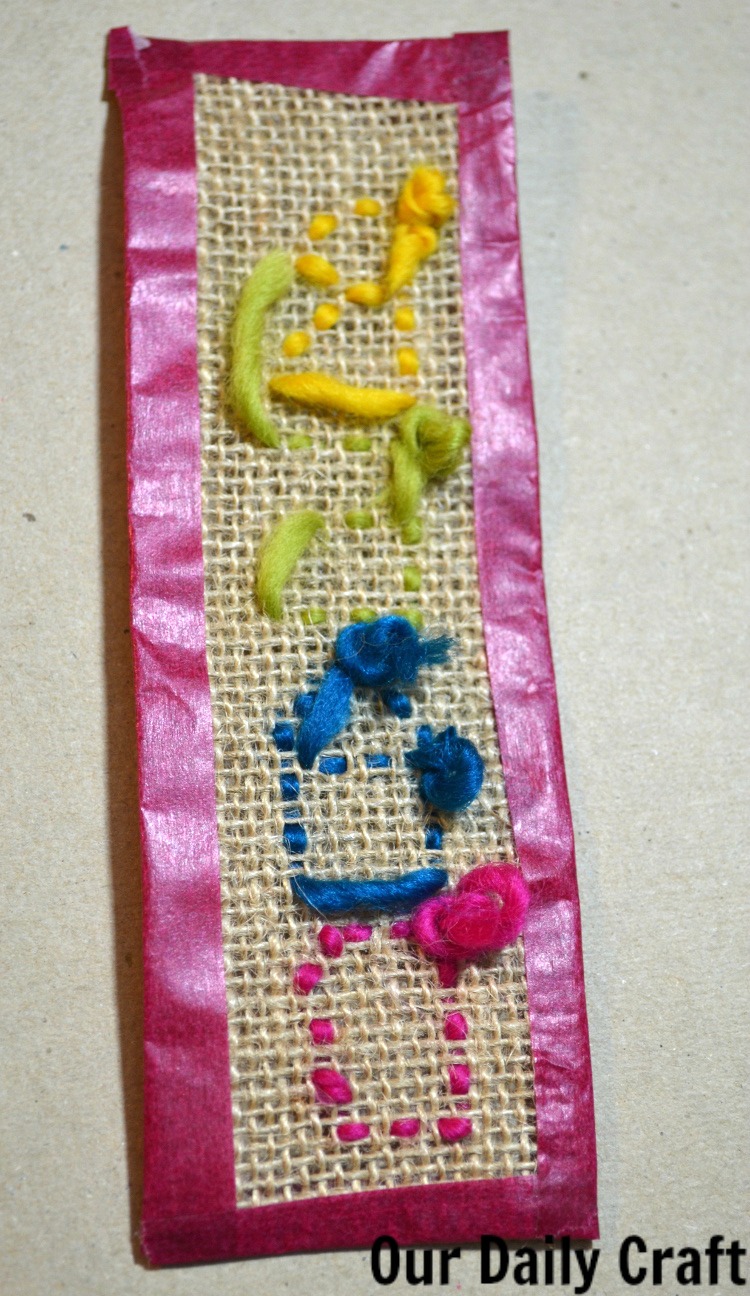
Because the back gets pretty ugly and bumpy, I covered it with tape as well (this is a wide washi tape from Scotch, but you can use duct tape instead).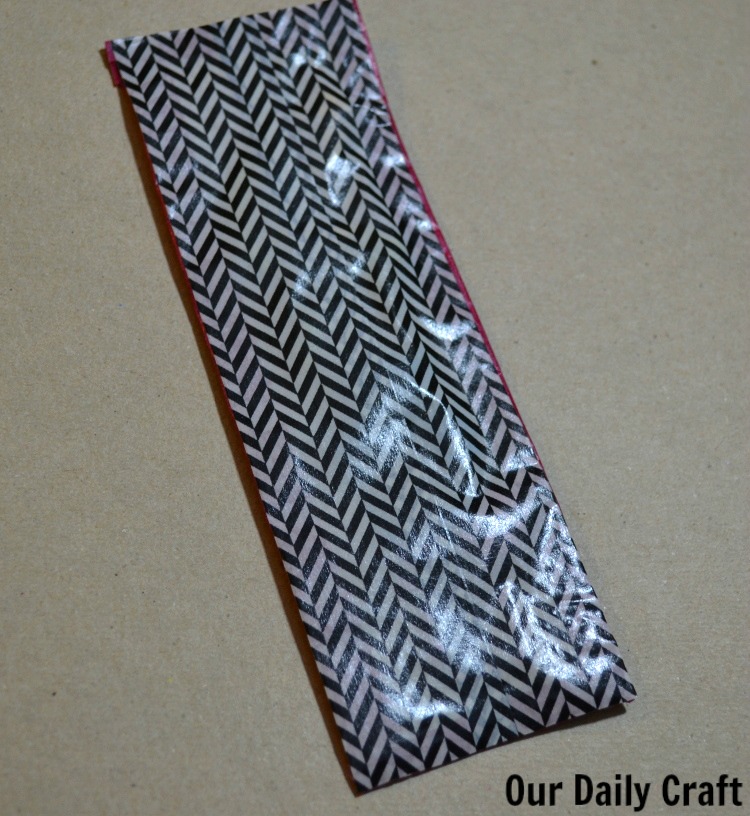
I may throw this one in the girl’s summer basket I’m working on, because she always needs more bookmarks!
Have you ever stitched on burlap? I’d love to hear what you made.


2 Comments