Affiliate links may be included for your convenience. View our privacy and affiliates policy for details.
French knots are a basic embroidery stitch used as an embellishment in a lot of different projects. You can even make whole projects out of French knots! Here’s all you need to know about how to make a French knot.
What is a French Knot?
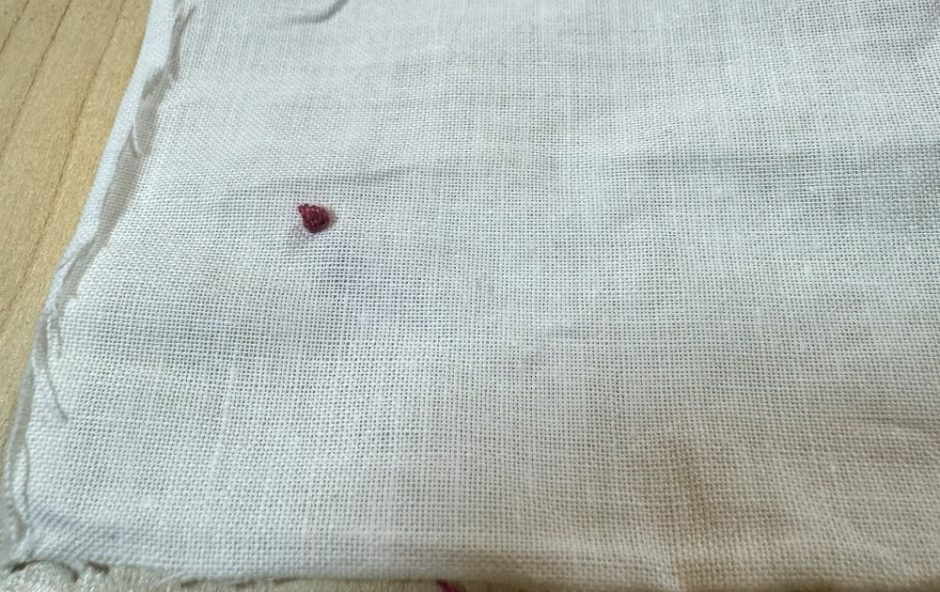
French knots are a common embroidery embellishment that makes a textured knot on the surface of the project. They can be used individually, for example as eyes, the dots on letters or the centers of flowers.
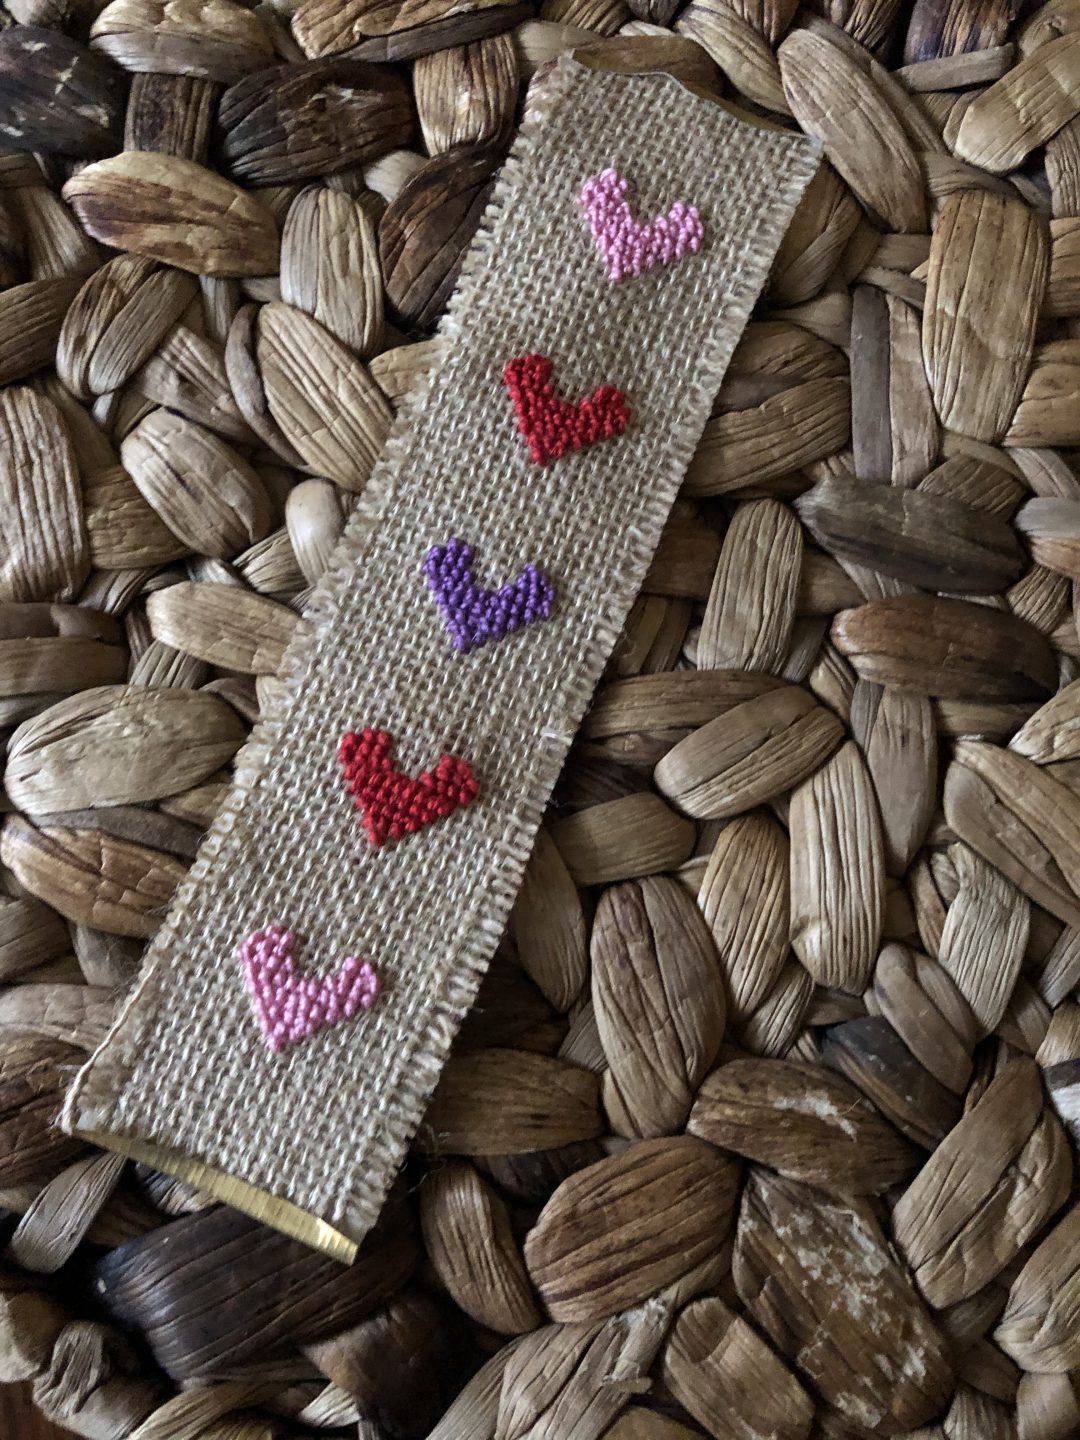
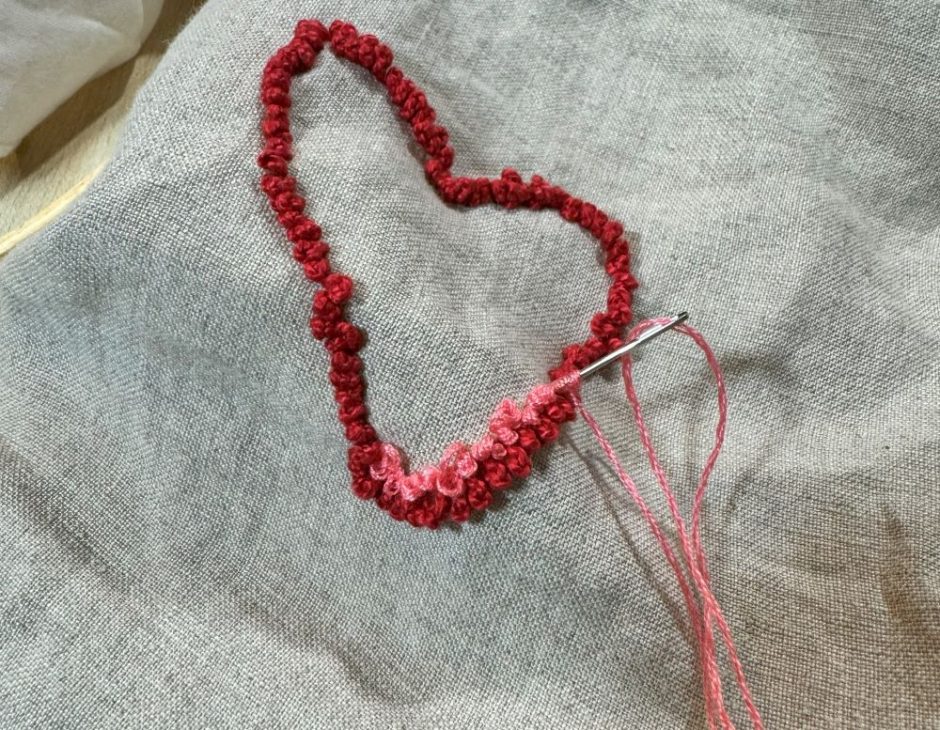
They can also be used as more of a patterned embellishment, for example as polka dots or stars in the sky. Or you can make entire projects out of French knots, whether using them to outline or fill a shape (like this heart pattern) or using them to form a shape with the negative space around them.
It’s great to know how to make French knots because you see them in a lot of patterns, and once you start playing with them you’ll probably want to add them to a lot of projects.
How to Make a French Knot
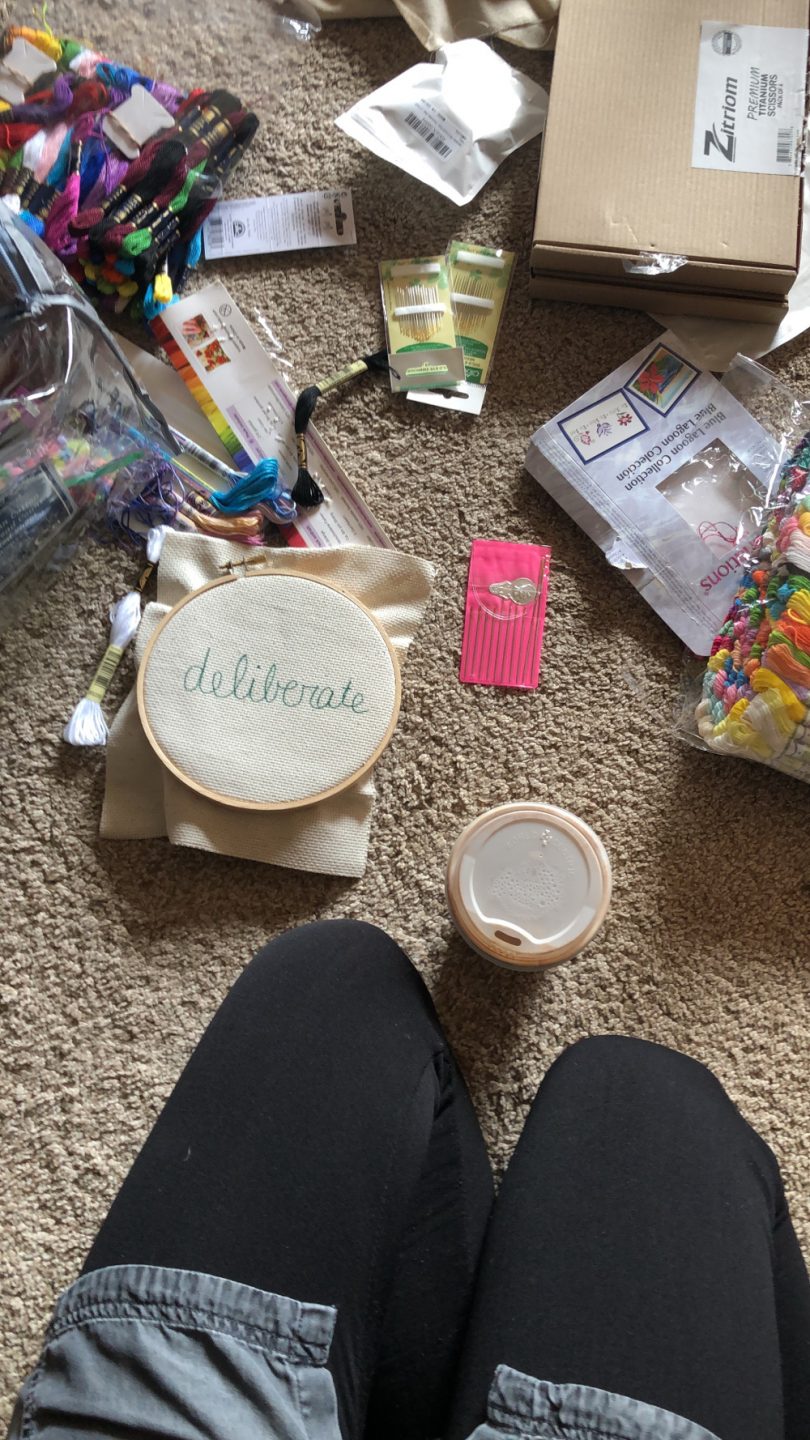
For this practice session I’m using a piece of a handkerchief as my fabric, as well as a variety of embroidery floss and a sewing needle I found on my desk. You don’t have to use a hoop for practice if you don’t want to, but it does keep your fabric in place nicely.
If you want more specifics on supplies and getting started with embroidery, check out my quick start embroidery guide.
In this first example this is embroidery floss that doesn’t separate into plies, so it’s pretty thick.
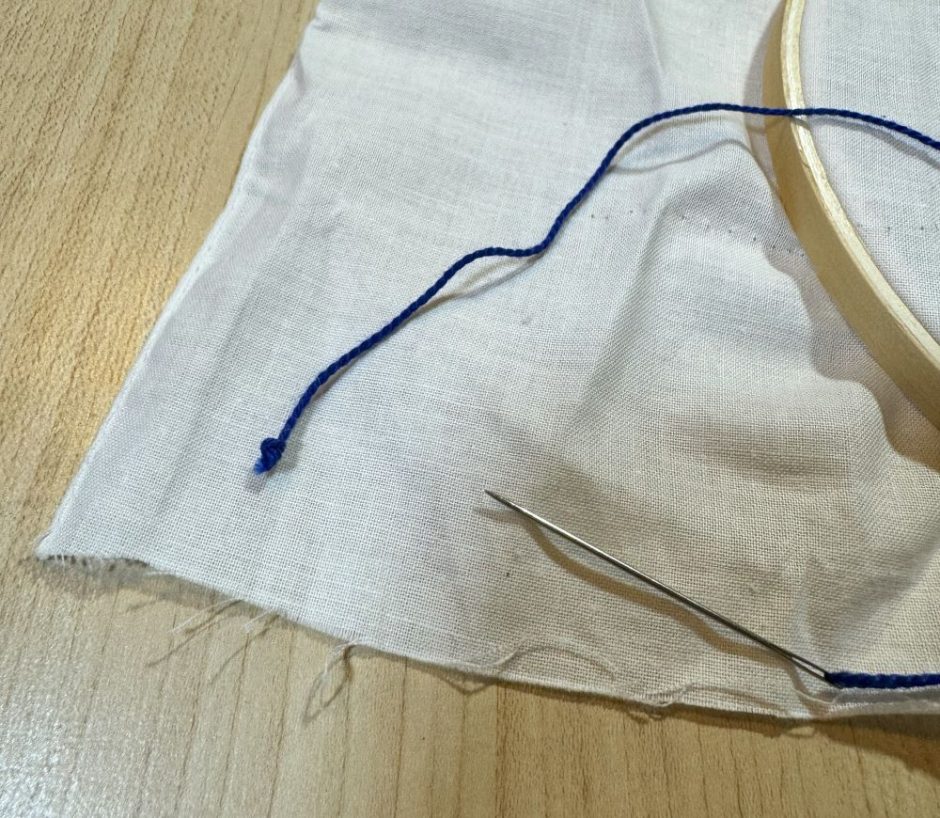
To begin, cut a length of floss about as long as your arm for practice. Thread the needle and tie a knot in the thread at the opposite end. If you use my method for tying knots for hand sewing, you basically know how to make a French knot already.
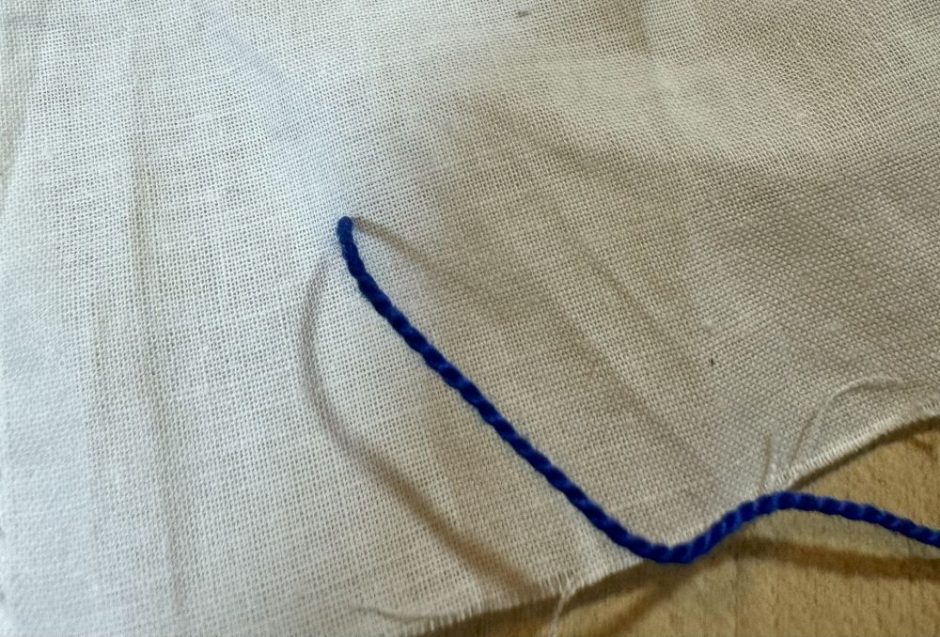
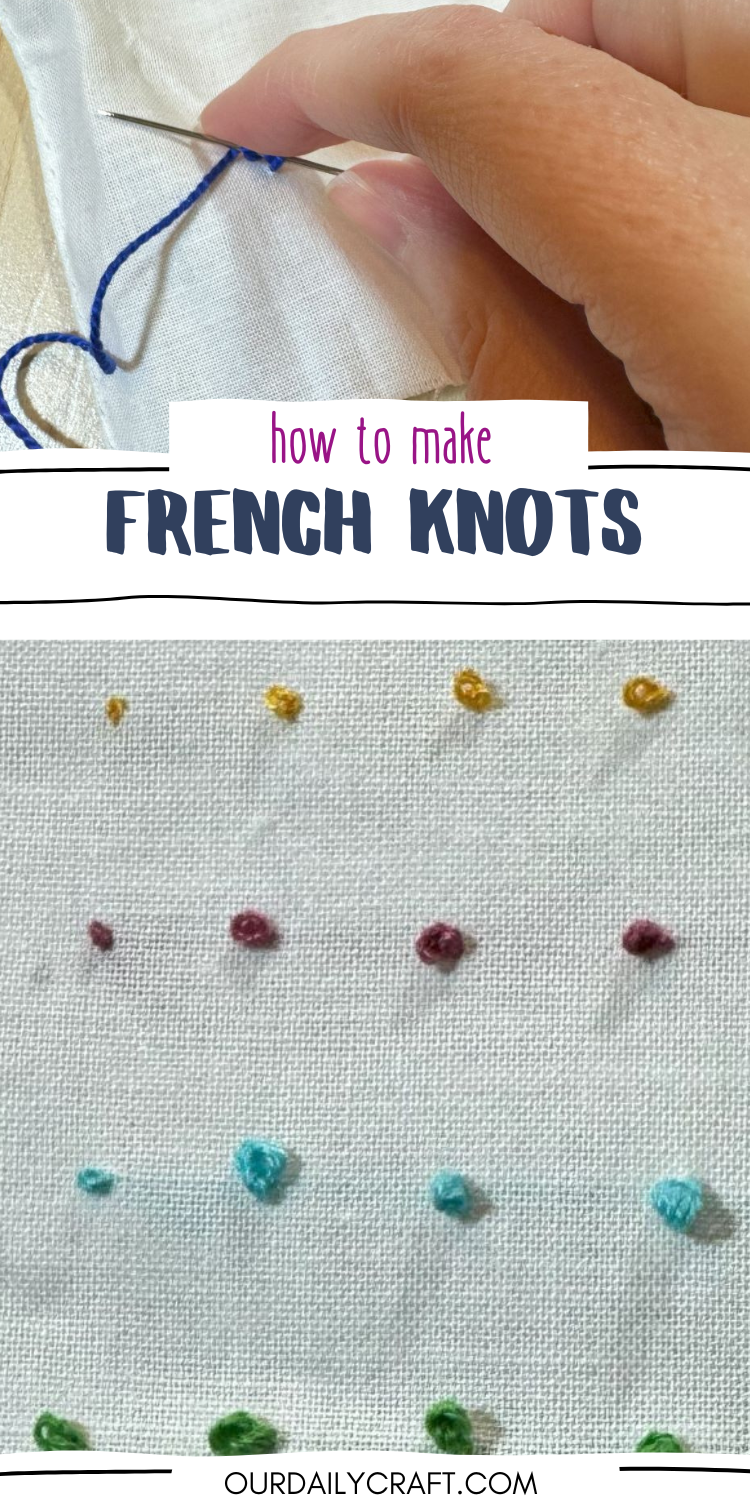
Decide where you want your knot to be and take the needle through the fabric from back to front.

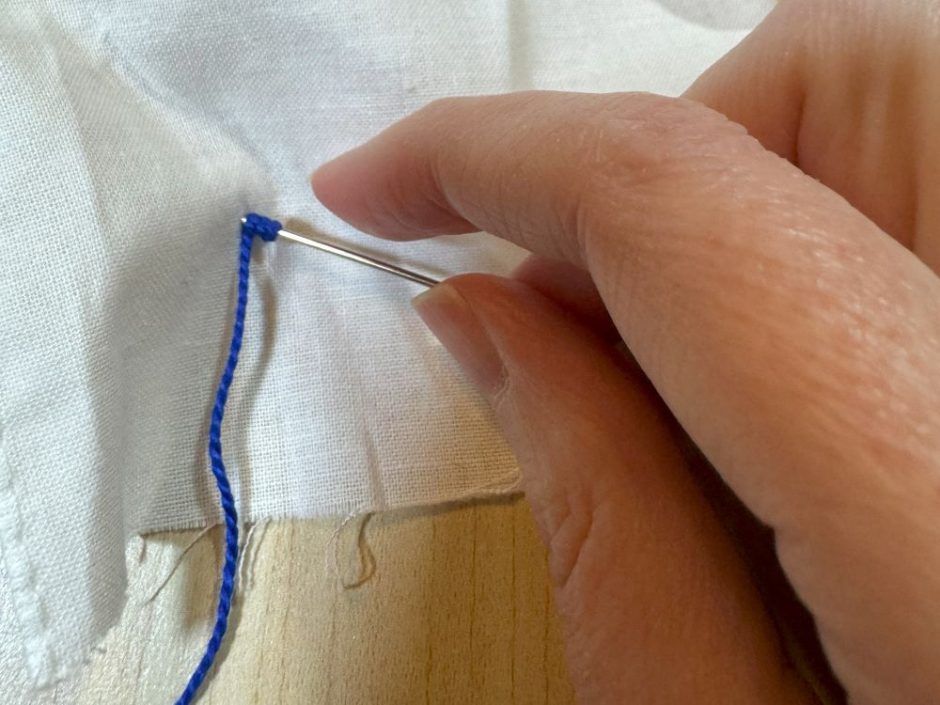
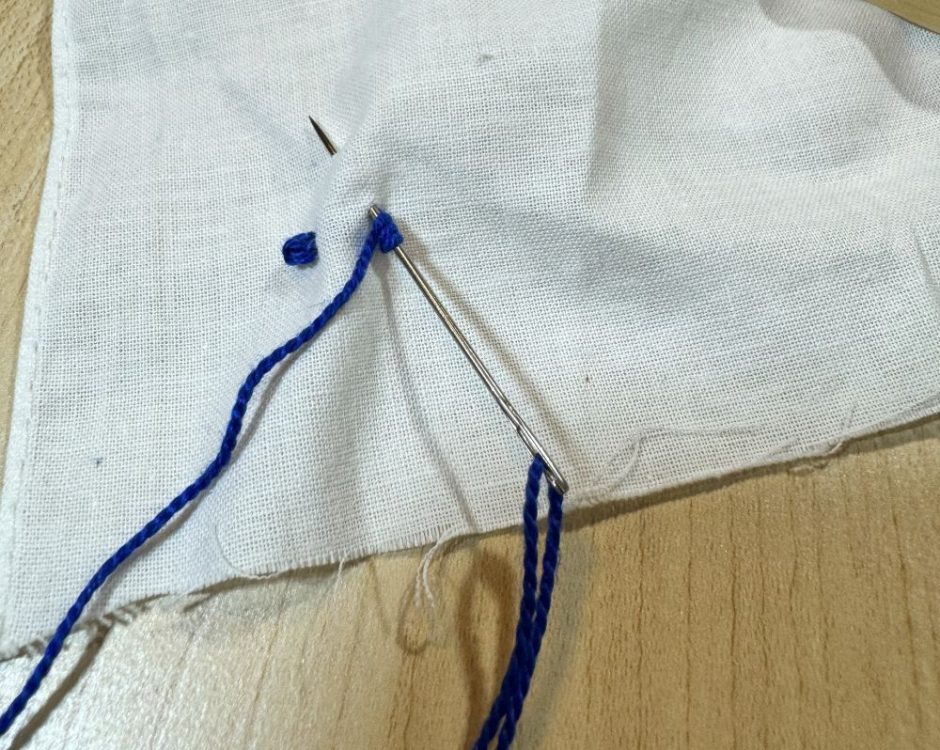
Wrap the thread around the needle a few times (anywhere between one and five is fine, more on that below, here I’m doing three).
Pierce the fabric with the needle close to where the thread came out before.

Pull the needle to the back, making sure your knot forms as neatly as you can.
If you’re going to want more than one French knot in your project relatively close to each other, you can put the needle through the fabric to the back and then pull it back up to the front where you want the next knot to be all in one move, as shown here.

When you’ve made all the knots you want, take your needle to the back of the work and tie a knot or bury the thread end in the stitching on the back and trim the excess.
How Many Threads to Use?
If you’re working from an embroidery pattern it will probably tell you exactly how to make a French knot that looks like the ones they used when making the pattern. For example it might say to use two strands of floss and wrap three times.
If you’re just playing or making your own embroidery projects, you have freedom in how you want to make your French knots.
In case you want to see how different French knots look when you use a different number of threads or wrap a different number of times, I made this chart for you.
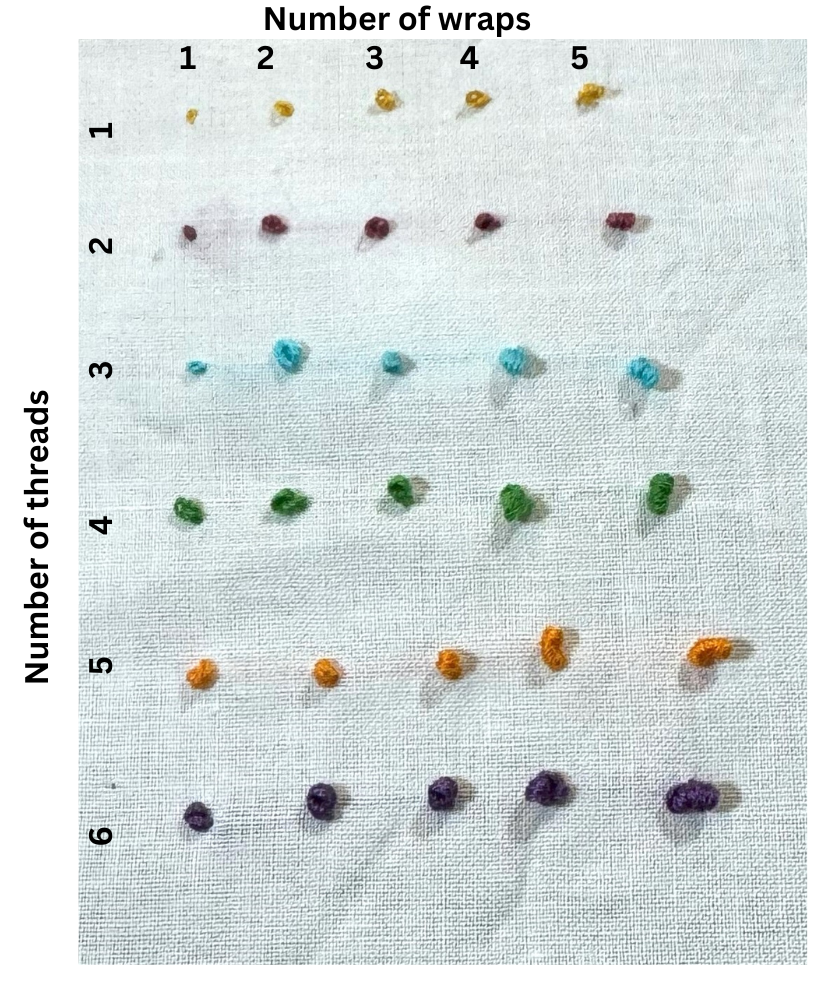
The top yellow row was made with one strand of floss, the pink with two, blue with three, green with four, orange with five and purple with six. From left to right each knot was made by wrapping the needle once, twice, three, four or five times.
It will depend on the look you are going for what combination of threads and wrapping is right for you. I tend to do three wraps on two threads, but I like the look of the three-thread options the best, so I’ll probably start using that in more of my projects.
Adding a Single French Knot to a Project
Above I showed you how to make a French knot when you’re using several close to each other in a project. But what if you just need one French knot?
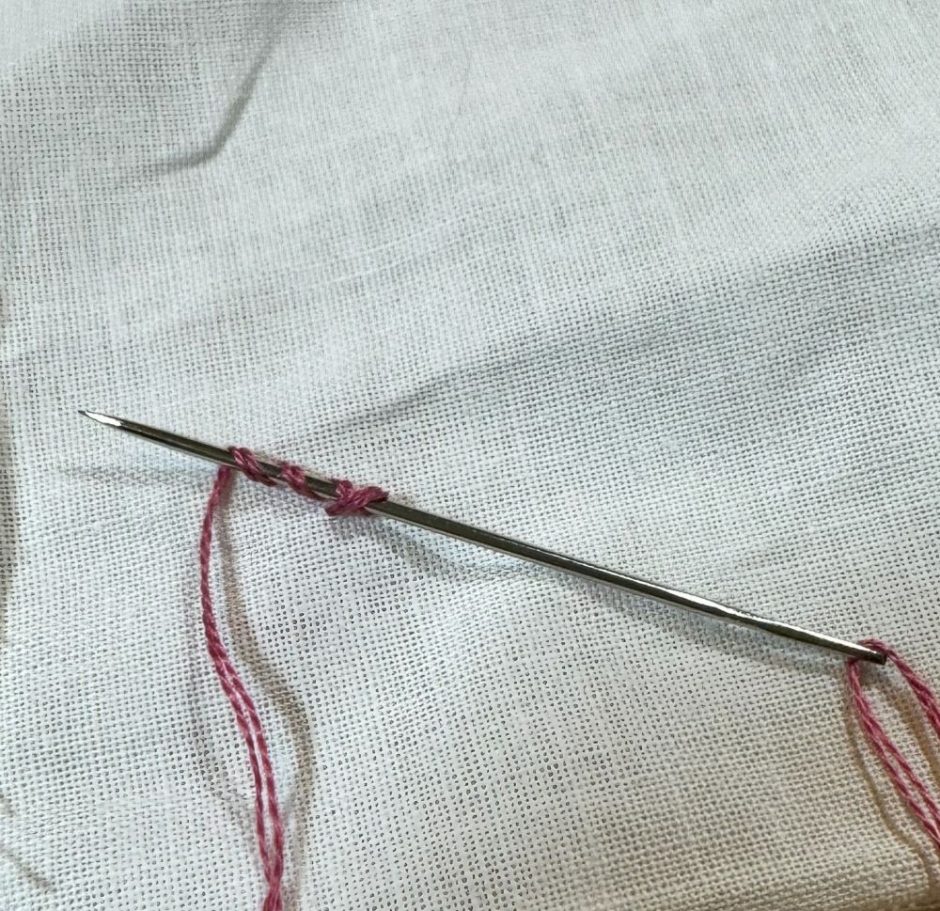
You make it the same way, you’ll just have to secure the thread with a knot or burying it inside the threads already on the back of the work after you make the one knot on the front.

There’s some controversy about using knots on the back of embroidery, but I honestly don’t care so I use knots in my work. But if you don’t like them you can avoid them by just stitching the thread through the threads on the back of the work.