Affiliate links may be included for your convenience. View our privacy and affiliates policy for details.
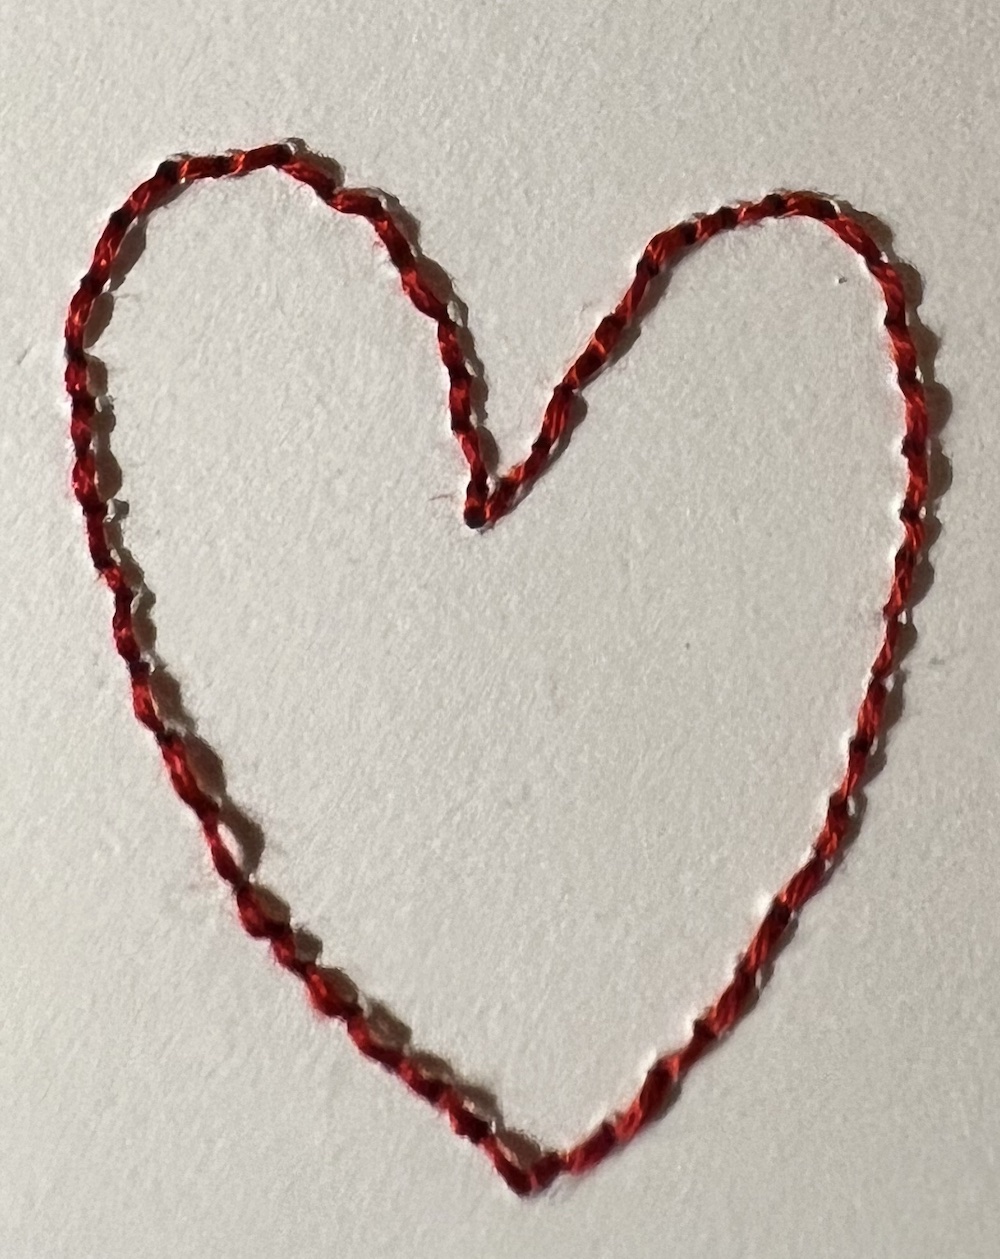
Ever since I shared an embroidery project with my coworkers at a recent work retreat, I’ve been a little obsessed with embroidery.
It’s a relatively simple, easy entry craft to learn because you need a minimal amount of supplies and a small amount of skills to get started.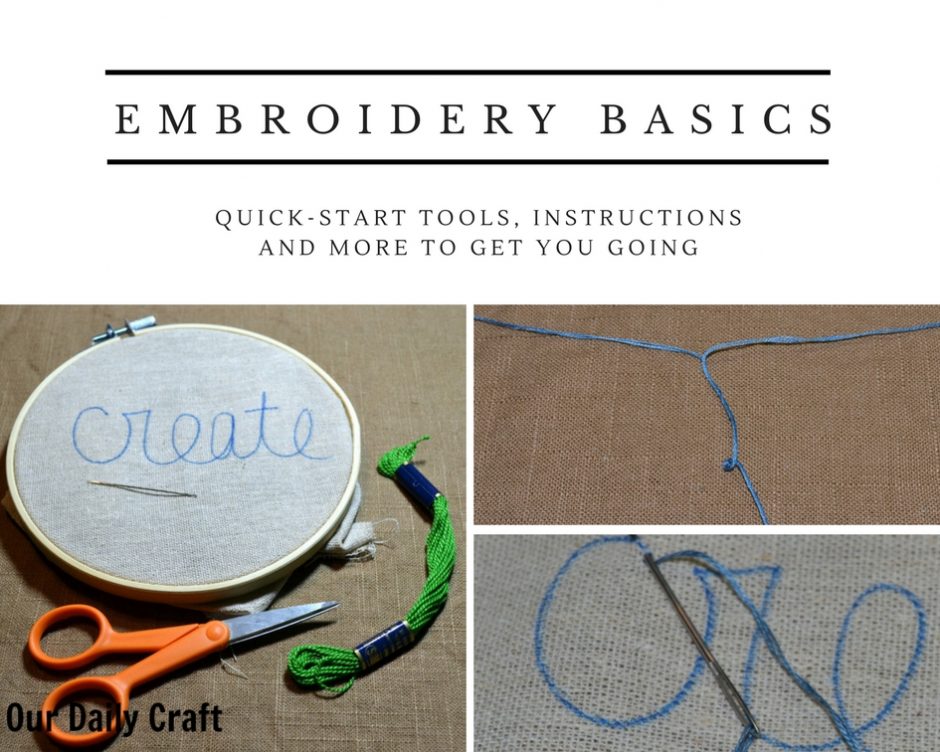
Embroidery Supplies
All you really need to get started with embroidery is: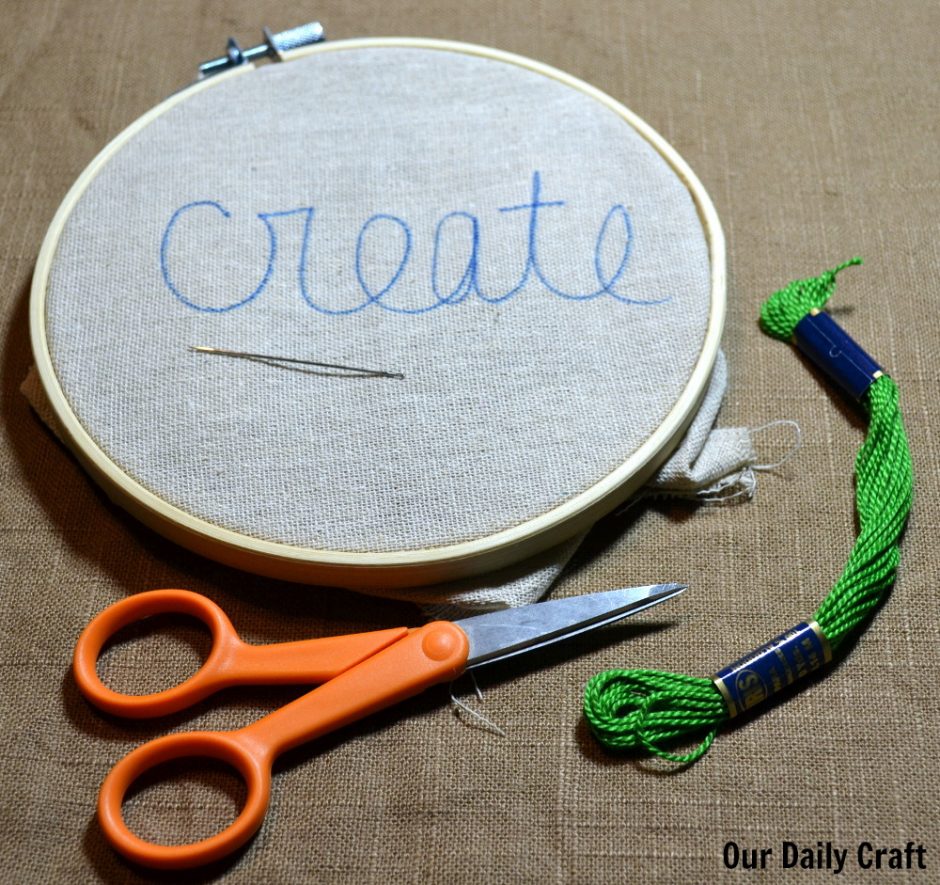
- some kind of solid-colored fabric: use embroidery fabric, muslin, a white bandana, a piece of old sheet, whatever you have on hand
- embroidery floss in various colors
- embroidery hoop of the size needed for your project (I love to use a six-inch hoop for most of my projects)
- sewing needle with a big enough eye to easily thread
- scissors
- needle threader (optional)
- washable fabric pencil (if you want to erase your lines), or regular pencil, marker or fabric marker for drawing designs
Setting Up Your Embroidery Project
I love to start people doing embroidery with a simple word or design drawn on fabric using a six-inch hoop as the frame. So, to begin, cut your fabric a little bigger (a couple of inches on each side) than needed to fill your hoop.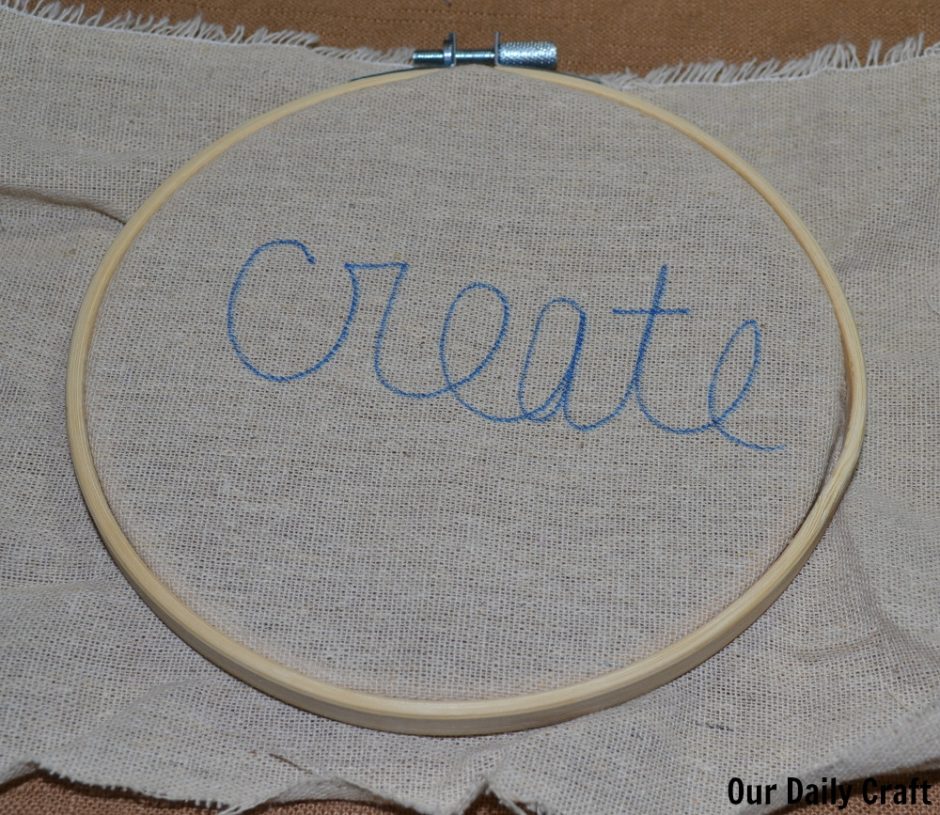
An embroidery hoop has two pieces, and the fabric goes in between them. Separate the two pieces by loosening the screw on the outside until you can slide the inner hoop out. Place the fabric on top of the inside hoop, place the outside hoop on top and tighten the screw so the fabric stays in place, but not so tight that it puckers.
Embroidery Designs
I like to start people out with their own embroidery designs, whether that means writing a word on their fabric or doing a simple drawing.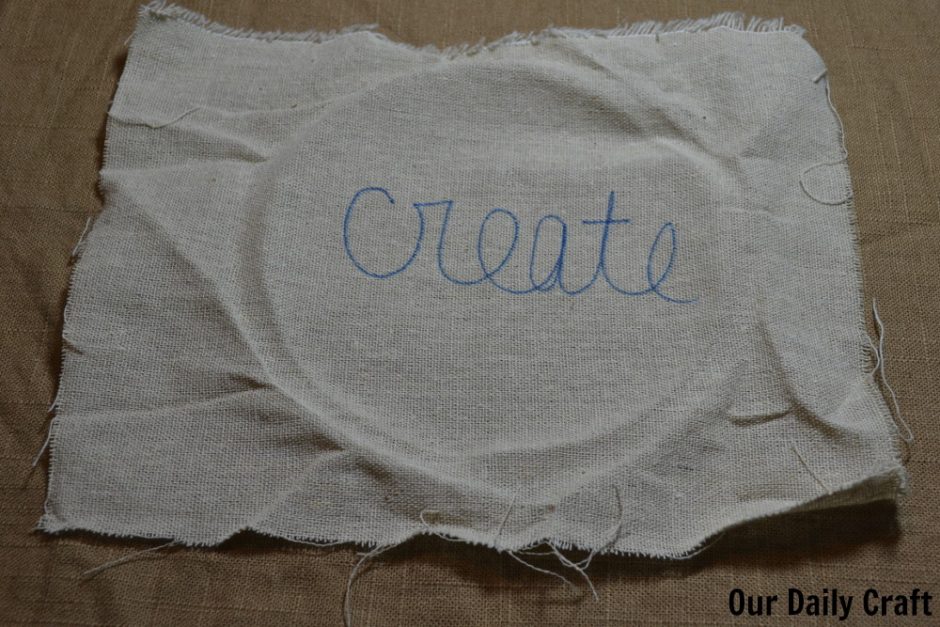
Use a regular pencil, marker or fabric pen if you don’t care if the lines show, or use a washable pencil made for marking fabric if you’d like to be able to remove any visible lines when you are done.
Draw whatever you like. You can use multiple colors to correspond to the different colors of thread you will use, or draw it all out in one color.
Prepping Your Thread for Embroidery
Many brands of embroidery floss are sold with multiple threads wound together in the skein. While you can stitch with all the threads together, it is easier when you are learning to separate two or three of the threads (aka plies) to work with.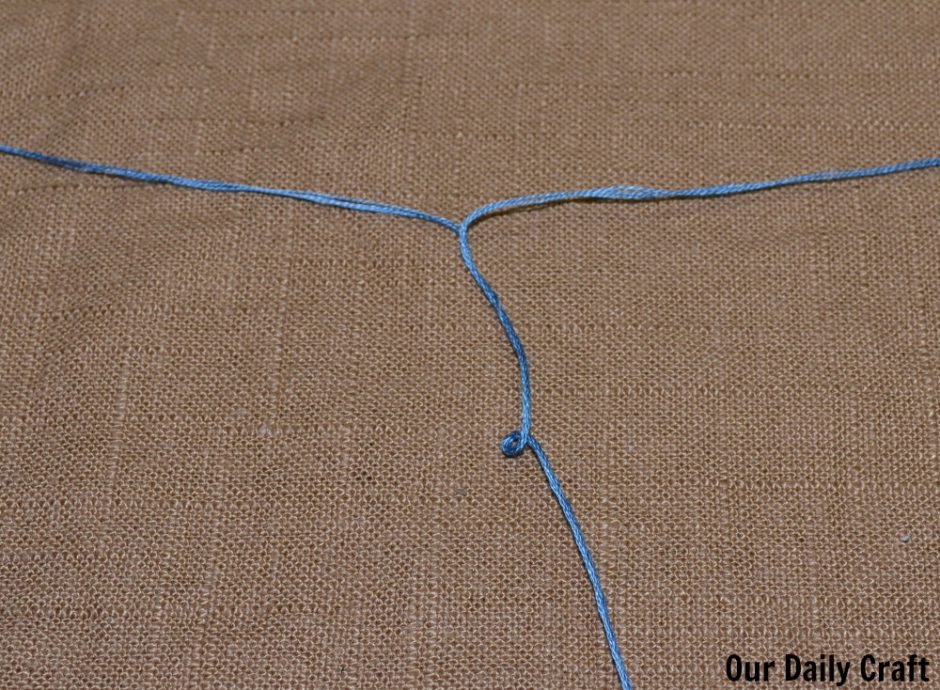
Cut the thread about the length of one of your arms. If your thread needs separating, gently pull apart two or three of the threads from the bundle (yes, you may need to use your mouth as a third hand).
The easiest way to thread a needle is to fold the end of the thread over itself, then poke through the eye. Alternatively you can use a needle threader: stick the flexible metal eye of the threader through the eye of the needle, then put the thread through the hole of the threader and gently pull back through the needle.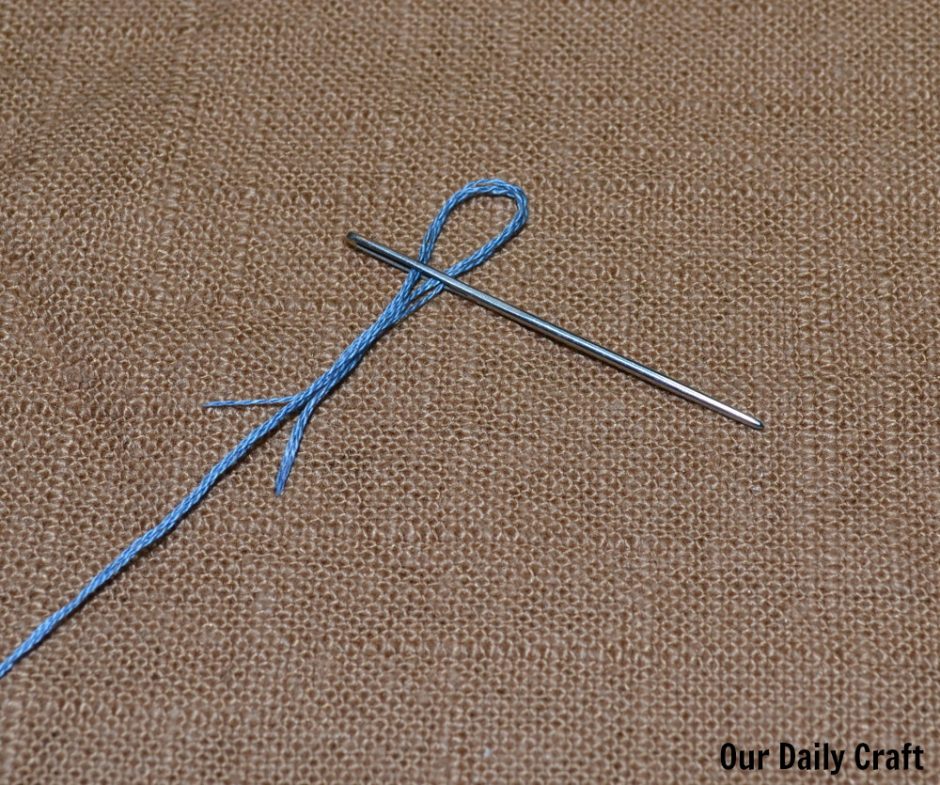
Pull the thread through the needle so that you have a few inches of tail. That will help keep the needle threaded.
Tie a knot at the other end of the thread. This is my favorite method, but you can do it any way that works for you.
Start Stitching Your Embroidery Project
One thing I really like about embroidery is that you don’t really have to know how to do it properly in order to get started. Of course it helps if you have a grounding in a few basic stitches, but you can really just form stitches in any way you like.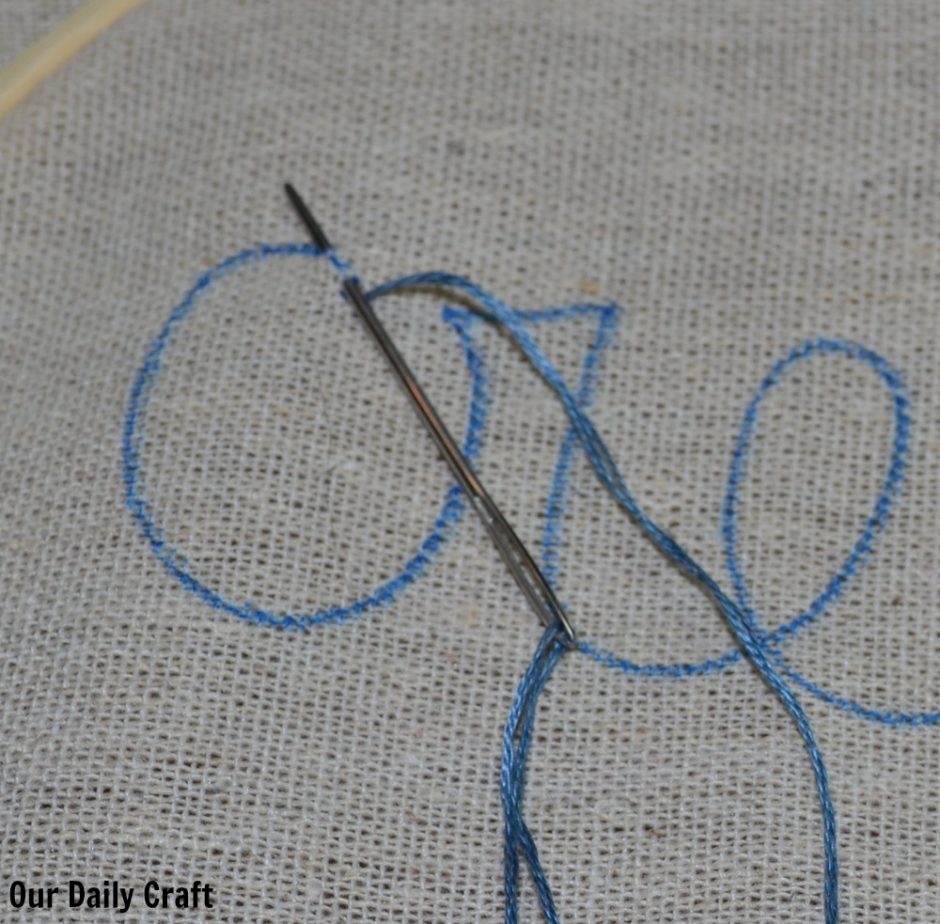
The key is to make sure you start pulling your needle from the back to the front so that your knot will be on the back of the work.
When you start to get close to the end of the thread (maybe six inches or so), tie another knot on the back of the work and start a new thread. The same method is used if you want to change colors.
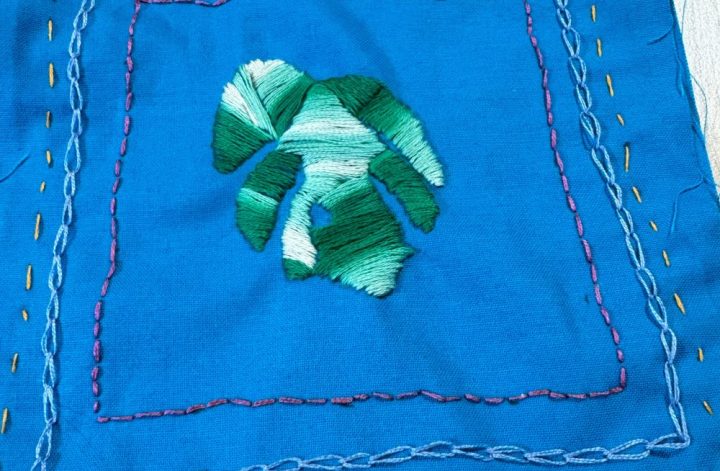
The biggest piece of advice I have about getting started with embroidery is just to give it a try! Seriously, it’s so easy to get started, so fun to learn and you might end up wanting to add a little bit of embroidery to everything.
If you do give it a try, I’d love to see your creations. Use the hashtag #ourdailycraft on Instagram, or share a photo on my Facebook page.

2 Comments
Very nice and useful tutorial for beginners. Even this short explanation is well enough to understand the base of hand embroidery design. What is the name of the stitch that you have sewn on the fabric?