Affiliate links may be included for your convenience. View our privacy and affiliates policy for details.
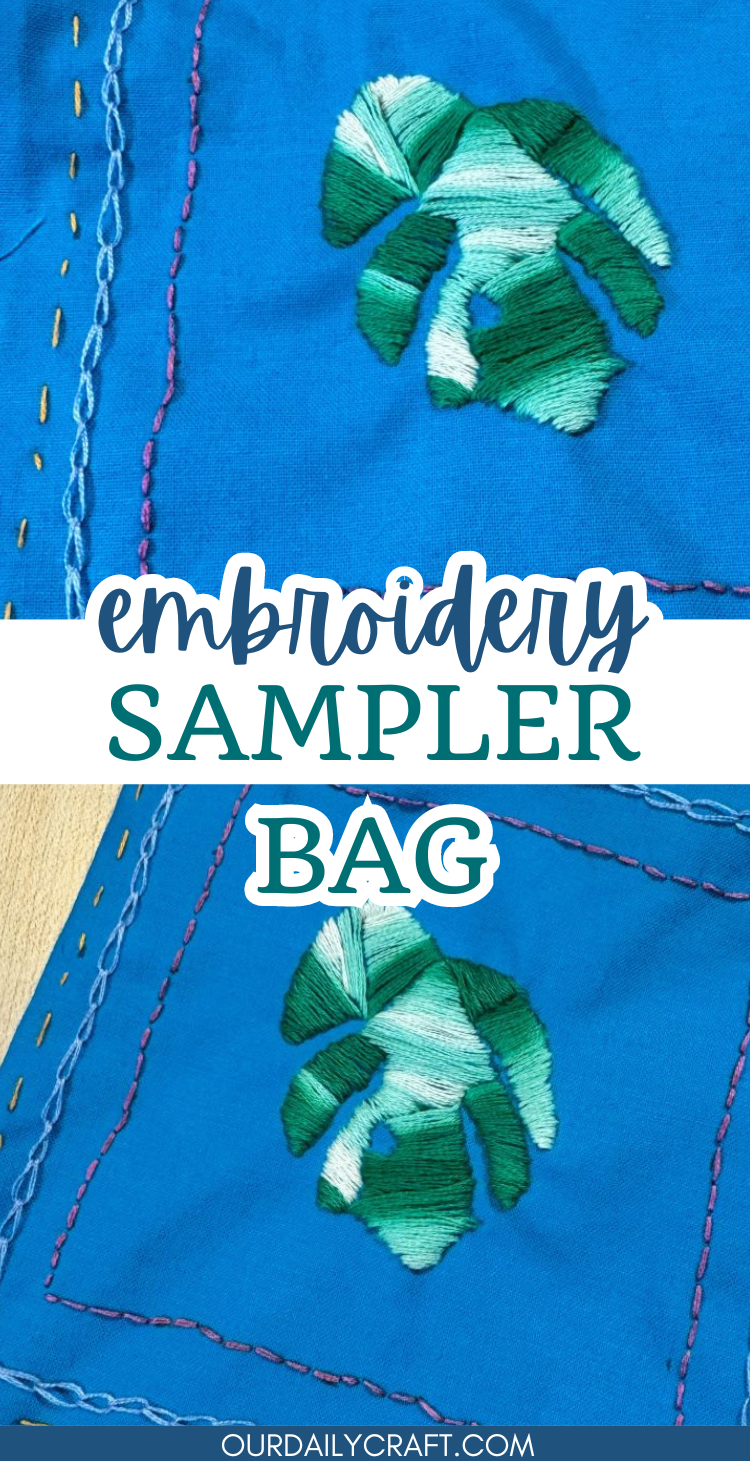
This easy embroidery sampler project is more of an idea than a pattern: mix up a bunch of basic embroidery stitches on a piece of fabric and make it into a little bag, pillow, or just keep as a practice piece.
Prepping the Fabric
Before we get started stitching, you’ll need some fabric. This blue fabric is a scrap and I can’t remember where it came from, but it’s really pretty and the embroidery floss pops against it.
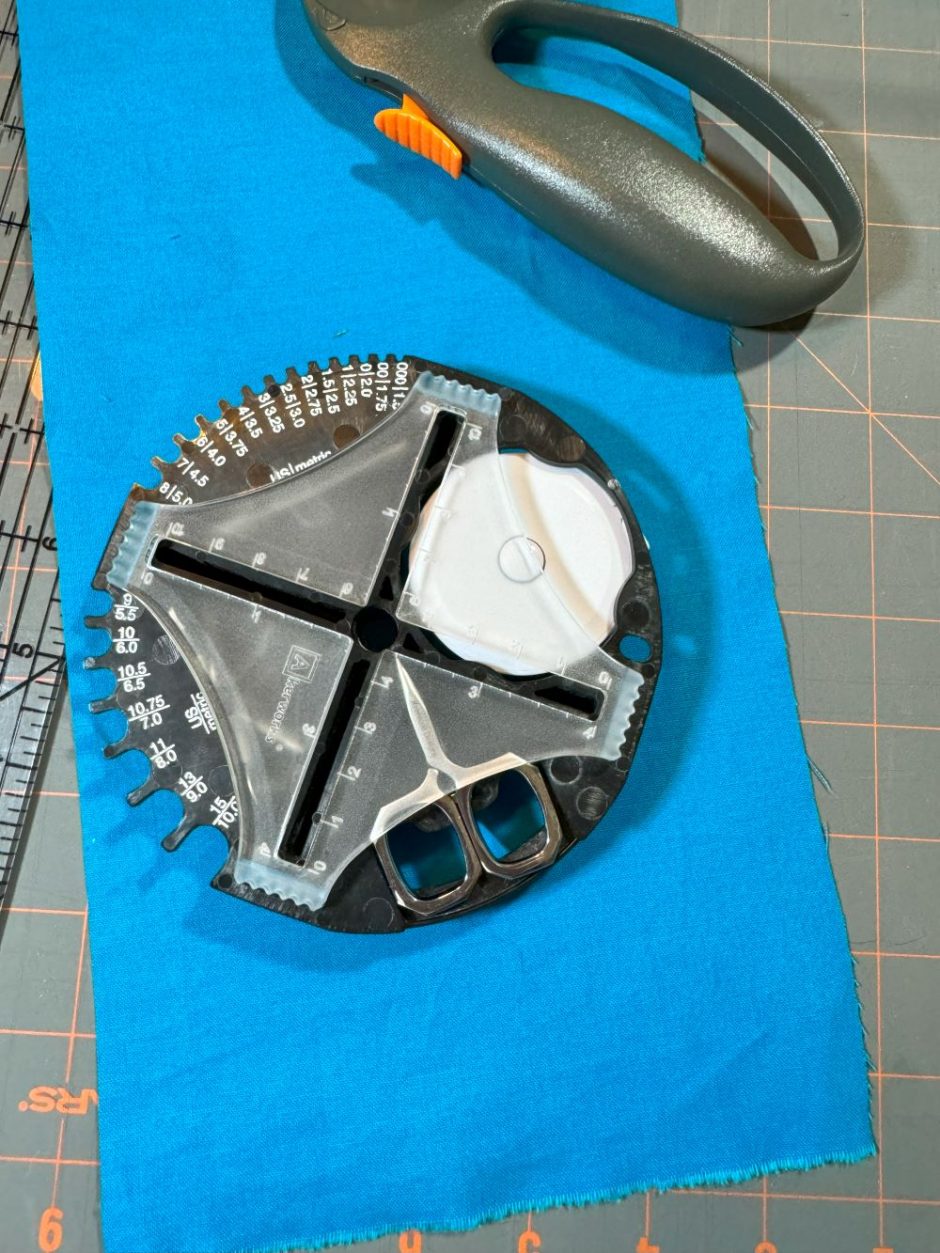
If you just want to practice stitches more than making an embroidery sampler you can use as something else, any size fabric is fine to play with. I decided I wanted to make a little bag to house my Akerworks tool kit that I got for Christmas (it comes in a box but this is cuter).
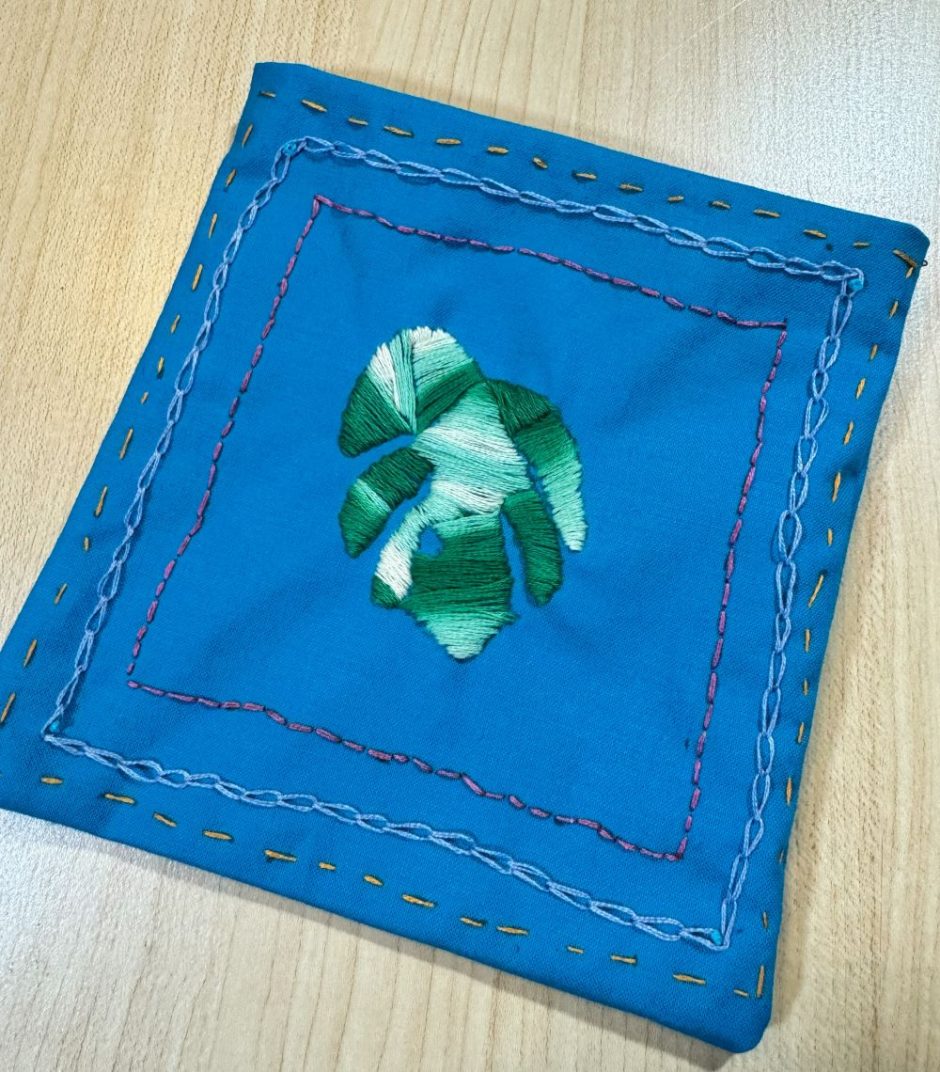
So I basically used the kit itself to take my measurements, making my fabric a little wider and a little taller than it is to account for seams and ease of taking it in and out of the bag. When finished as shown the bag is about 5.75 inches wide and 6 inches tall (or 14.5 by 15.25 centimeters).
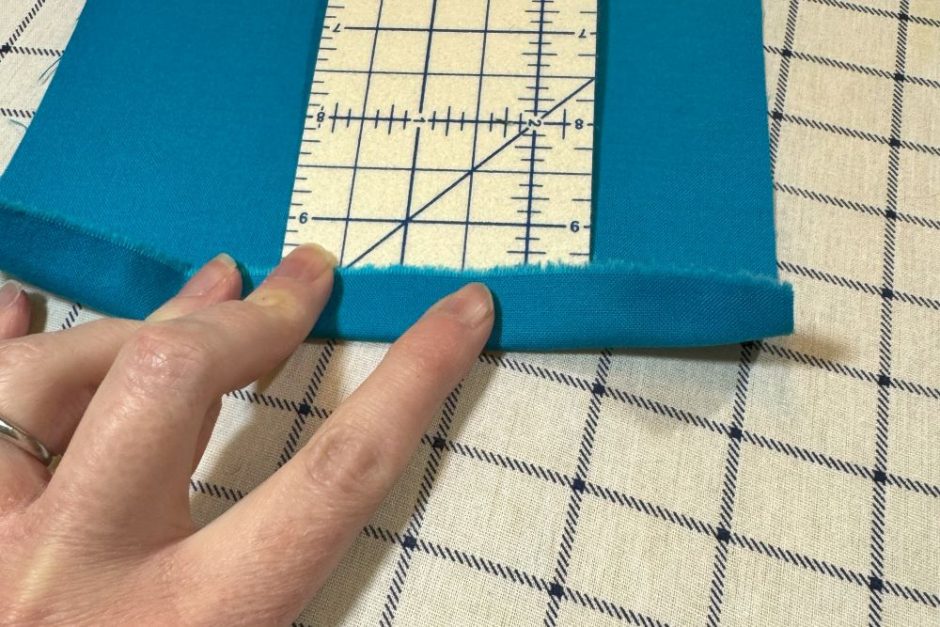
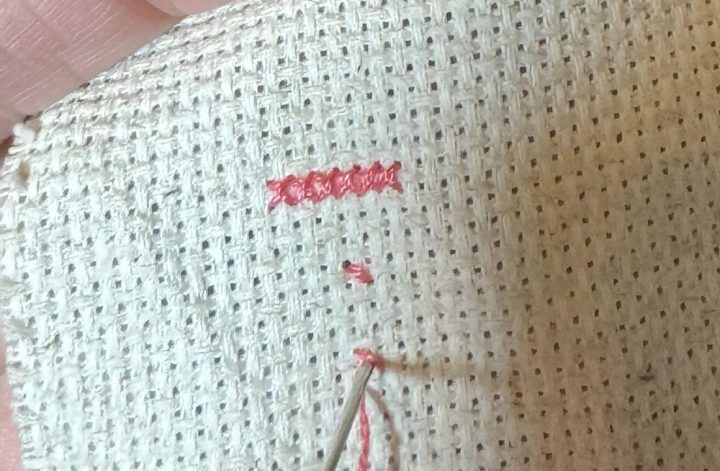
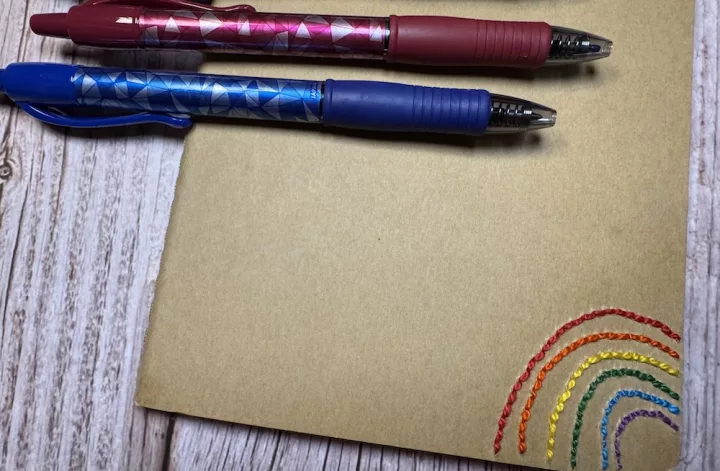
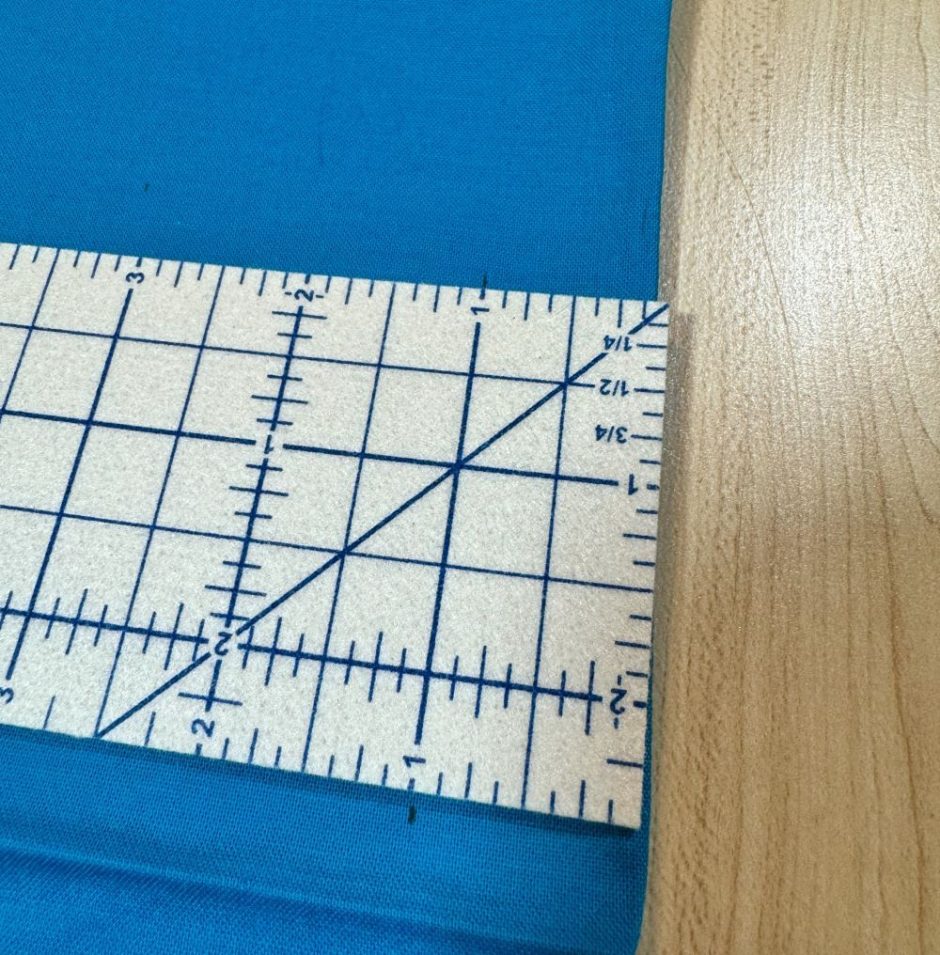
You can use a hot ruler and an iron to press where your seams will go so you know not to stitch in that area, or just mark it out with heat-erasable pen or whatever marking tool you like to use.
Planning Your Easy Embroidery Sampler
I knew I wanted my easy embroidery sampler to include a lot of basic stitches, so I decided to do borders of running stitch, back stitch and chain stitch with some kind of image in the middle.
I ended up doing a monstera leaf in satin stitch.
Using my seam lines as a guide, I used heat-erasable pen to mark out points on the lines for the running stitch and back stitch borders, with space for the chain stitches to go in between, on the space I decided was going to be the front of my bag.
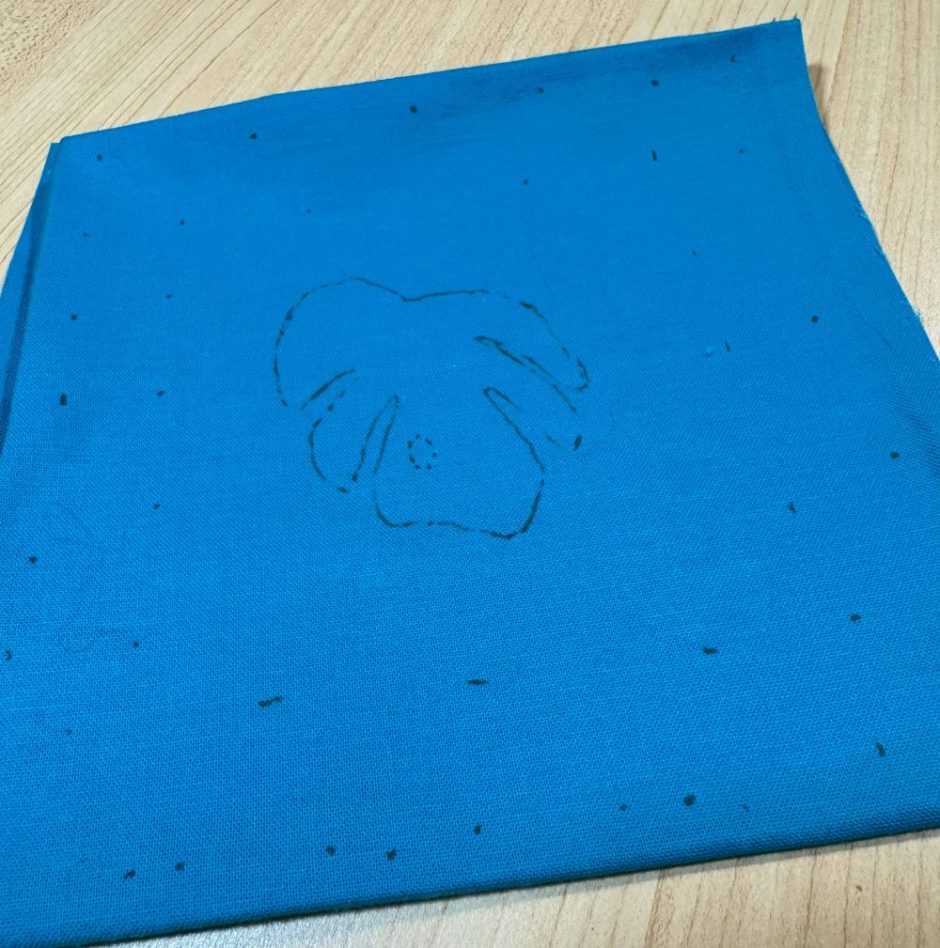
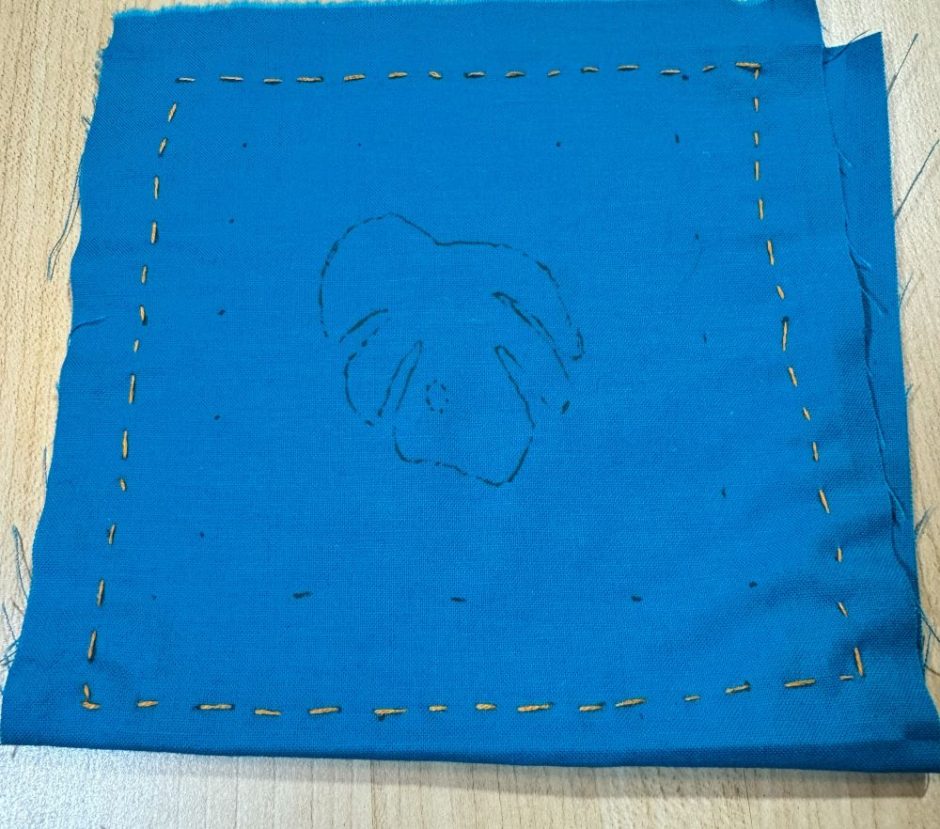
I found a clip art picture of a monstera leaf I liked online, traced it onto paper (you could also print it out of course but I was feeling lazy), cut it out and drew it on the fabric at the center front of the bag.
It’s worth noting I only stitched on the front of my bag, but for even more practice you can make your easy embroidery sampler on both sides of the bag/pillow/whatever you’re making, or just use a longer piece of fabric to give you room for more stitches.
Stitching the Borders
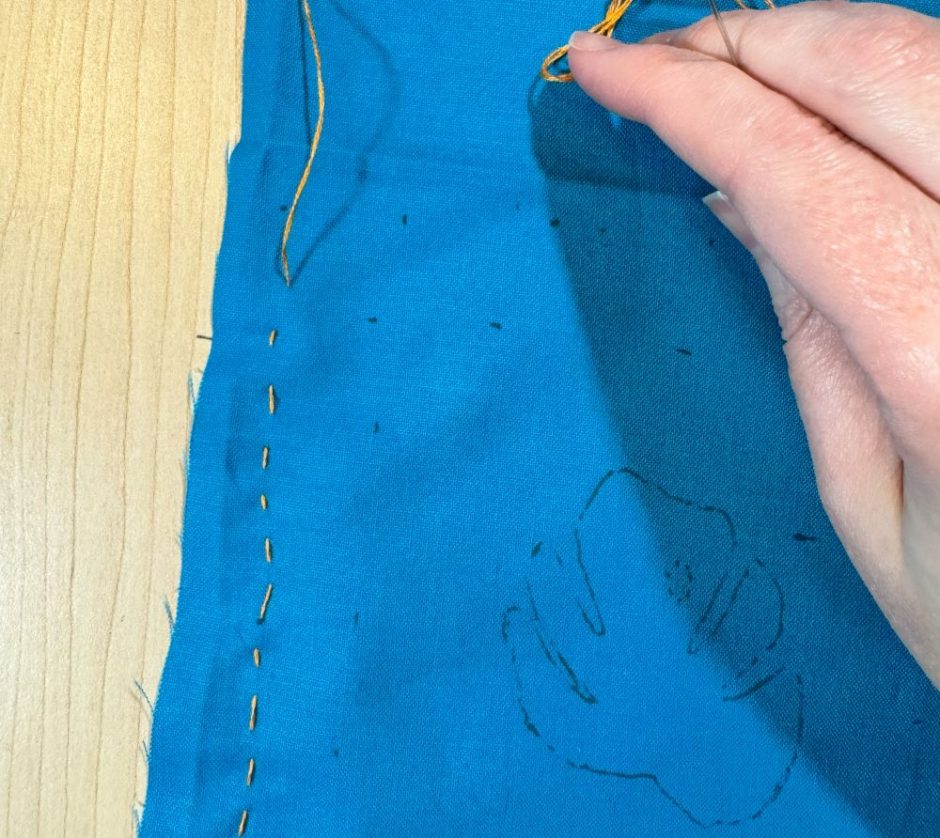
I began my easy embroidery sampler by working the outside running stitch edge. (I made each stitch a different color and mostly just used scraps I found in my embroidery bag. Running stitch is in gold.)
Often I will say my embroidery style is “organic” and I think of it as letting the needle tell me where it wants to go. This is a long way of saying I don’t care if my lines are straight, but if you want to be more precise you can mark it out more thoroughly and take a little more time to make sure your lines are straight. Totally up to you.
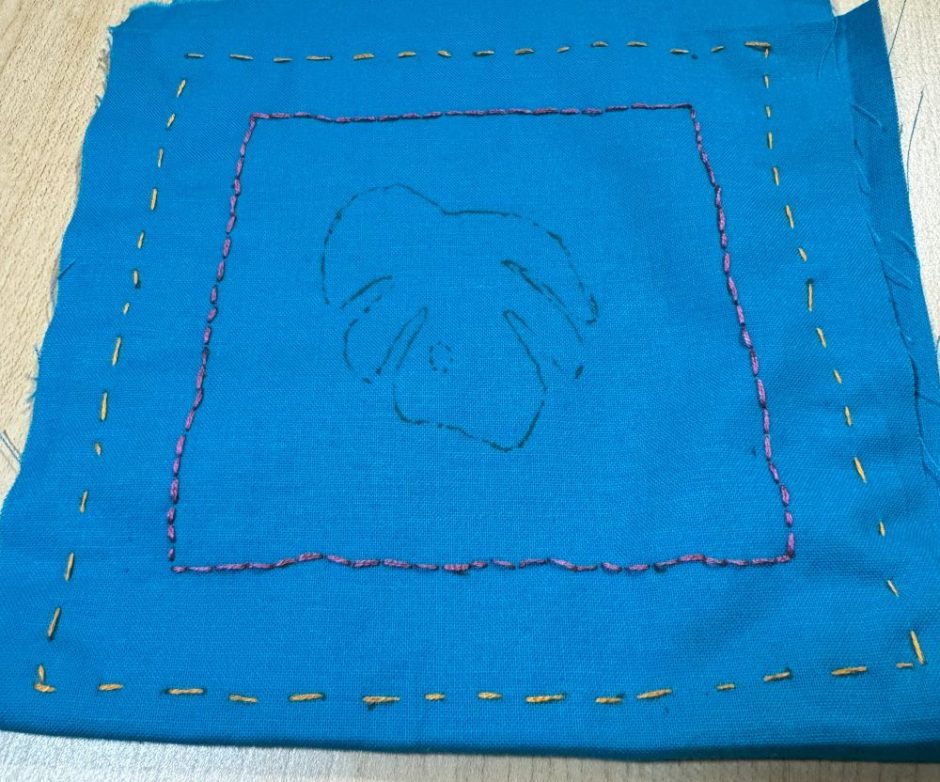
Next I did the back stitch border, which you can see here in pink. (If you need a tutorial it’s in that same link as running stitch above.)
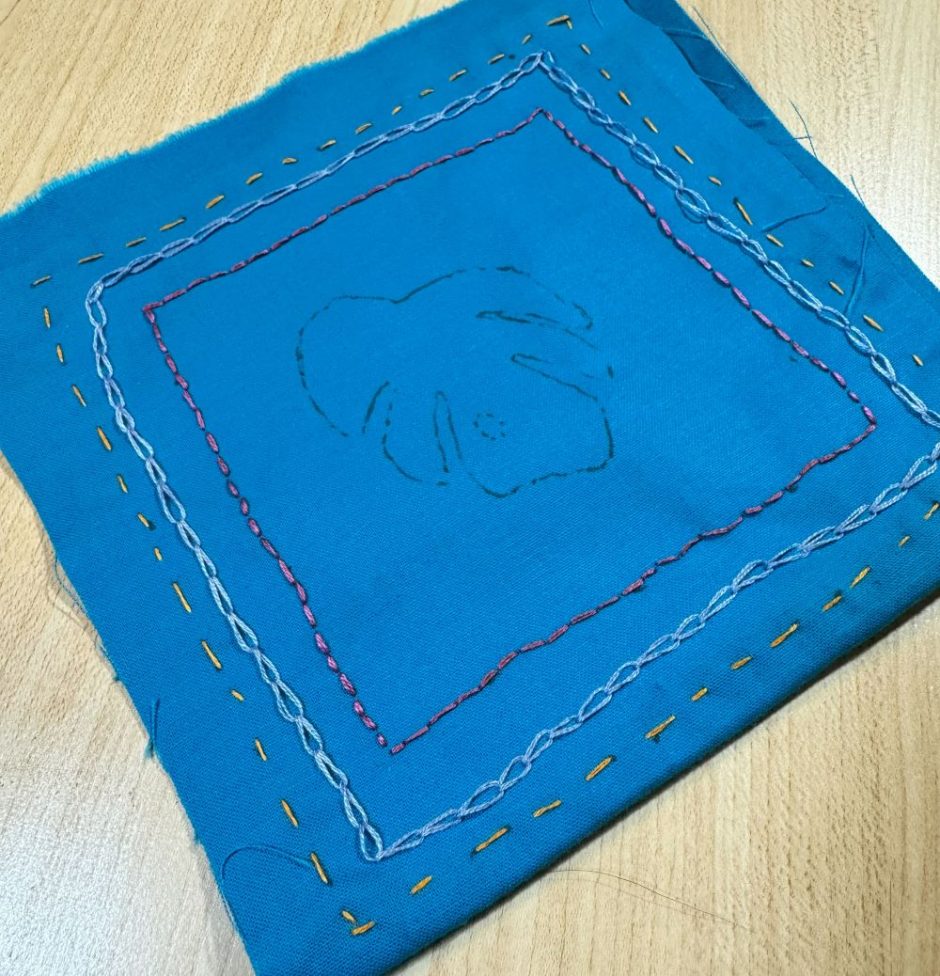
Then I added chain stitch in periwinkle in between those two lines. Chain stitch like this is so fun and goes faster than you think it will.
Adding the Center Stitching
This easy embroidery sampler wouldn’t be complete without its focal point. You can of course use whatever shape you like in the center; it doesn’t have to be something you satin stitch.
Alternatively you can just keep adding “borders” or lines of different stitches until you get to the center.
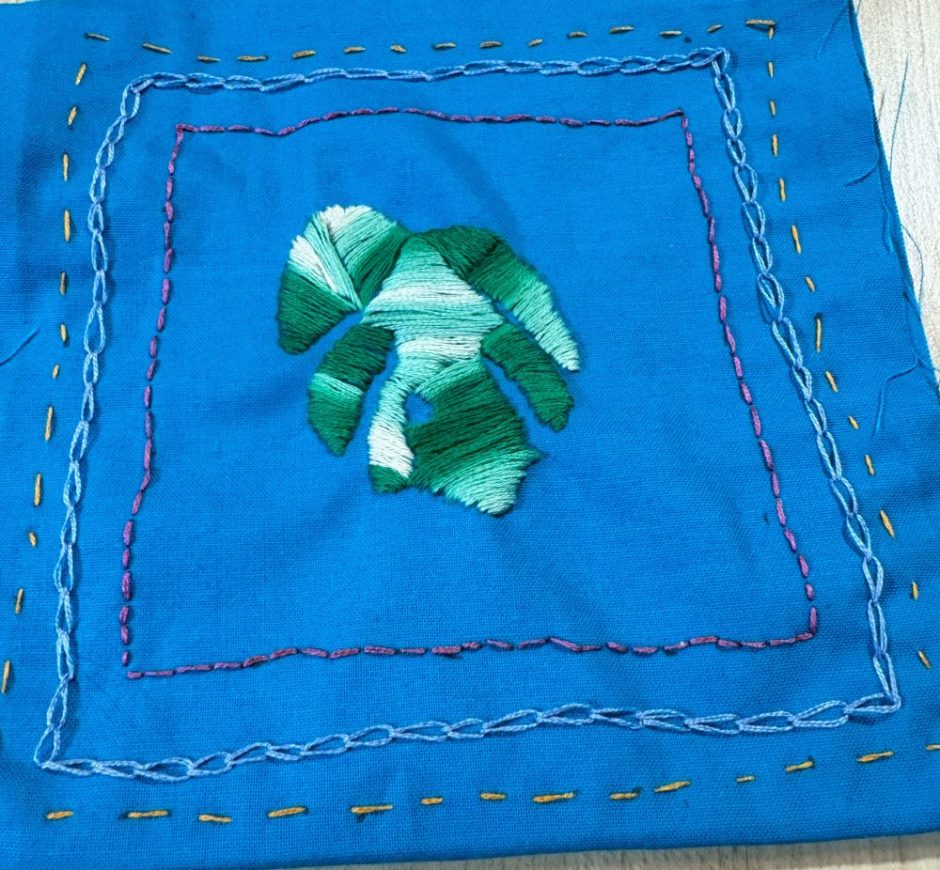
Here I decided to use variegated green thread and satin stitch to “color in” the leaf shape. This part takes a long time, I’m not going to lie. I had to break it up over a couple of days because my hand got tired. But I love the results.
As you can imagine I didn’t really plan out how I wanted to stitch it so I started by filling in the individual fronds and then worked the middle part of the leaf. I think it’s really fun.
Finishing Your Easy Embroidery Sampler Project
It’s a little hard to see in the photos, but I added a couple of French knots in the chains. I was thinking about adding some feather stitch in the background but I think I like it like it is.
The great thing about making things yourself is that you get to decide when it’s done, and you can always change it up later if you want.
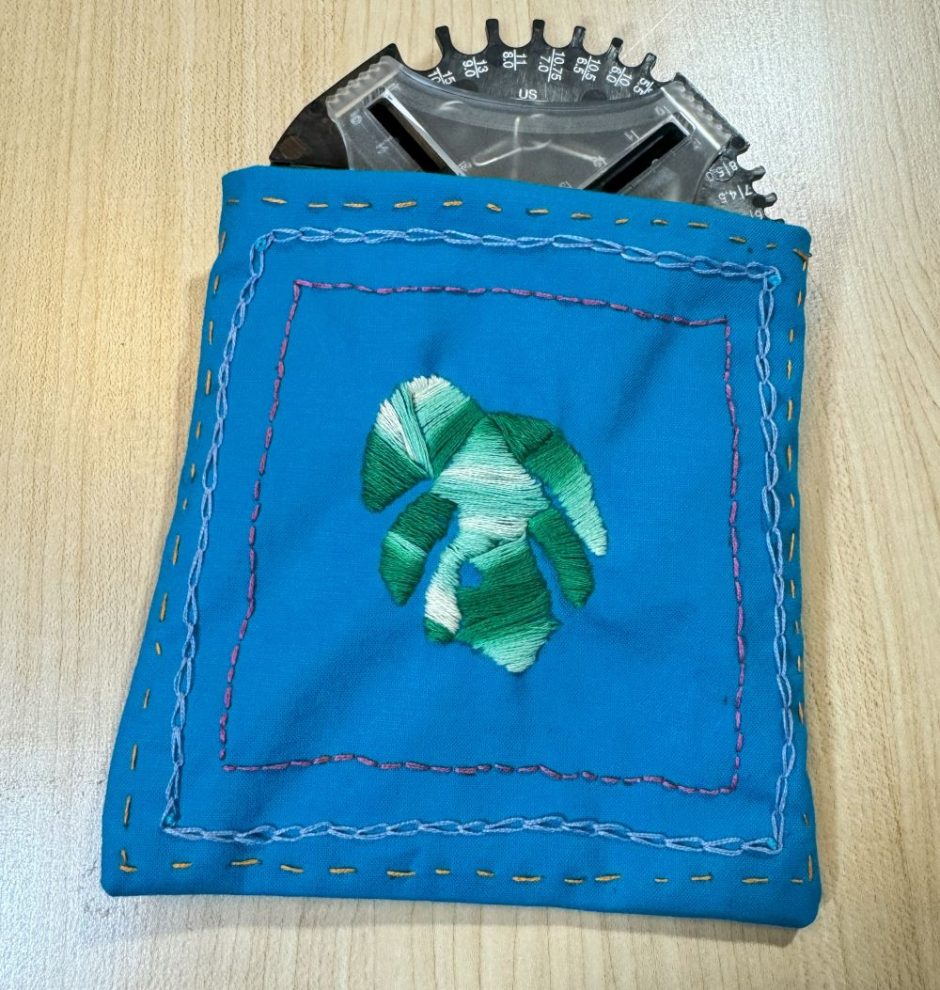
Since I was making mine into a little bag, the last thing to do was turn the sampler right sides together, fold over the seams at the top where I pressed them and sew the side seams. I used a sewing machine but this could be sewn completely by hand as well if you like.
I didn’t finish the top seams but I might stitch them down by hand, or just use fabric glue. Not using the machine was my choice because I didn’t want the stitching to show. You might also want to cover the back of the stitching with another piece of fabric so whatever you put in the bag doesn’t get caught on the stitching (I haven’t done that yet but probably will).
There you have it! A super easy embroidery sampler turned super cute bag. You could do the same thing to make a little gift bag, Kindle cozy, little pillow or just to frame and keep in your crafting space.