Affiliate links may be included for your convenience. View our privacy and affiliates policy for details.
This quick little visible mending embroidery project solved a problem for me, and hopefully it will also inspire you to fix a little something that’s been bugging you.
I have a bunch of old tank tops that I wear basically as undershirts/workout shirts/in place of bras. I love them. They’re comfy, they fit well, they add an extra layer of warmth.
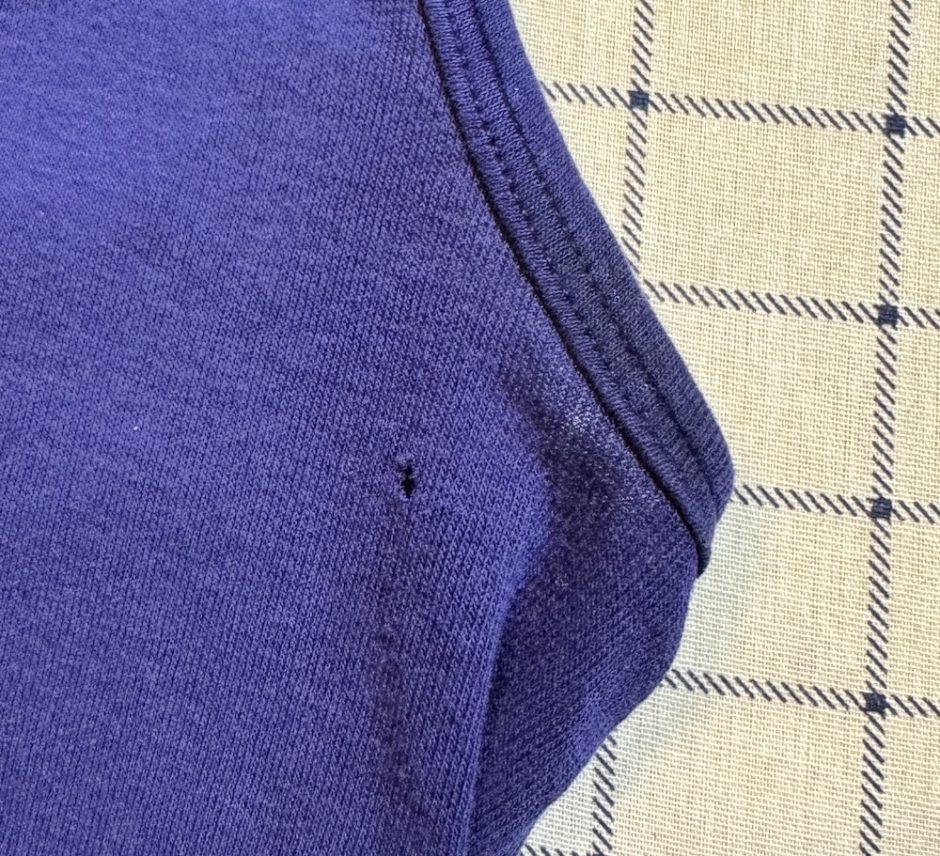
But they are old and they’re starting to look it. Like this one, with this little hole that’s getting bigger all the time.
There are a lot of ways to fix or cover a hole like that, but I wanted to play with some visible mending embroidery. Here’s how I did it.
Visible Mending Embroidery Tools
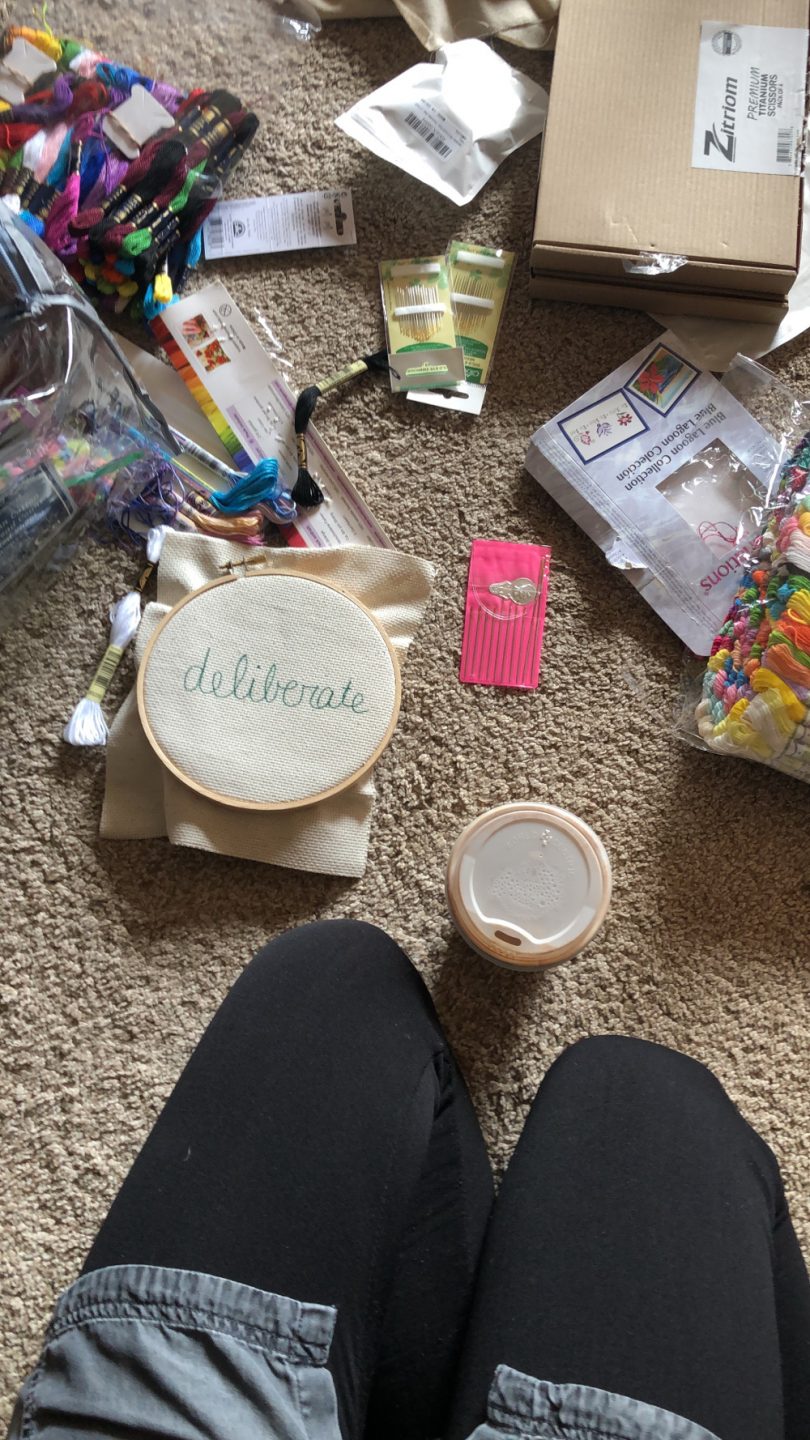
Because this is a very basic project and I’m not about buying special tools if I have something that will work, I very much just used what I have on hand.
I grabbed a few colors of embroidery floss I thought would look good together.
I found a needle of reasonable sharpness that I could fit three strands of embroidery floss through the eye of. (But I could definitely use some new needles!)
And my thread cutting scissors are pretty much always on my desk. That’s really all you need!
Learn more about getting started with embroidery here.
How to Mend a Hole with Embroidery
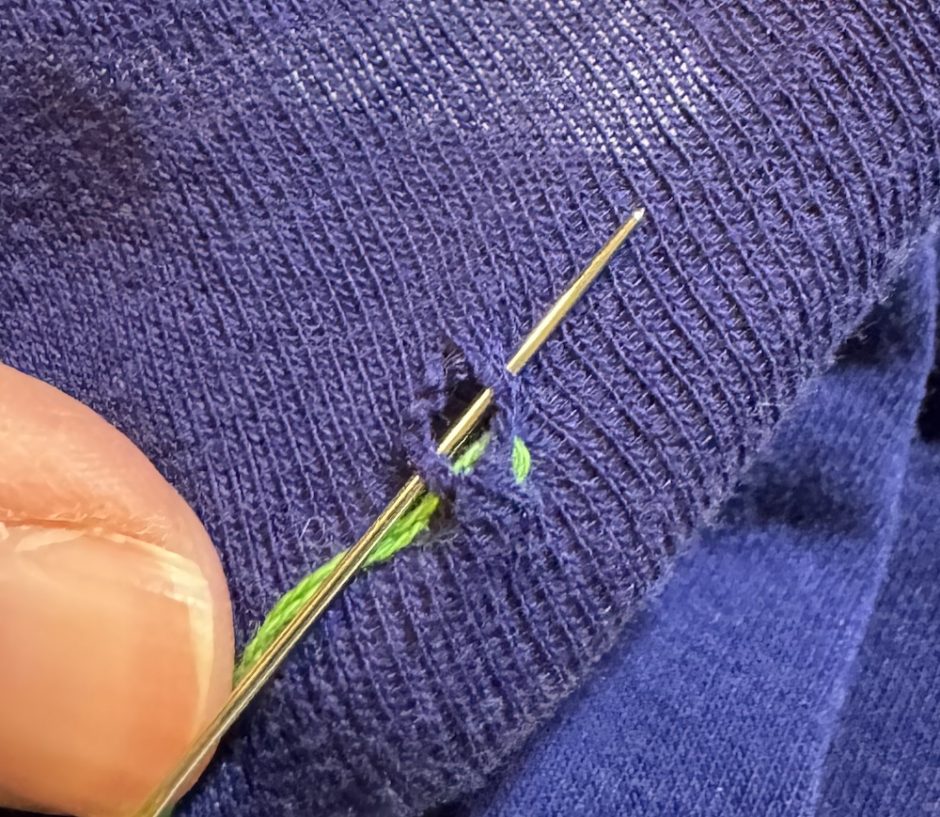
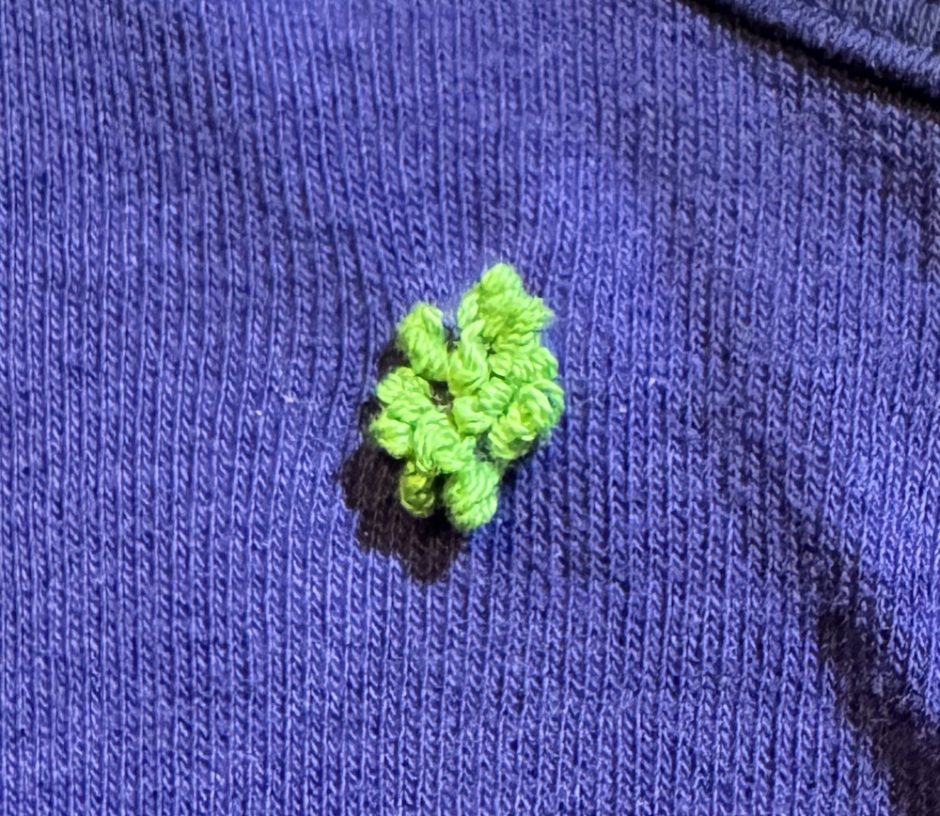
This hole was pretty good sized, so I wanted to close it up before I did visible mending embroidery on top. So I tied a knot in my thread and stitched a few stitches across the hole to close it up.
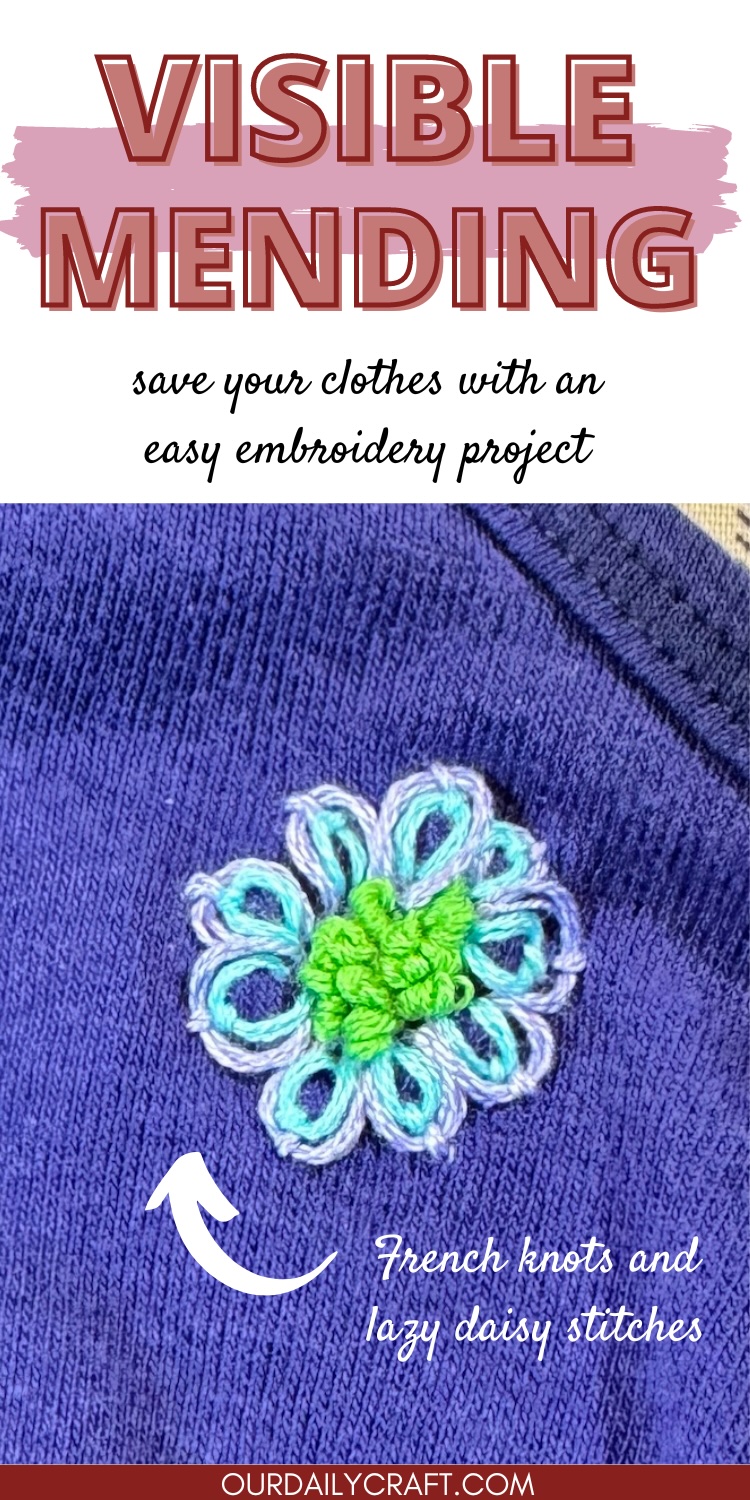
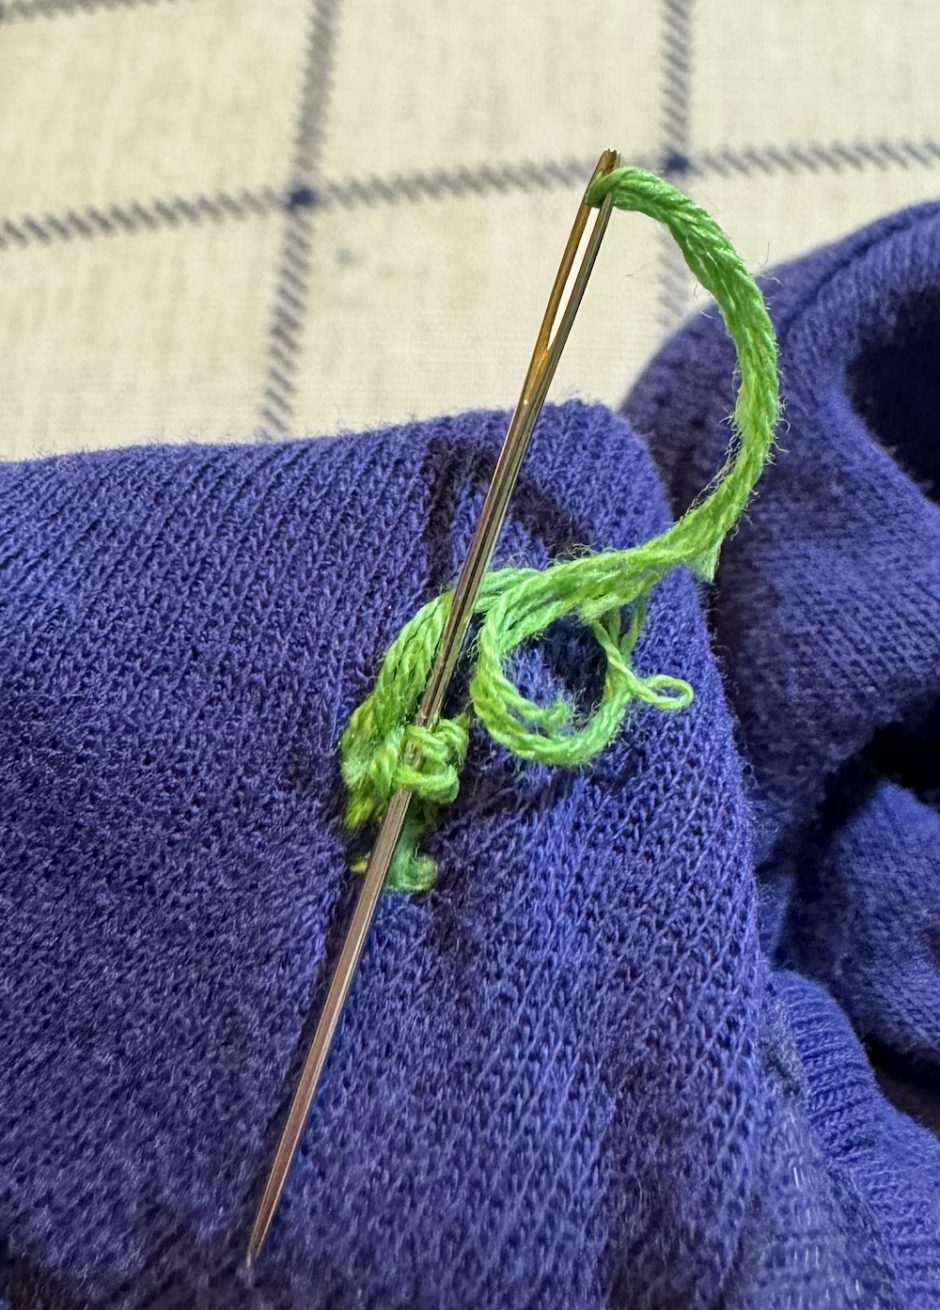
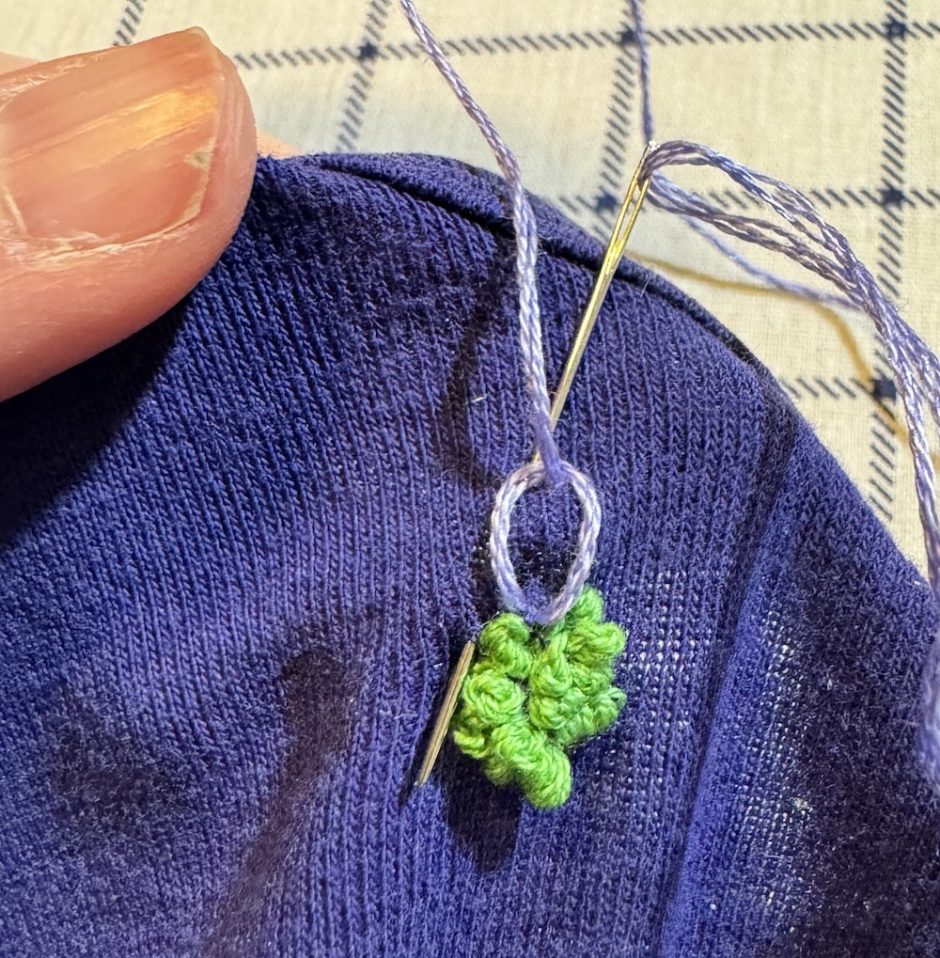
I knew I wanted to use French knots to actually cover the hole, so I started adding a bunch. If you don’t know how to make a French knot, it’s really simple:
Bring your needle through the fabric from back to front where you want your knot to be.

Wrap the yarn around the needle a few times (I used three times on these).
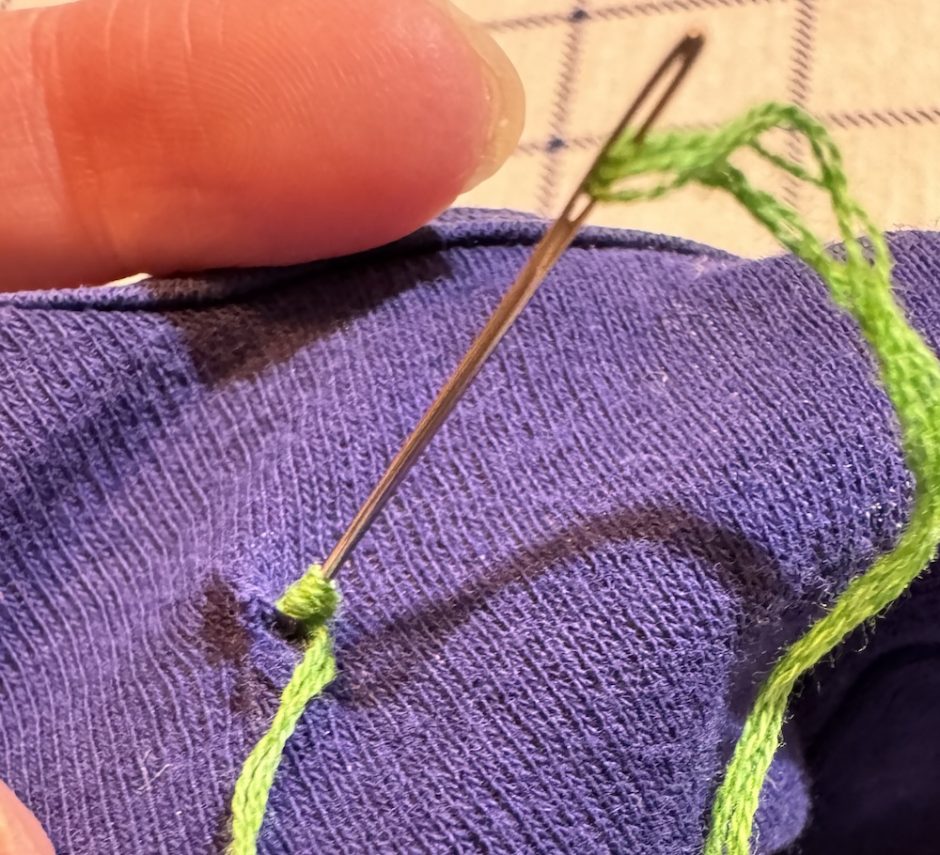
Put the needle back through the fabric close to where it came out before. Pull through so the knot forms on top of the fabric.
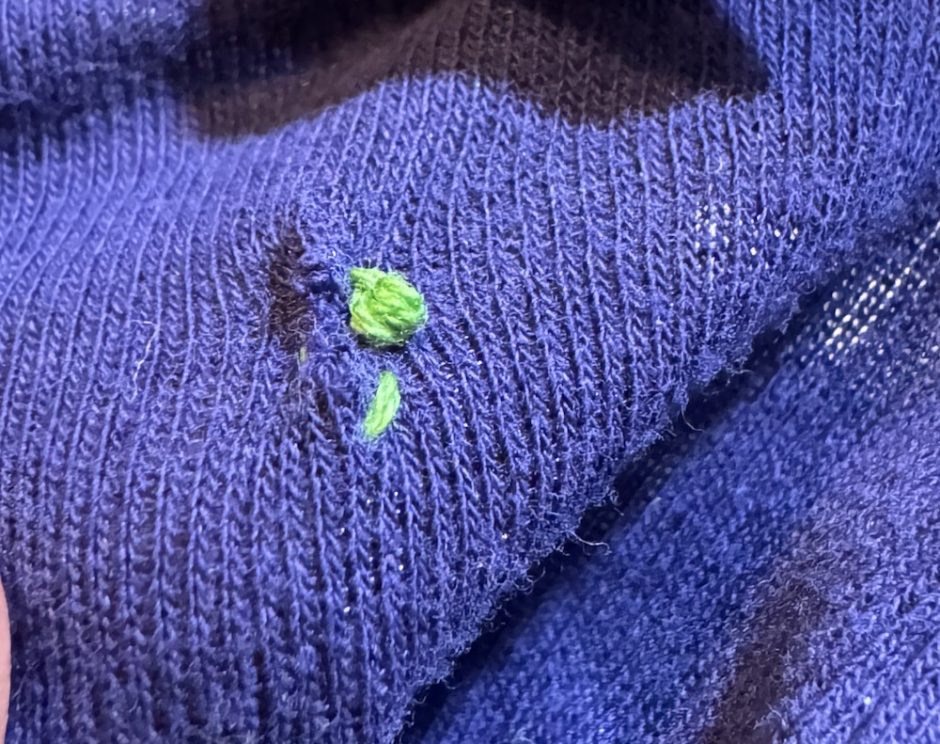
When you’ve added as many stitches as you like, be sure to secure the thread on the back by burying the end and/or tying another knot.
Adding More Embroidery
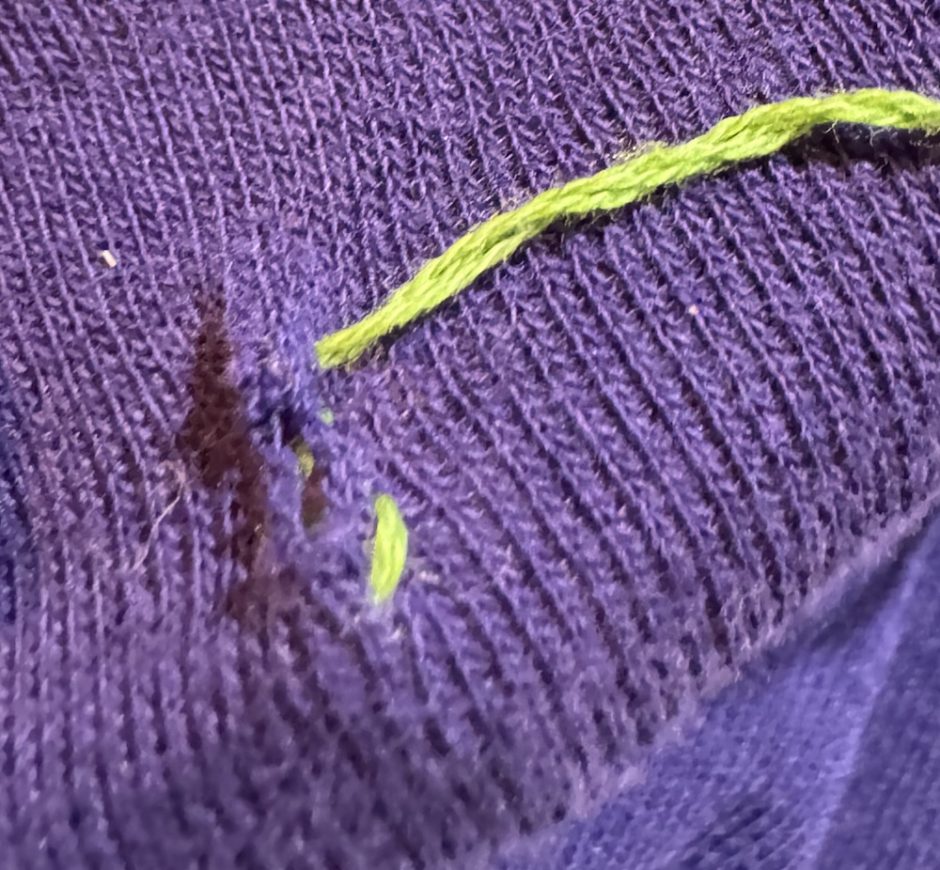
When I decided I’d done enough French knots I decided to add some lazy daisy embroidery around the knots to make it look like a flower. How to stitch lazy daisy stitch is really easy, too:
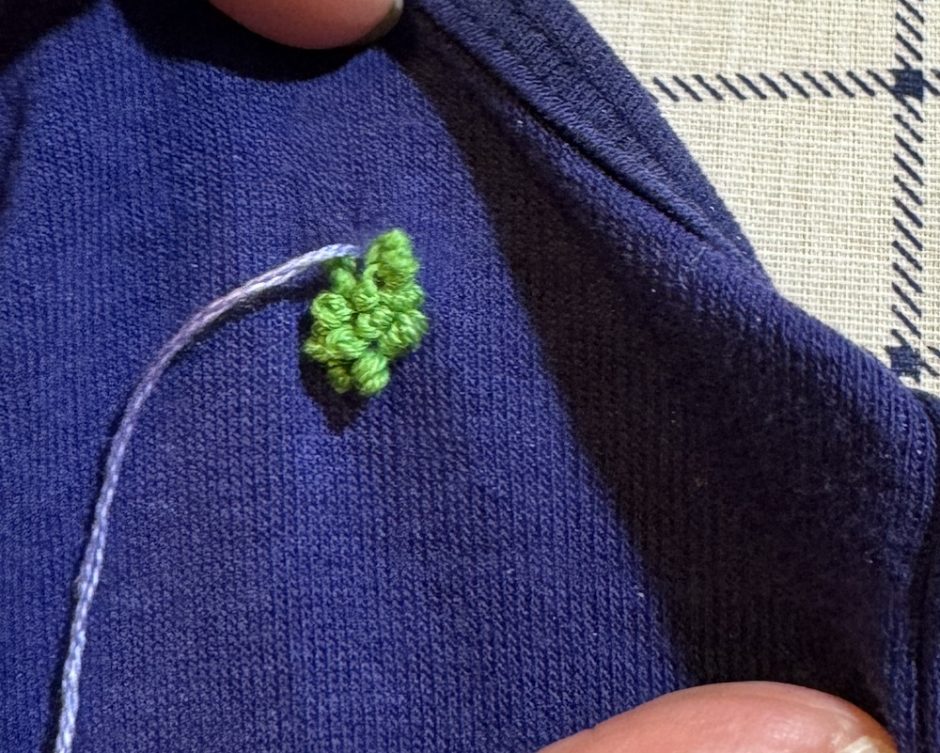
Bring your needle through the fabric from back to front where you want your petal to start.
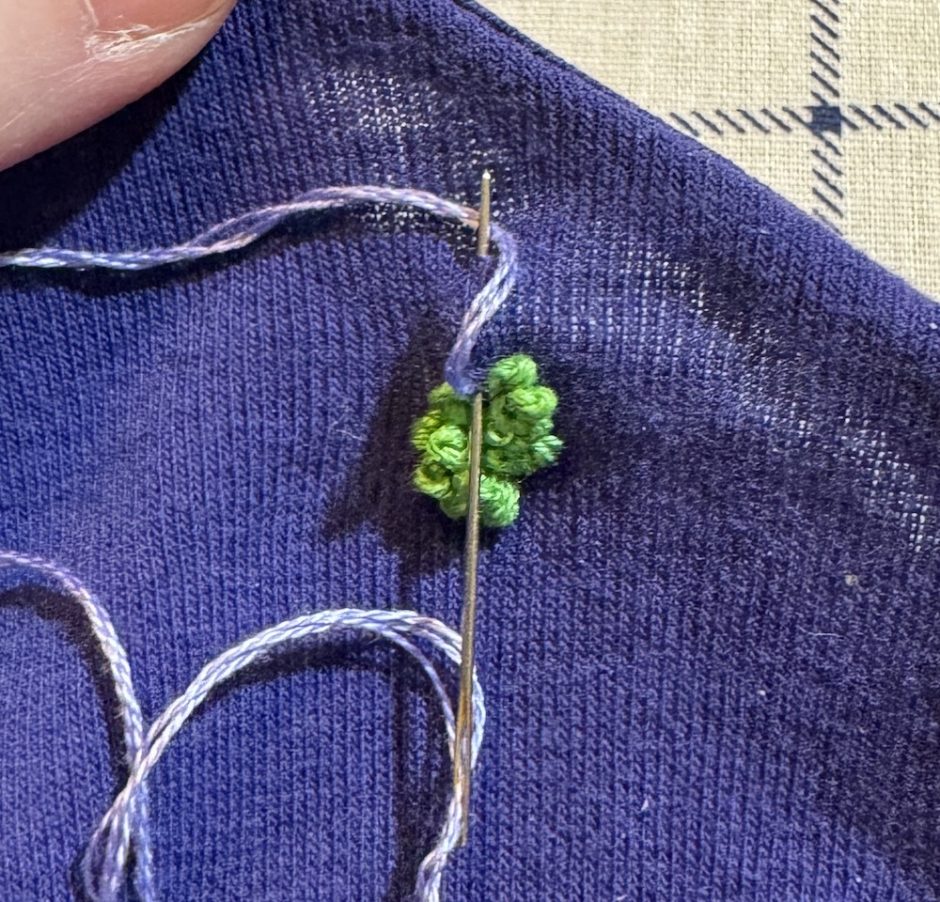
Put the needle back in the fabric next to where you just came up, but instead of pulling the needle all the way through, bring it back up to the front where you want the end of your petal to be.
Make sure the working thread is wrapped around the needle so a loop of it will get caught as you pull the thread through.

Tack the end of the petal down by taking the needle back through the fabric to the back of the work.
You can just go through the fabric to the back and pull through or you can take the needle to the back but have it come back up where you want the next stitch to start.
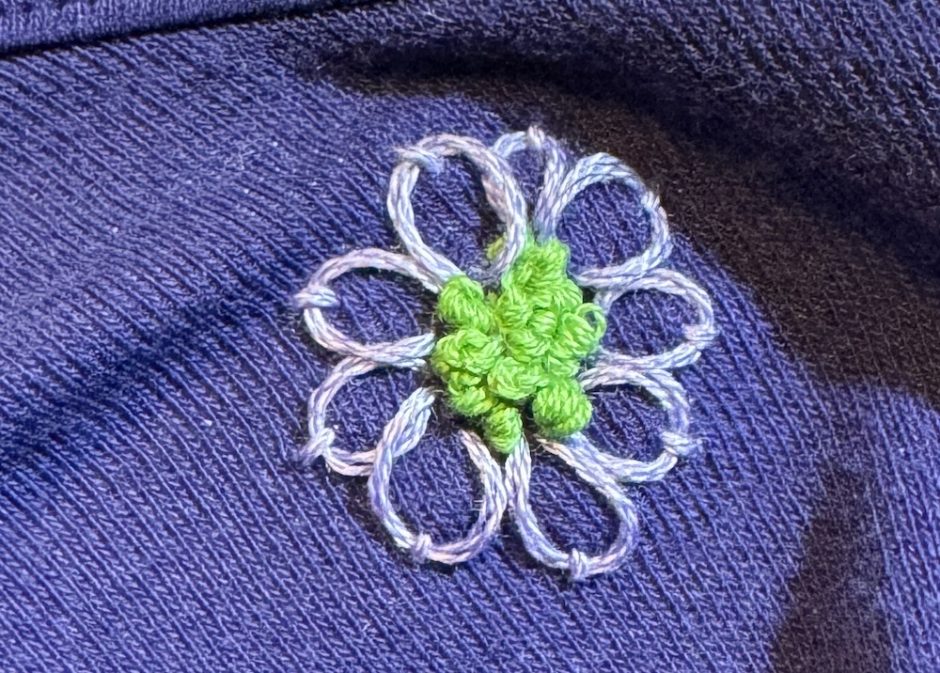
I did a bunch of these in one color.
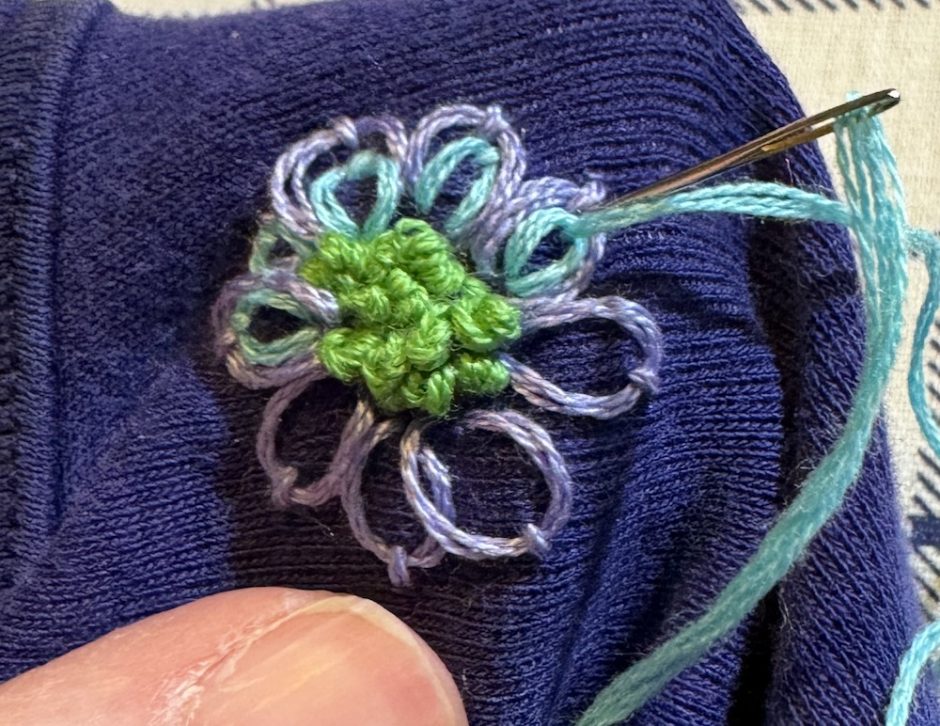
Then since I had three colors out, I did a smaller lazy daisy stitch inside each stitch in another color.
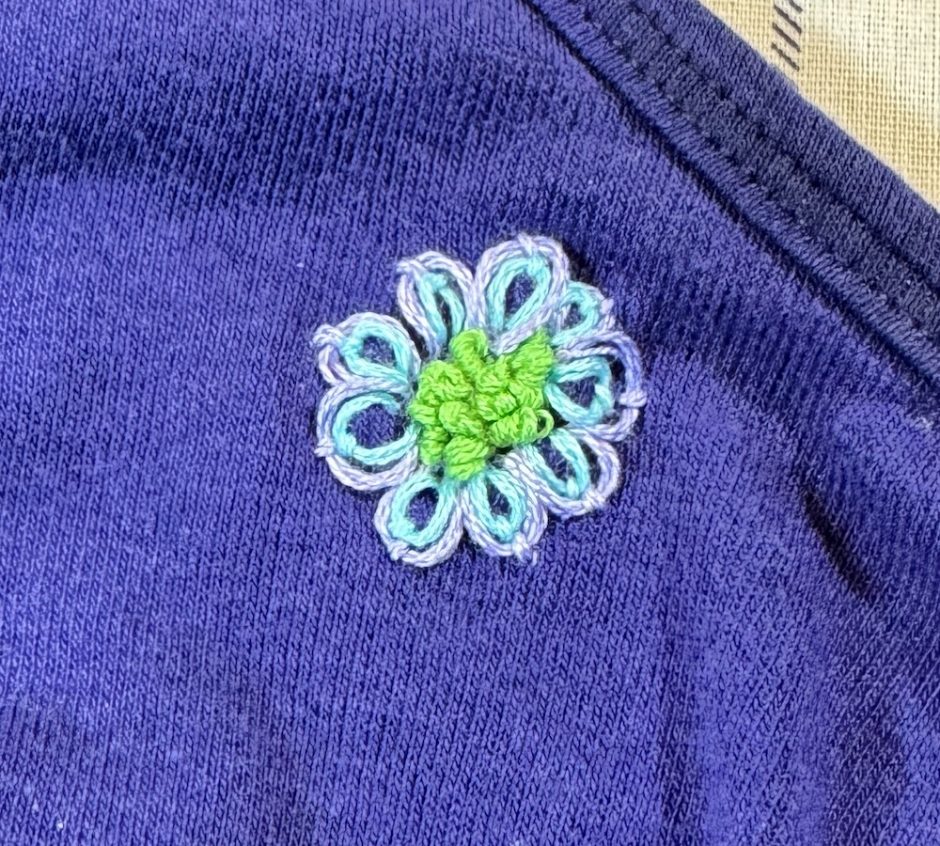
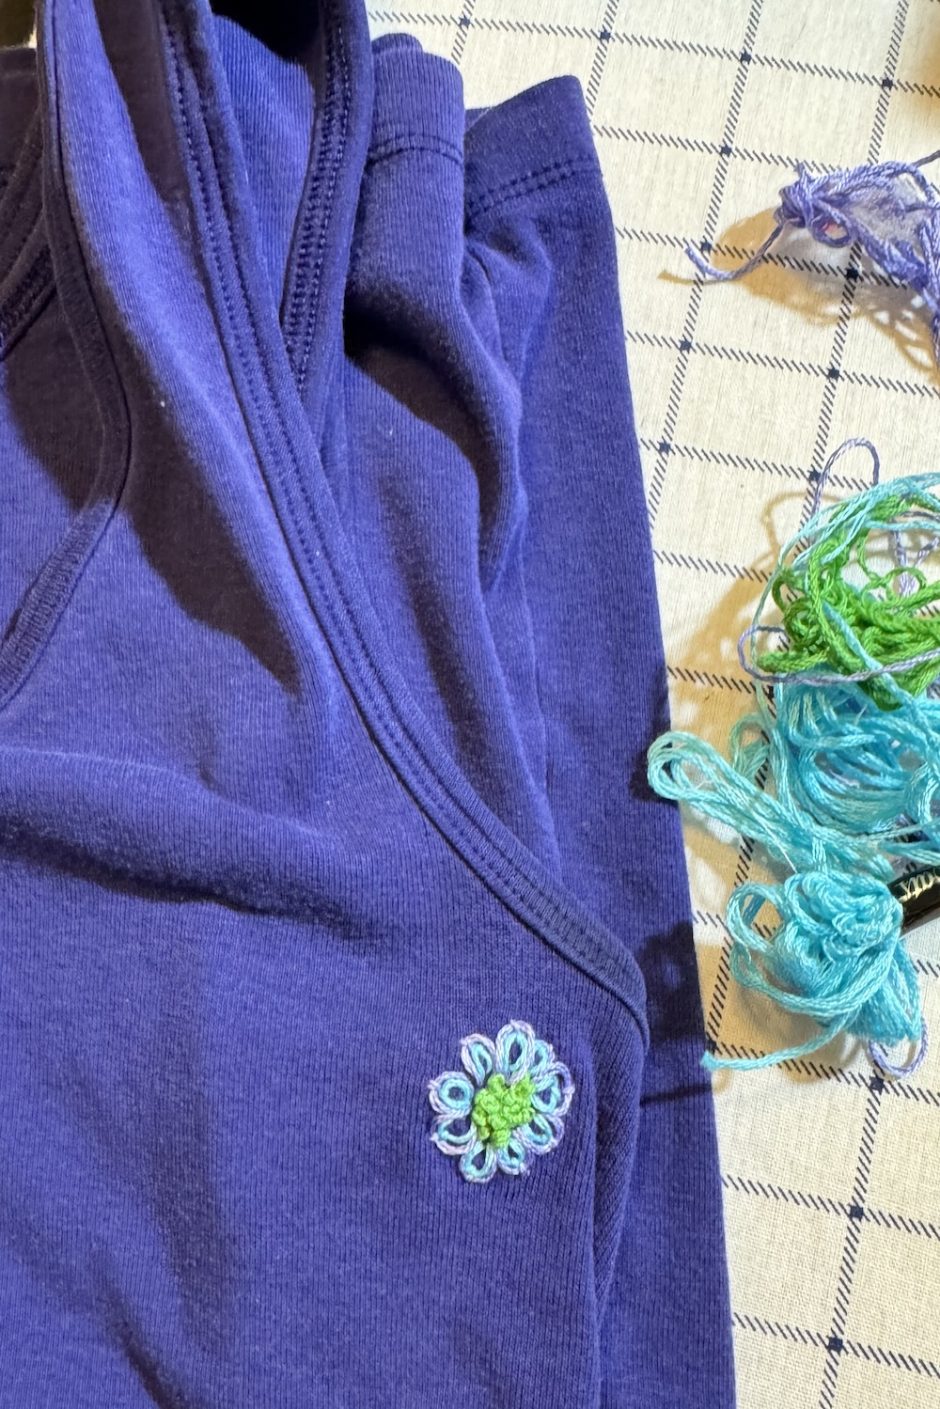
That’s it! This visible mending embroidery project only took about 30 minutes (and that’s with stopping to take pictures along the way).
Now my shirt is reinforced, and it looks a little cuter in a way that will make me smile every time I wear it. How great is that?