Affiliate links may be included for your convenience. View our privacy and affiliates policy for details.
I consider myself a pretty adequate, if still rather beginner, sewer. I’m known how to sew for years and years, but I’ve never really advanced beyond the basics.
I’ve never put in a zipper, for example. I’ve had a serger for more than a year and I’ve never taken it out of the box.
I sew things for the Bit pretty regularly. Mostly skirts. Usually they come out pretty well.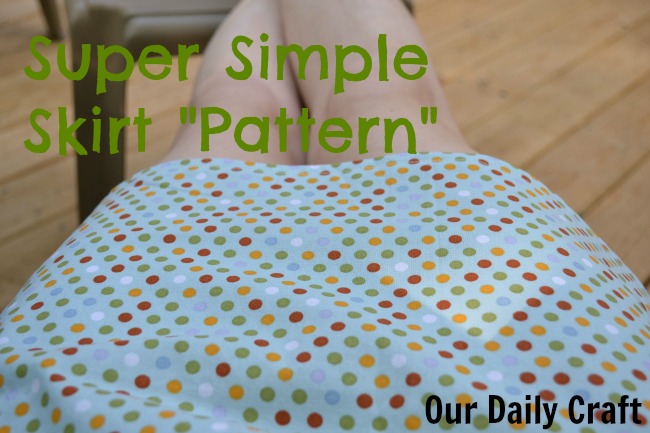
But it’s been it had been a very long time since I’ve sewn something for myself.
And I’d guess I’m not alone in that.
As moms, I think a lot of us feel like if we’re making something, we should be making it for our kids. Or maybe for someone else. But rarely, if ever, for ourselves.
That needs to change.
I’m making it change at least a little bit in my life by taking part in the Summer of No Pants challenge, which technically started yesterday and runs through June 21. It’s partially a sewing challenge — four skirts or dresses sewn for yourself in four weeks — and partly a lifestyle challenge, in which you vow not to wear pants all summer. Thus the name.
Here in Arkansas I’ve thought my personal summer of no pants started a few times already, and then crazy cold weather — or snow in May — happened and sent me back into my jeans. But this weekend may have started it for real. We’ll see if June has any freakish weather in store for us.
But What to Sew?

If you’re a little afraid of sewing for a grown up, like I am, I hope you’ll join me and work on getting over your fear. There are a few great ways to ease into making garments for adults, at least a few of which I’ll be using this month:
- Take a thrifted or unused garment and rework it into a skirt. I have a couple of dresses that may get converted into skirts because the tops don’t fit that well. I may also make a jean skirt, just for fun.
- Use a skirt you love as a patten for a skirt. This is especially easy if said skirt happens to have an elastic waistband.
- Find some patterns with elastic waists to start with. My SONP Pinterest board is full of them. Mostly because I’m a chicken. Also see below for the easiest women’s skirt pattern ever.
- Upsize a kid’s style you love. I’m thinking hard about a grownup bubble skirt. Or a circle skirt. If you’ve made one for your kid, you know you have all the skills you need to make one for yourself.
- Make the fabric interesting and the skirt simple. I’m thinking about finally finishing up my tie fabric and making a simple A-line skirt that wouldn’t look simple at all.
- Don’t be afraid to stretch your skills. Yes, I don’t know how to put in a zipper yet. Or draft a skirt pattern. But I can learn. And I hope by the end of this month I will have learned.
Maybe I’ll even get that serger out of the box.
Start with a No Pattern “Pattern”
I know I just said up there it’s been a long time since I sewed something for myself, but that’s actually a lie because I made a skirt while I was writing this post. (Not literally. I was not typing and sewing at the same time. But you know what I mean.) I had to prove to myself that I had done it so I could sew for a woman again a few times over the coming weeks.
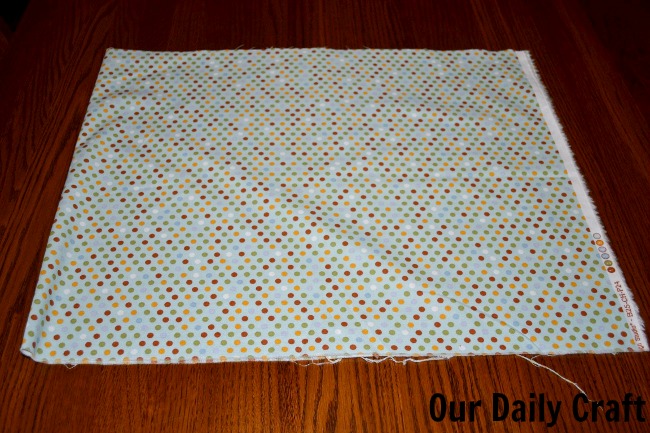
All you need is a length of fabric, or actually a width of fabric of your choice. It can be any width as long as its wider than your widest part. Mine happened to be 44 inches, which is plenty to get around me.
The length can be a long as you want. Mine was 17 inches because that’s how much fabric there was.
You also need a sewing machine and thread, a piece of elastic as long as you are around at the point you want your skirt to fall (or slightly smaller, even) and an iron.
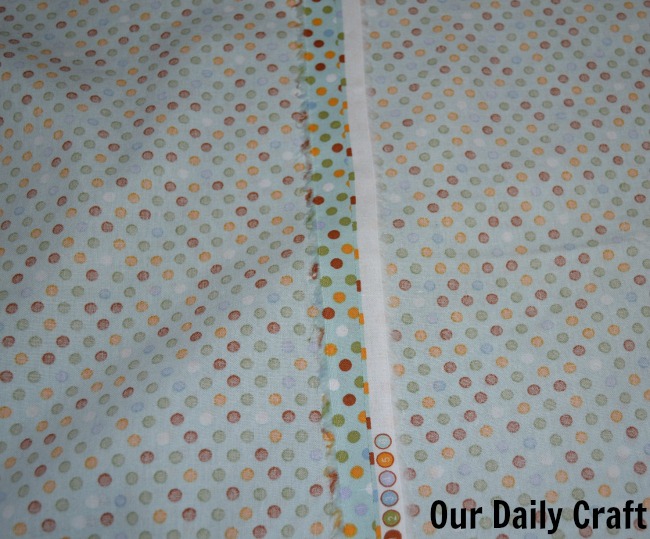
- Fold your fabric in half across, right sides together and sew a seam. You can make it whatever width you want. These are selvedge edges on my piece, so I made my seam wide enough that the selvedge wouldn’t show on the right side. You can zig-zag these edges if you want; I didn’t, they’re selvedges. Press the seam open.
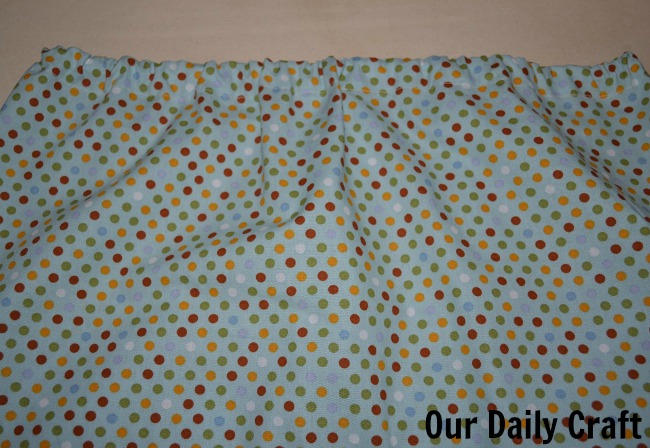
- Using the iron, fold and press down a little bit (quarter to a half inch) of fabric along the top edge, then fold down and press again about an inch down, or enough to cover your elastic (mine was 3/4 inch). Pin if desired and sew the seam, leaving a couple of inches open. Thread in your elastic using a safety pin, sew the ends of the elastic together, overlapping a bit, then make sure all the elastic is tucked in and sew the rest of the waistband closed.
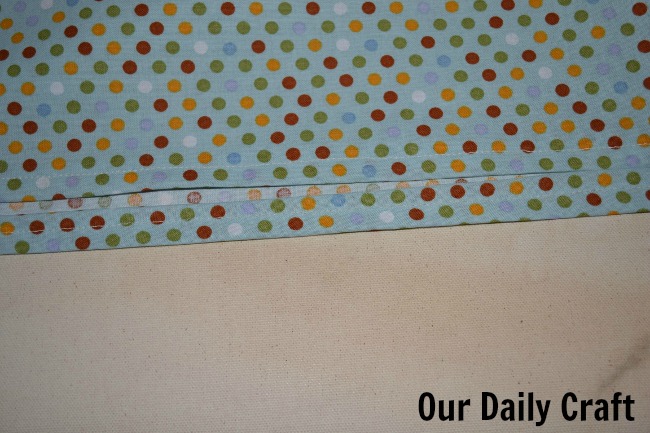
The finished hem. No, it’s not uneven, that’s just to show inside and outside. Pretty, no? - Do the same fold, press, fold, press maneuver on the hem and sew your seam.
Because the waistband is the right width for you, the fabric will cinch up at the waist, giving you a straight skirt that still gives you plenty of room for walking.
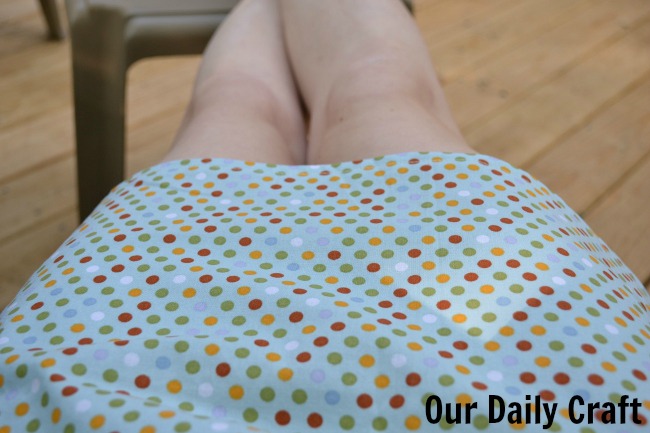
I think it’s pretty darn cute, and if I’d worked on it straight through it probably would have only taken about half an hour to make. You probably can’t do better for simple skirt sewing for women. (And if you can, please tell me! I love easy.)
Want to Join?
You can join in on the Summer of No Pants by subscribing to the newsletter. You can also enter the Pinterest contest for a chance to win an awesome prize pack from Bernina, Colette Patterns and Craftsy (or the grand prize, which is a Bernina machine).
Need more sewing inspiration? Check out Marigold’s SONP Pinterest board.


2 Comments
Seriously glad to see someone from Arkansas close to my area in NWA doing a blog. I had started one but sadly it got derailed. Maybe I can be inspired by yours to get restarted. 🙂 Thanks for the skirt tutorial and have a blessed week!
Oh my goodness, you need to check out http://arkansaswomenbloggers.com. There are a ton of us! 😉 And thanks for visiting!