Affiliate links may be included for your convenience. View our privacy and affiliates policy for details.
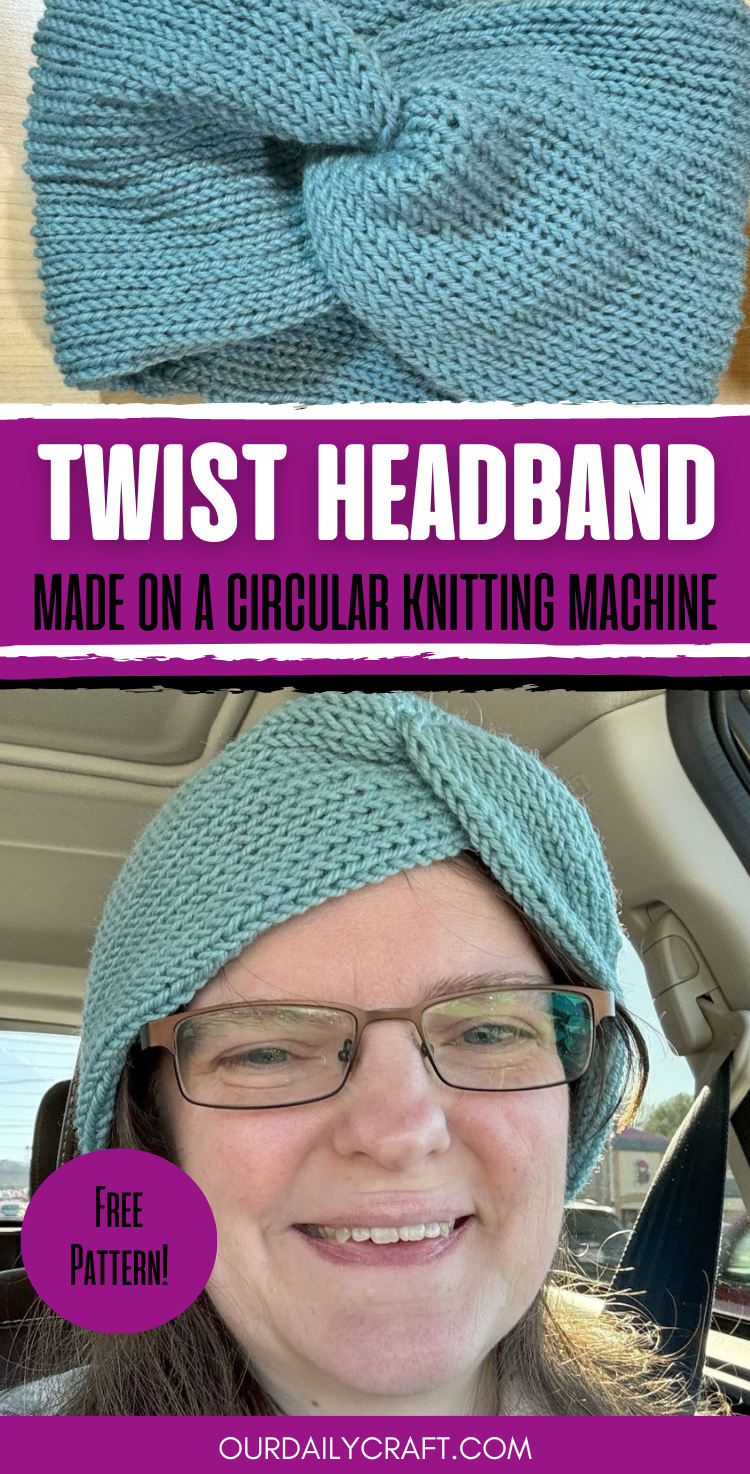
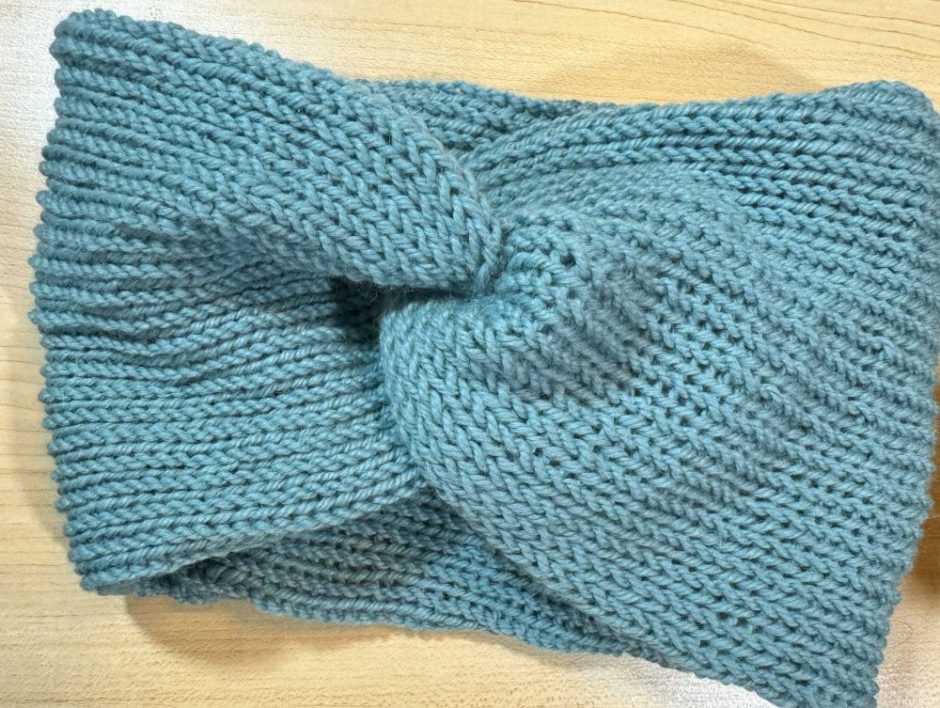
It’s easy to make a twisted headband on a knitting machine, whether you have a Sentro or an Addi. They’re super cozy and quick to make, and they make great gifts, too.
I decided to give myself bangs pretty arbitrarily a few years ago, and I decided just as abruptly that I’m ready to grow them out again. They’re at that stage where one day I think they’re finally long enough to behave themselves and the next I wonder what I’ve done to my head.
Enter the knit headband. These wide headbands can be worn over or behind the ears, and they smooth down and hide the really random stuff going on with my hair. I need about 20 of them, which isn’t a problem because they don’t take long at all to make.

Make a Twisted Headband on a Knitting Machine: Supplies
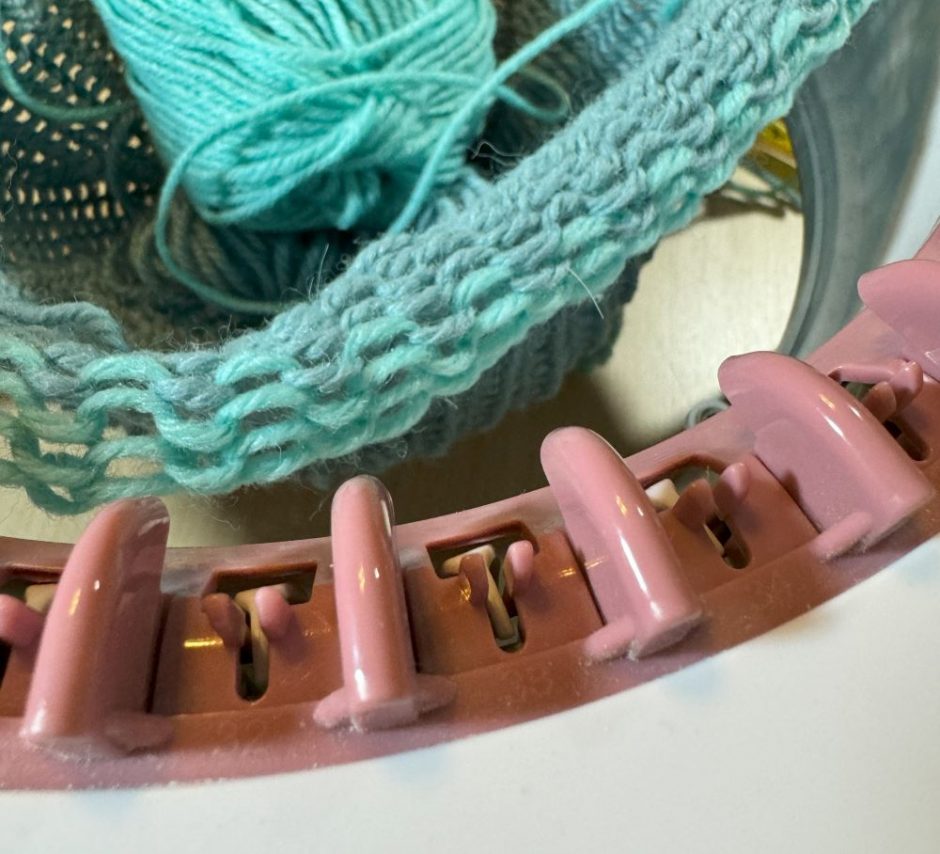
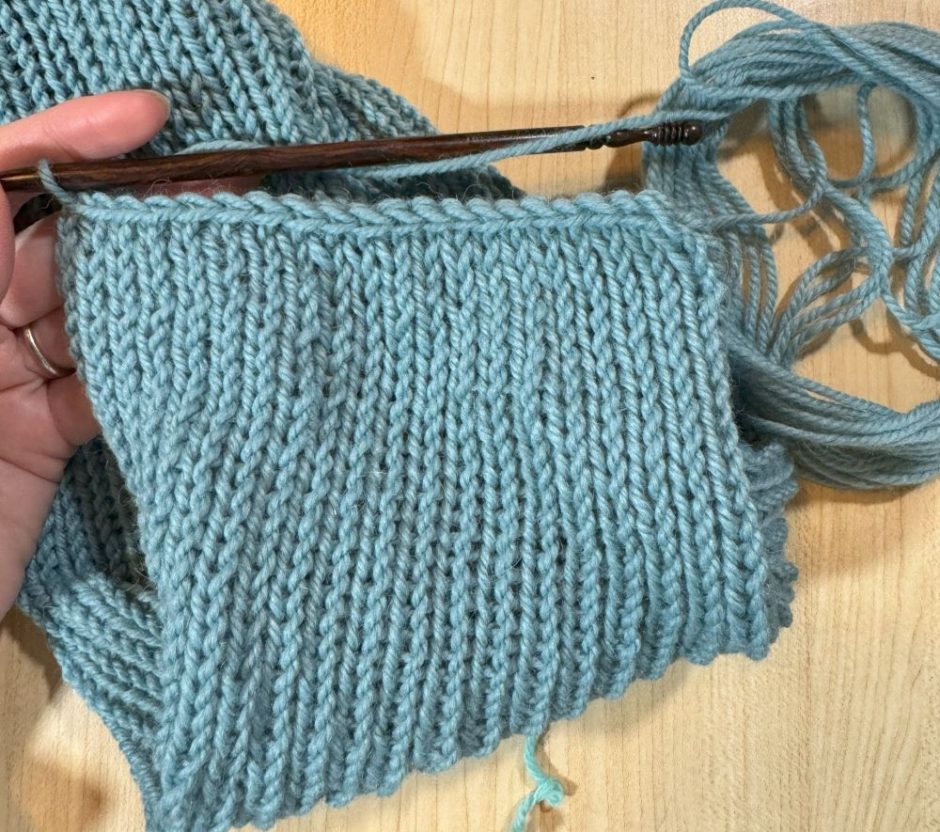
All you need to make a twisted headband on a knitting machine is some yarn and, well, a knitting machine. I made this one on a Sentro 40 pin, but whatever one you have, Addi or Sentro, 22 or 48, you’ll just end up with a slightly wider or narrower headband.
You can use weight 3 or 4 yarn, that’s DK or worsted weight, on a circular knitting machine. Here are a few of my favorite yarns for the Sentro. The one shown was made with about 150 yards of Berroco Ultra Alpaca, a luscious blend of alpaca and wool that’s perfect for a headband/ear warmer you want to use on colder days. Mine is the color Zephyr.
You’ll also need a little bit of waste yarn to work a few rounds at the beginning and end of the project. For finishing the ends I used a circular knitting needle, a crochet hook and a yarn needle.
Gauge
If you’re using a type of yarn you’ve already used on your machine, and you have a finished object handy that you can measure, measure how many rounds you got over 4 inches and use that figure to determine how many rounds you need to knit for your headband.
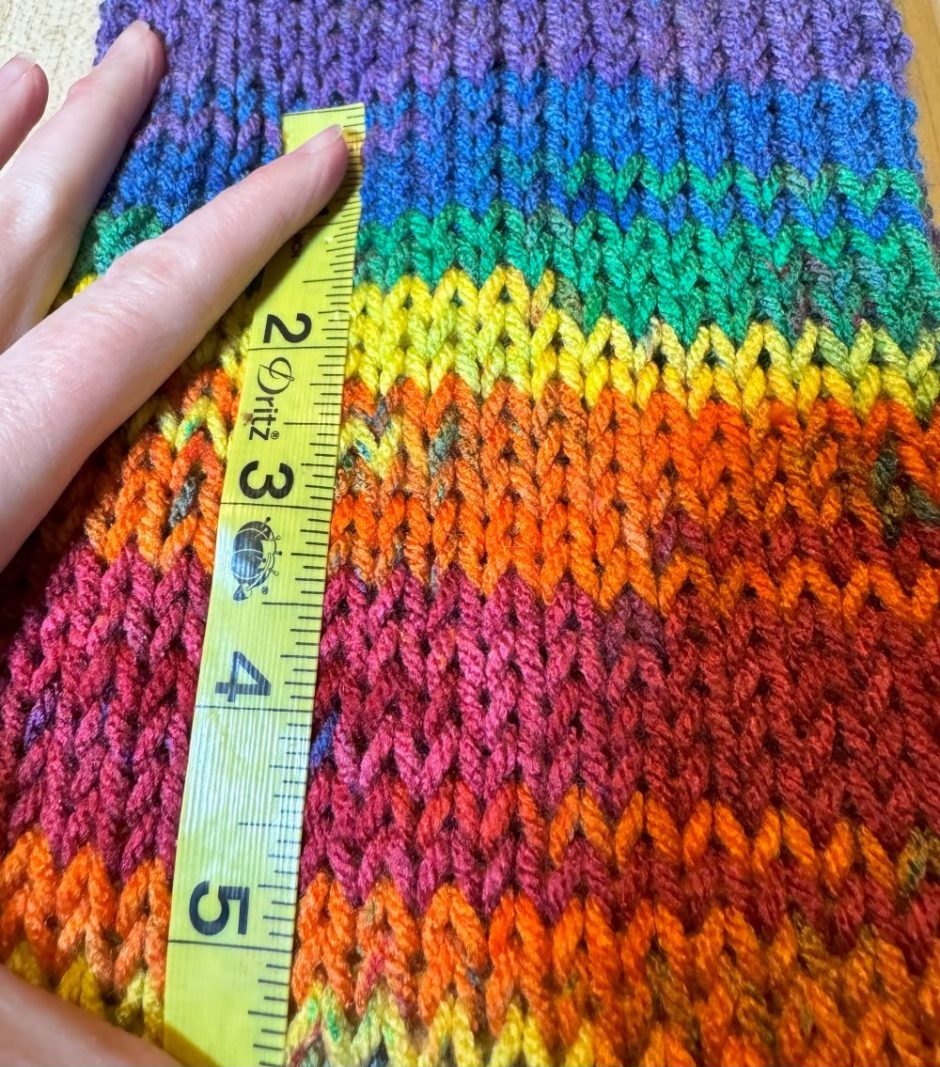
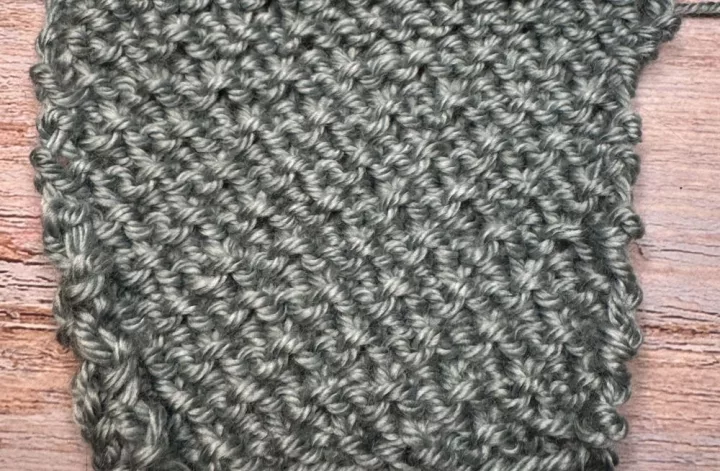
For example, this loop scarf was worked in Big Twist Living yarn, and I have 18 rounds per 4 inches/10 cm, or 4.5 rounds per inch/2.5 cm. If I wanted a headband that measured 20 inches/51 cm around, I would need 90 rounds. If you don’t know your gauge, see below.
Size
My knitting machine twisted headband is about 6 inches/15 cm wide and 20 inches/51 cm around. It should fit a range of heads from teen to adult. To make yours bigger or smaller adjust the number of rounds.
How to Make a Twisted Headband on a Knitting Machine
This pattern is more tutorial than an exact pattern for how to make a twisted headband on a knitting machine. I’ve seen so many different counts for how many rounds you are supposed to need and of course it depends on the gauge you’re getting with the yarn you’re using, too.
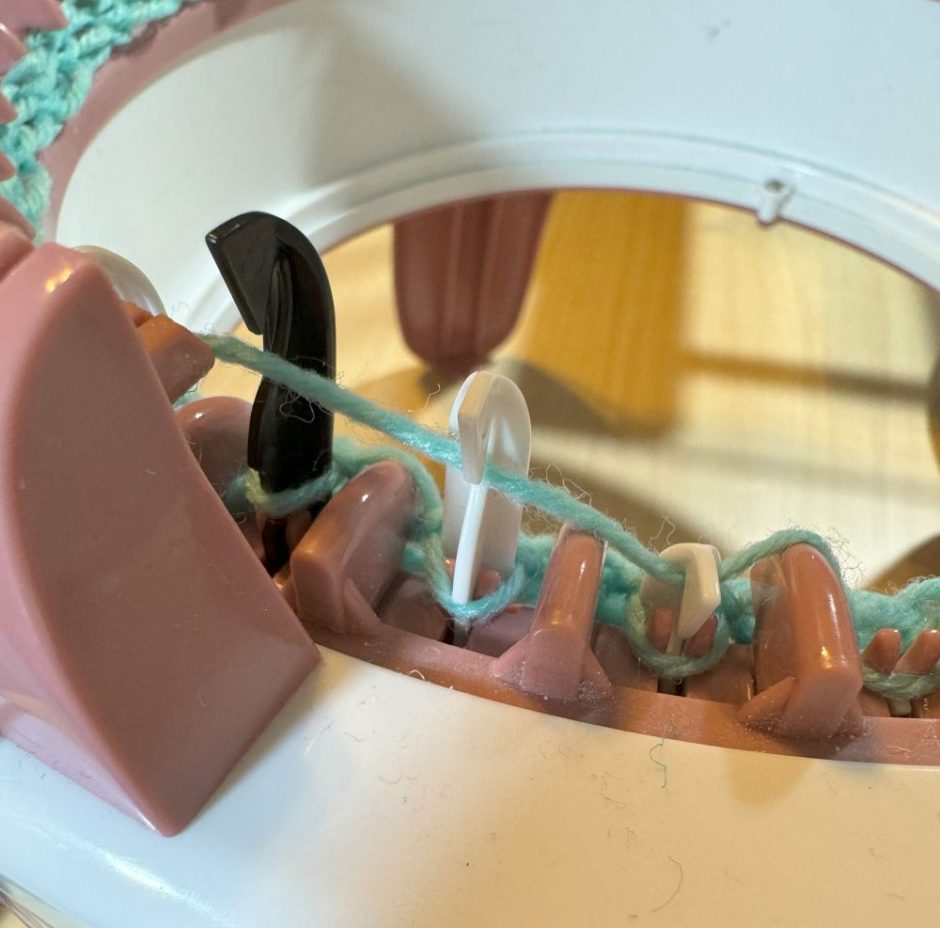
Starting with your waste yarn, cast on and work three or four more rounds. (I usually do one full round after the cast on, then count three more.)
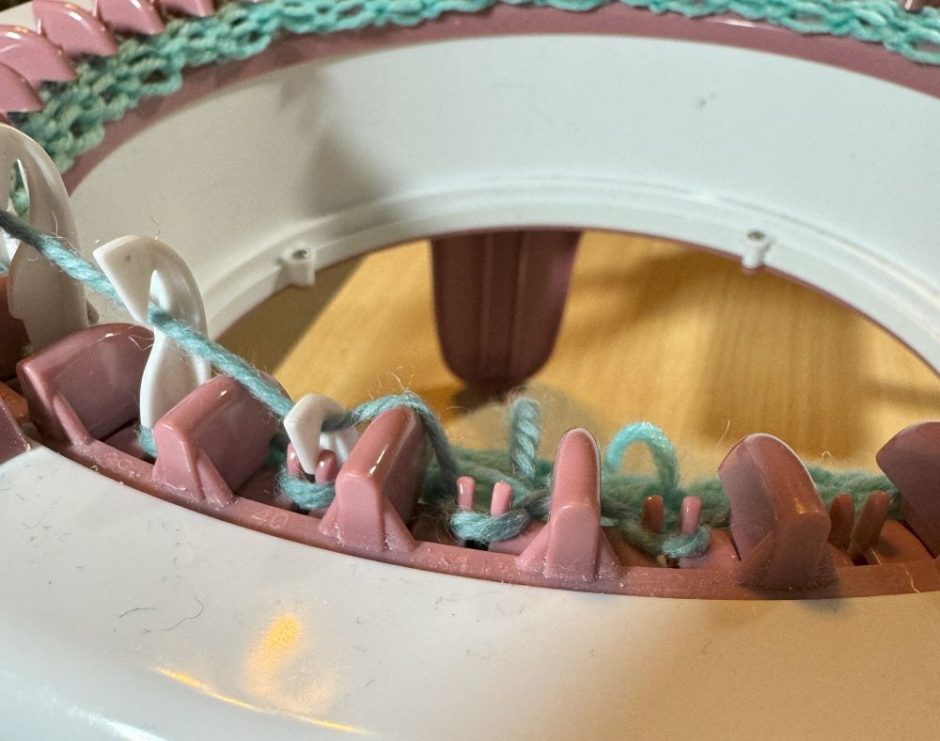
Change to your main yarn and crank as many rounds as you need if you know your gauge. If you don’t know your gauge, crank, counting rounds if you can, until you have enough worked that its hitting the table under your machine. This takes a little bit of the tension off the stitches and will give you a more accurate count.
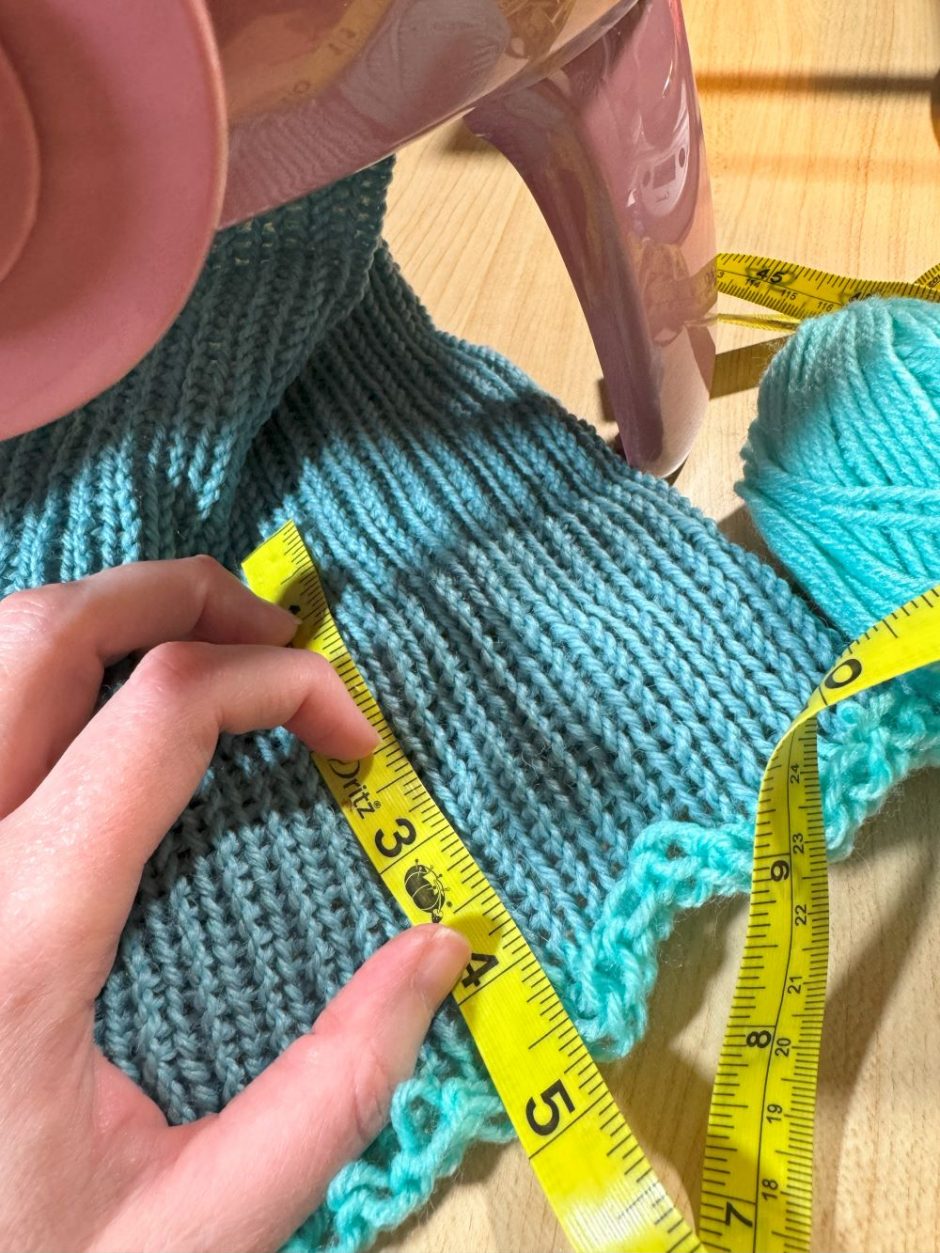
Do your best to measure how many rounds per 4 inches/10 cm you are getting and do the math to determine how many rounds you need for the size headband you want to make. Here I was getting about 24 rounds per 4 inches/10 cm, or 6 stitches per inch/2.5 cm, so I determined I needed to work 120 rounds.
I will note that the stitches will relax further when completely off the knitting machine, so if you want to subtract another inch/2.5 cm worth of rounds from your calculations to account for that you can do so. You may need to knit one and see how you like the fit before you know exactly how tight or loose you want it.
If you end up wanting to make a lot of these, keep a record of the yarn you used and how many rounds you knit so the next time you want to make a twisted headband on a Sentro you’ll know what worked in the past.
Finishing Your Twisted Headband
When you’ve worked as many rounds as you need, work four more rounds with waste yarn.
To get the work off the knitting machine, remove the yarn from the feed and crank around two more times. It should fall right off. Wrap it around your head and if you find it’s too big, you can unravel a few rounds of the main knitting in addition to the waste yarn to make it shorter.
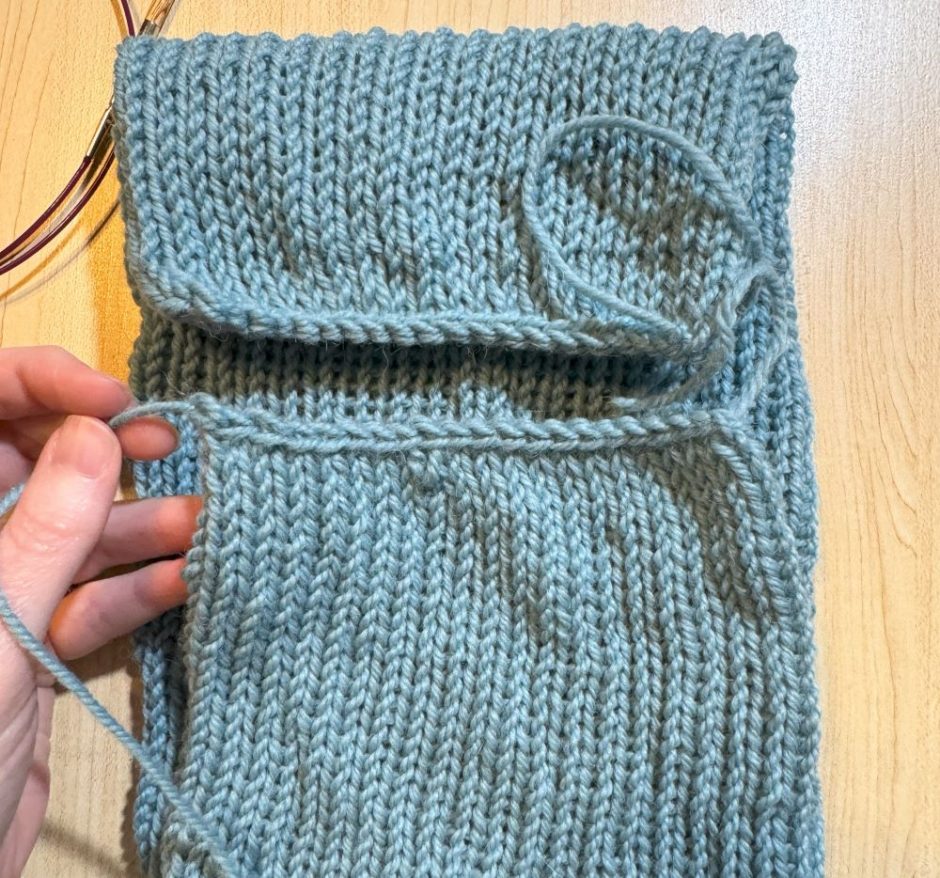
You can finish your ends any way you like, but here’s how I like to do it.
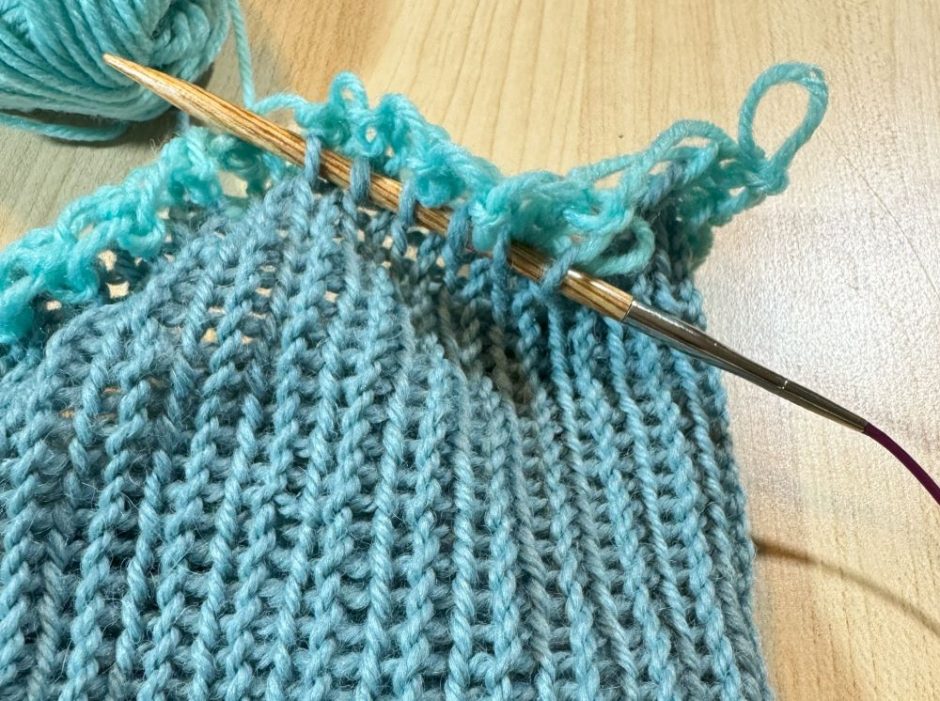
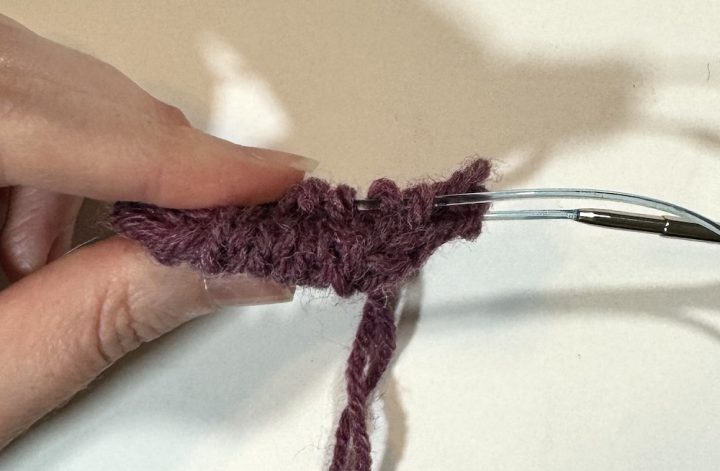
Take a circular knitting needle and pick up one leg of each stitch on the first round of the main color of yarn.
When you have them all picked up you can pull out the waste yarn.
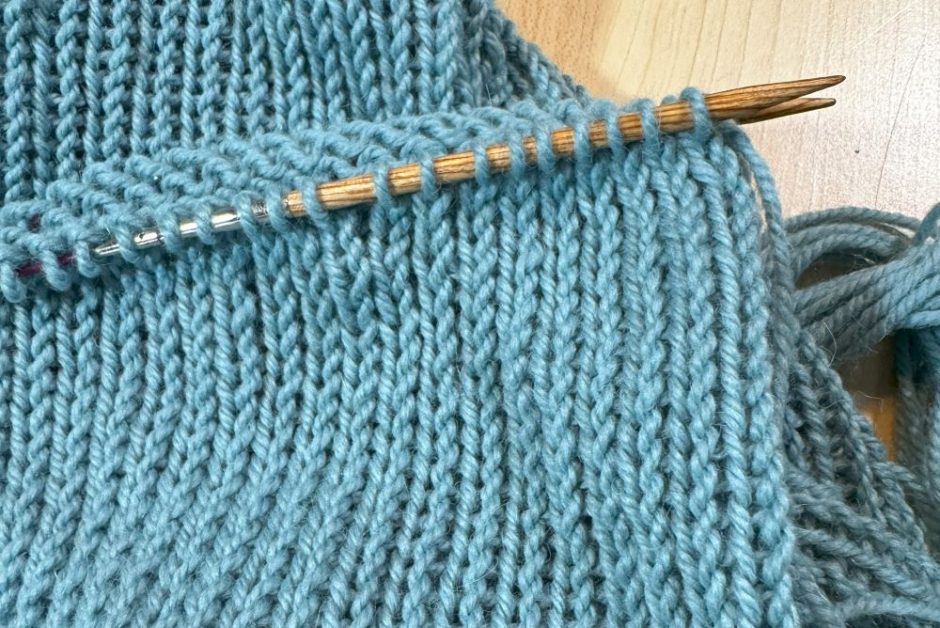
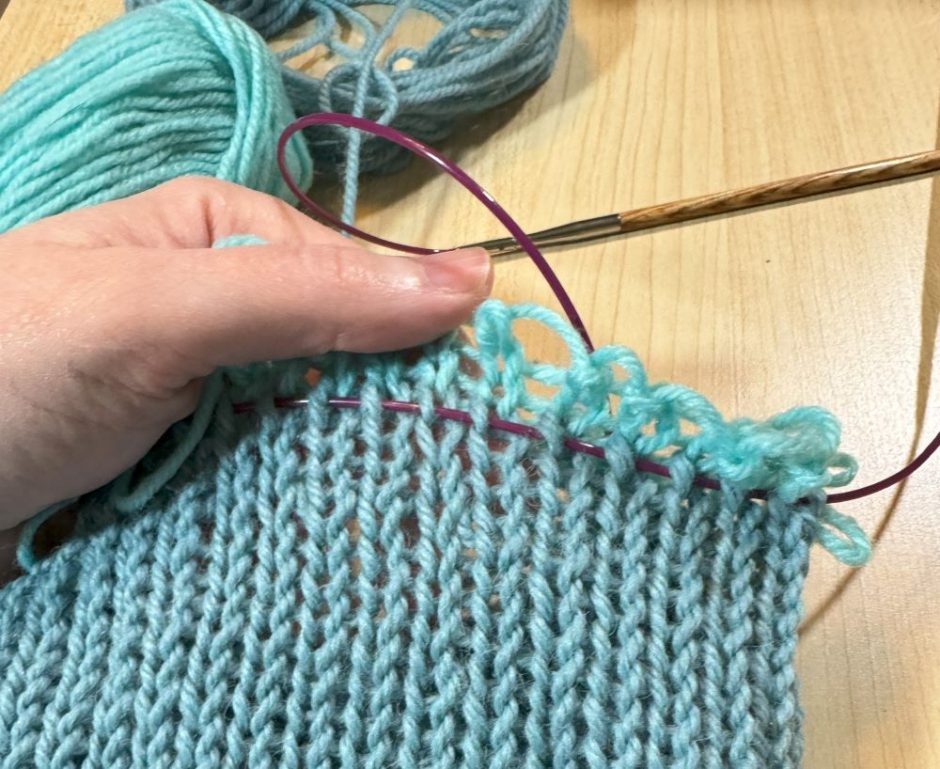
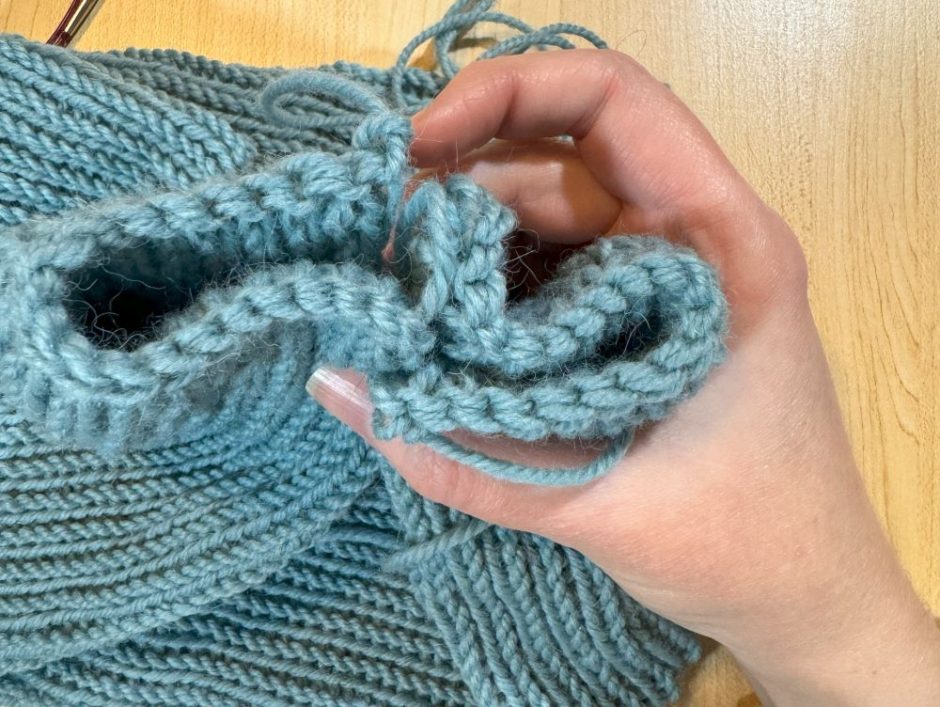
Arrange the stitches so half are on each needle end.
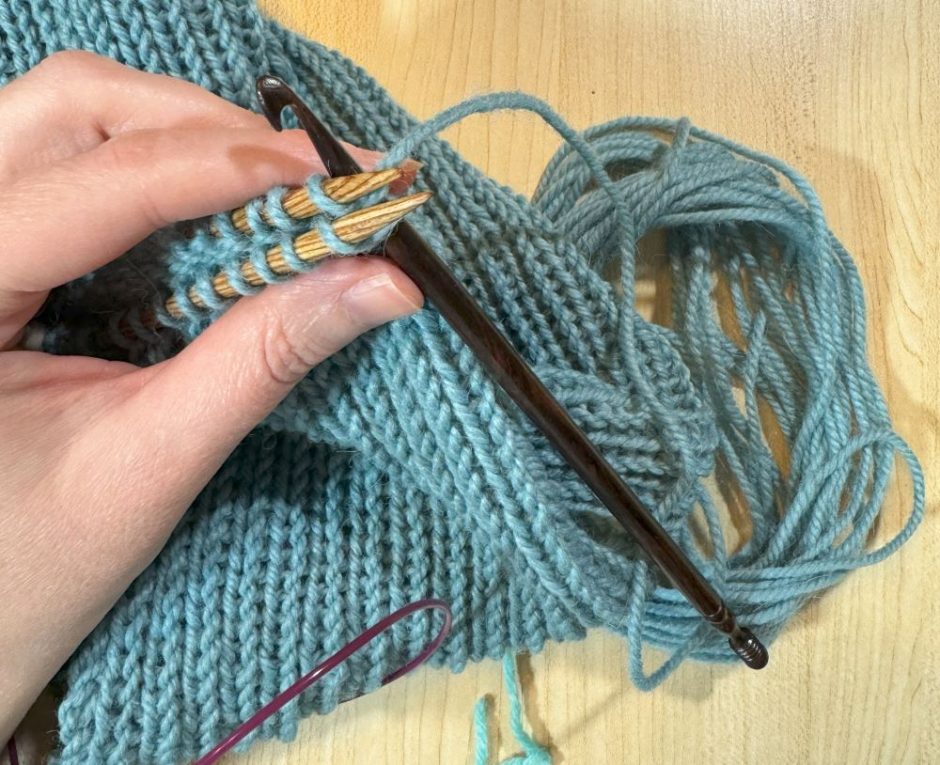
Grab a crochet hook and take it through the first stitch on each needle. Yarn over and pull both loops off the needles.
Repeat, and when you have two loops on the hook, pull the second loop through the first.
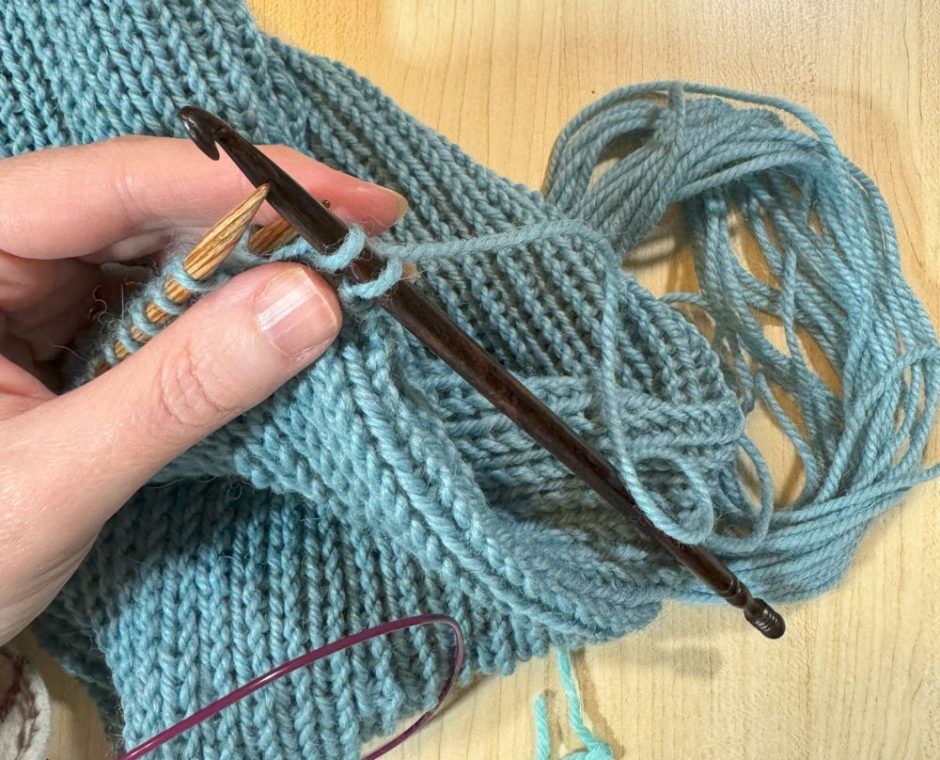
Repeat to the last stitch, cut the yarn and pull it through the last stitch.
Do the same thing on the beginning stitches, just be aware you have to pull the waste yarn out of the stitches at the beginning because of how the cast on is worked. Once that’s done you can easily pull out the rest of the yarn.

This is basically a three needle bind off just worked with a crochet hook instead of a third needle, but, again, you can use whatever method you like to sew your ends closed.
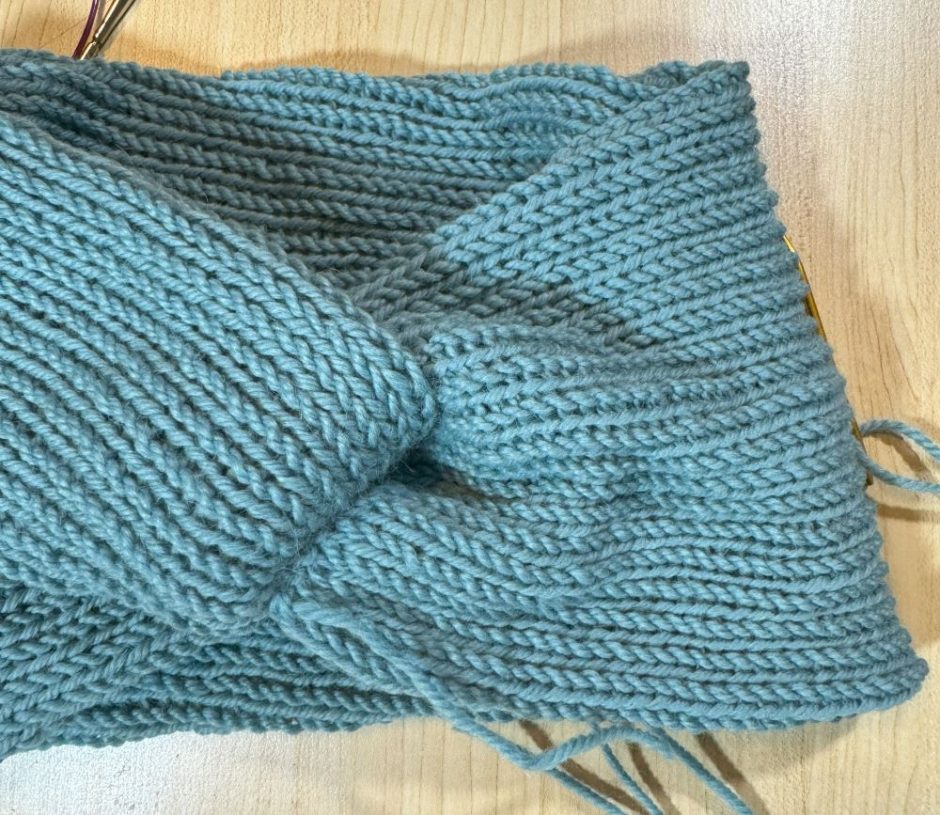
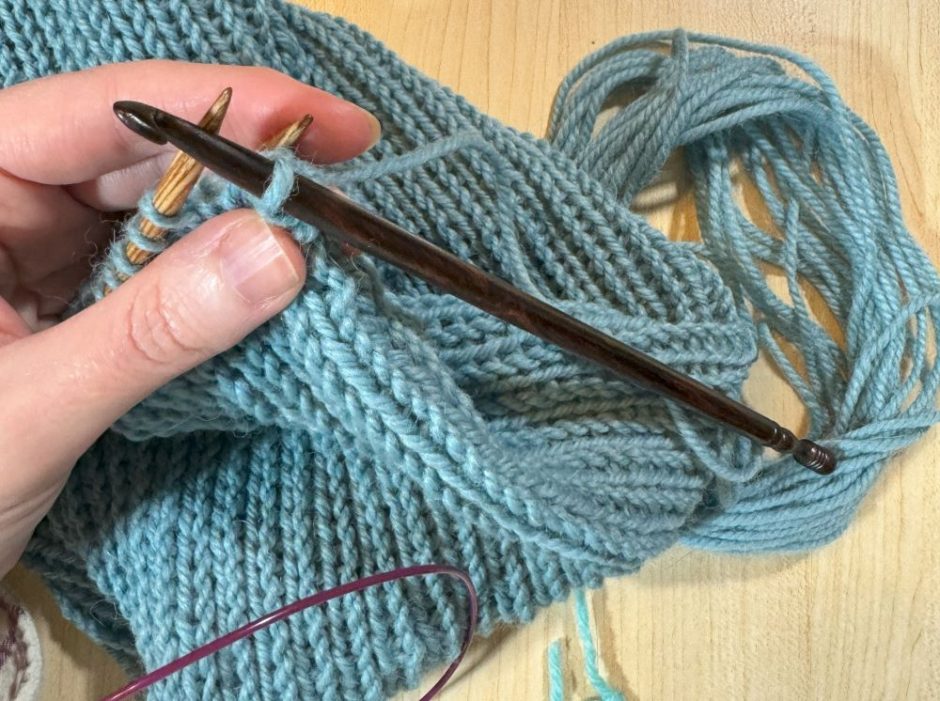
Making the Twist
Once the ends are done, leave a long tail of yarn for sewing and thread it on a yarn needle. Take each end of the headband and fold it into a c shape on the left and a backward c on the right.
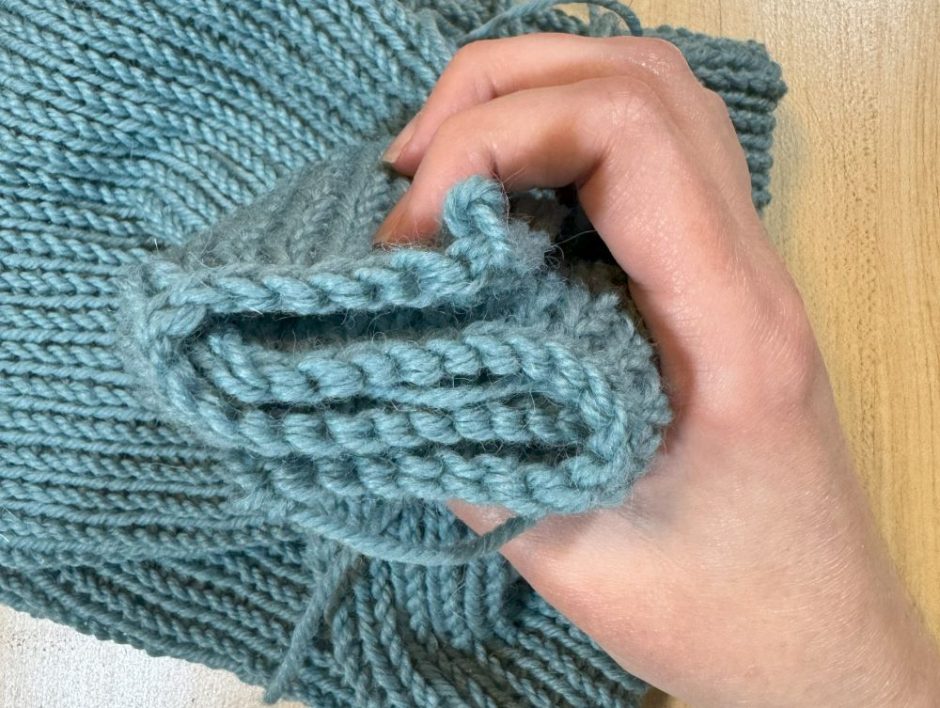
Place the ends together in layers so that the whole thing kind of looks like an s.
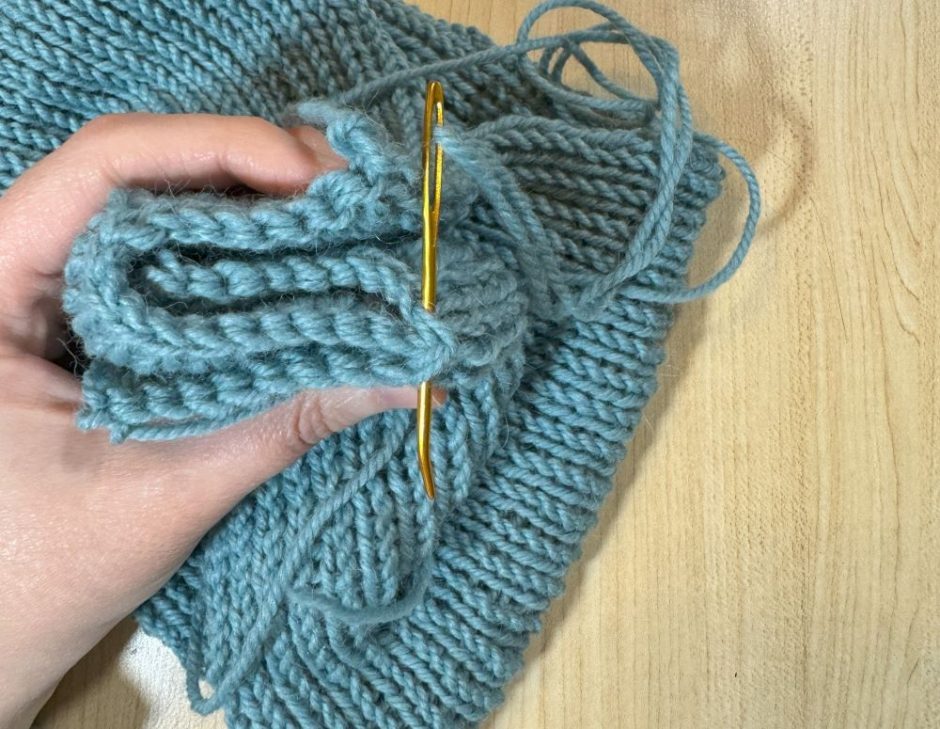
Use the yarn needle and yarn to sew all these layers together. I like to stitch under the edge stitch but you can do it however works for you. Just make sure you’re going through all the layers.
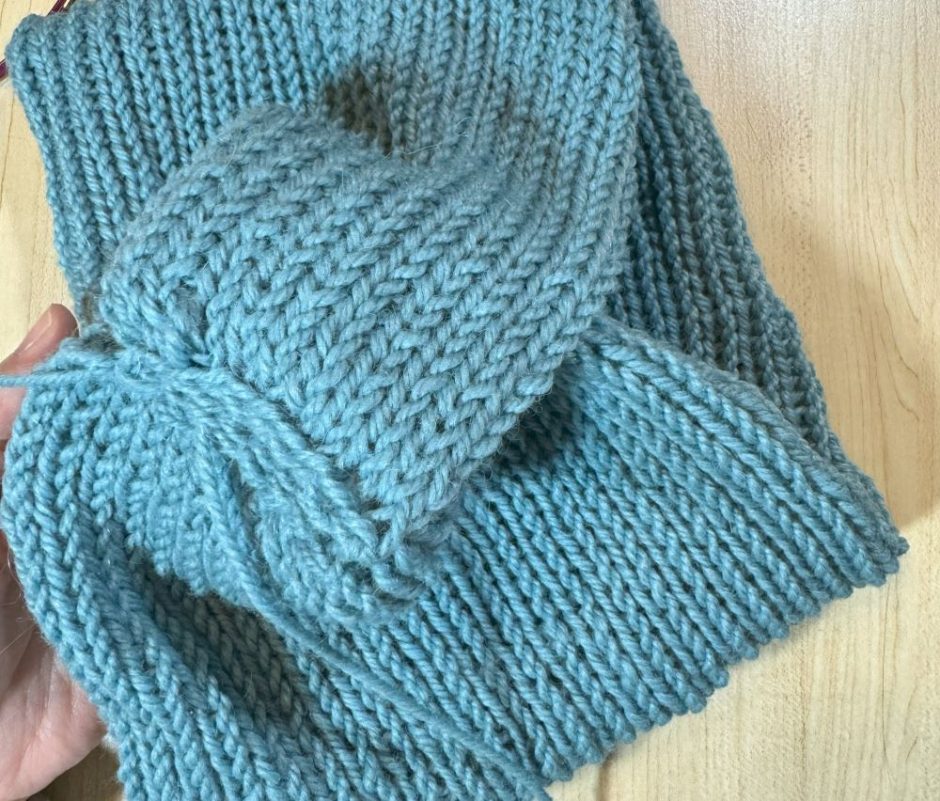
Flip the headband around so you can see the twist! Weave in the ends by pulling them to the inside of the headband with the yarn needle. Bring the needle back to the outside and trim any excess yarn.