Affiliate links may be included for your convenience. View our privacy and affiliates policy for details.
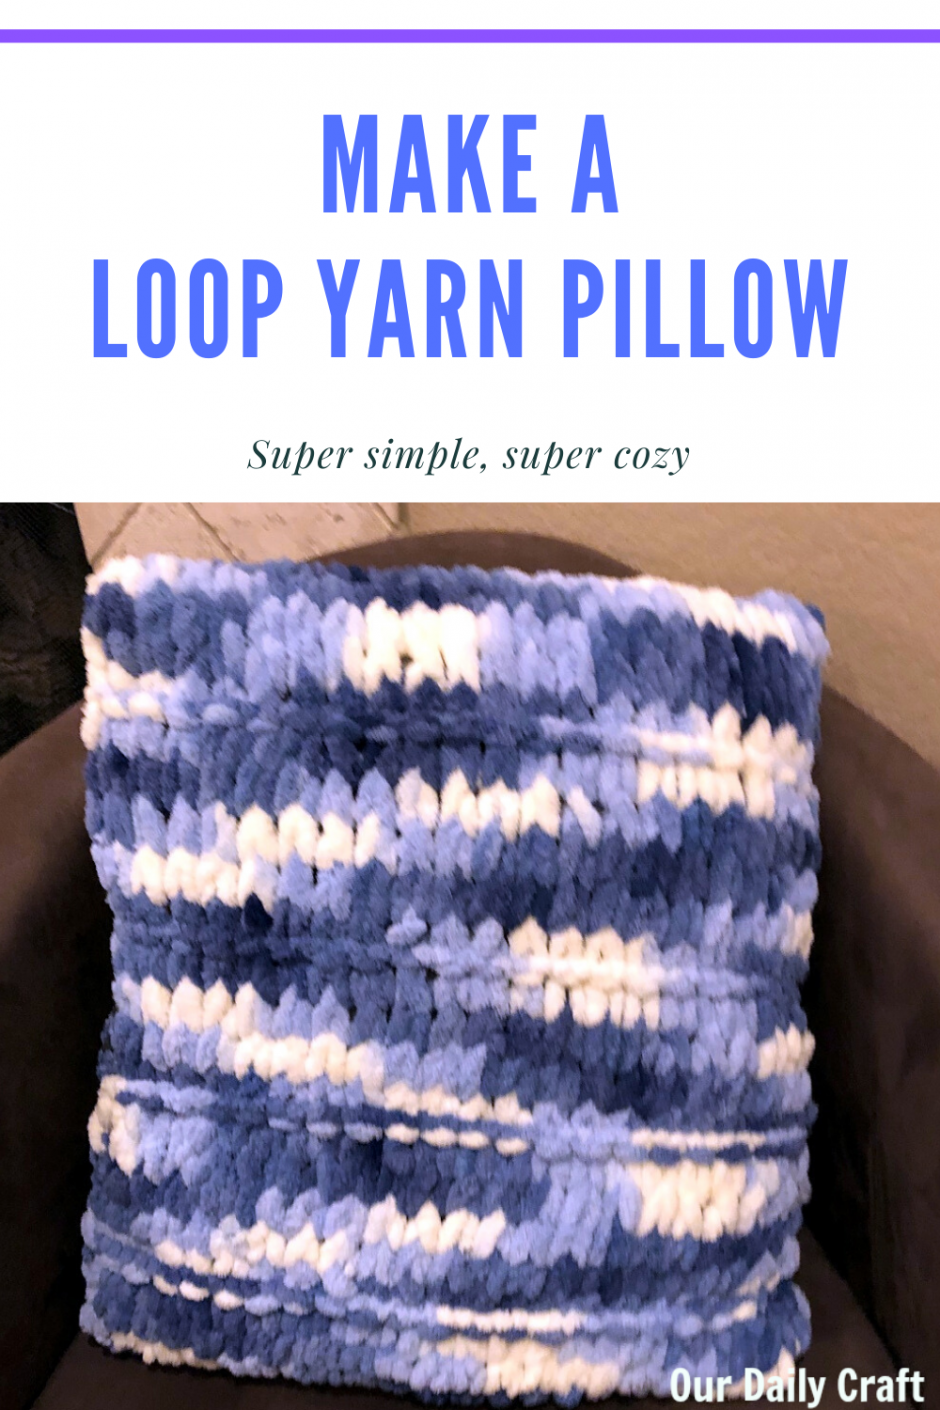
I know that’s a bold claim, coziest pillow ever, but if you make a loop yarn pillow I’m pretty sure you’ll agree with me. Bonus: it doesn’t take much in terms of materials, skill or time to make a fantastic pillow for your couch or bed.
Supplies
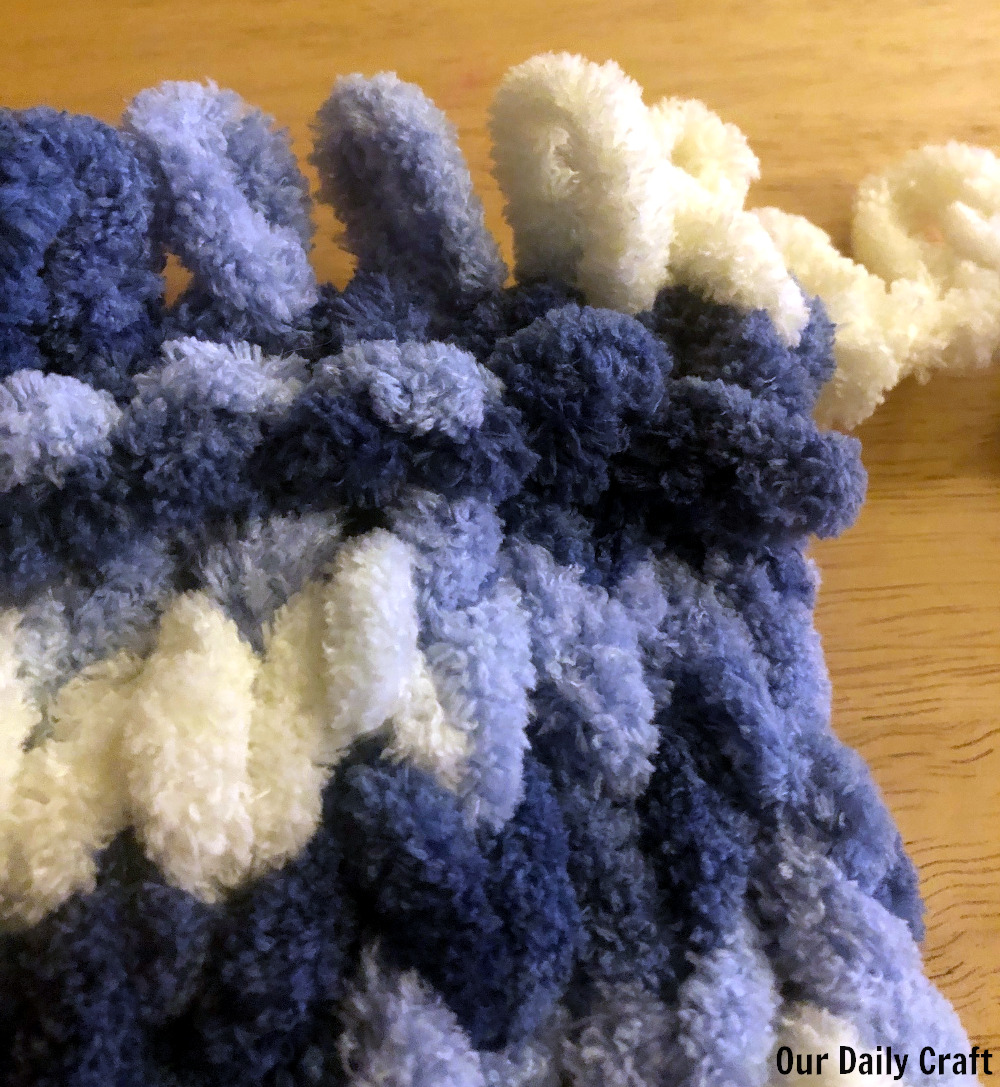
- 1 or 2 balls of loop yarn (I used Bernat Alize Blanket E-Z yarn in Denim Blues)
- pillow form of desired size (I used an old 18-inch square pillow I recovered years ago and wanted to cover again)
- sewing thread and needle (and optionally, a sewing machine)
- optional: a piece of fleece fabric and/or quilt batting, see below for how I used these
Construction Notes
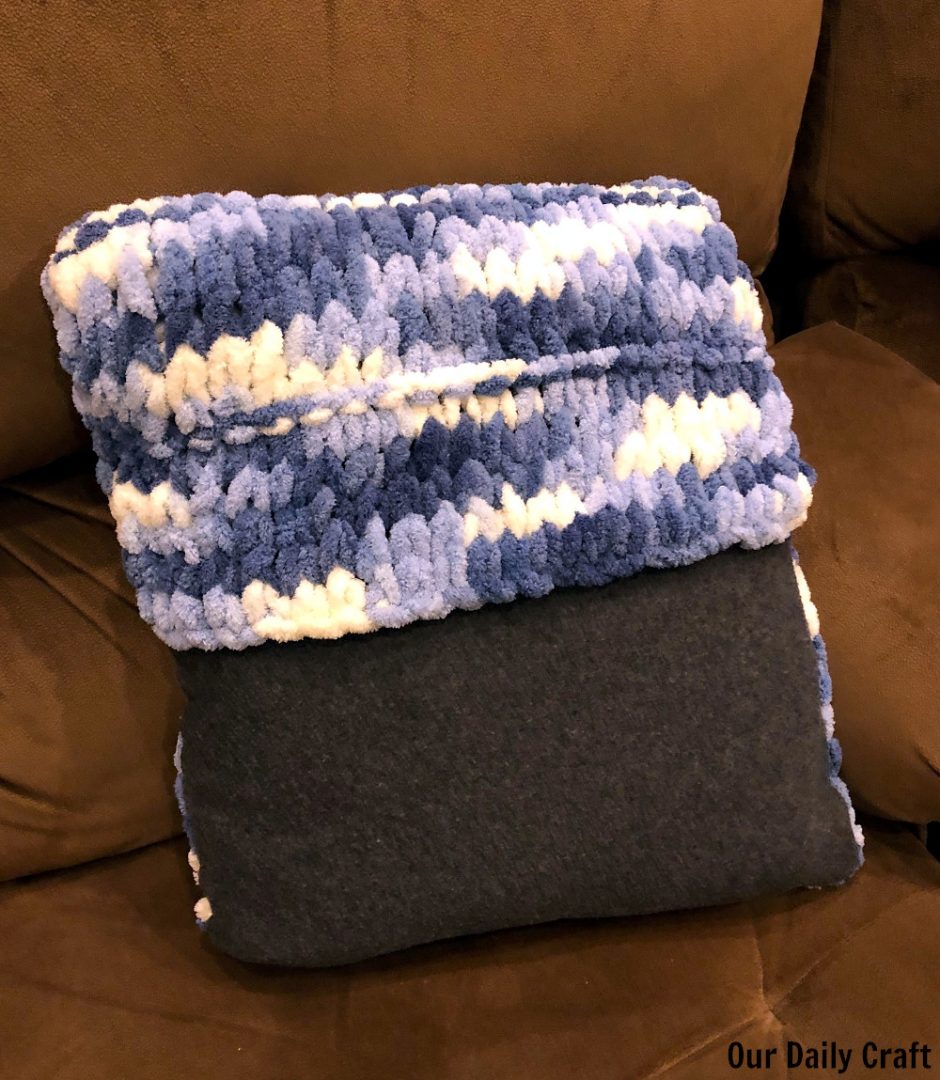
Because I was using things I had in my house, I had more pillow than yarn to cover it. That’s why I added a piece of fleece to the supply list above. This is still pretty much a loop yarn pillow, but about half of the back is covered with a piece of fleece from my stash.
I actually like this better because it made it possible to make a super simple envelope flap pillow, which is great if you ever need to wash the pillow cover or replace the inside pillow form for whatever reason.
Or secret book pocket? Whatever you need.
Pro Tip for the Coziest Pillow Ever
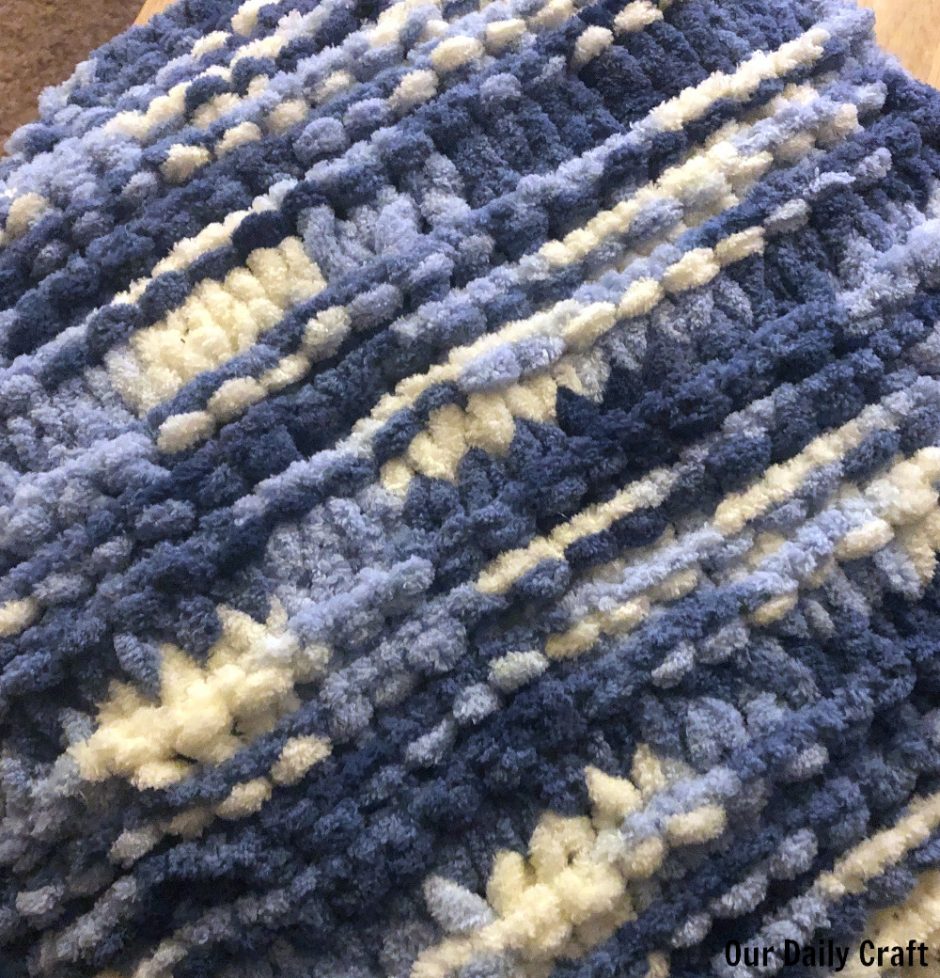
If you want your loop yarn pillow to be extra squishy and wonderful (the yarn does a lot of that work for you) make your pillow case just slightly smaller than the actual pillow itself. The yarn is going to stretch a bit anyway, but making it a little snug helps to give the feeling that the pillow case is really filled.
Another thing you can do to make it even softer if you’re using an older pillow form that might not be as lofty as it used to be (or even if you’re not) is to wrap the pillow in an extra layer of quilt batting before you stick it in the pillow form. That little extra bit of stuffing makes a big difference.
Making the Loop Yarn Pillow
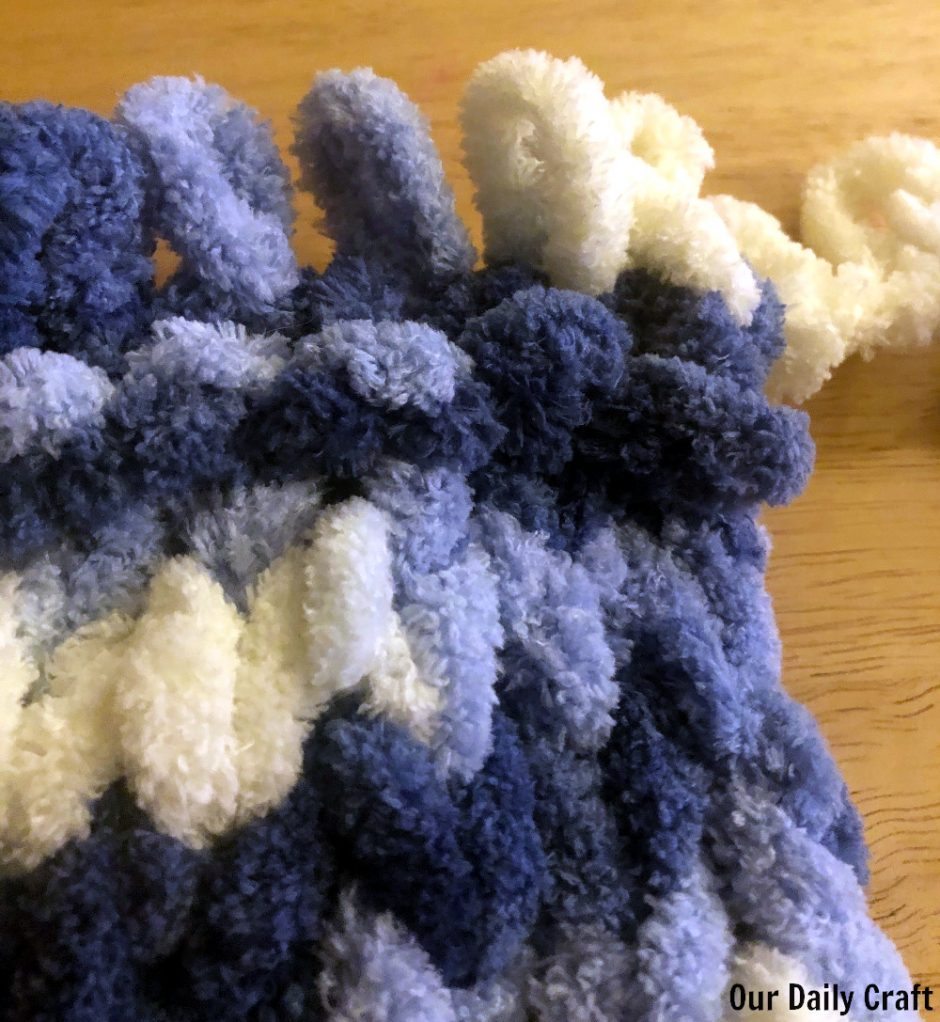
First, determine how many loops you need to cover the length of one side of the pillow. For me, that was 23.
Decide what stitch pattern you want to use (check my post on working with loop yarn for how to make different stitches). I did Stockinette Stitch for four rows and Garter Stitch for one row.
Repeat until your piece is as big as your pillow form (wrapping all the way around). Alternatively, you can just knit a front and make the whole back fabric, or knit until you run out of yarn and cover the rest with fabric, as I did.
Finishing the Pillow, Envelope Style
To finish the back envelope style with a piece of fleece (you could also use felt, or any fabric you like, but fleece ups the squish factor and you can leave the edges raw), cut a piece slightly larger than what you need to cover. You’ll want the knit portion to cover the fleece by an inch or two.
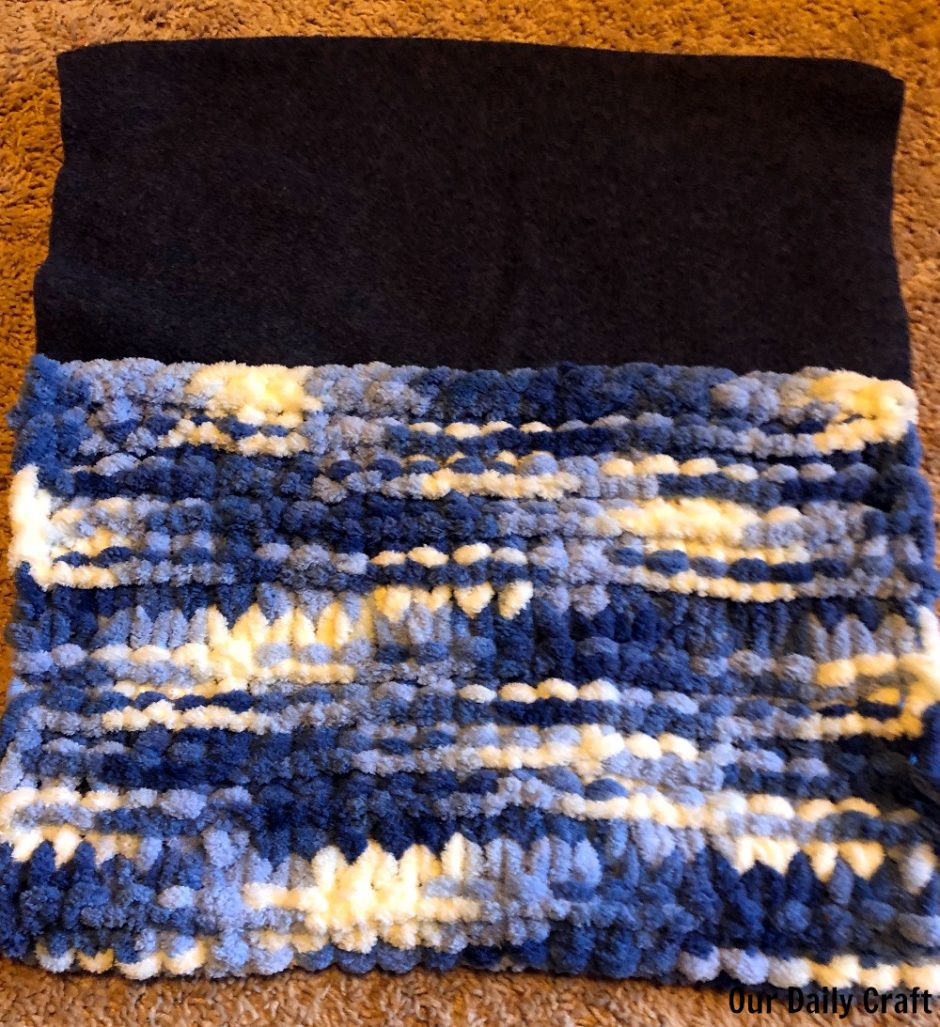
I used my sewing machine to sew the fleece to the knit piece along three sides with right sides together. Leave the top end open to form the envelope. You can also sew the whole thing by hand.
Fold the pillow case as it will need to be when the pillow form is inserted, still keeping right sides together. In other words, the pouch you made with the fleece and the loop yarn should be the bottom of the pillow. Fold the rest of the knit fabric in half so that the pillow will fit inside and there’s a little overlap over the edge of the fleece.
Use a sewing needle and thread to stitch the open sides of the pillow case together, leaving the edge open across the back of the pillow so you can slide the pillow form in.
Turn the pillow case right side out, gently turning out the corners, and add the pillow form.
Get cozy.
If you’re covering the whole back with fabric, just sew up most of the seams with right sides together, turn the pillow case out, put the pillow form in and sew up the rest of the seam. Same method if your whole pillow case is knit with loop yarn.
Have you ever worked with loop yarn? I’d love to know what you used it for!
