Affiliate links may be included for your convenience. View our privacy and affiliates policy for details.
Doing embroidery on paper is a fun way to add a little more texture to your projects. Learning how to embroider on paper is really easy and it doesn’t take any more skill than embroidering on fabric.
Uses for Embroidery on Paper
Before you learn how to embroider on paper, you might want to know what sort of use this knowledge is. I love to add a little bit of stitching to paper for bookmarks or to add a little texture to a collage or a card.
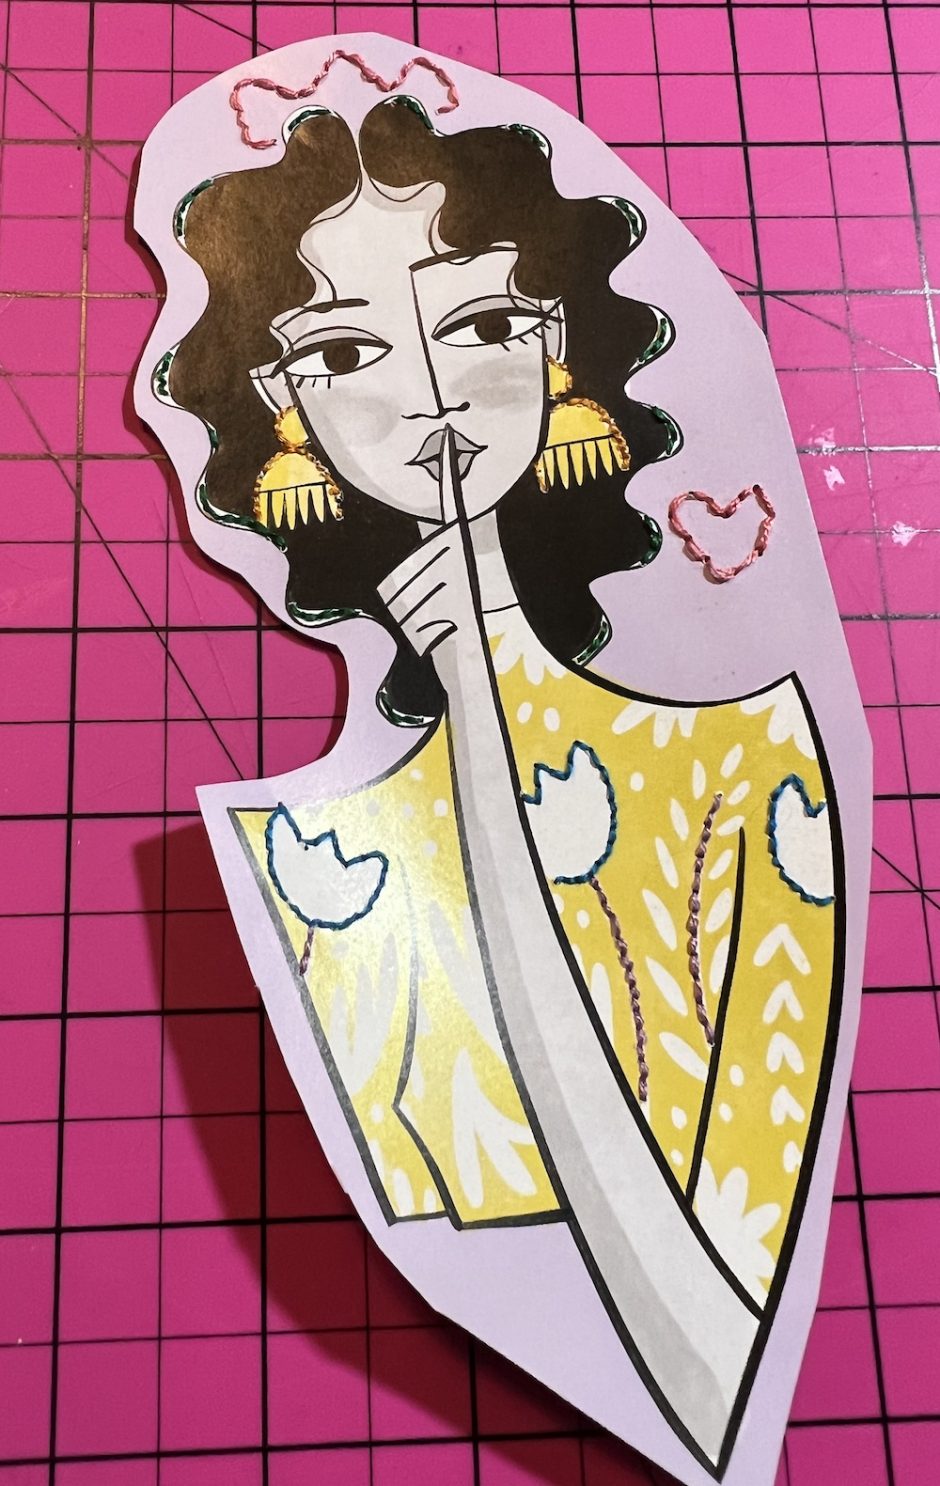
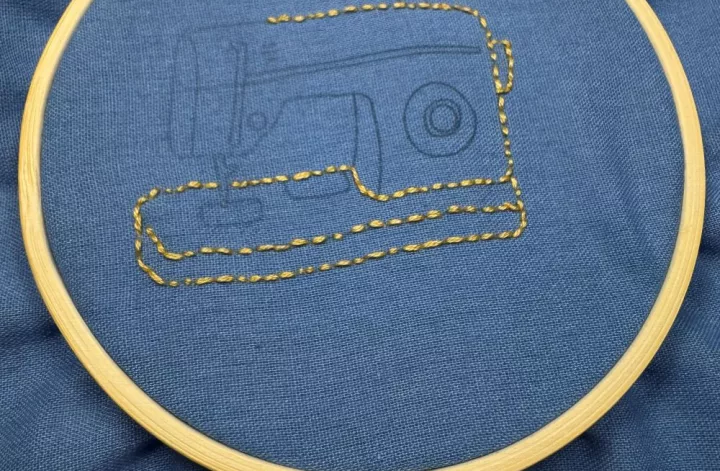
It’s really fun to embroider on photos (from magazines, printed off the Internet, or copies of original photos) to outline different aspects, add a touch of whimsy, or give them a fancier look.
How to Embroider on Paper: Tools and Supplies
You don’t actually need any special tools to do embroidery on paper. It’s best done on paper that is somewhat thick, such as card stock or magazine paper, but you can do it on regular printer paper, too.
I always use a needle to poke the holes in the paper where I want to stitch. You can also use an awl for this purpose if you happen to have one handy. I tend to just use my sewing needle or any handy sewing pin (though it might be a good idea to reserve a pin for this purpose in case it gets dull and snags fabric).
If you want your holes to be really consistently spaced, or you want to be able to stitch in a repeating pattern, you can also purchase a piercing tool with interchangeable heads that mark different patterns on the paper. I have one from We R Memory Keepers, but be aware if you purchase this tool that you also need a foam mat to work on. You don’t want to use your regular cutting mat with this tool.
Getting Started with Embroidery on Paper
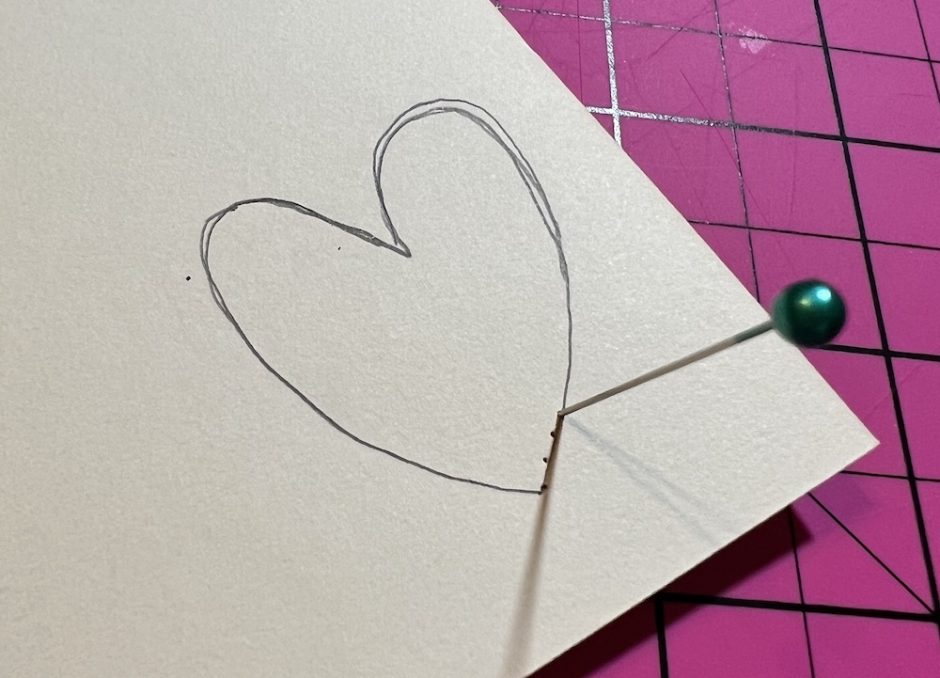
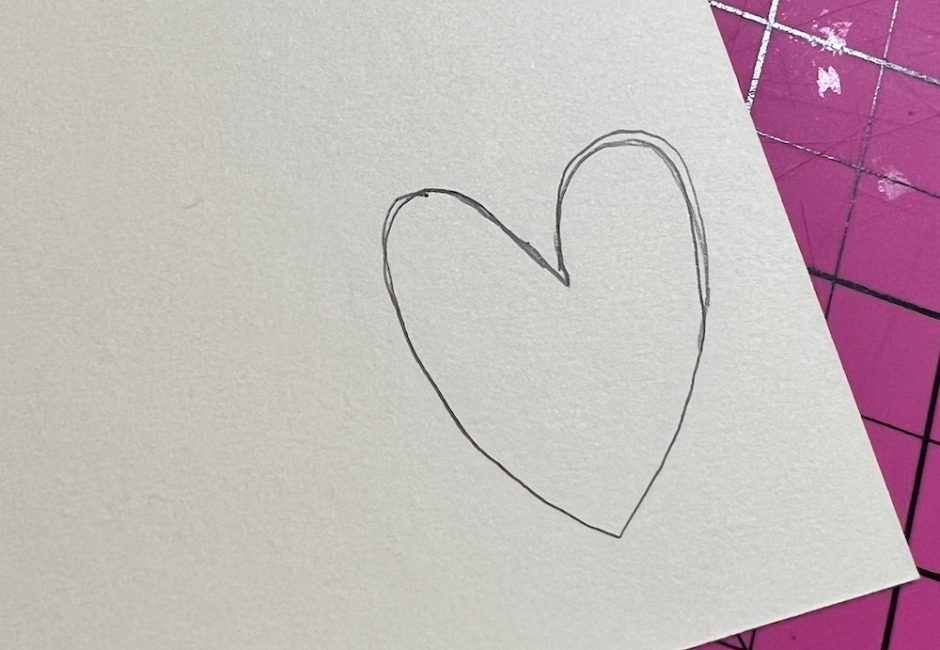
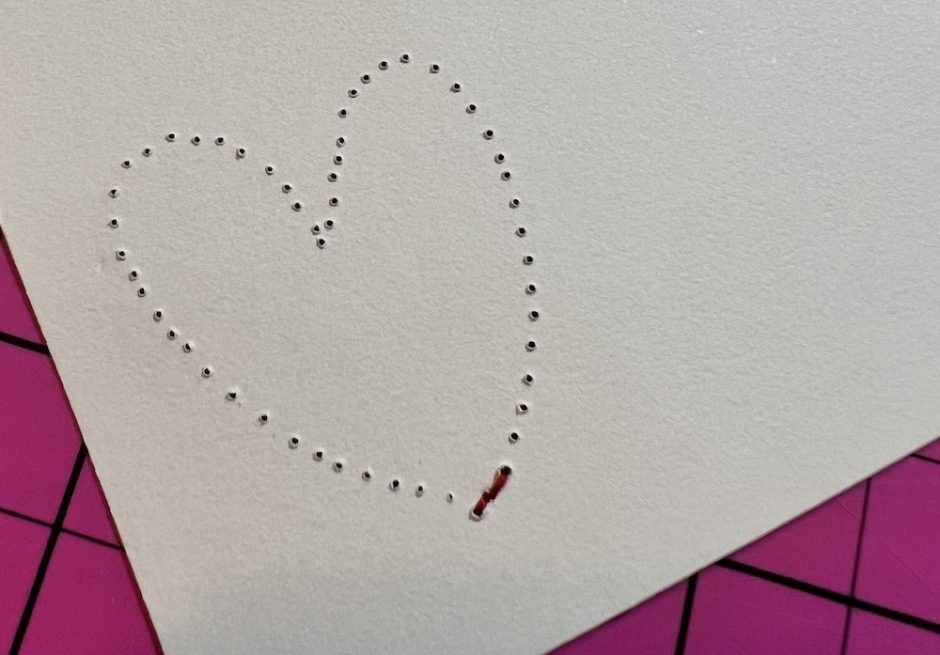
First, decide what you want to stitch on and what kind of design you want to make. For stitching on a picture you might follow the major lines of the design. If you want to stitch a shape on paper, draw or trace the shape you want to use. If your paper has a front side, draw it on the back, or make your lines as light as you can so you won’t see them once it’s stitched. (This is 80 pound Strathmore drawing paper, so it’s nice and thick.)
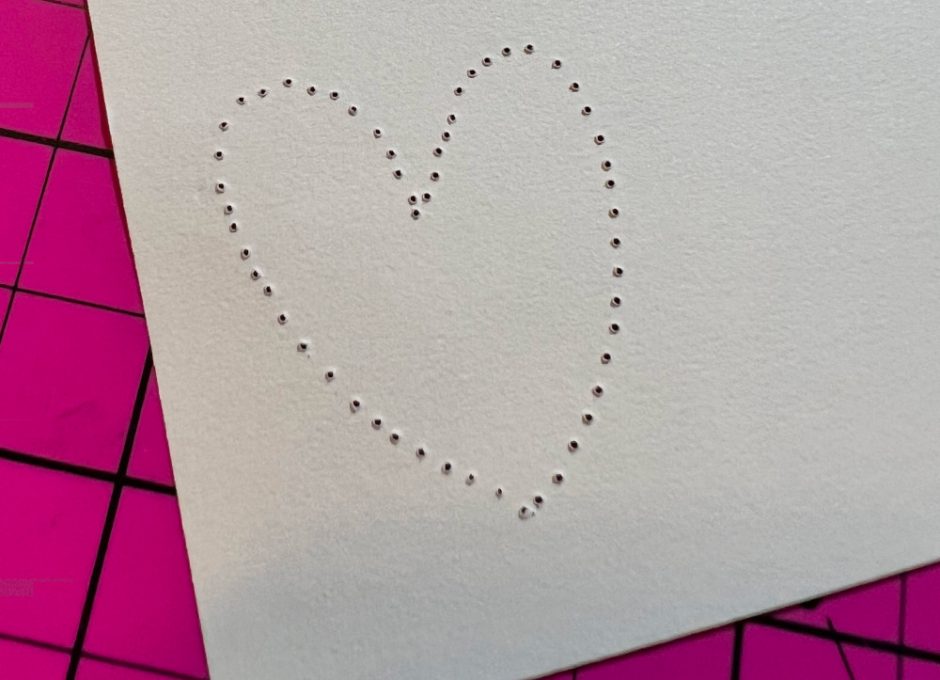
Using an awl or your sewing needle, poke holes in the paper at regular intervals. How close you space your holes will determine how big or small your stitches will be. As shown above, when I do this with a pin or a needle I use a cutting mat to protect my surface.
Thread your needle with the color and number of threads that you want for your project. When I embroider on paper I typically use two threads, but you can experiment with different numbers as you like. Bear in mind you may need bigger holes if stitching with more threads or using alternative materials like yarn.
I am fine with tying a knot in the thread to stop it at the back, but you can also tape the thread to the back if you want it to be flatter.
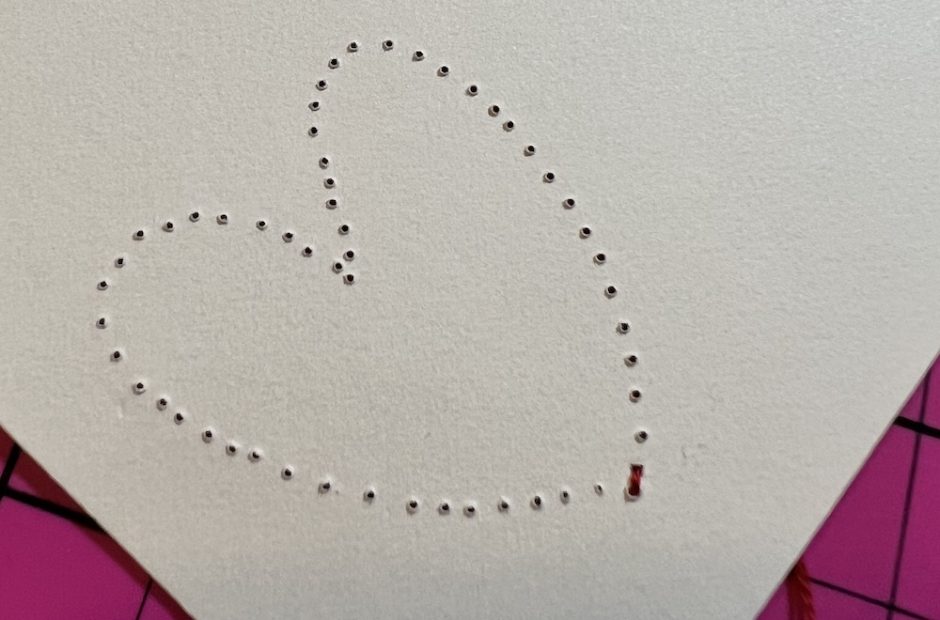
The technique to embroider on paper is basically the backstitch: start at the back and pull the thread through a hole to the front. Stitch from from to back into the next stitch.
Stitch up into the next hole beyond the stitch you just made.
Then stitch back down into the hole where your previous stitch ended.
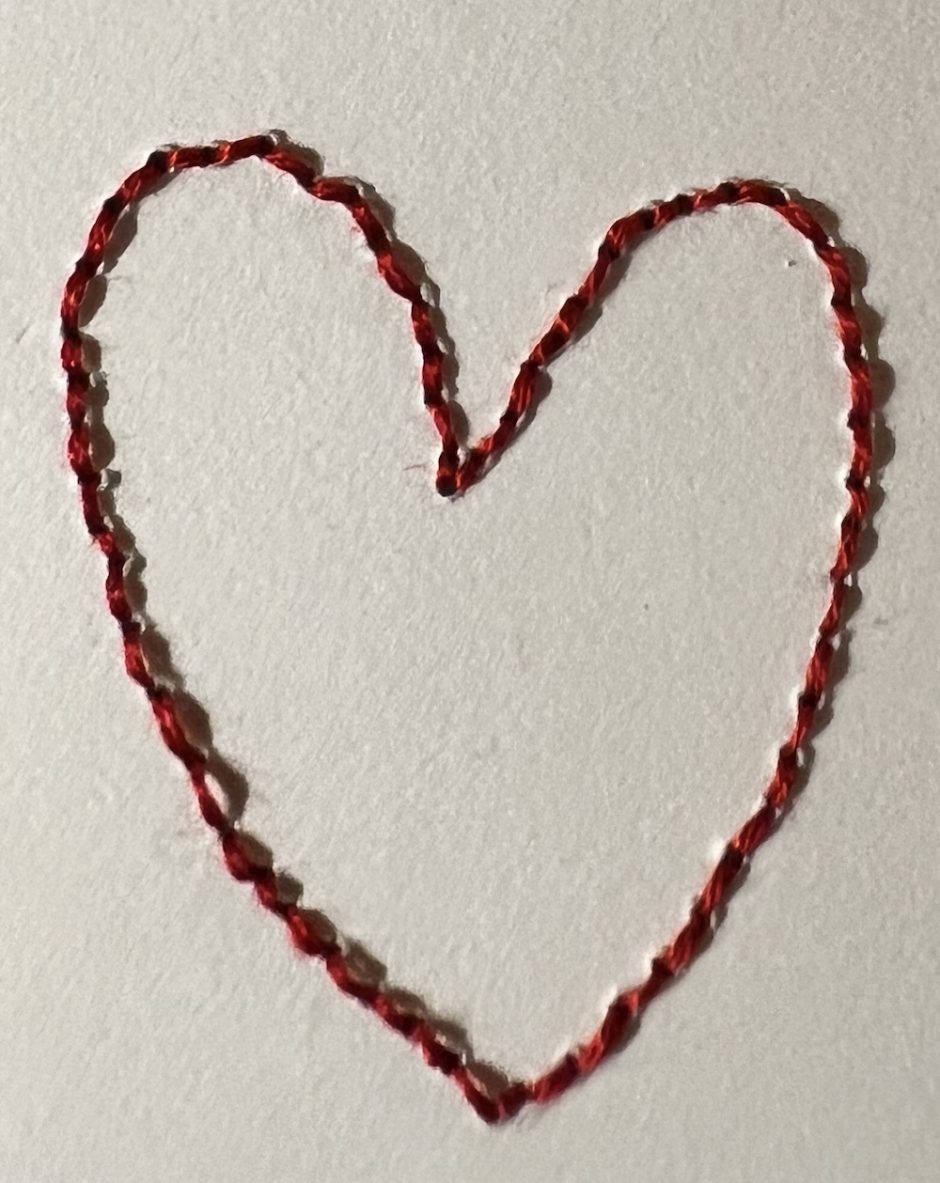
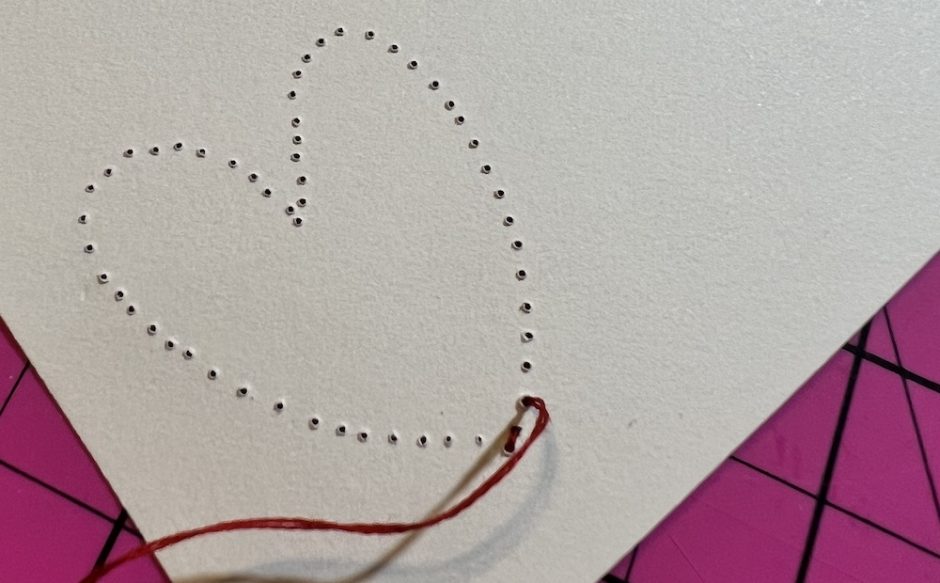
Repeat around the shape or down the line.
You can tie a knot at the end or tape this end down as well.
While this just shows straight stitching you can of course do any kinds of stitches you want.
Want to Learn More about How to Embroider on Paper?
I have done two classes with Rebecca Page all about doing embroidery on paper:
- The Embroidered Paper Bookmarks class uses the We R Memory Keepers product mentioned above to make different stitch patterns on a paper bookmark.
- Embroidery on Photos shows the basics of how to embroider on paper photos, whether that’s a printed photo from the Internet, a magazine (as shown above) or something else.
These classes cover the basics of embroidery on paper and give you ideas you can use on any future paper stitching projects. They’re just $9.99 each! Check them out!