Affiliate links may be included for your convenience. View our privacy and affiliates policy for details.
I have a pretty large collection of stitch markers, but for the longest time I mostly just used them to mark the end of a round when I was working on circular knitting needles.
But there are actually a lot of different ways that you can use stitch markers to make your knitting easier or to keep track of things in your project.
What Are Stitch Markers?
Stitch markers are little loops of various sizes that can be slipped over a knitting needle. They can be made of plastic or metal, and sometimes have decorations dangling from them like beads, charms or decorative tags.
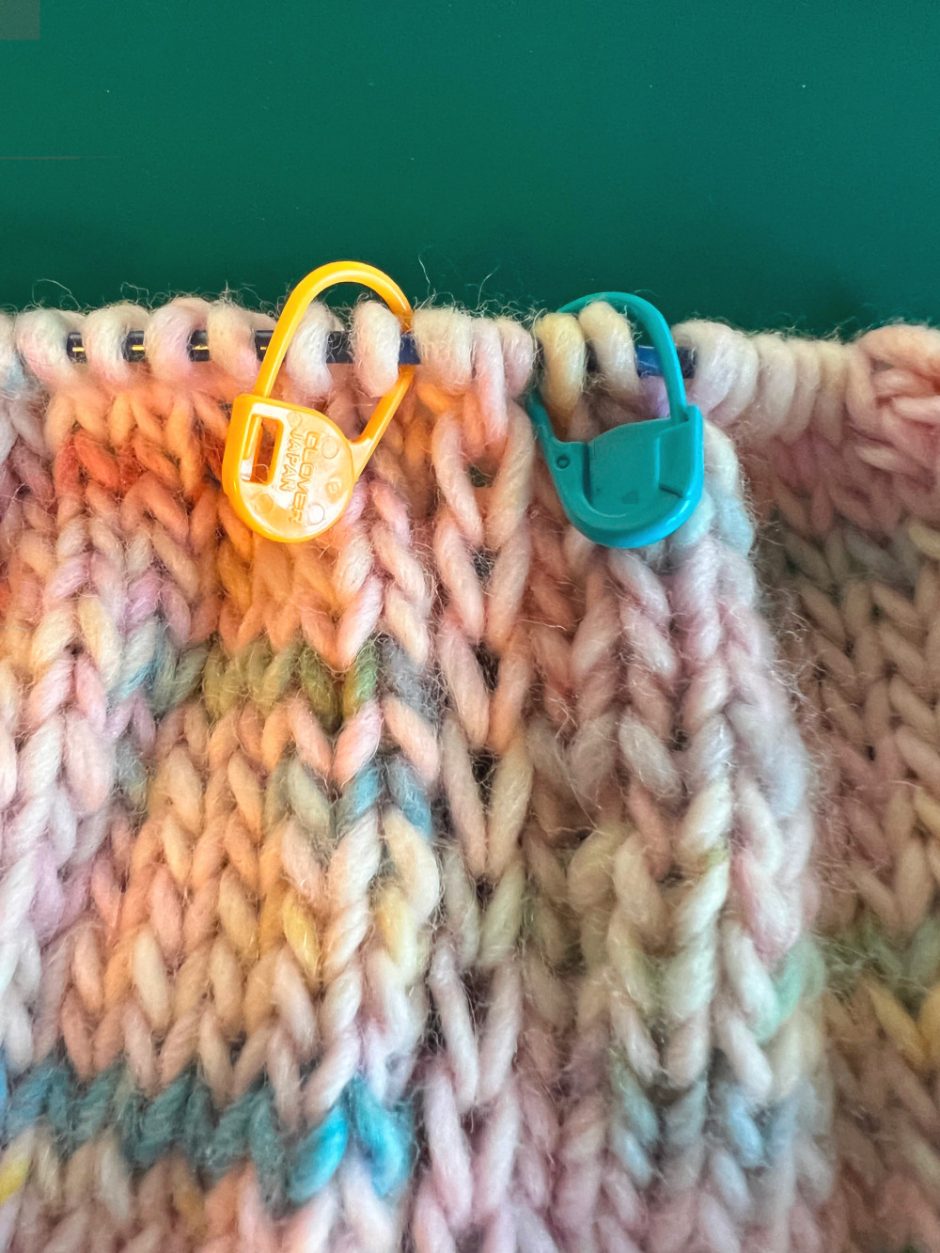
Locking stitch markers are typically plastic or metal loops that look more like tiny safety pins. They have a closure like a safety pin and can be hooked onto the leg of a stitch rather than resting on the needle.
You can buy stitch markers at your local craft store or from all sorts of makers online, or you can make your own (I’ve done this using jump rings for jewelry making). You can also make loops out of bits of leftover yarn if you’re in a pinch.
Using Stitch Markers
Either kind of stitch marker can be placed between two stitches on the needle. If the pattern you are following asks you to use stitch markers (such as for marking the sections of a sweater worked from the top down) it will include the abbreviation PM or the words place marker where it wants you to put the marker.
Sometimes patterns include SM or slip marker to remind you that the markers come along with you as you work across the row. You can just grab the marker with your right hand needle and slip it onto that needle and then continue knitting. If you’re having trouble grabbing it you can pick it off the left hand needle with your fingers and move it to the right hand needle.
How to Use Stitch Markers
As you cast on a very long cast on, add a stitch marker every x number of stitches (something easy to count like 20 or 30). Then as long as you know you have the right number of stitches in each section you can easily verify that you’ve cast on the correct number.
Use a stitch marker on the needle to mark the end of the round when working on circular needles, or a locking stitch marker in the first or last stitch of the round when working on double pointed needles.
A locking stitch marker can be slipped into a stitch on the right side of your project if you’re working a stitch pattern that looks the same on both sides.
Use stitch markers on the needles to mark pattern repeats, especially if working a new-to-you lace pattern and need to make sure you maintain stitch count within each section.
Stitch markers on the needles can also signal you to switch stitch patterns, for instance if you’re knitting a blanket or shawl where the border is knit at the same time.
Use locking stitch makers but in the row to mark when something has been done, whether it’s an increase or decrease row, a cable turn or whatever else you need to keep track of. Then you only need to count rows from the last marker and you can count markers to see how many times you’ve done the action (helpful if, say, you need to do your increase row 5 times).
Use locking stitch markers to count rows or rounds on projects that have two pieces that need to be the same length, such as sleeves.
If you notice a dropped stitch when you’re nowhere close to the place you need to be to fix it, slipping it onto a locking stitch marker and pinning it in place will keep it from dropping further until you can get back to it.
Locking stitch markers can even be used to hold pieces of knitting together as you are seaming so you know that your pieces are matching up correctly.
How to Make Your Own Stitch Markers
If you want, you can make your own stitch markers from things you have lying around the house.
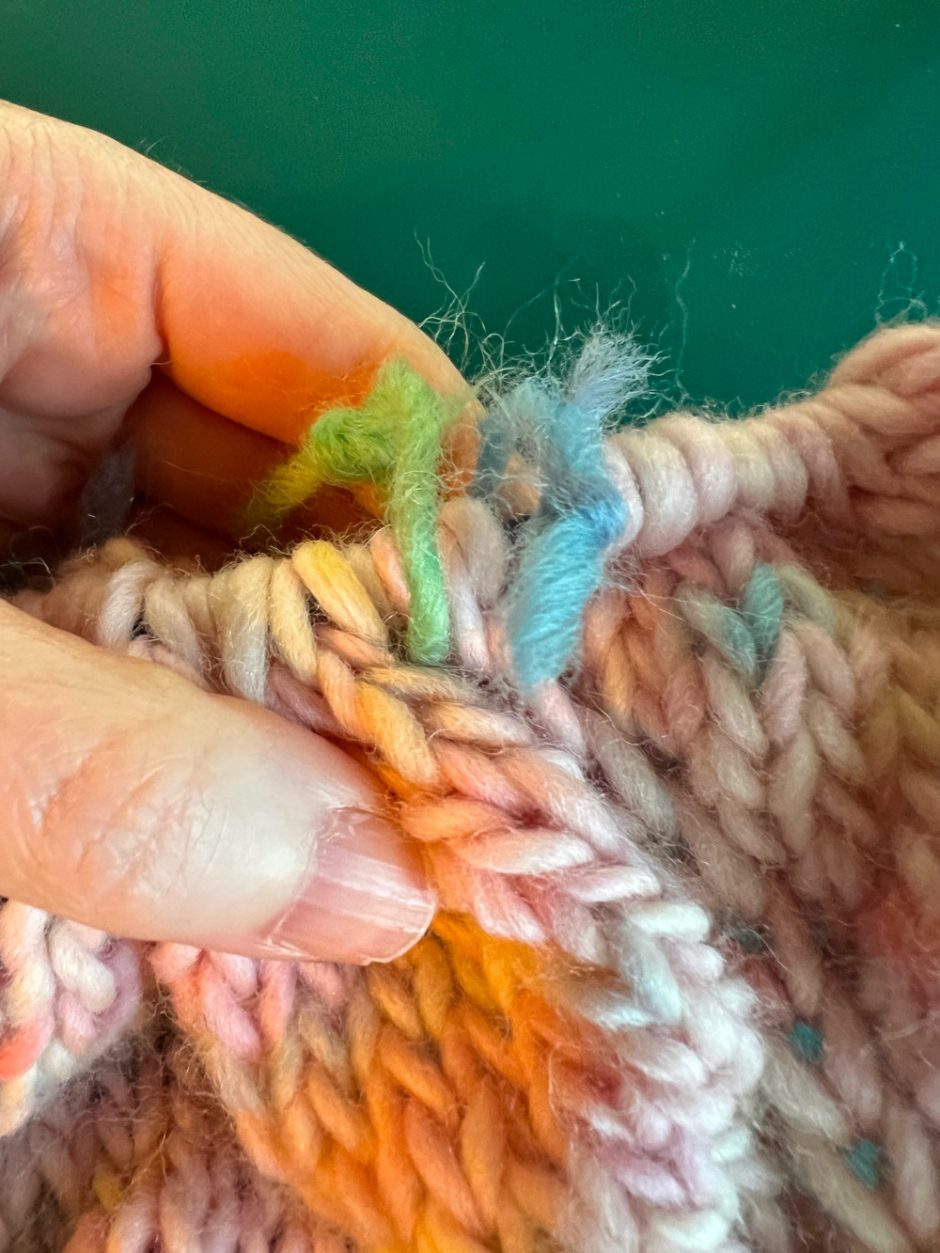
The simplest stitch marker is a piece of yarn tied into a loop. This can be used as an end of round or on the needle marker, or you can tie it around the row or round you need to mark as if it were a locking stitch marker. Then just untie or snip the knot to remove when you don’t need it any more.
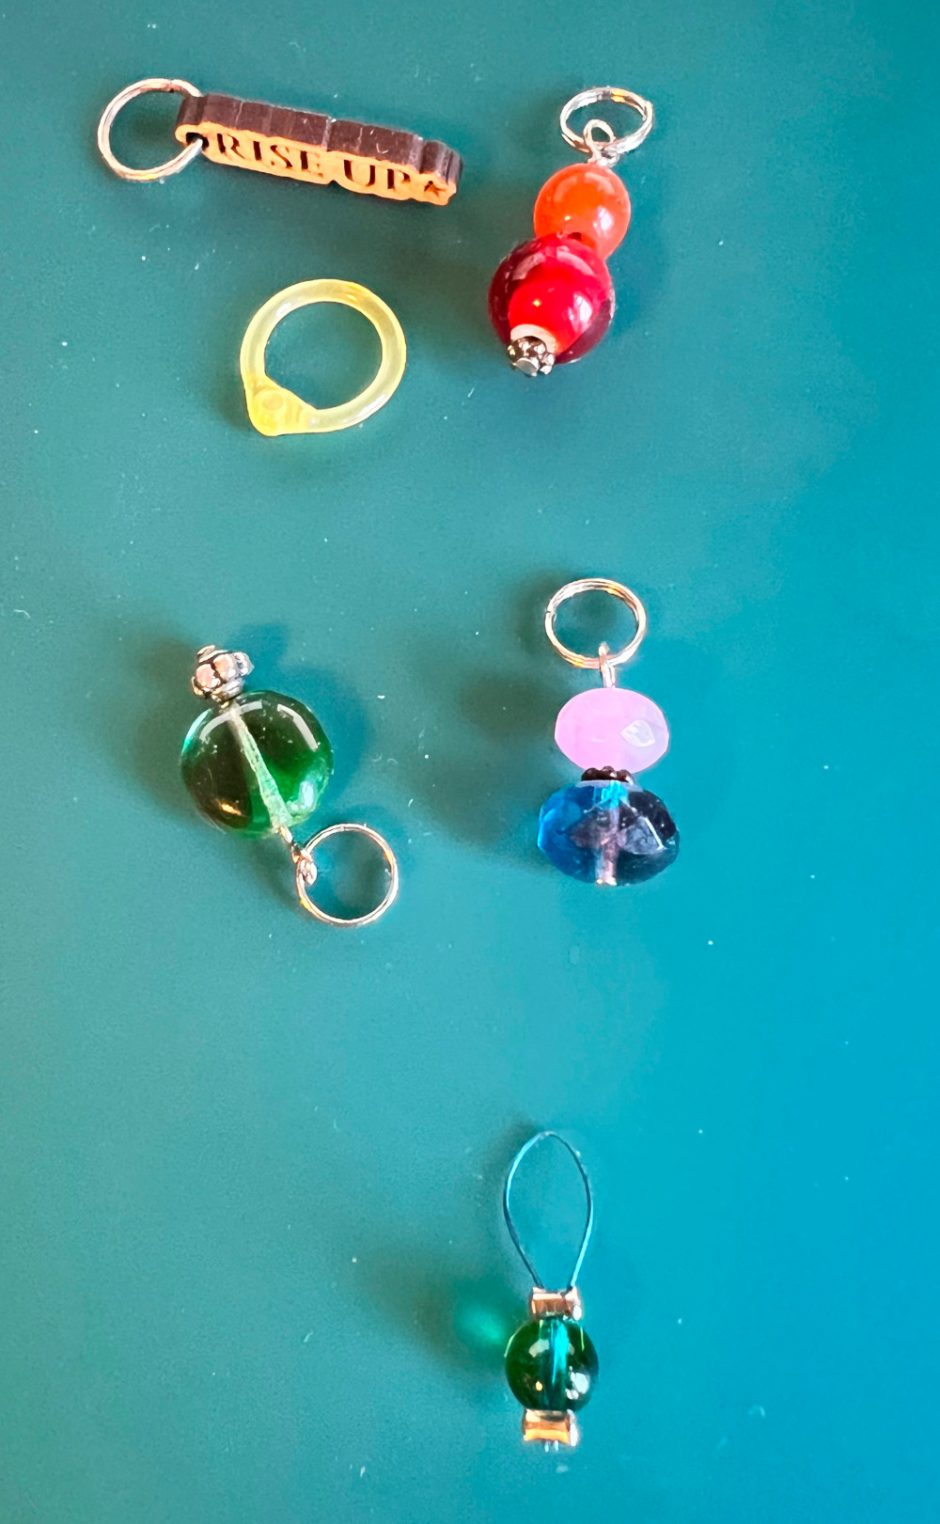
I have made nicer looking stitch markers using leftover jewelry making supplies. A jump ring can be used as the ring part of the marker, and if you want to make it prettier you can put a bead or two onto a piece of wire or a head pin and wrap it around the ring.
Another option is to use lobster clasps, which can serve as locking stitch markers.
Places to Buy Stitch Markers
You can buy basic stitch markers at your local craft store or online. I like the basic plastic ones that look like safety pins because you can use them as regular stitch markers, locking markers or to hold two pieces of knitting together for seaming.
Another good option are the safety bulb pins, which are metal and look like safety pins with a wider bulb at one end for accommodating the knitting needle. These can also be used on the needle or in the work, and you can decorate them as described above, too, if you like.
Of course you can buy all sorts of fancy stitch markers that have beads, charms or other adornments. I love Birdie Parker Designs, but there are so many great options out there. You can search on Etsy for markers of a particular style, if, say, you love cats or D&D or tiny knit sweaters.