Affiliate links may be included for your convenience. View our privacy and affiliates policy for details.
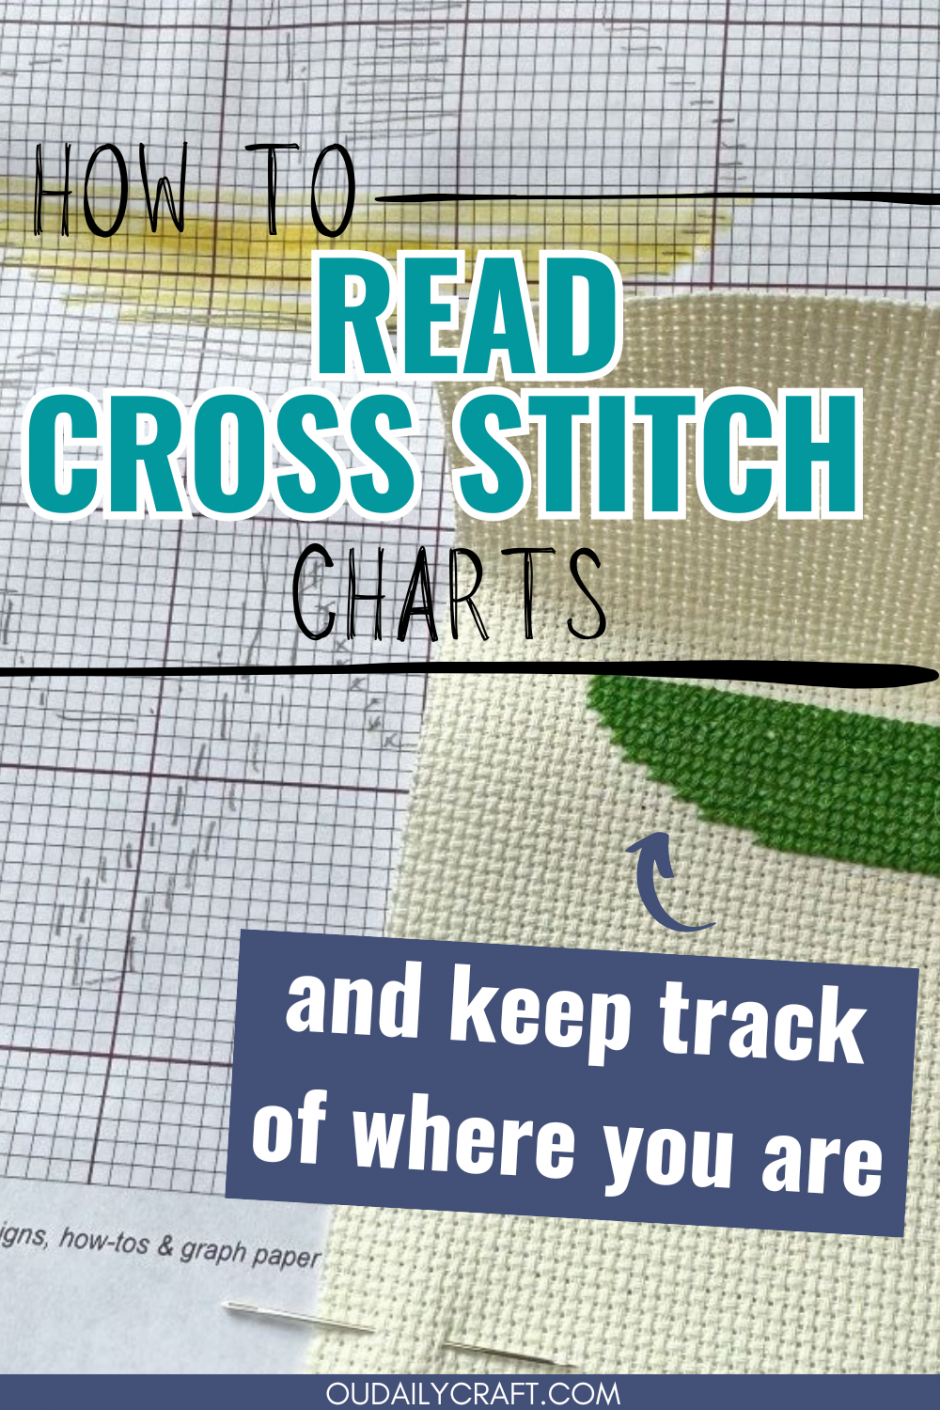
Once you know the basics of how to cross stitch, you’ll need to know how to read a cross stitch chart in order to make your project look the way the designer intended.
What Can I Find in a Cross Stitch Pattern?
Usually a cross stitch pattern, unless its a very basic one like my four-leaf clover bookmark, which we will come back to, contains more information than just the pattern itself.
Commonly you will find:
- Information on the number of stitches in the pattern and the size of the finished project
- What size cross stitch fabric should be used
- A color and symbol key that indicates the different colors used in the pattern, along with their DMC and/or Anchor numbers and (sometimes) how much of each color you need
- Any other materials that might be needed
- Sometimes there’s both a color and black and white version of the chart for ease of printing
Simpler patterns may just include the chart and let you choose your own colors (which of course you can do regardless) and leave it up to you to decide how much fabric you need.
How to Read a Cross Stitch Chart (Simple Style)
Speaking of simpler patterns, let’s take a look at that four-leaf clover mentioned above.

This pattern was intended to be repeated down the length of a bookmark, and as you can see in the finished pattern, I did this five times, and left a little extra space at the top and bottom.
The chart is just the chart, showing how to stitch the four-leaf clover once.
I did it this way because you can use any color thread you like, and repeat it as many or as few times as you like.
You can see from this chart that the stitched area is nine stitches wide and nine stitches tall. With a pattern this small, you can follow the chart any way you like, whether that’s starting in the center, at the top or bottom, left side or right side.
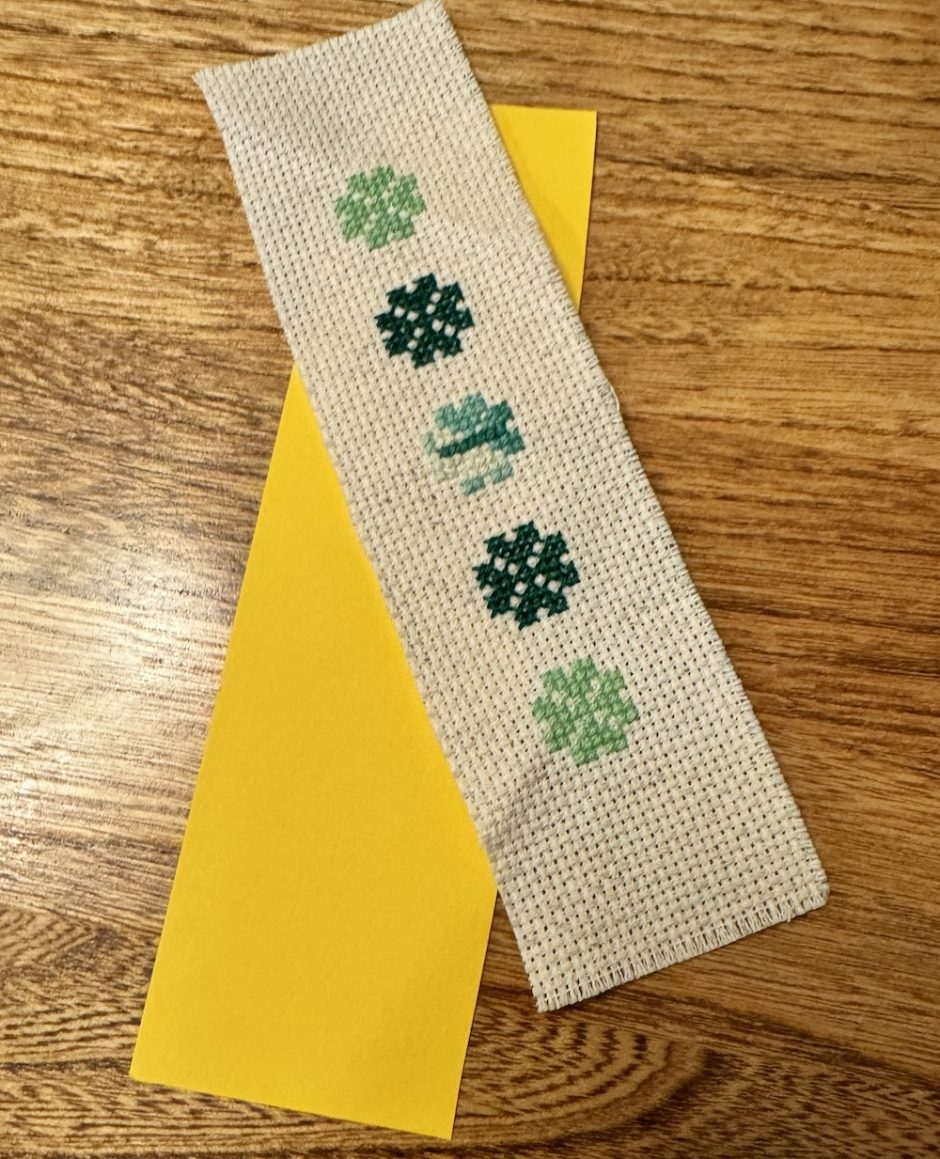
As I stitched my bookmark I actually stitched in several different ways, working the one in the middle from the center out, the ones above that from the bottom up, and the ones below from the top down.
When you’re working with a simple, single color, symmetrical pattern like this, it’s super easy to read a cross stitch chart and follow it to successful completion of your project.
How to Read a Cross Stitch Chart That’s More Complex
As projects add complexity in terms of the number of colors and/or the size of the project, the chart will become more complicated and how to read a cross stitch chart like that might seem more difficult.
In general more complex charts will also give you more tools to orient yourself to make following the chart a little easier. Let’s look at a few things you might find to help you read a pattern.
Row and Stitch Numbers
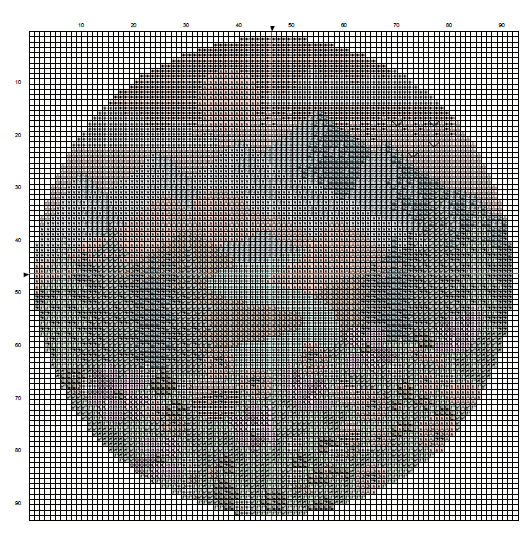
Some large patterns, like this Anchor Modern Landscape pattern, available from LoveCrafts, will help orient you by including row and column counts every 10 rows or columns.
These numbers can help you keep track of which row you are on, make it a little easier to count if there are a bunch of stitches in a row that use the same color, and can give you a sense of accomplishment if you’re working row by row.
Grid Lines
Sometimes instead of or in addition to numbers, your pattern may have darker grid lines every 10 rows and every 10 stitches, which accomplishes the same thing, but may be easier to see.
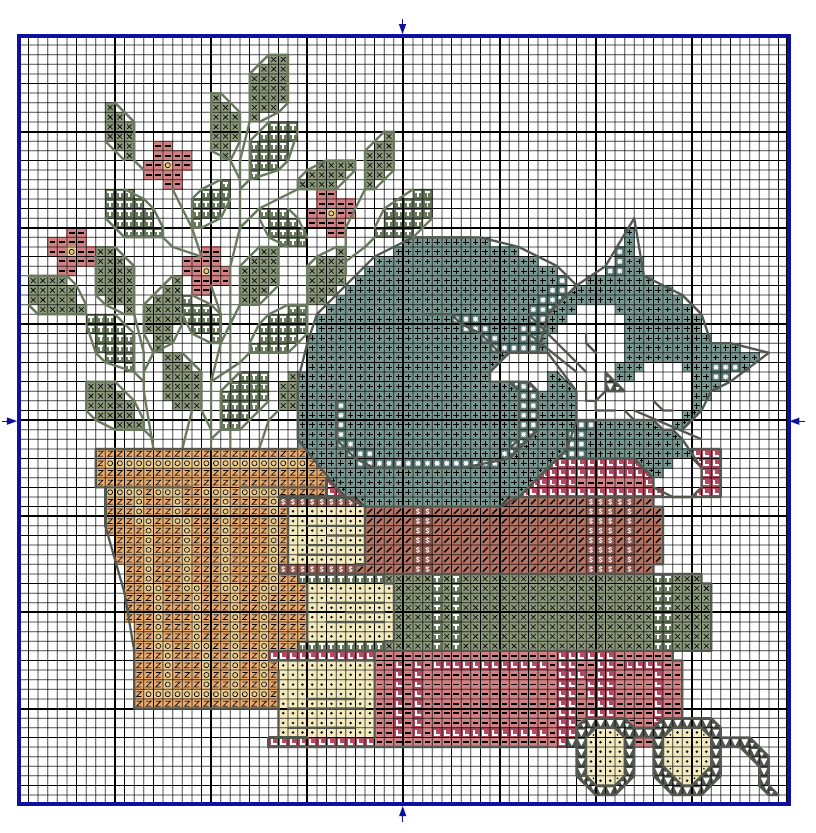
On this cat pattern from DMC, for instance, you can see the darker lines mark off 10 by 10 squares. When you’re working a section that’s all the same color, it’s easy to see, for instance, that the middle section of the top book uses the same color for 16 stitches across, without having to count every single stitch.
This makes it easier to orient yourself on the chart and relative to what you’ve already stitched.
Arrows or Red Lines
Another way a pattern can be marked that will help you with how to read a cross stitch chart is by marking the center of the pattern. This can either be done with arrows, as in the DMC pattern above, or with red lines, as in the Anchor chart above.
To find the center of the pattern, follow the red lines or the arrows until they meet.

Here I’ve marked the center of the cat pattern, which is a good place to start in a cross stitch pattern. If your fabric is the right size for your project, starting from the center ensures you won’t run out of fabric while you’re stitching.
Keeping Track of Where you Are in a Pattern
Another key element of how to read a cross stitch pattern is being able to keep track of where you are in the pattern so your image is stitched properly.
On small projects like the bookmark, you shouldn’t have any problem knowing where you are, because you can easily count your rows and stitches. Also, because the project is symmetrical, you can use what you’ve already stitched to help you know what comes next.

In more complicated projects, you might need a little more help. If you’re working one row at a time, you can use a highlighter to mark each row as you finish. This makes it easier to keep working straight across the next row, too.
You can also buy a chart holder, which is a magnetic surface that comes with long magnets you can use to mark off the row you are on. This works well but you might also want to physically mark off rows as you go just in case someone/some thing jostles your magnet when you aren’t working.
If you’re not working full rows across at a time, you can still use a chart holder, but again, you might want to highlight the portions you’re already done in some way so you aren’t confused when you pick it back up.
Knowing how to read a cross stitch chart helps you realize that even though projects and charts can get more complex, the basics are always the same.