Affiliate links may be included for your convenience. View our privacy and affiliates policy for details.
Learning how to cross stitch is a lot of fun, and it’s pretty easy to get started because most of what you need to do is to make full cross stitches. That is the x we are so familiar with from seeing cross stitch all our lives.
Even without being taught you can figure out how to stitch an x in the fabric. Cross stitch fabric makes it easy because there are holes right where you need to put your needle. But digging a little deeper can make cross stitch that much easier.
Getting Started on a Cross Stitch Pattern
One of the first things you might wonder about when learning how to cross stitch is where exactly to start in your pattern.
Typically you start working cross stitch from the center, but if you have a very small, simple project you could also start from the top or the bottom. It’s easiest to figure out where you are on your pattern and your cross stitch fabric, though, if you start from center.
Finding Center in Your Pattern

Most cross stitch patterns make it easy to find the center because they are marked with lines or arrows that indicate the center row and column of the pattern.
Where these lines (or lines you draw yourself from the arrows) meet is where the center of the pattern is.
On this pattern (which is a free chart available from DMC) you can see there are arrows at the center on each side, and I’ve circled the center.
There’s not an exact center stitch, but starting in that area of the cat’s body would be close enough to the center to orient you.
Finding Center in Your Fabric
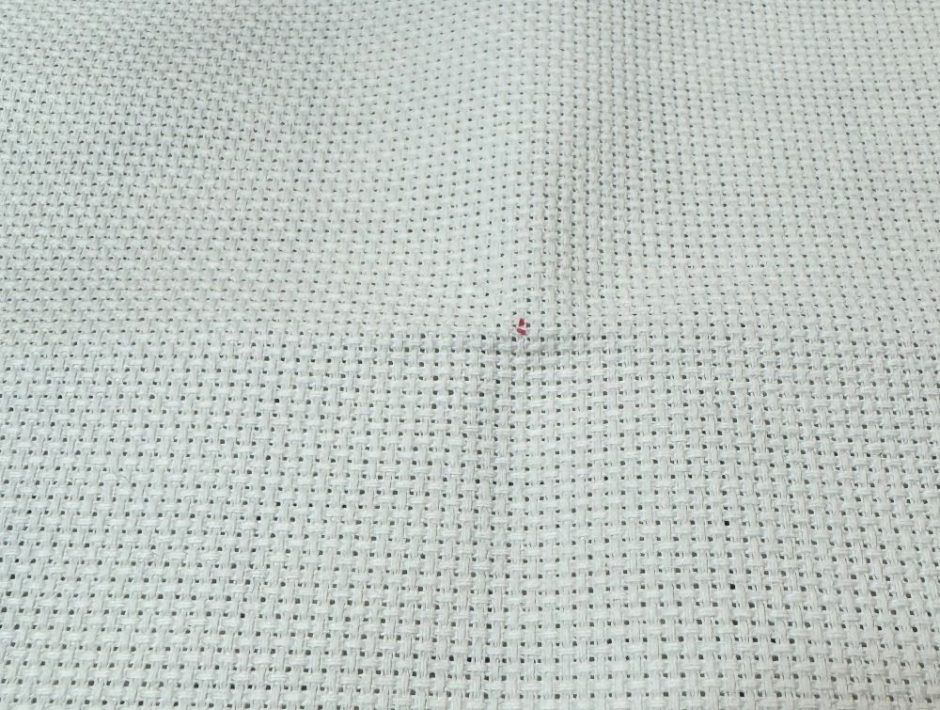
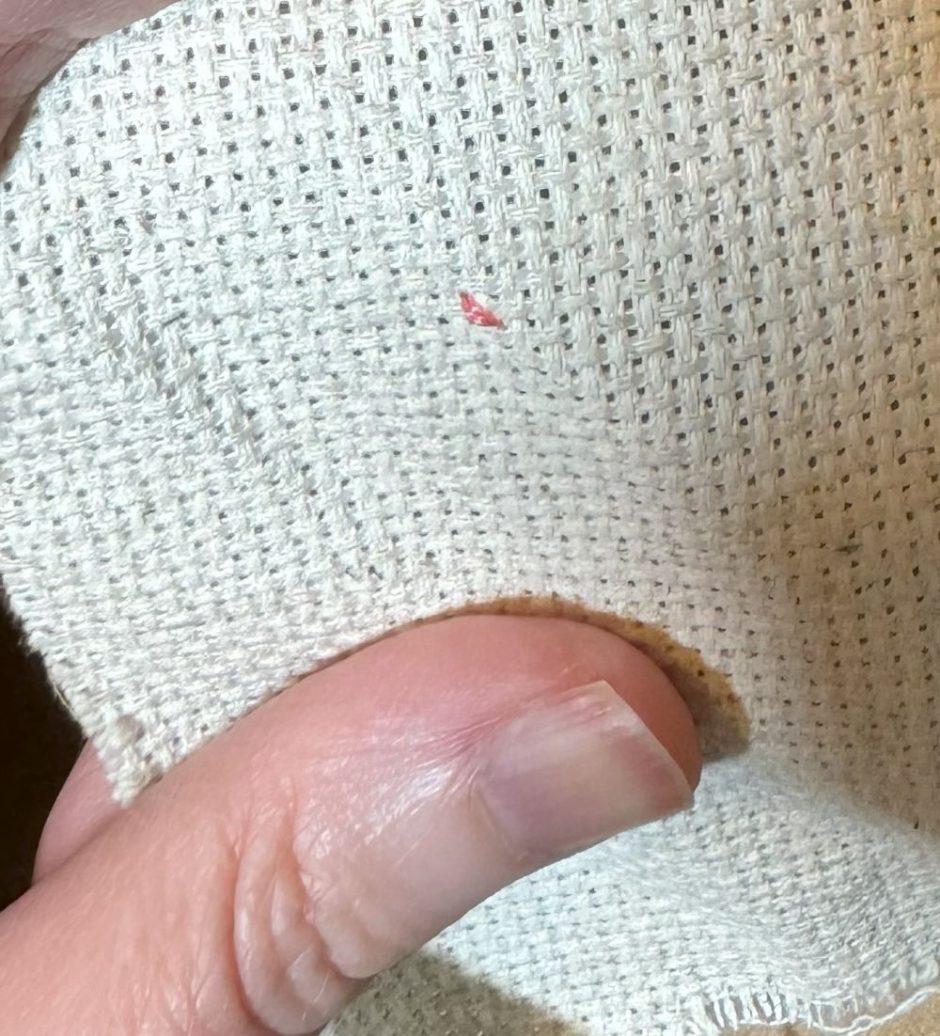
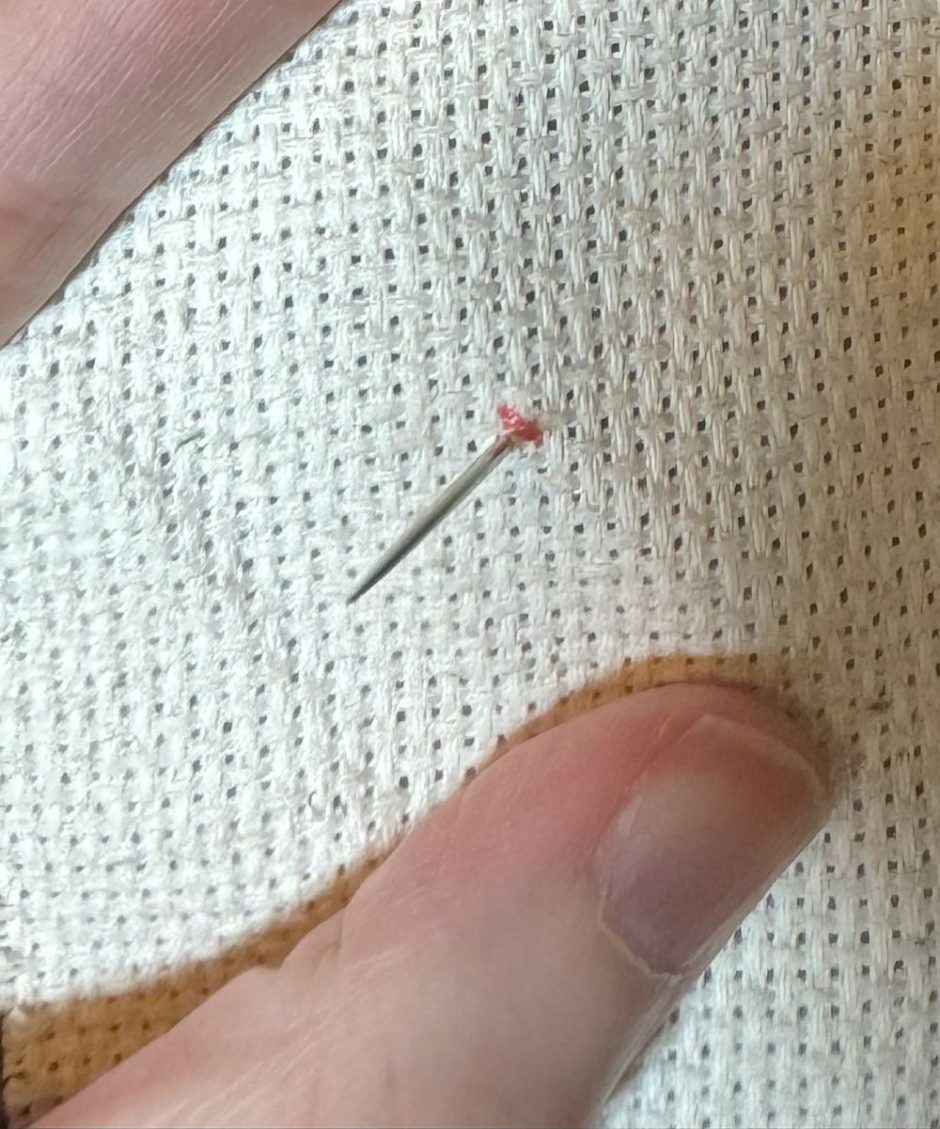
To find the middle of your cross stitch fabric, fold it in half lengthwise and widthwise. Mark the stitch where the folds intersect.
I used to always do this with a straight pin or even my needle, but these days I tend to use some kind of fabric marking tool (like these heat erasable pens) to mark that stitch. Once you have stitched it, you won’t be able to see that mark, or you can erase it through heat (or washing if you use washable marker instead) when the stitching is done.
How to Start Your Cross Stitch Pattern
Once you know where center is on both your pattern and your fabric, you can start stitching. But you might not want to start exactly in the center.
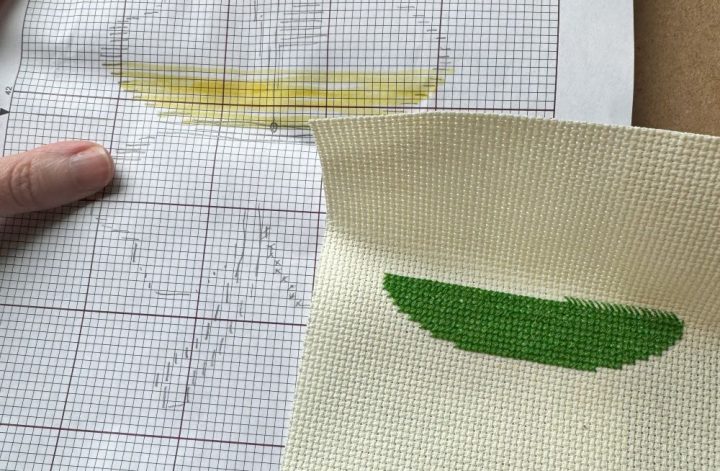
For example on the cat pattern shown here, the center stitch is in the middle of a row of stitches that are (mostly) all the same color.
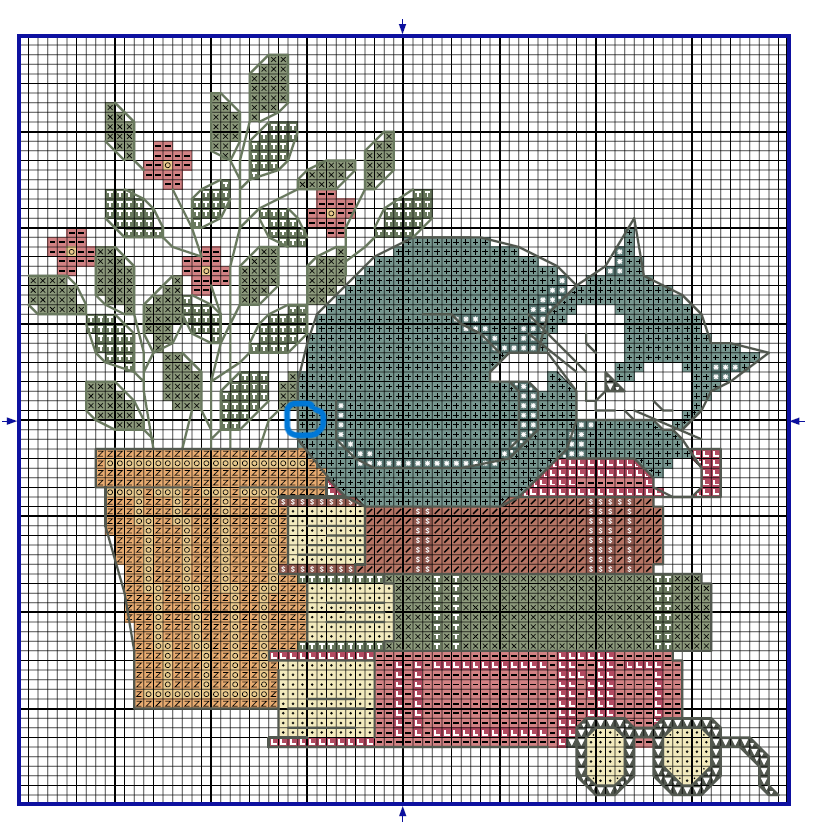
If I were stitching this pattern, I would count across to the back edge of the cat’s tail on the center row and start there.
It’s actually 11 stitches to the left of center, so you can count over 11 stitches and start stitching from there, making sure to skip the one stitch that isn’t worked in that color when you come to it.
This chart is a great example of why it can be worthwhile to grid your cross stitch fabric before you get started, because that makes it easy to count 11 stitches over (and, later, that you have 28 stitches in that row, counting the three blanks).
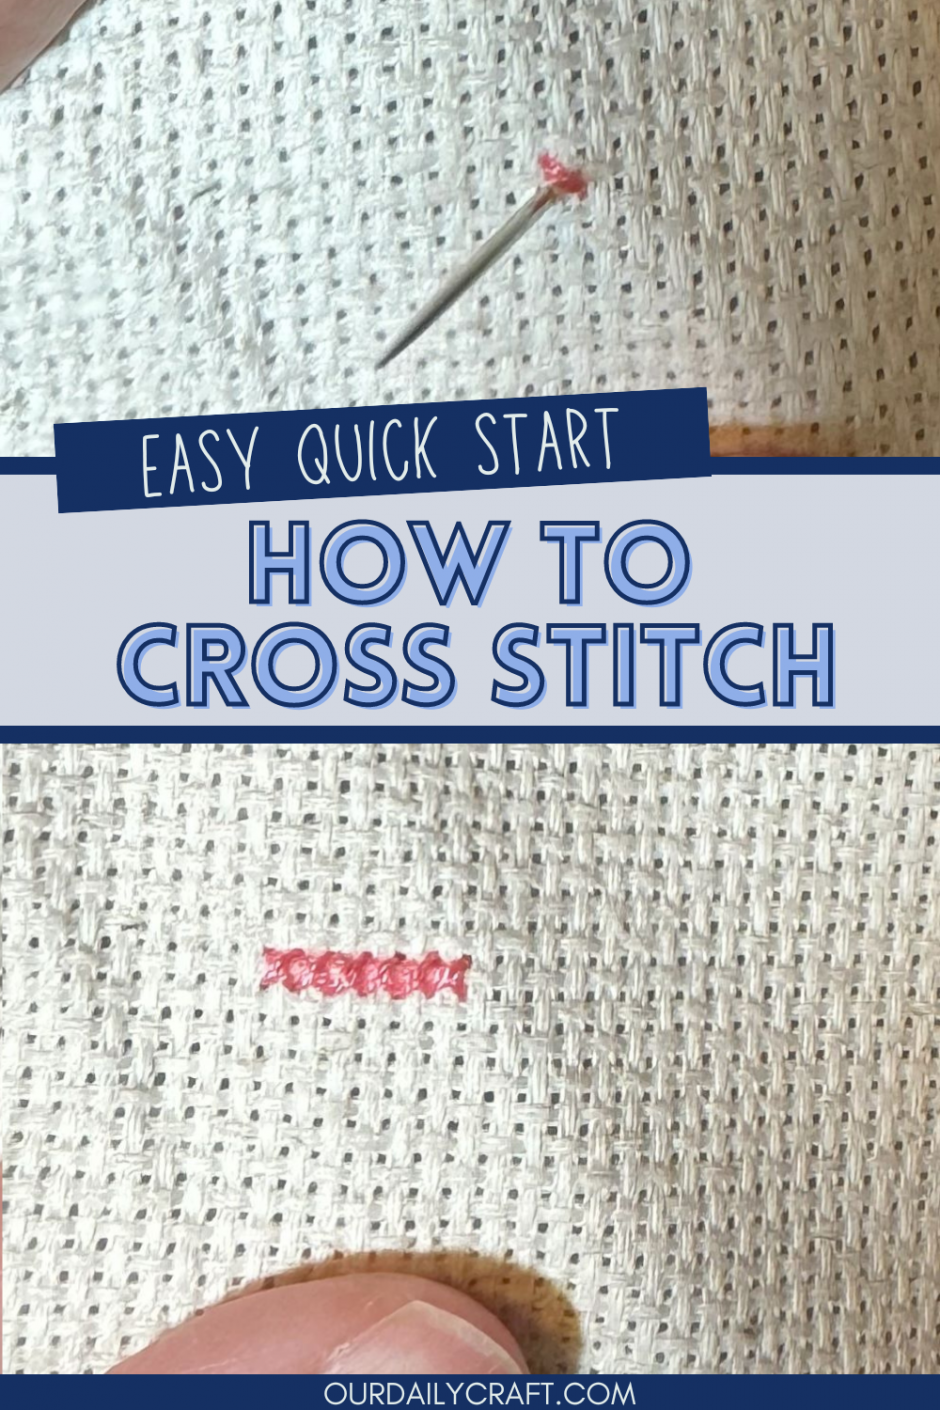
How to Cross Stitch
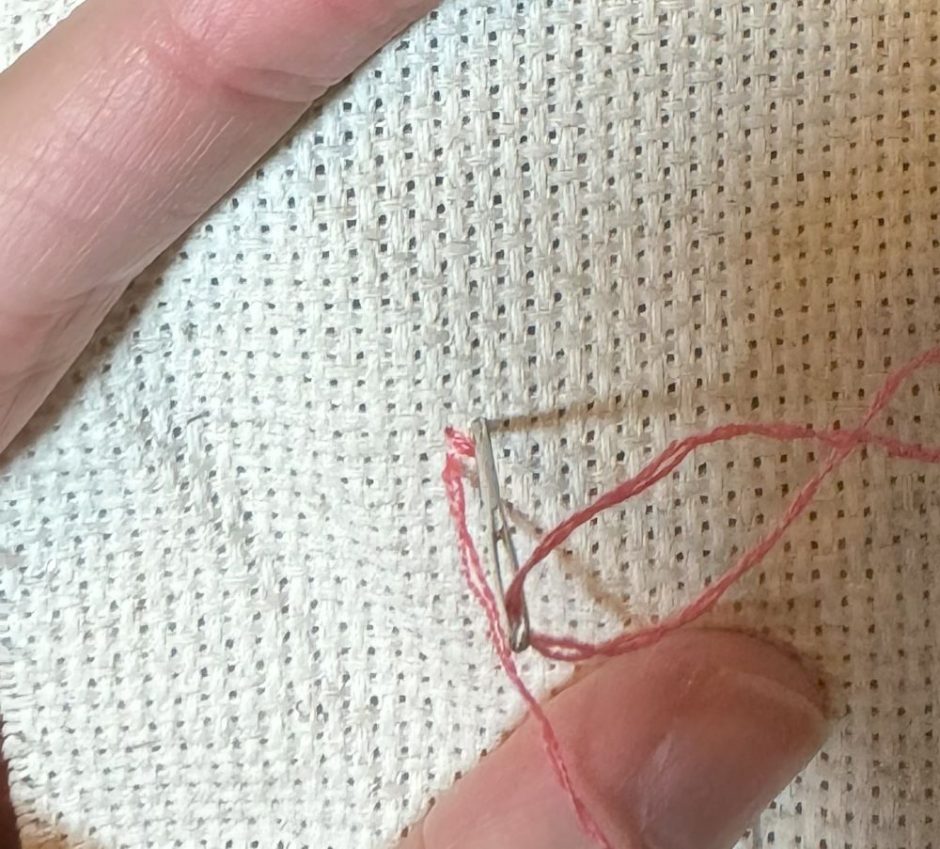
Once you’ve determined where you want to start your pattern, prepare your needle and thread, using the color called for in the pattern and the number of threads suggested.
I don’t mind knots so I tie a knot in the end of the thread after I thread the needle.
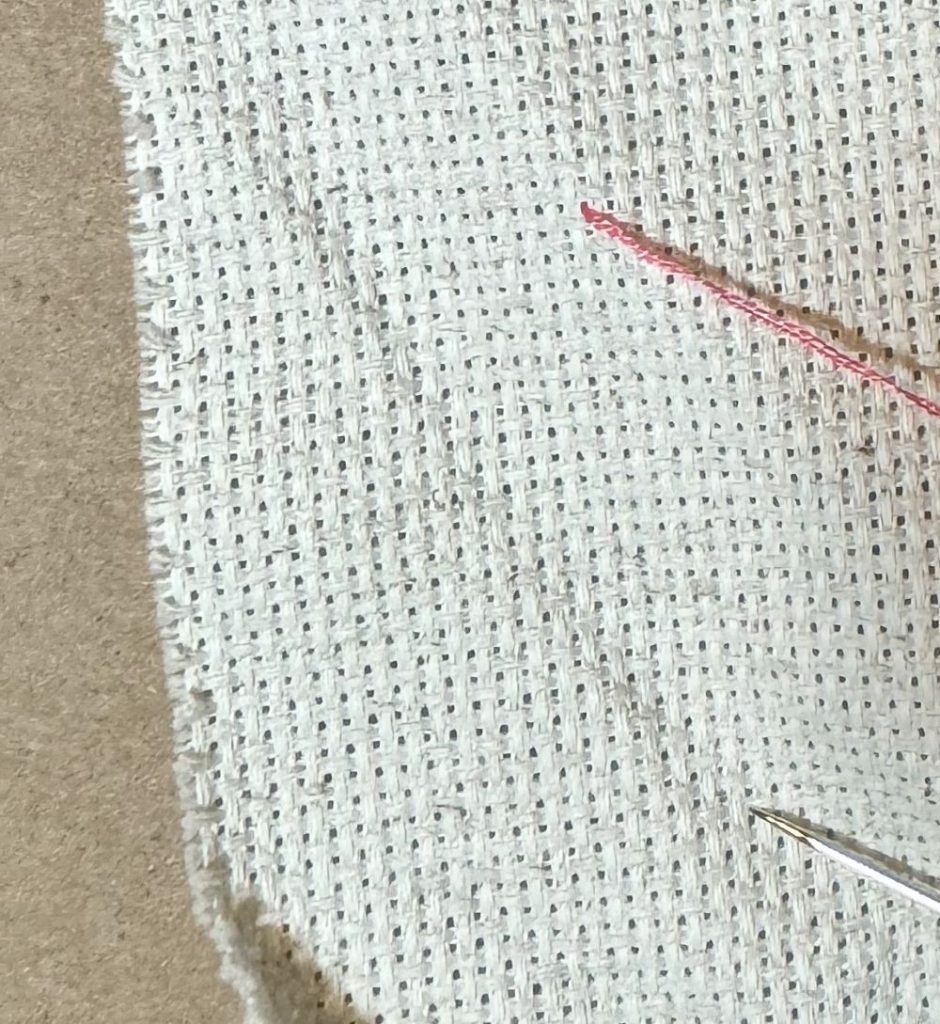
To start cross stitching, go into the first hole where your first stitch needs to be, taking the needle from the back to the front through the fabric. I like to start on the bottom right corner, but you can do whatever you like as long as you are consistent.
Pull the thread until the knot is against the back of the fabric, but don’t pull too hard or it can pop through.
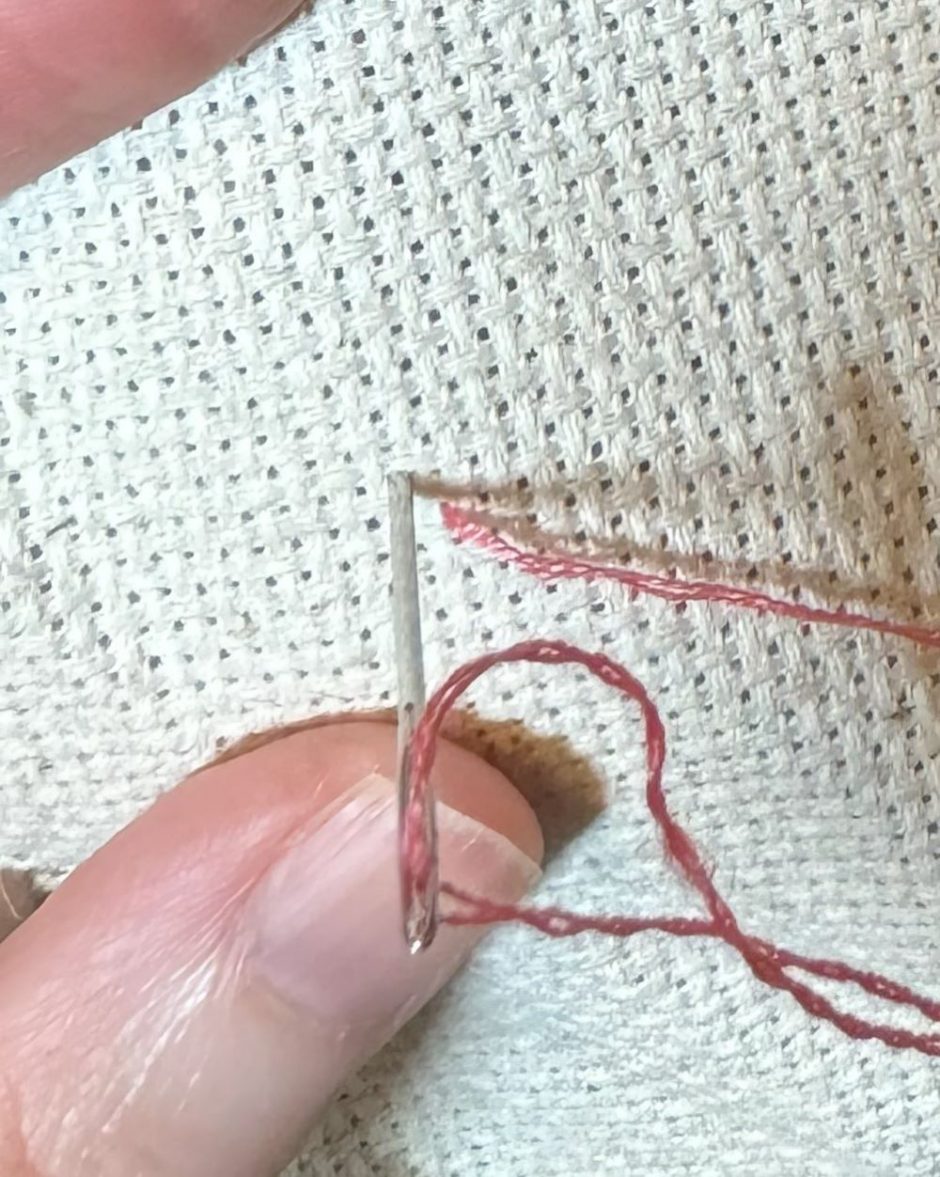
Take the needle through the fabric from front to back in the opposite corner of the square. In this case that’s the top left.
Pull the thread through until it’s flush with the fabric. As you go make sure you’re pulling tight enough that the thread is snug against the fabric, but not so tight as to distort the holes or the fabric.
If you’re working a single stitch at a time, now you would bring the needle back up through the fabric from back to front in the other hole on the same side of the square you are on. Here that’s the bottom left.
Finally take the needle through the last hole from front to back. In this case that’s the top right.
You just made a cross stitch!
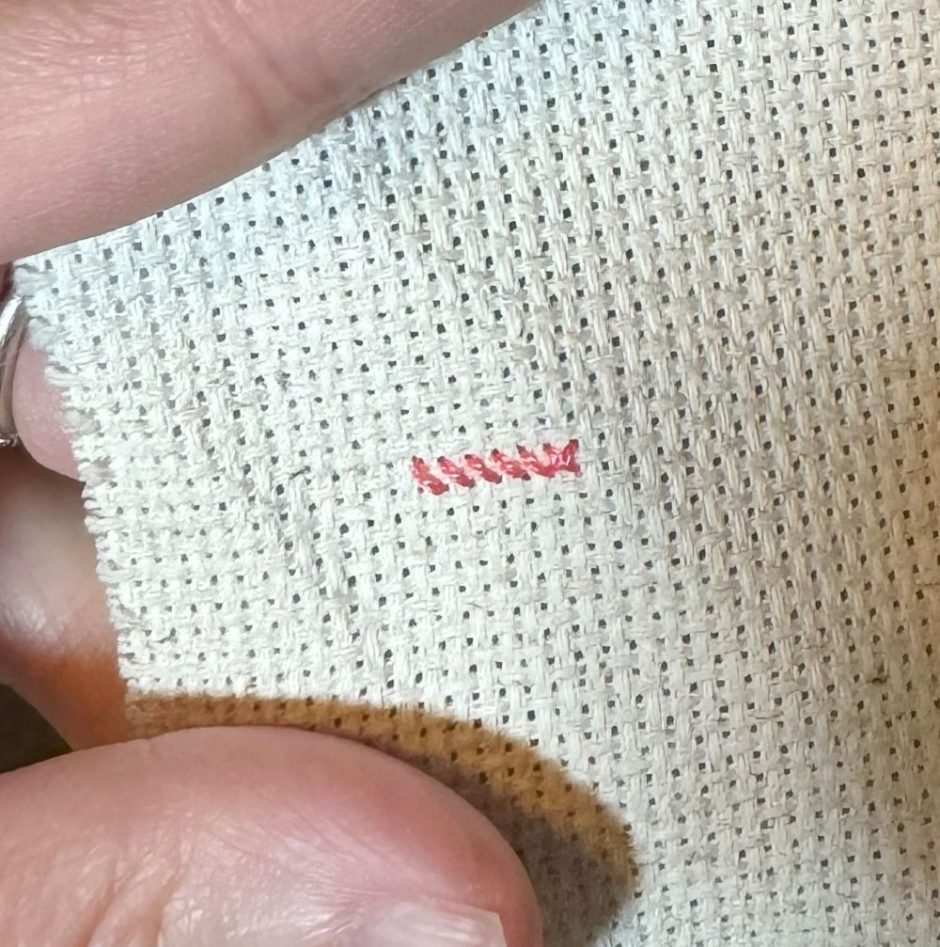
As you get comfortable with how to cross stitch you may want to work a bunch of stitches of the same color at the same time. In that case you can work one half of the stitch across however many stitches you want to. Again here I am working from right to left and bottom to top.
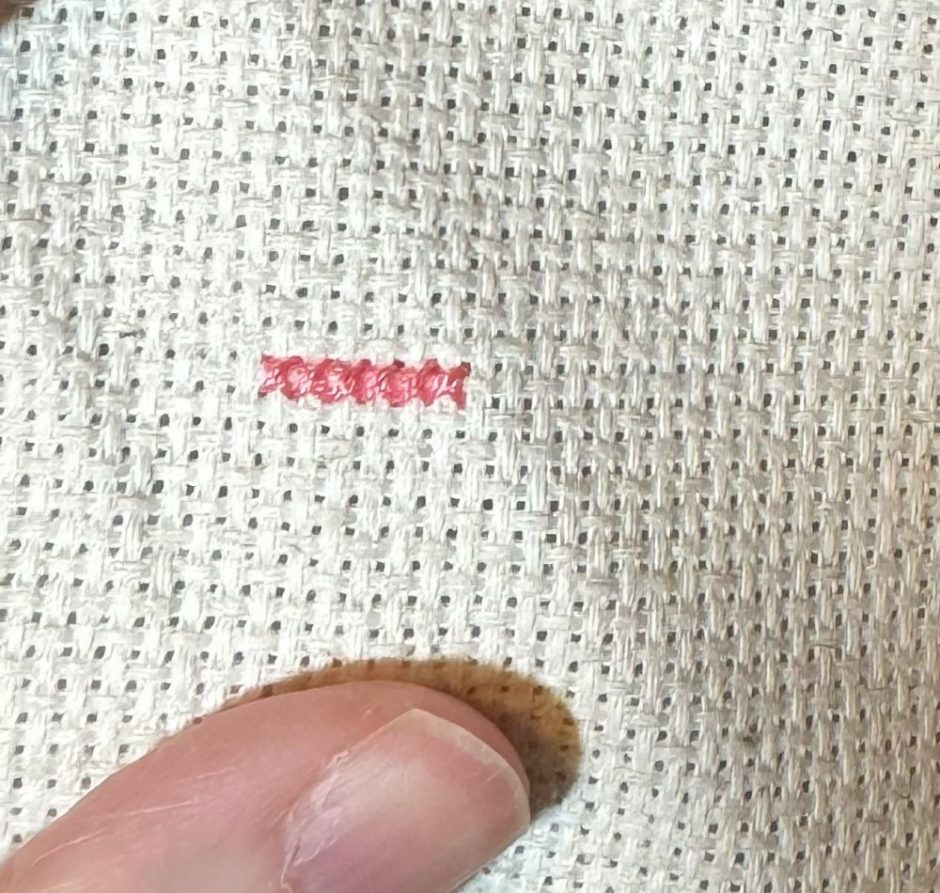
Once you’ve worked all the way across, work back, stitching the opposite leg. So here that’s from bottom to top and left to right.
If you need to work in the same color nearby but not right next to the stitches you just worked, you can just take your needle to the next stitch from the back of the work, leaving the thread attached. It’s up to you how much traveling on the back you can tolerate, but the fewer times you have to tie off your thread and start over, the faster your project will be.
Now that you know the basics of how to cross stitch, just follow your pattern and stitch as it says to reproduce the image.