Affiliate links may be included for your convenience. View our privacy and affiliates policy for details.
When you’re preparing to work a large cross stitch project, you might want to grid cross stitch fabric before you start to make the stitching a little easier. Let’s explore why and how you can do just that.
Why Grid Cross Stitch Fabric?
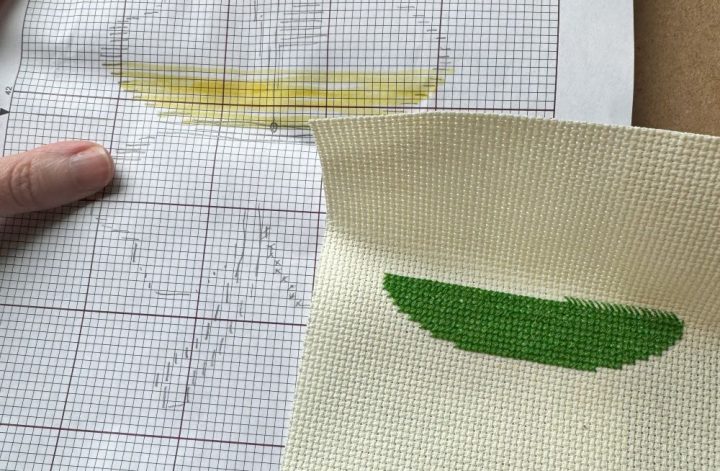
Adding a grid to cross stitch fabric makes it easier to orient yourself on your fabric and in your pattern as you work on a large project. It makes it easier to find where on your fabric corresponds to the section of pattern you’re looking at, and it can help you count if you’re working a large section of the same color in one area.
Using a grid allows you to focus on one little section of a big project at a time, and it can give you a sense of accomplishment when you fill up a space.
It can also potentially help you see where you’ve made a mistake in your stitching if you find the grid on your cross stitch fabric doesn’t correspond to the grid in your pattern as it should.
You won’t want to grid your cross stitch fabric for every project you do. Small projects don’t usually require it, and you might not find it helpful. But it’s worth trying on your next big cross-stitch project to see if it’s helpful for you.
Ways to Make a Grid
There are a few different methods that can be used to grid cross stitch fabric, but the main idea is that you want to make it easier to see 10 row by 10 stitch sections of the fabric at a glance. A few options:
- sewing embroidery floss or sewing thread into the fabric
- using marking tools like washable or heat erasable fabric marking pens
- using monfilament fishing line
- using Easy Count Gridline, a red nylon thread that’s designed for use in gridding cross stitch fabric
- buying easy count cross stitch fabric
How to Grid Cross Stitch Fabric
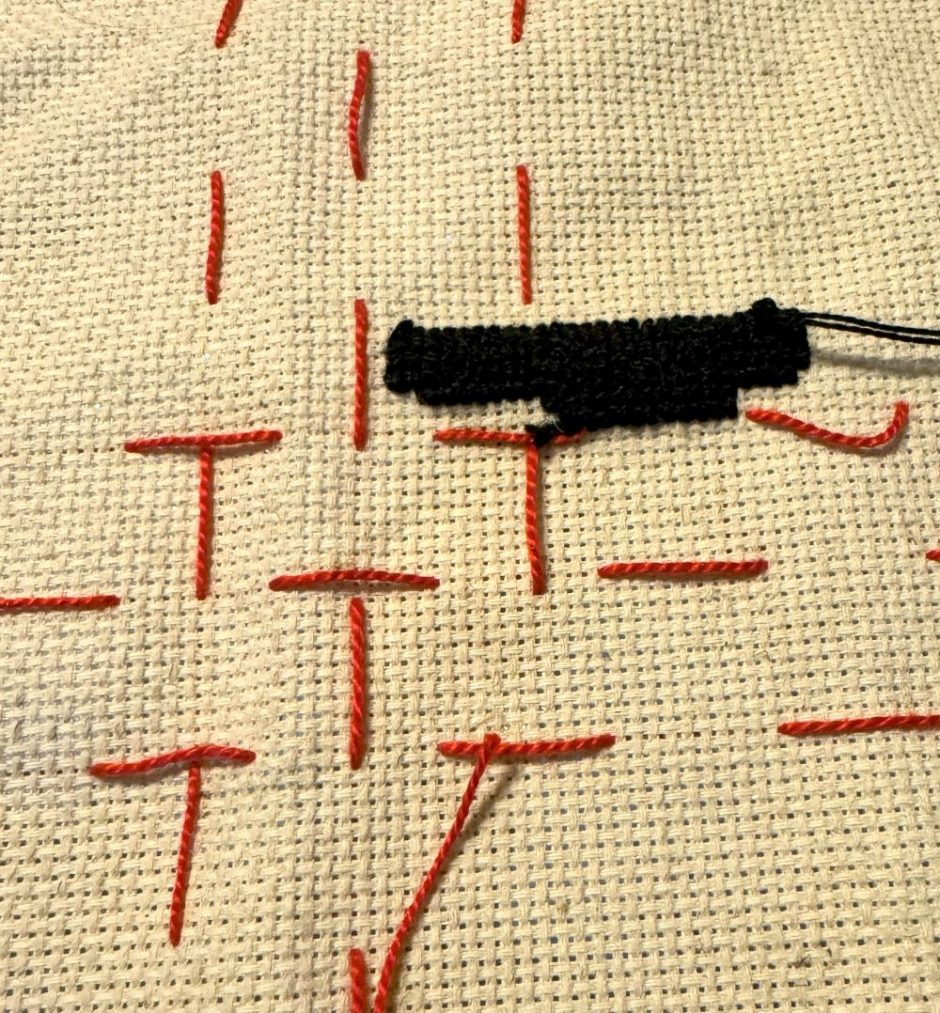
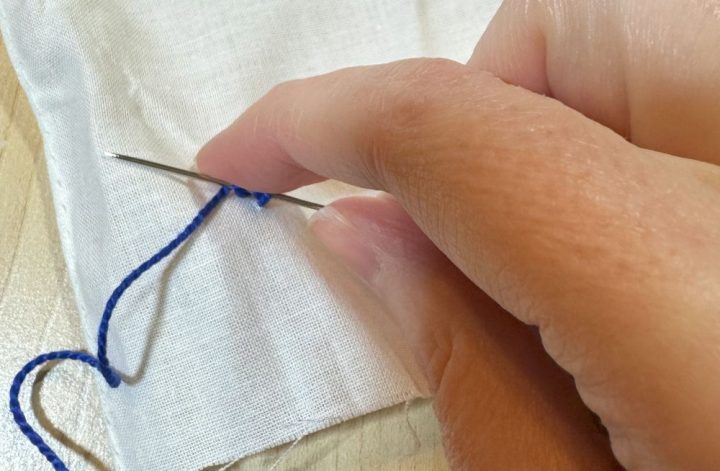
When using any of the thread or fishing line options, the process for adding a grid to cross stitch fabric is generally the same. The way I do it is to insert the threaded needle toward one edge of the design space, take it down 10 stitches or rows later, bring it up again 10 stitches or rows after that and so on.
This gives you sections where 10 stitches or rows are marked and 10 are not marked, which I find easy enough to “read” without getting in the way too much. If you prefer you can make these lines solid by working backstitch horizontally and vertically. Then you’ll have full box grids throughout.
When you’re done stitching your project or done with that section of the project you can just pull out the thread and no one will ever know it was there.
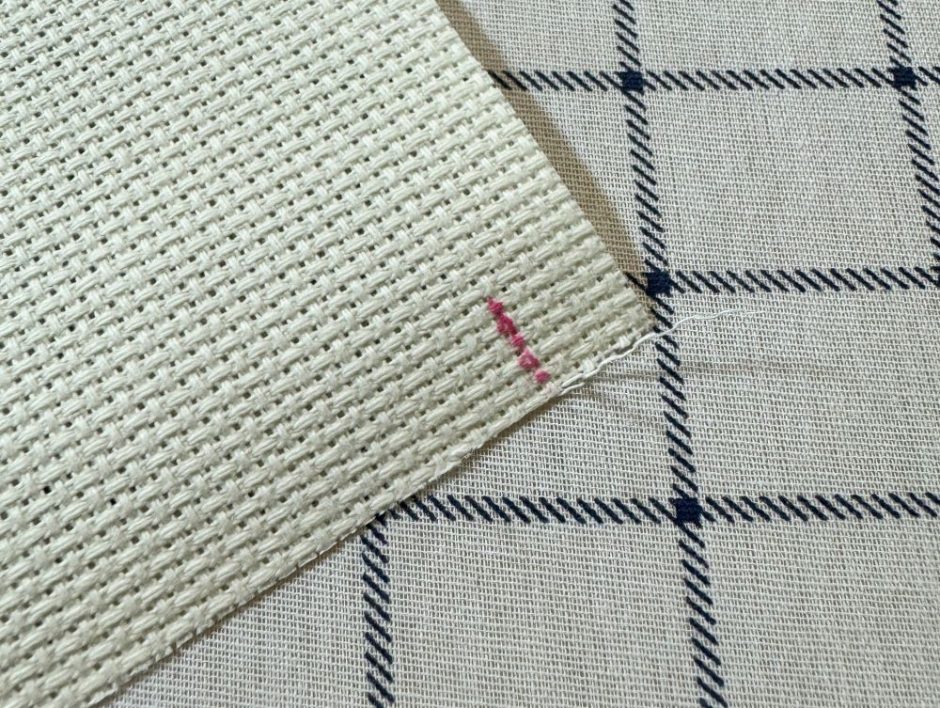
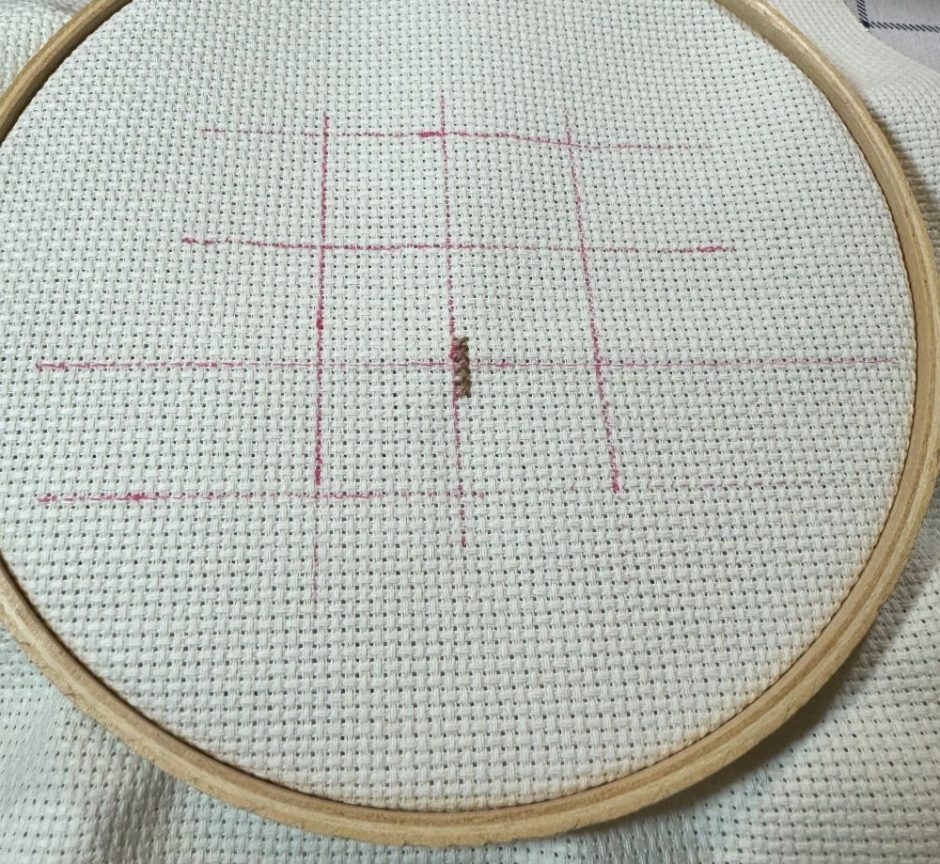
If you want to use marking tools to make a grid on your cross stitch fabric, which is my preference, test your marking tool before using it all over your fabric. You want to make sure that it removes cleanly and doesn’t leave any residue or color behind.
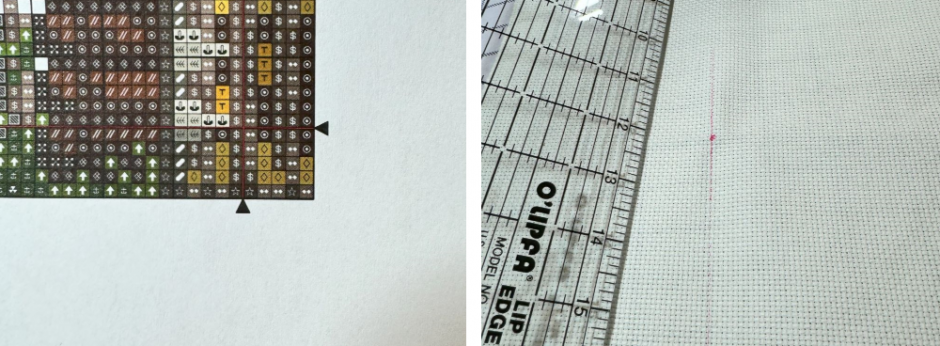
Find the center of your pattern chart and the center of your cross stitch fabric. This will let you see if the center is at the corner of two 10-stitch squares in the pattern so you can draw your lines accordingly.
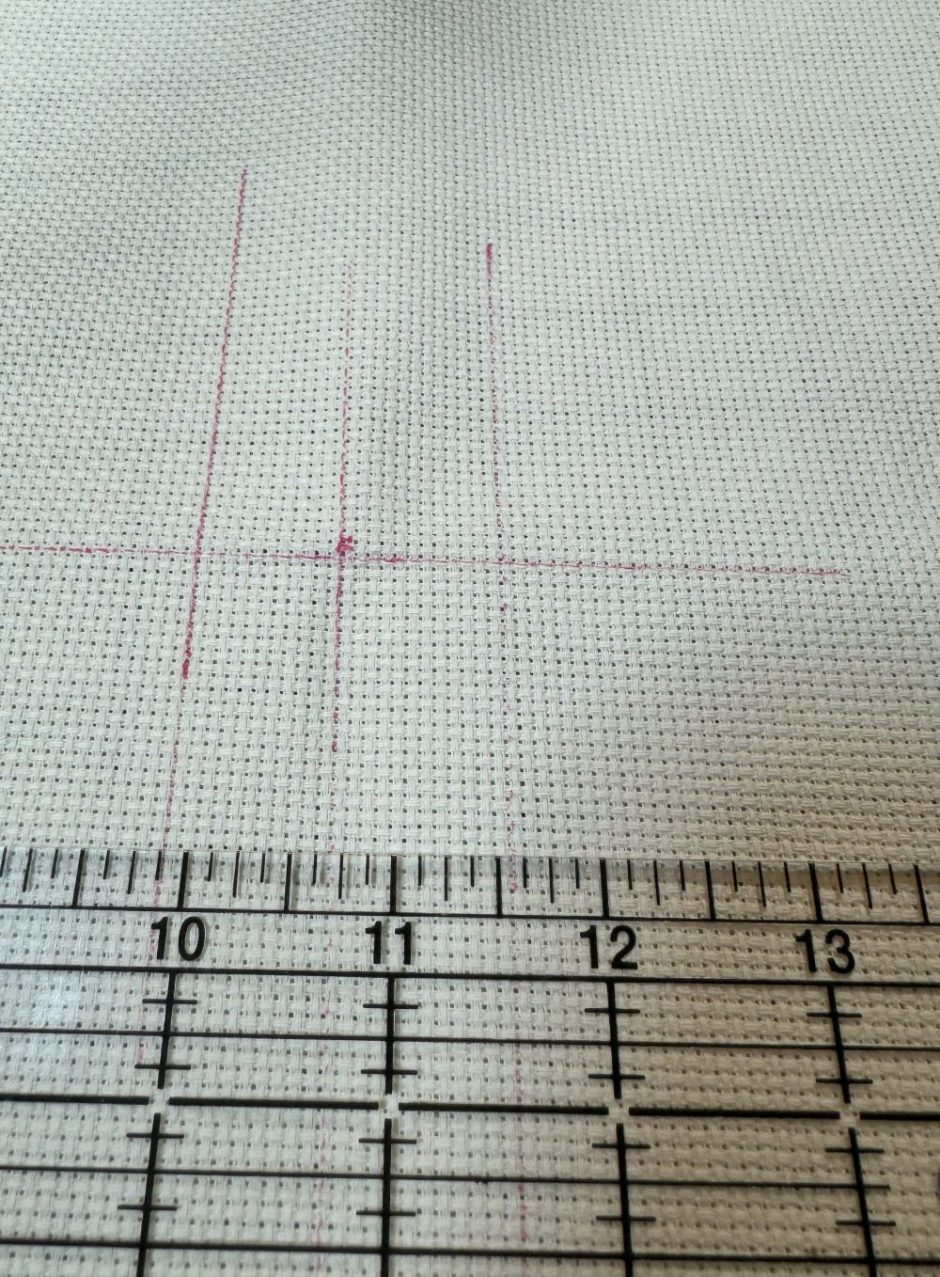
Use a ruler to help you draw straight lines along the fabric every 10 rows and 10 stitches. I’m not the best at this even with a ruler but it still helps to make it a little easier to see where you are in your cross stitch pattern.
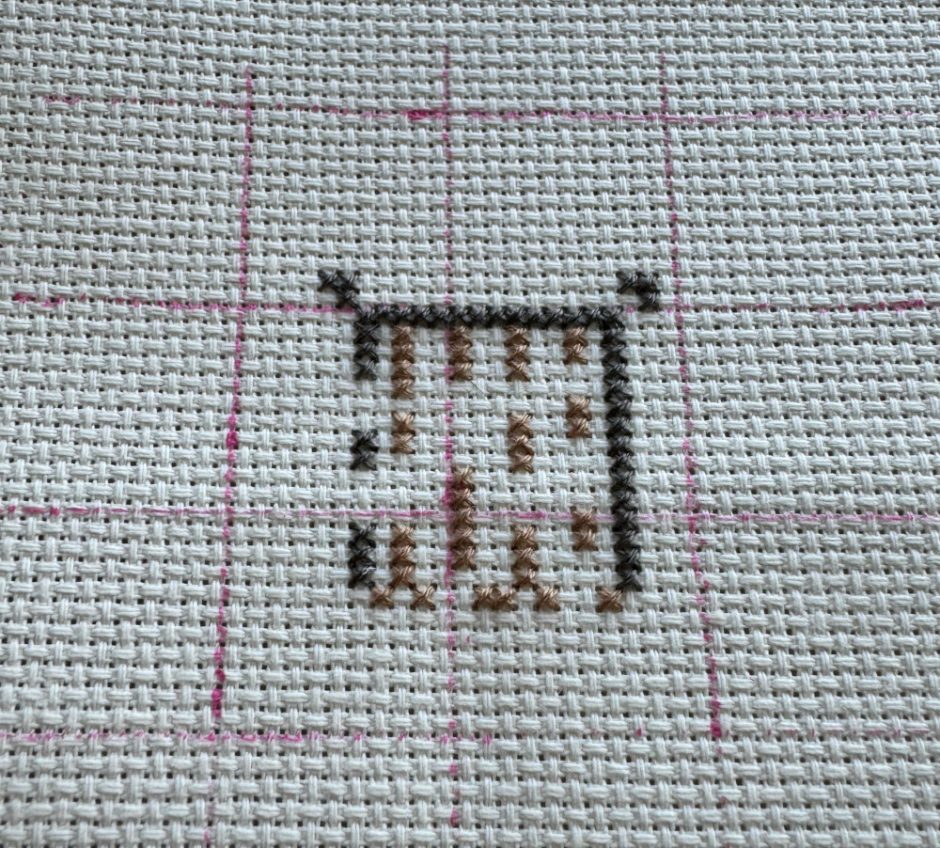
If you look at this project where I’ve stitched near the grid lines, they’re not super noticeable once the stitching is filled in, but you can wash or iron (gently, as you don’t want to flatten your stitches) to remove washable or heat-erasable marks when the stitching is done or as you go.
Do you grid cross stitch fabric for projects? I’d love to hear the method you use.
6 Comments
Do you find the center and stitch from there on your griddled fabric?
Yes, that’s what I would do! You can also work the grid from the center out so the center is already marked, but if the grid on the pattern is different you should follow that to make it easier on yourself.
I use embroidery thread to grid. And I use a different color every fifth row for indicating the row or column I am on. I really think gridding makes counted cross stitch so much easier.
So smart! Anything we can do to make big projects easier is a win to me.
Great idea!
Could you please post a link to the markers that you use?
Thank you!
These are the ones I used: https://www.ourdailycraft.com/2024/02/19/ibotti-heat-erasable-pens-review/