Affiliate links may be included for your convenience. View our privacy and affiliates policy for details.
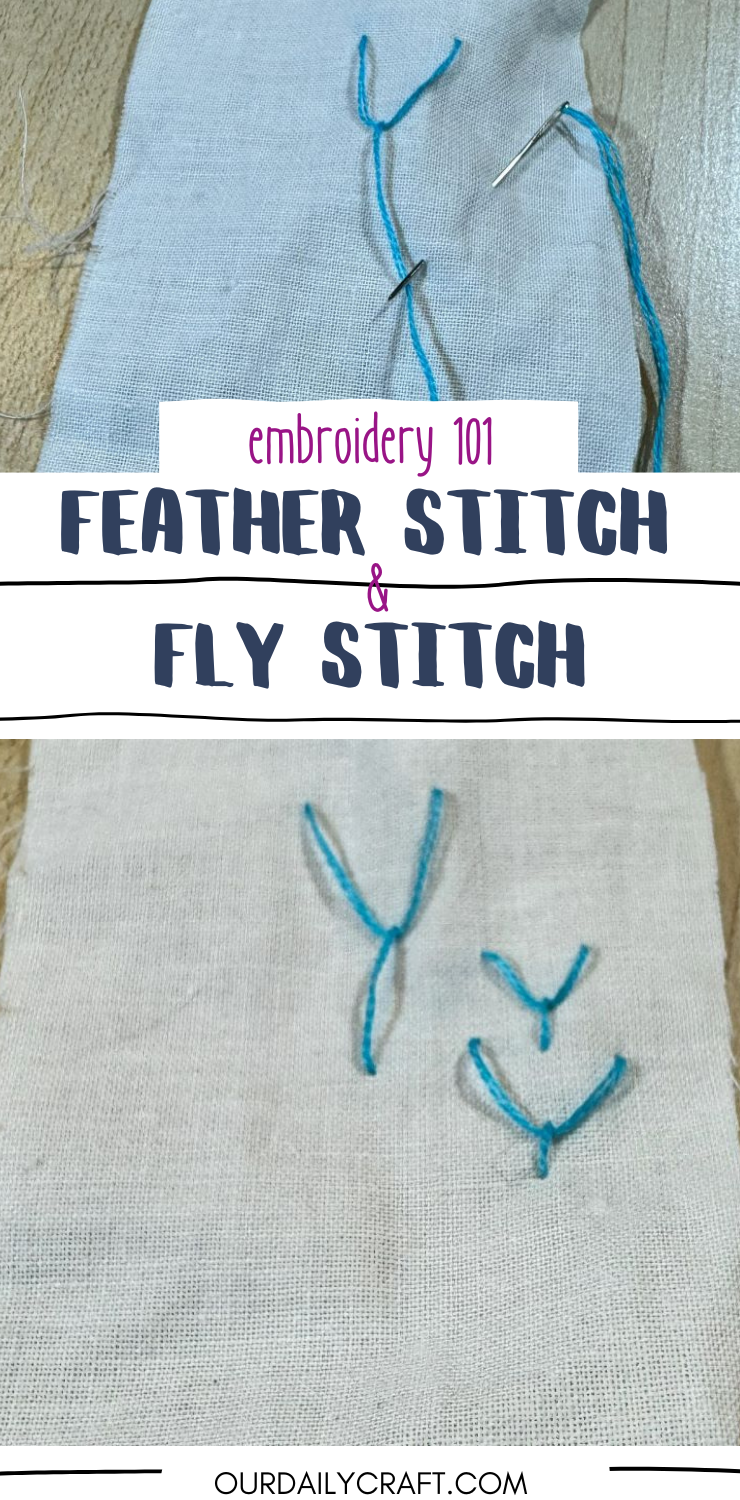
Feather stitch and fly stitch are two very similar embroidery stitches that look to me more like flying geese (or the letter v and the letter y, respectively). Whatever you want to call them, they’re both easy to stitch!
Feather Stitch Embroidery Tutorial
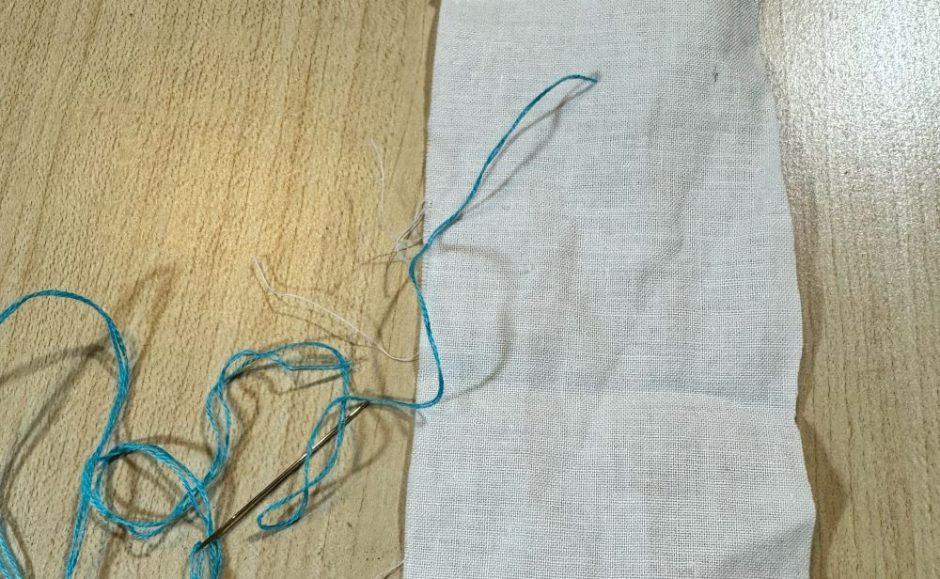
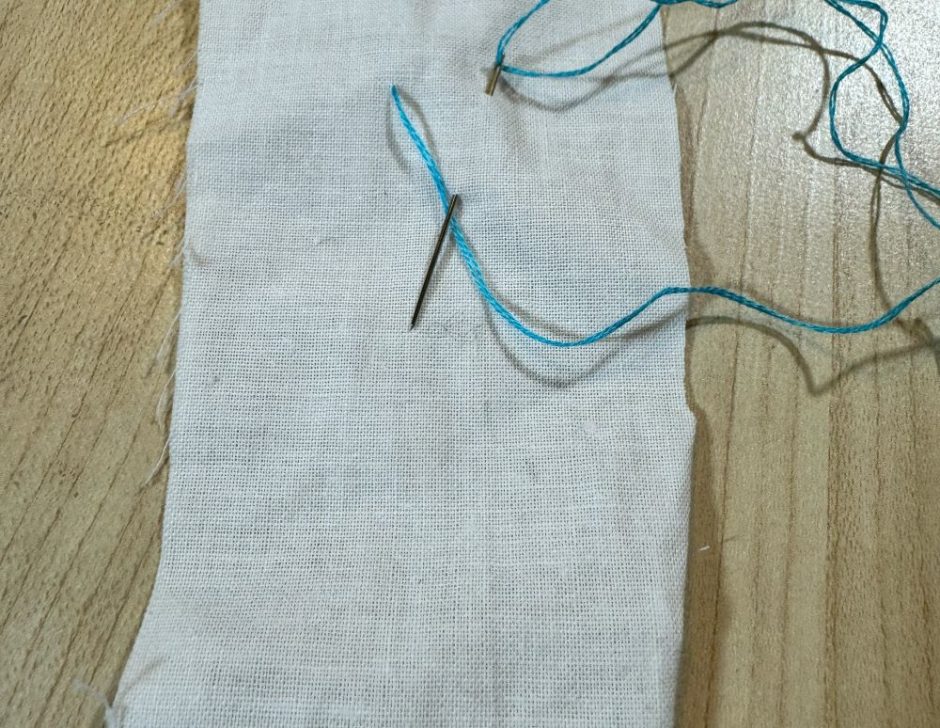
To begin practicing these embroidery stitches, grab a bit of fabric, a needle and thread. Thread your needle, tie a knot in the thread at the other end, and bring the needle from back to front through the fabric where you want your stitch to start. This stitch is easiest to do from the top of the fabric down.
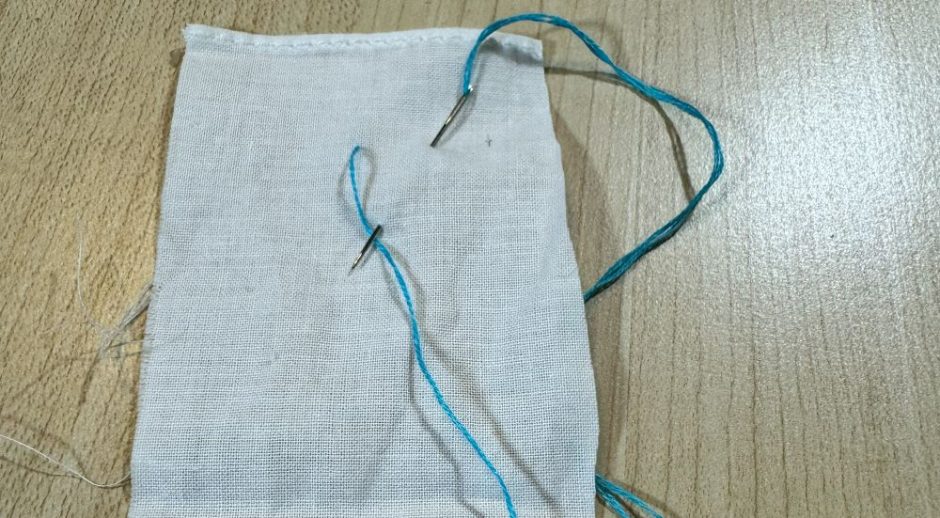
For feather stitch, put the needle back through the fabric where you want the other “leg” of the V to start, then back up again where the two sides will meet. Make sure the needle is going over the thread when you pull this one so it will get locked into place.
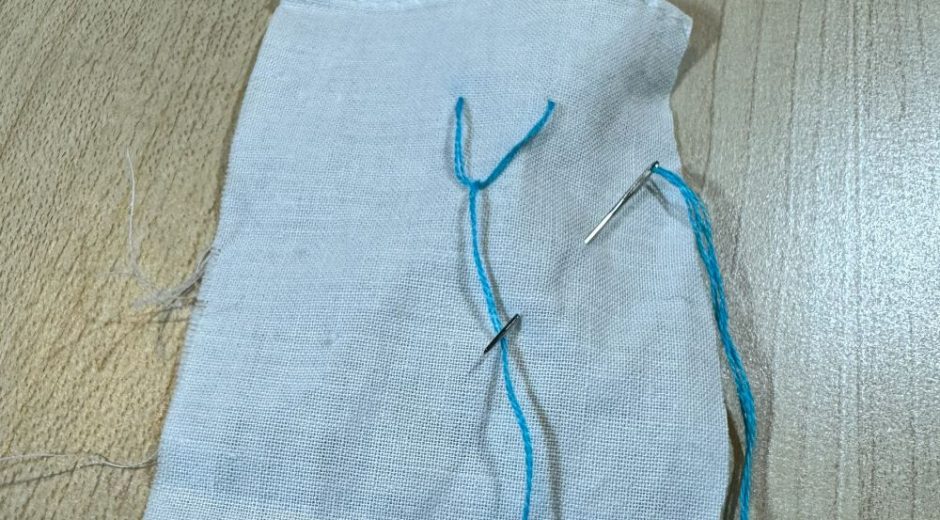
This spot is now the beginning of the next stitch, so again you can place the needle in the fabric where you want the next stitch’s leg to go, and back up at the bottom.
You can also change direction or the side you’re stitching on, just take the needle to the other side.
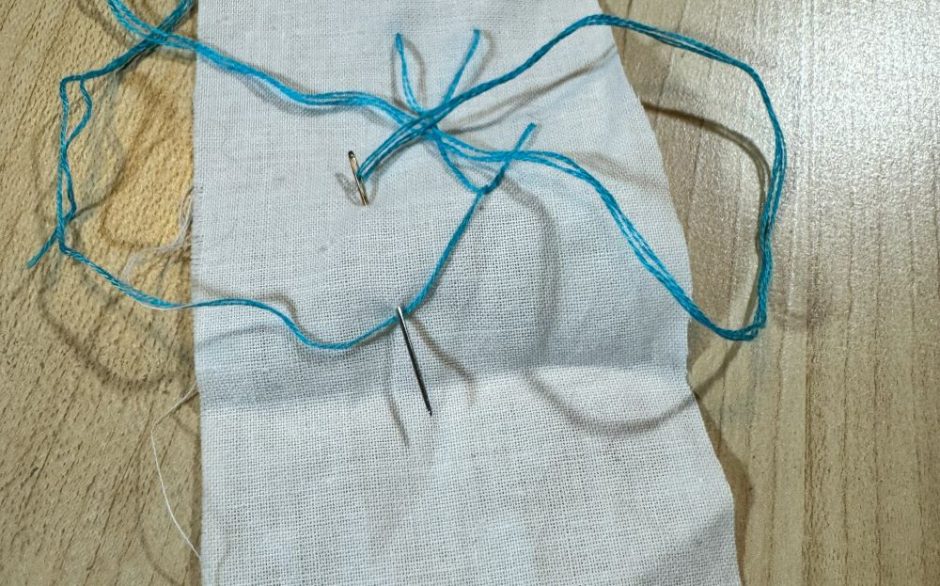
And of course you can make them large or small or vary the size as you go.
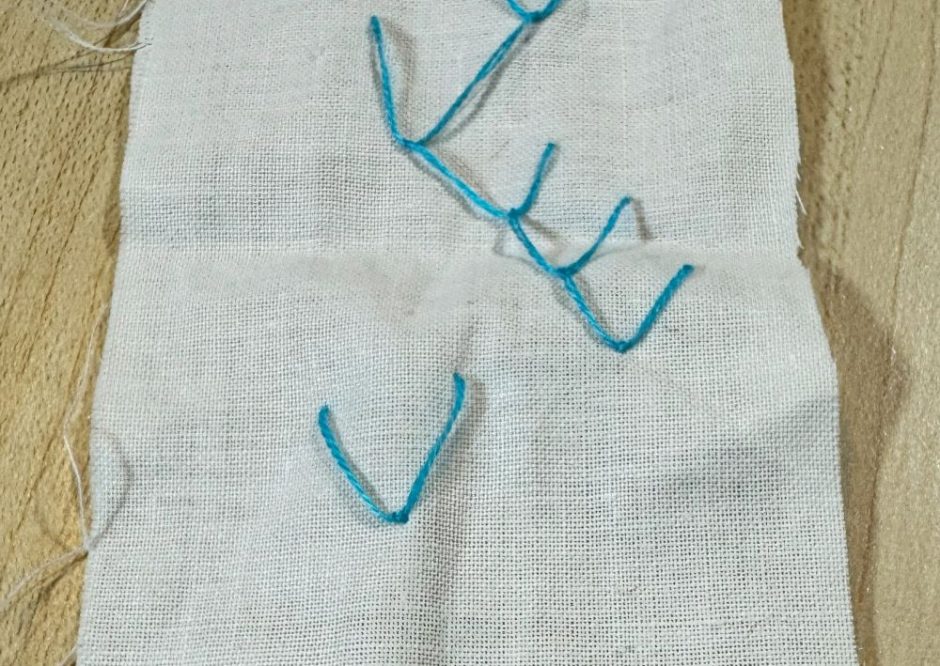
Feather stitch can also be worked in individual stitches rather than linked ones. This is known as detached feather stitch. You work it the same way but after you finish the stitch you take the needle back through the fabric to the back of the work close to where you just came up to anchor the stitch.
Fly Stitch Tutorial
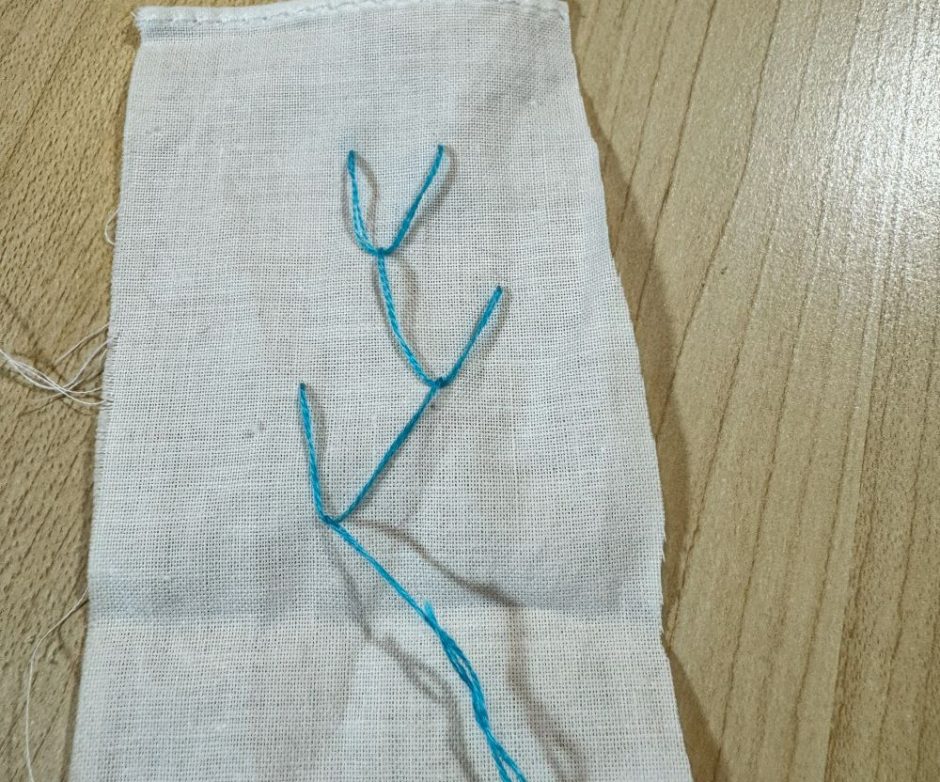
Fly stitch is similar to feather stitch except these stitches are usually detached and they have a long leg in the middle, making them look like a y.
To start, it’s the same as feather stitch: bring the needle up through the fabric where you want to start, then go down where you want the second leg to start, and up again at the base in between the two points above. Again make sure the thread is under the needle.
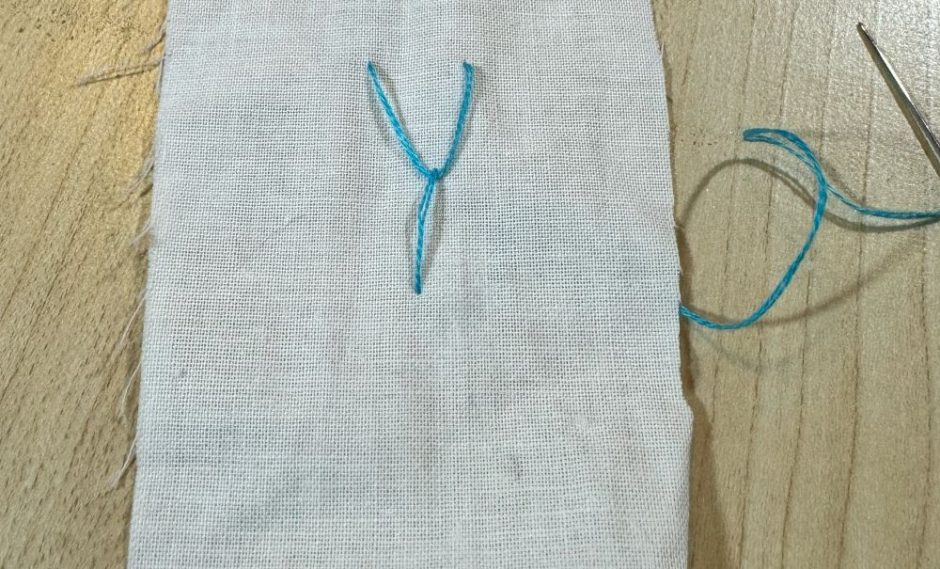
When you have the stitch worked, instead of making your next stitch close to where you just came up, take a long straight stitch down from the base of the stitch.
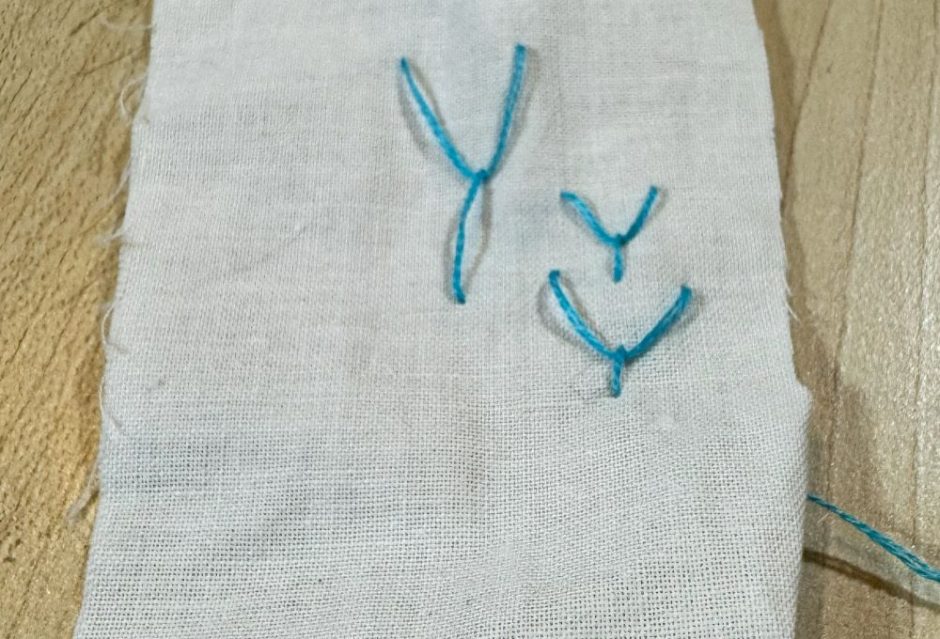
Here, too, you can vary the size of the v and the length of the leg, and you can stack them or make a row of them, or just randomly place them on your embroidery fabric. It’s your choice!
Want to learn more embroidery stitches? Check out my tutorials for blanket stitch and chain stitch!