Affiliate links may be included for your convenience. View our privacy and affiliates policy for details.
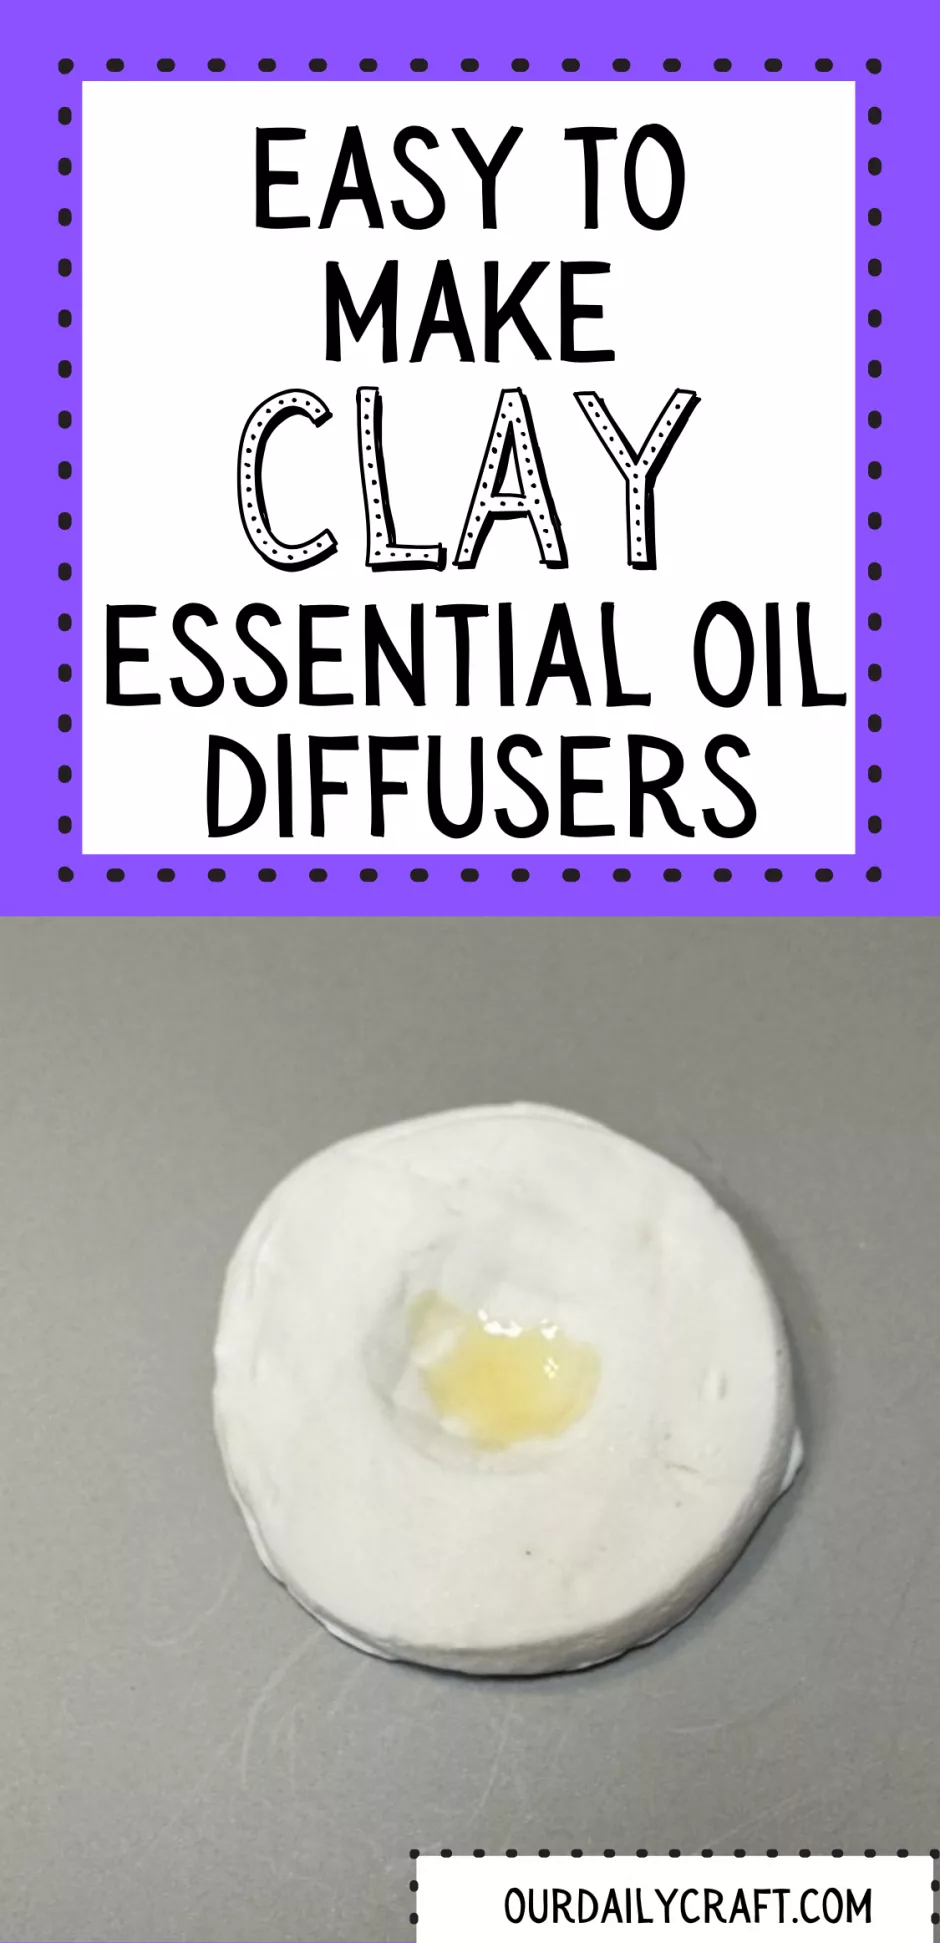
One easy way to use essential oils in the home is to make a DIY clay diffuser. These little disks can sit on your desk or a shelf and bring a little scent to a room without needing water like a reed or electric diffuser.
Supplies
All you need to make your own DIY clay diffusers is some air dry clay, something round (or whatever shape you want to make) to cut out the clay and something to make a dent in the clay that will hold the oil.
I like to make my own air dry clay because it’s three ingredients and it doesn’t take long at all to make. You’ll need a very small amount for this project so it’s not worth it to go buy clay (but if you already have some on hand of course you can use that).
For the shape I used the lid of a prescription pill bottle, which made my clay essential oil diffusers a little more than 1.5 inches/3.8 cm across.
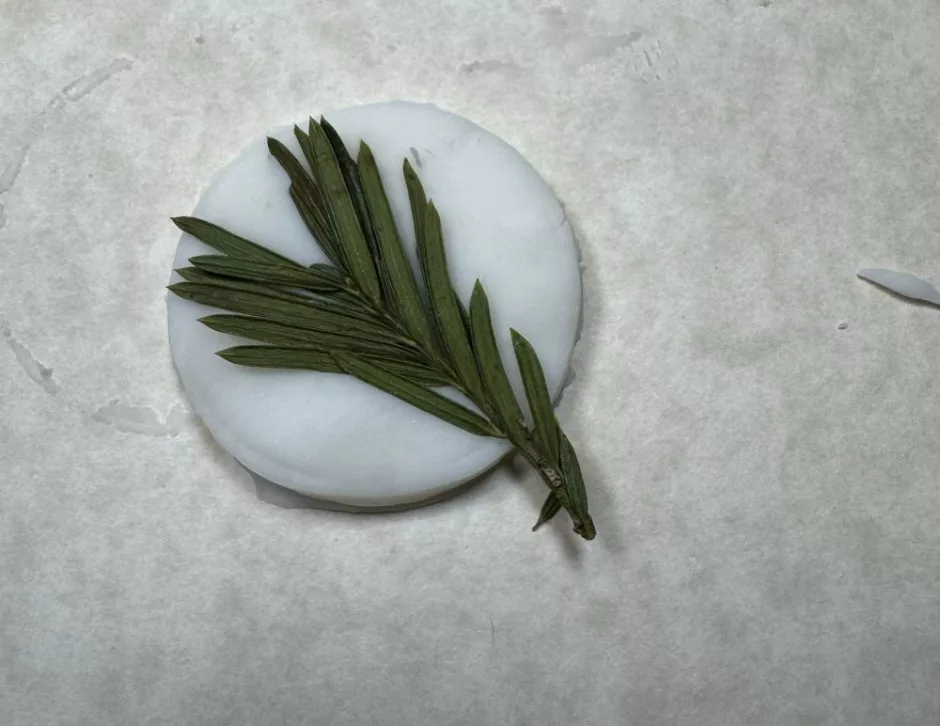
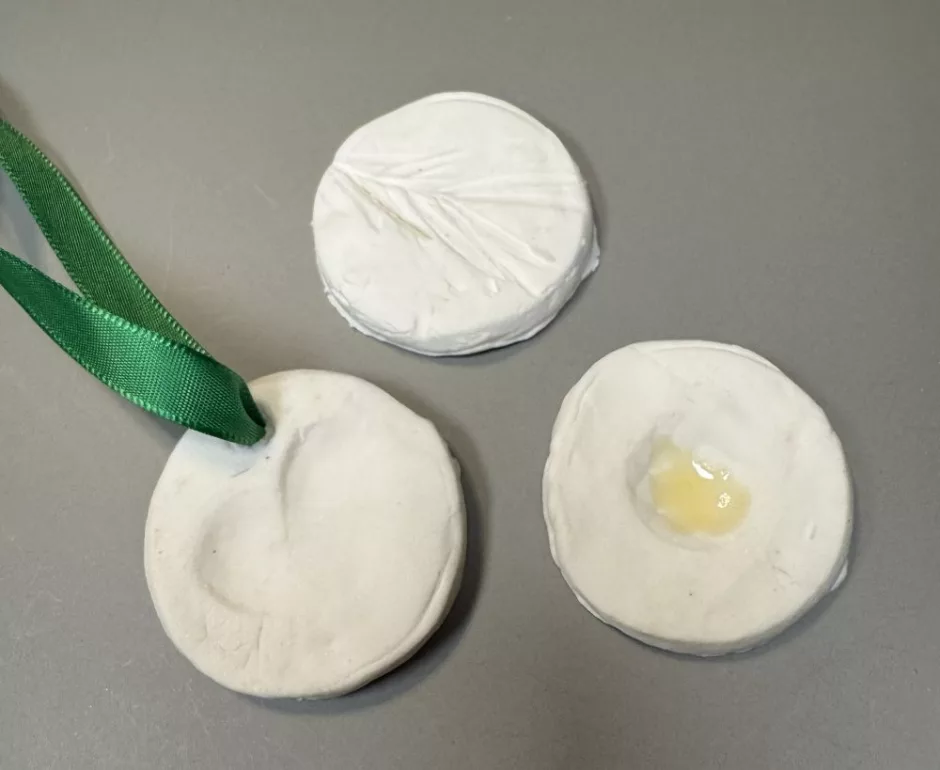
To make impressions on the clay I used a little bit of a green plant (that looks like rosemary but is not), my thumbs and a vintage button. Literally anything can be used for this.
I also made one of my clay diffusers into a pendant so I used a wooden skewer to poke the hole. That’s all you need!
Making a DIY Clay Diffuser
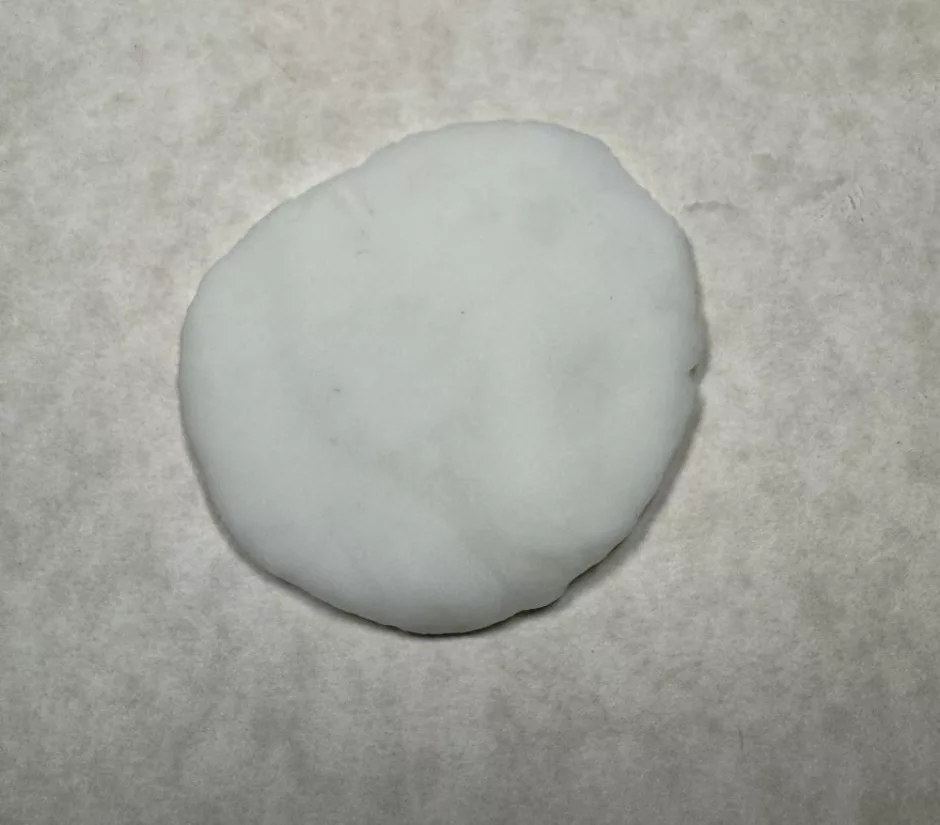
This air dry clay essential oil diffuser could not be easier to make. Start with a small amount of clay, roll it into a ball and flatten it to a relatively even thickness.
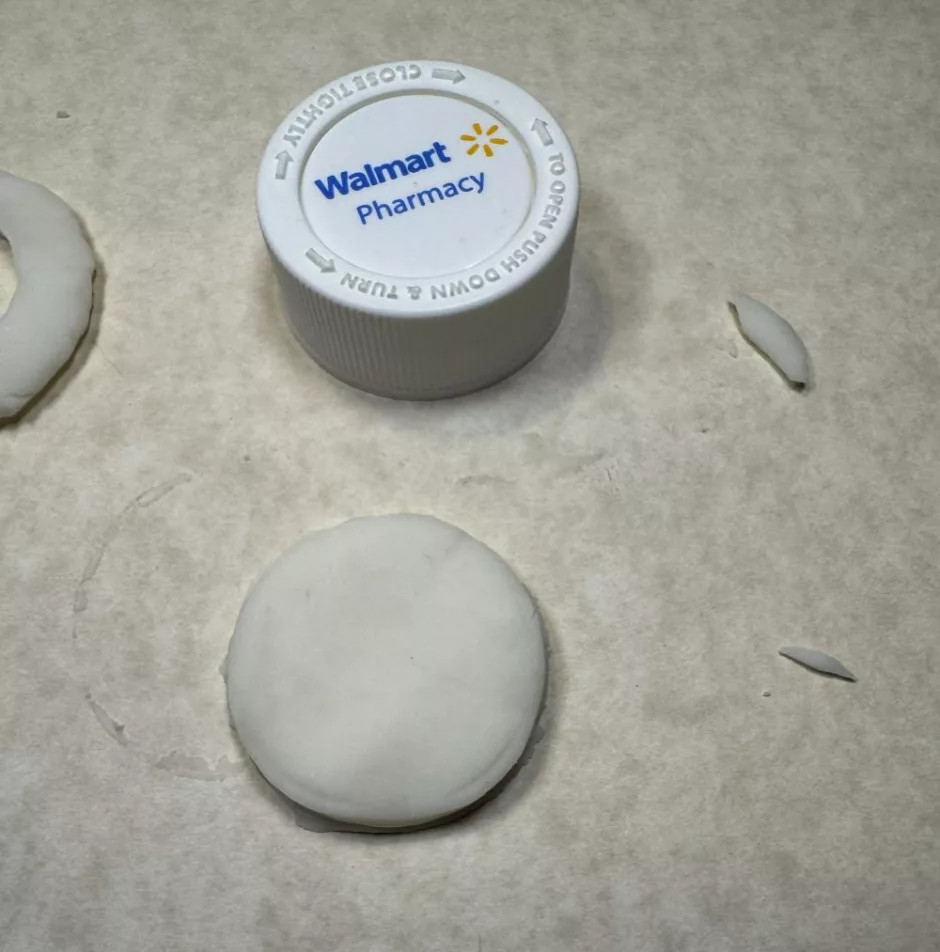
Use your pill bottle lid or whatever you are using to cut out the shape, just like you would with a cookie cutter. You may need to smooth out the edges a bit by hand after you cut.
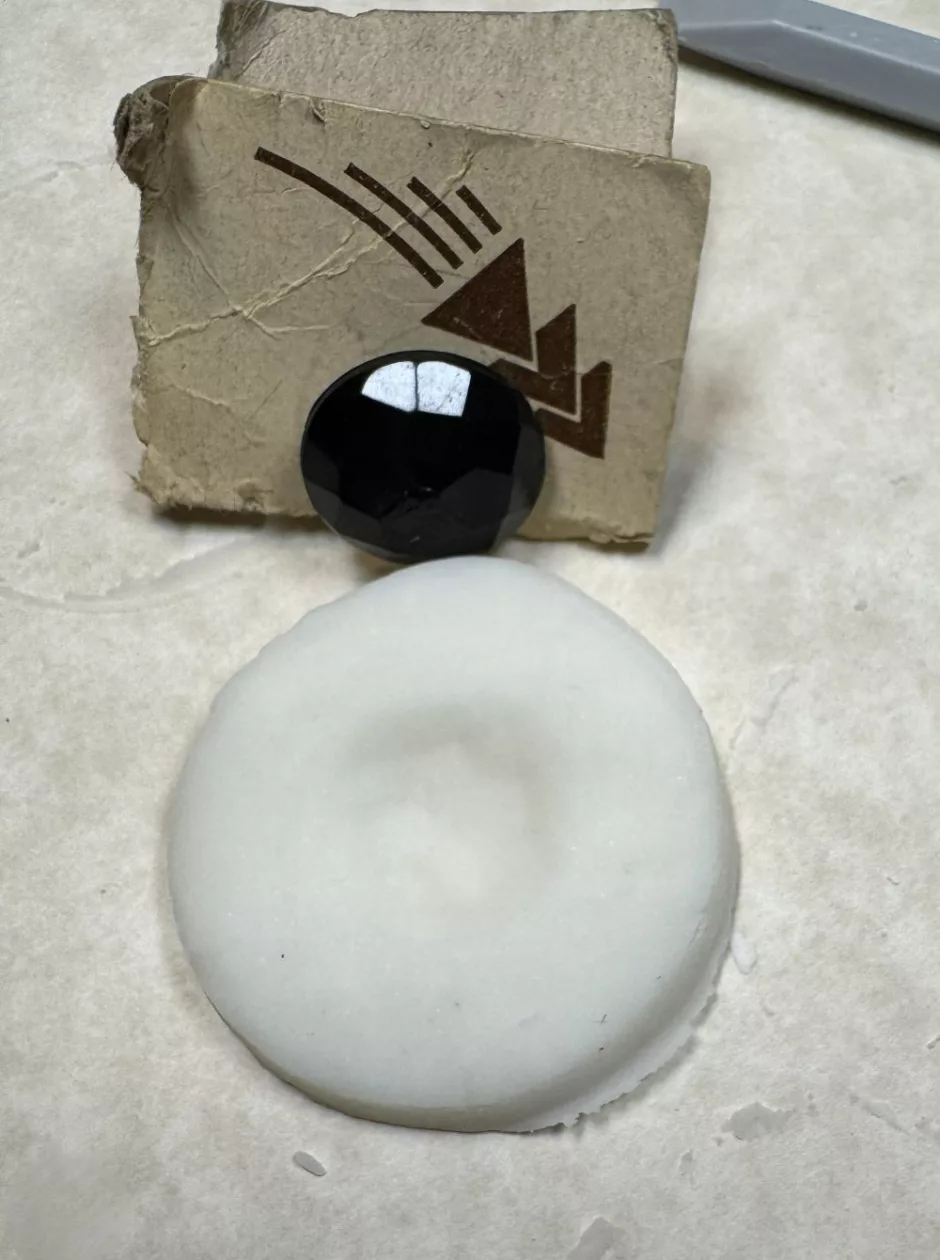
Press whatever you are using to make your indent into the clay, pressing firmly and evenly and making sure it’s leaving a mark.
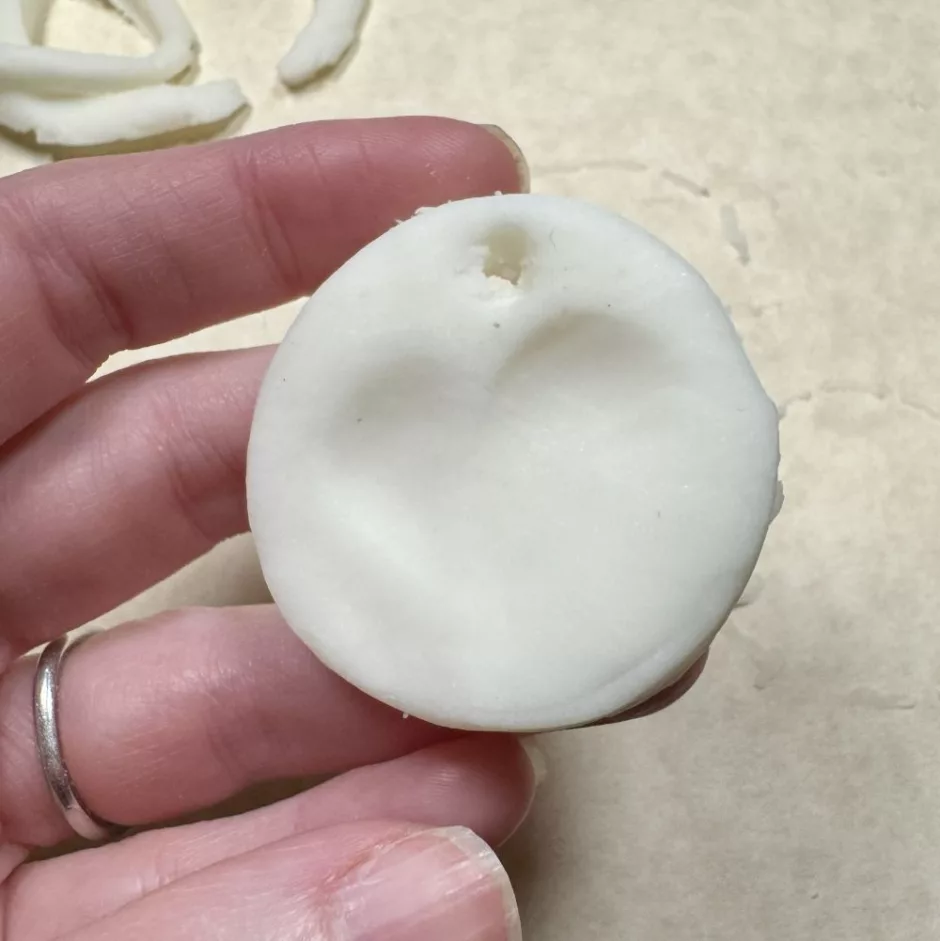
If you want to make a pendant, poke a hole near what will be the top edge of the clay with a skewer.
Allow your diffusers time to dry. One other supply you might want for this project is a small electric fan you can blow on your diffusers as they dry. I did this, turning the pieces over every couple of hours, and they are the closest I’ve ever gotten to crack-free air dry clay (there are still some cracks on the backs).
I didn’t paint these because I think letting the essential oil soak into the clay a bit makes it last longer, but you could probably paint them or seal them with Mod Podge if you want.
Using Your Clay Essential Oil Diffuser
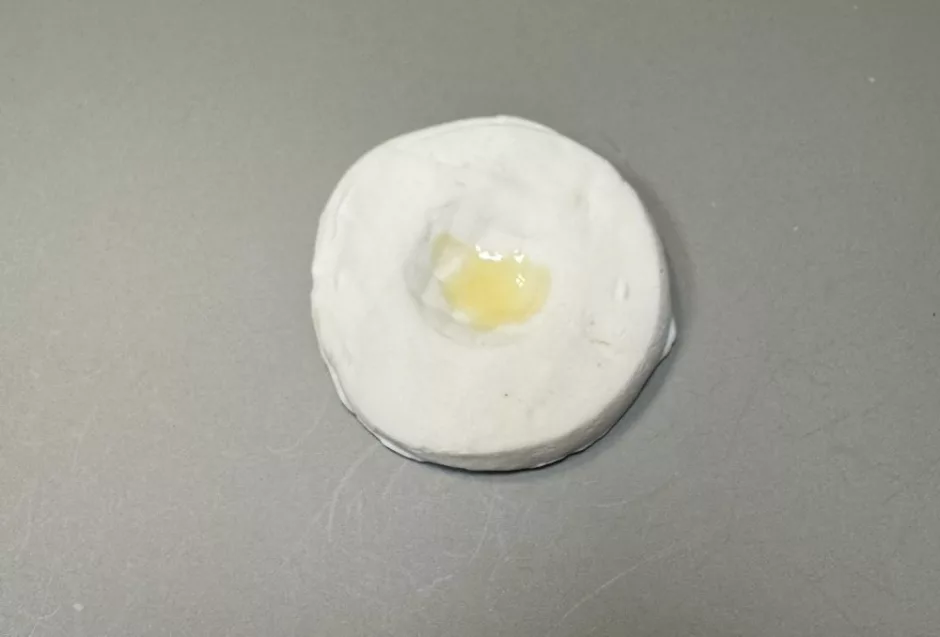
To use your air dry clay diffuser, just drop a couple of drops of your favorite essential oil into the indentation left in the clay.
Sit it somewhere nearby, but out of reach of children and pets. You can refresh or change the type of oil as you need to.
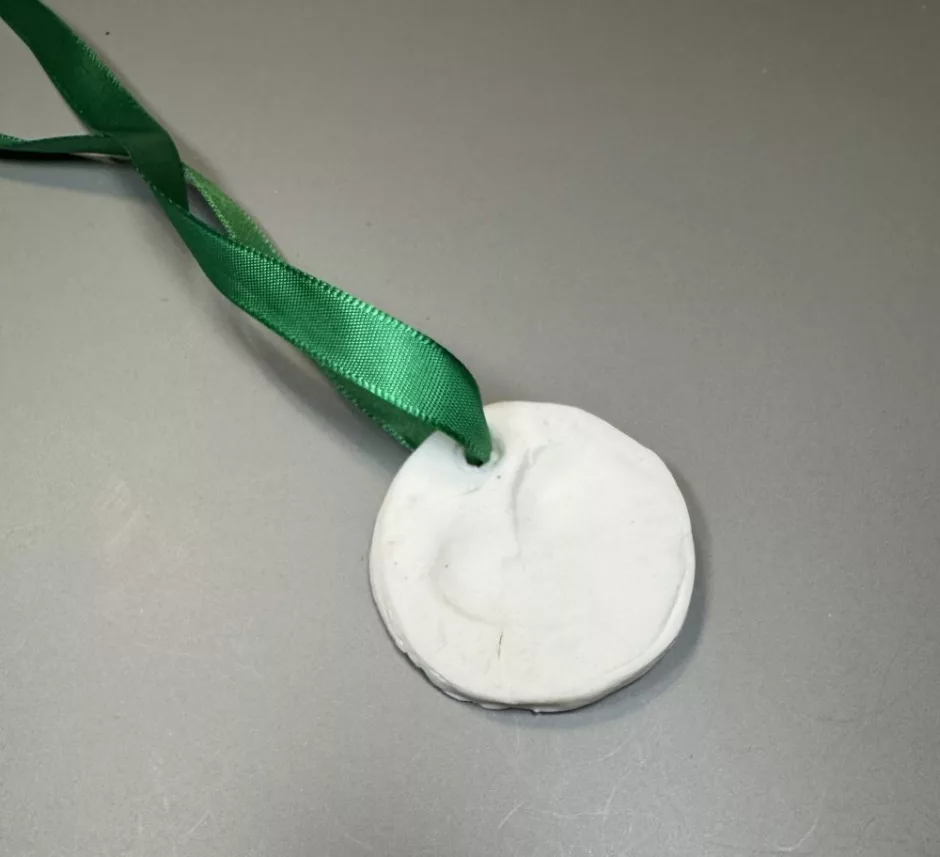
You can also make a diffuser pendant if you poked a hole in your clay; just add a bit of ribbon so you can wear it. The warmth of your body will also help diffuse the oil.
This DIY clay diffuser would be a great gift along with a bottle of essential oils, and they’re a great way to freshen up any space.