Affiliate links may be included for your convenience. View our privacy and affiliates policy for details.
Pinch pots are a classic craft to make with clay, so I wanted to show you how to make a pinch pot with air dry clay.
What is Air Dry Clay?
Air dry clay is a type of clay that can be dried to a relatively sturdy finish without using an oven or kiln. It’s great for kids and adults alike since you can make anything you would make with any other kind of clay but you can also just leave it to dry.
Of course you can buy air dry clay, which might be the best option for a big group, but you can also make your own air dry clay with just three ingredients and a little time on the stove top.
What is a Pinch Pot?
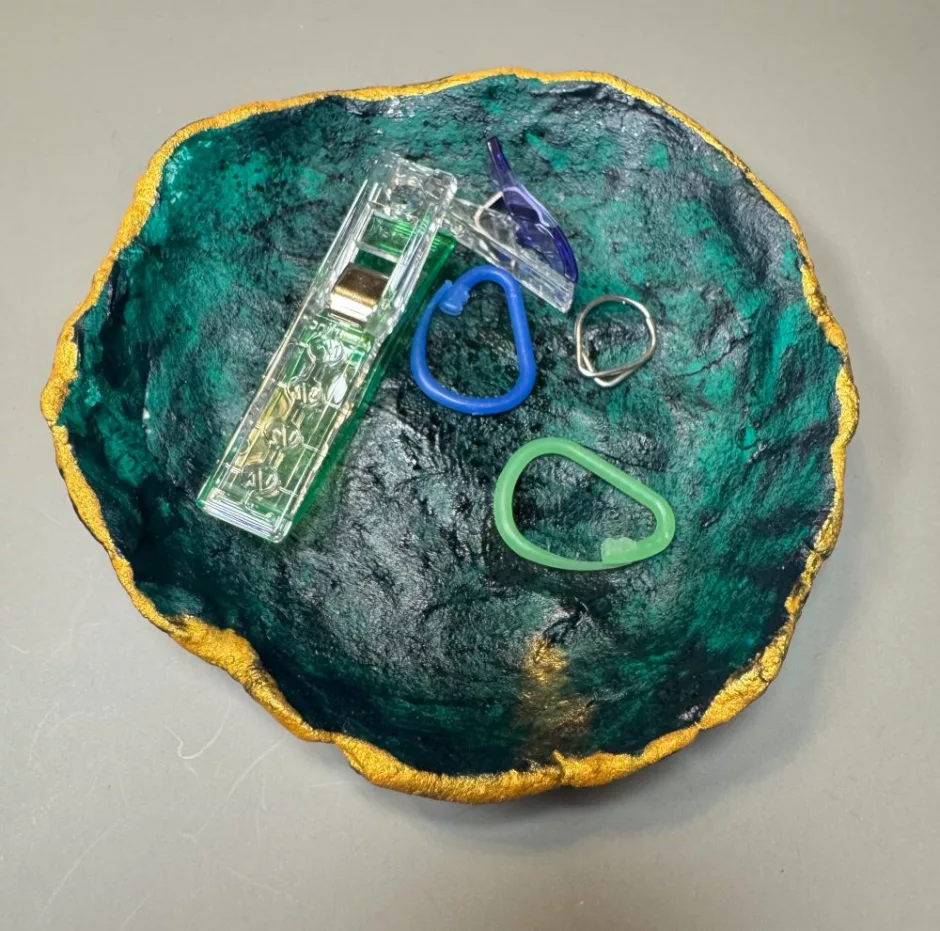
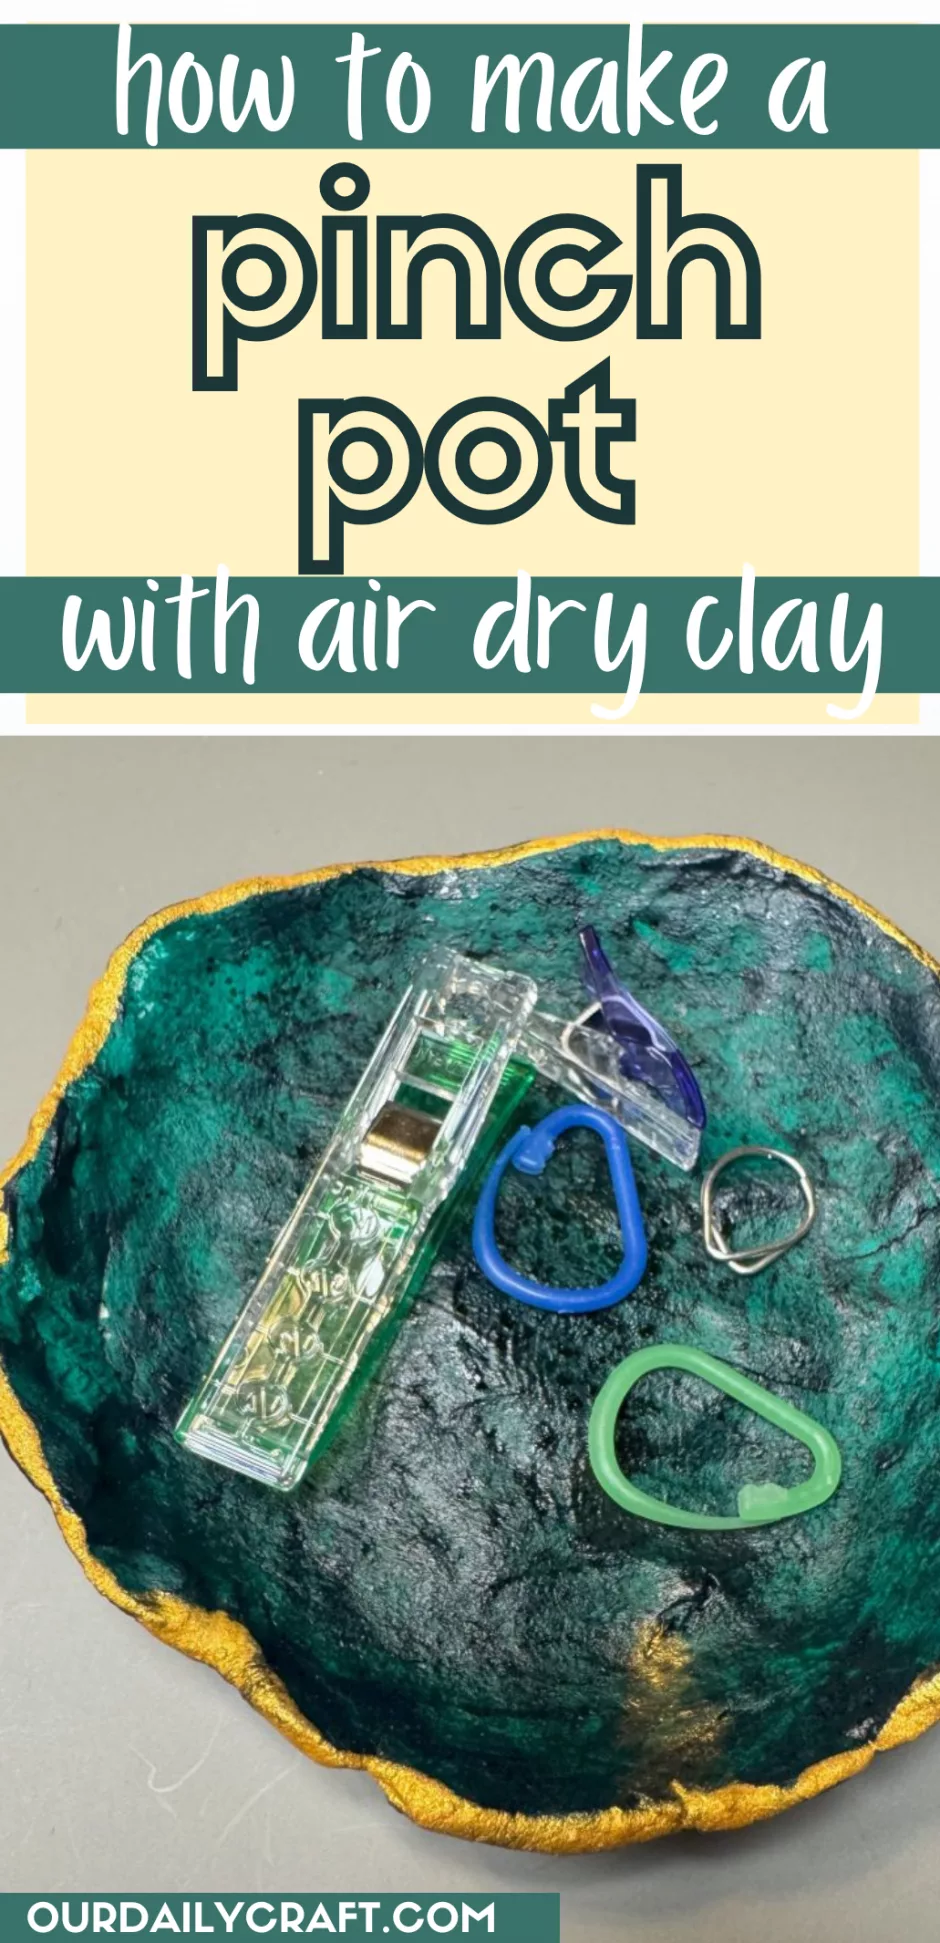
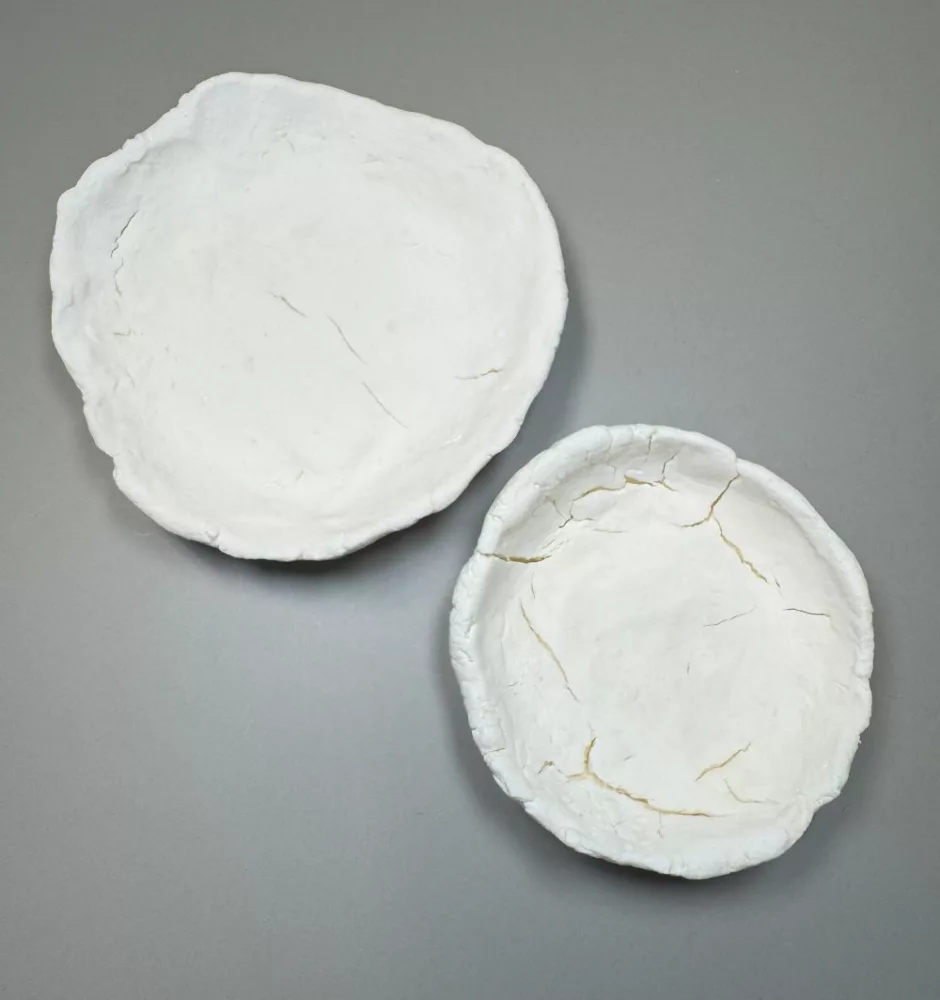
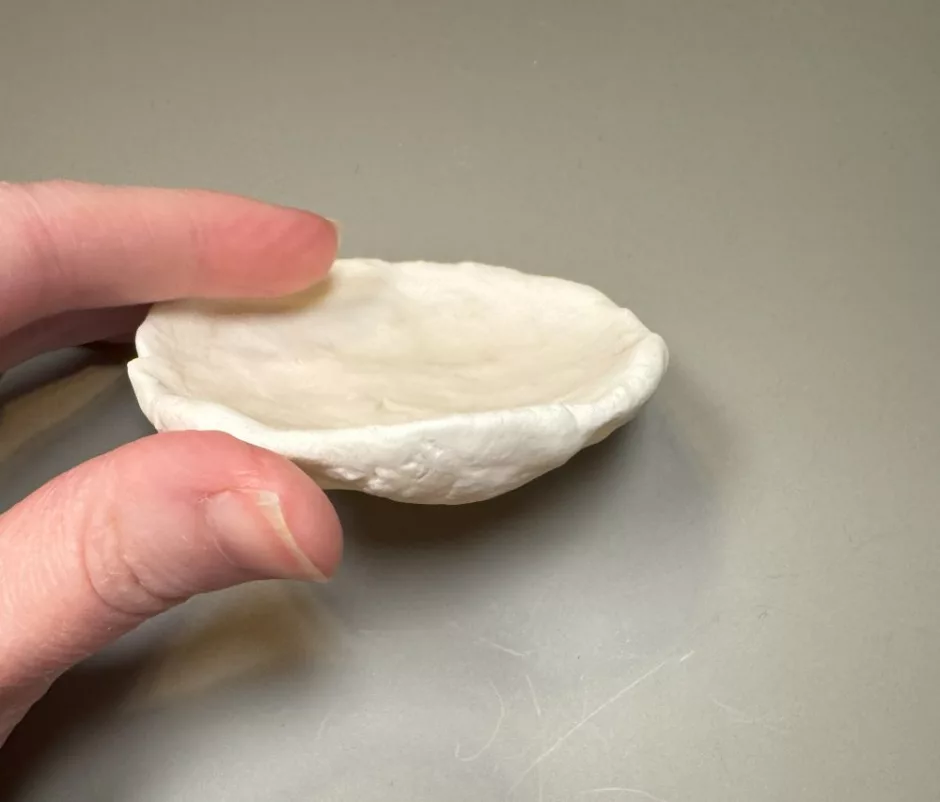
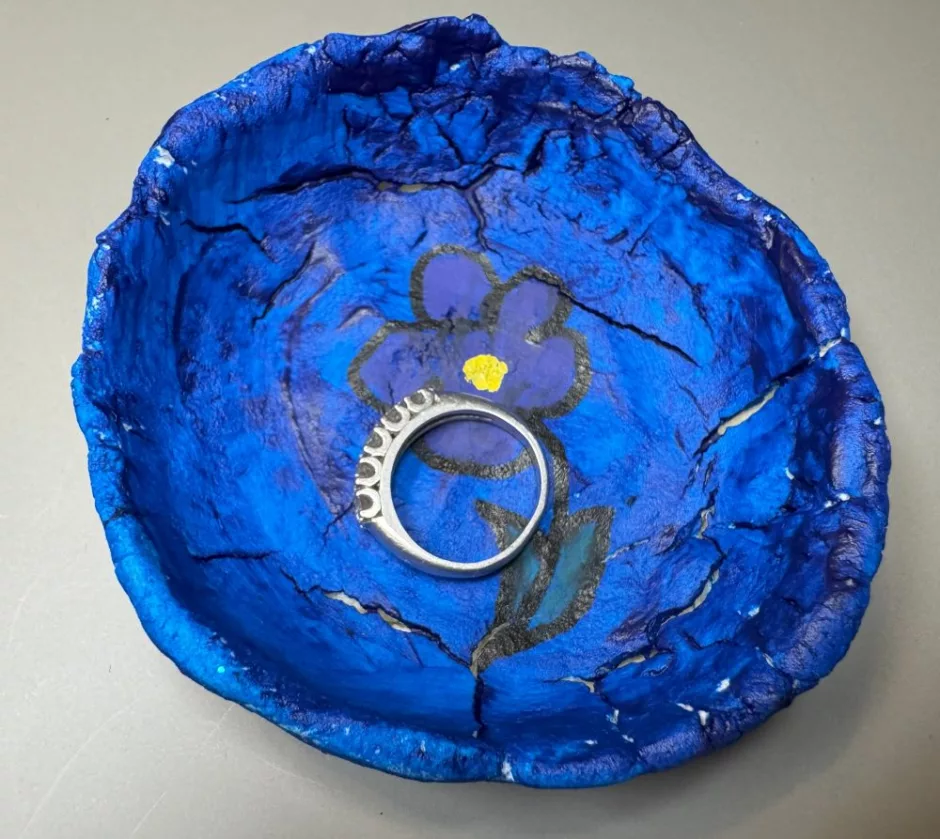
A pinch pot is a small vessel that’s made sort of by pinching the edges of a ball of clay until it makes a little cup or plate shape. These can come out all shapes and sizes and you can use them to hold little things like paper clips, stitch markers, sewing clips, your everyday jewelry or whatever else you have that’s small and needs a home.
Pinch pots are great for kids or a group of any age to make because they don’t require much skill or instruction. Every one will come out a little different, which is lots of fun. And you can decorate your pinch pots however you like.
Let’s learn how to make a pinch pot using air dry clay!
How to Make a Pinch Pot
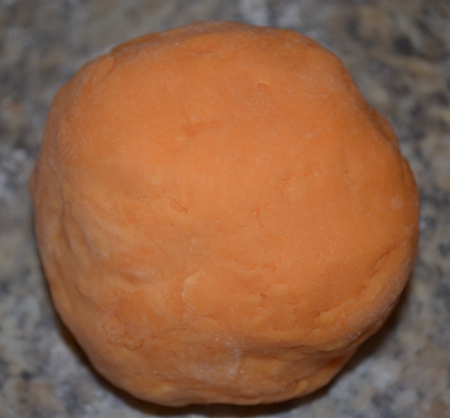
If you don’t already have some air dry clay handy, make some and allow it to cool before proceeding. Cover your work surface with waxed paper, and have a little corn starch handy in case your dough gets sticky.
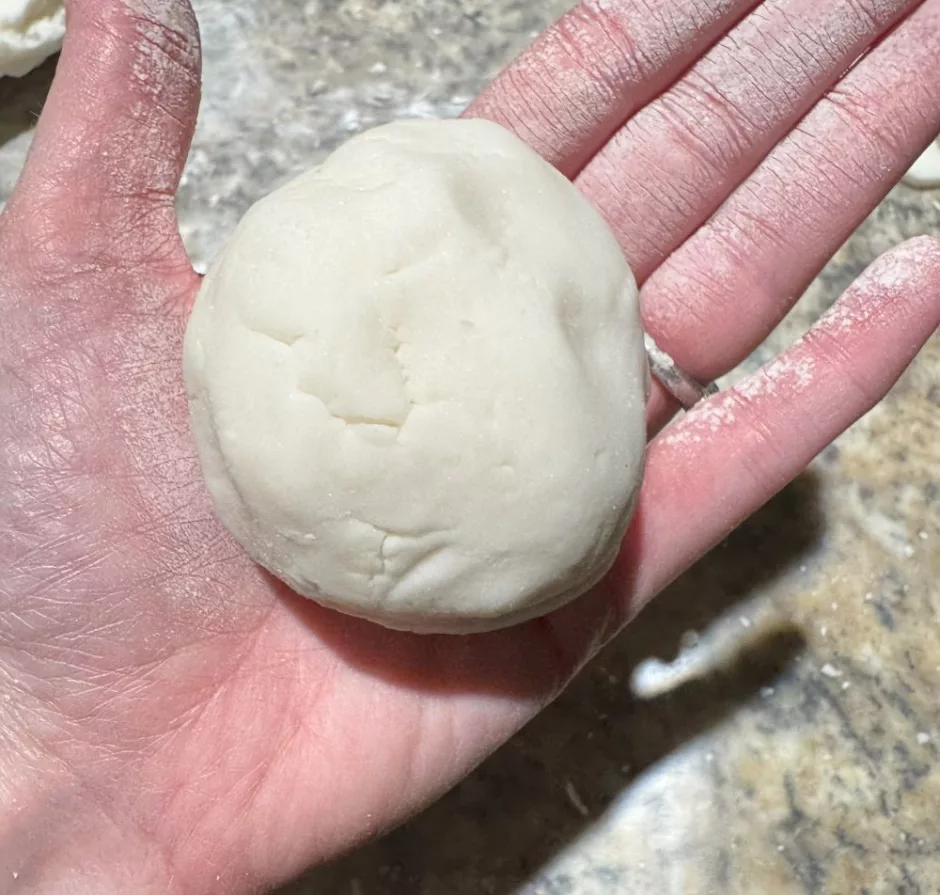
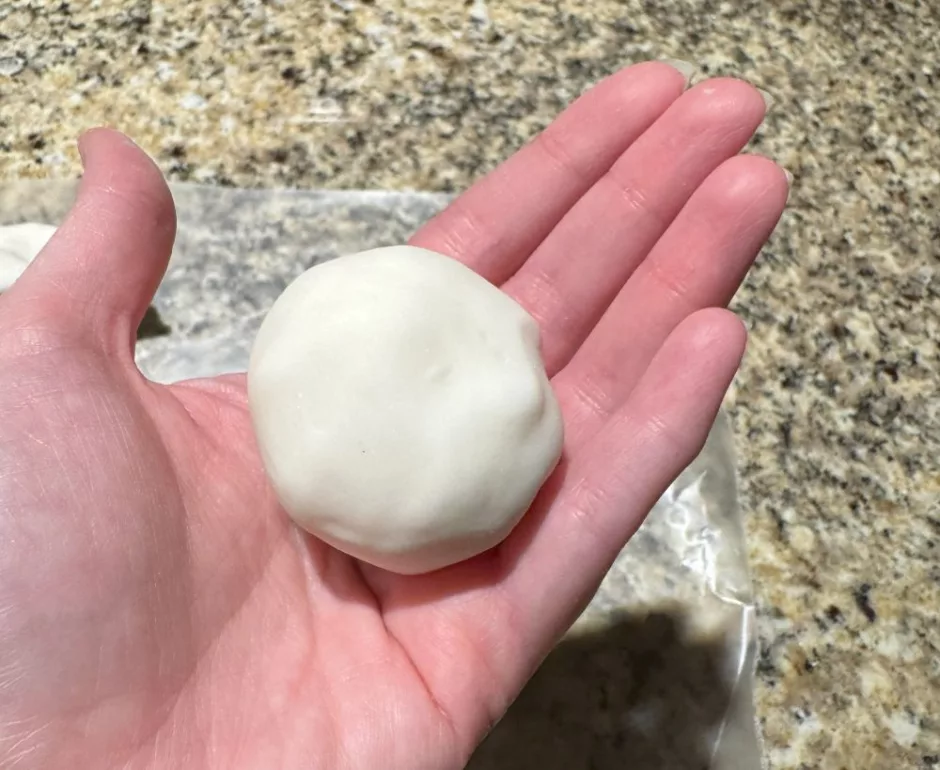
Pinch off a little handful of clay and roll it into a ball. This ball makes the biggest pinch pot you see here; you can use more or less as you like.
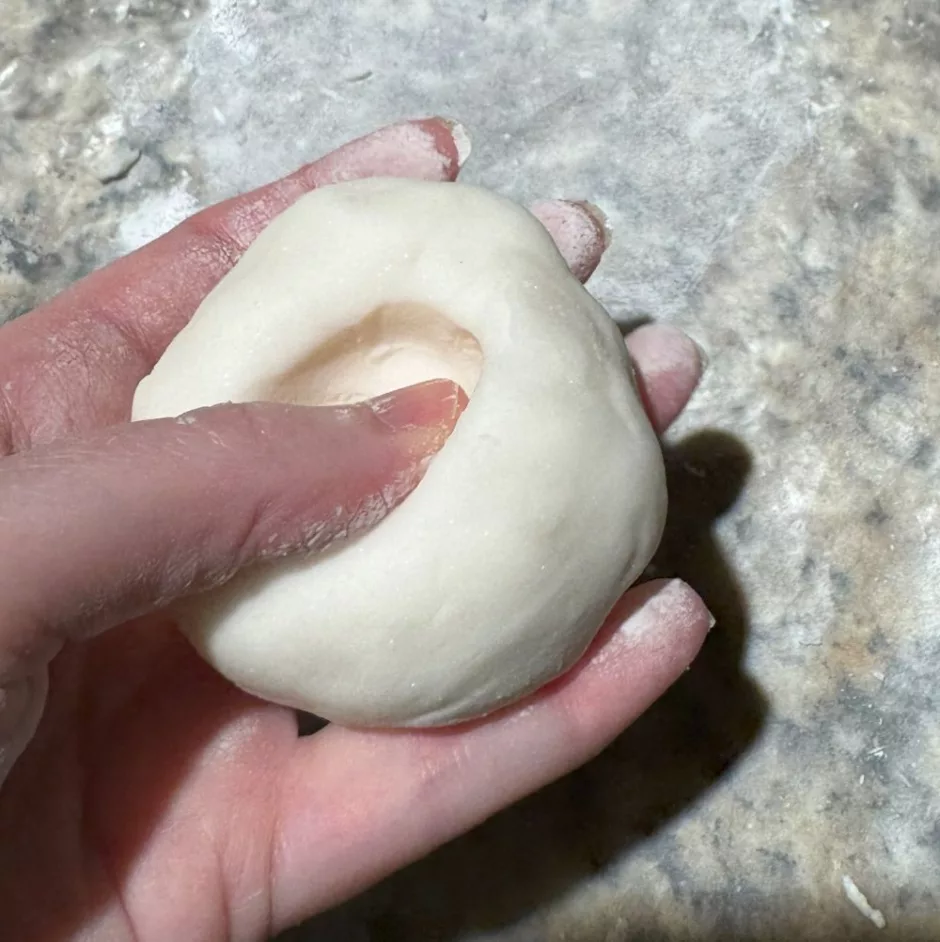
Using your thumbs, begin to pinch the clay from the center of the ball out toward the sides.
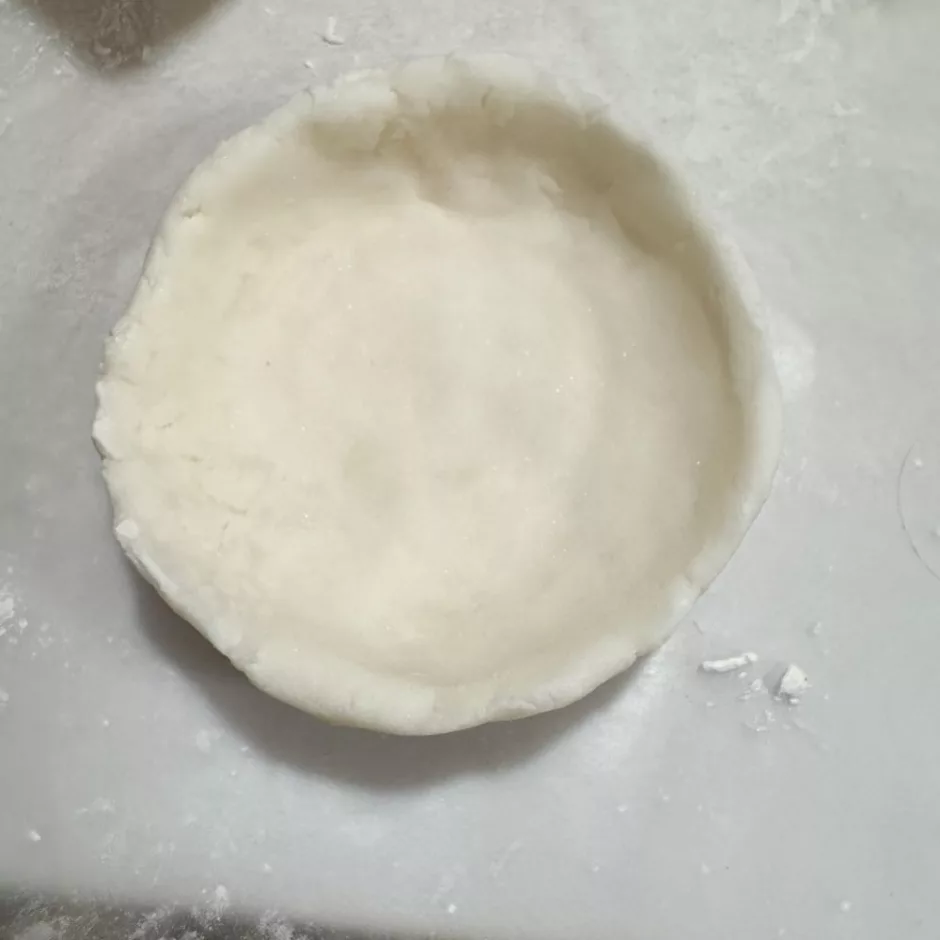
Continue to press and move the clay around until you have a shape that you like. You can press on the top edges and try to even them out a bit if you like, or leave it natural.
The process is a little hard to show in still photos if you are trying to make the pot and take the photos at the same time, so here’s a video.
Leave your pinch pot to dry at least 24 hours before decorating.
Decorating Your Pinch Pot
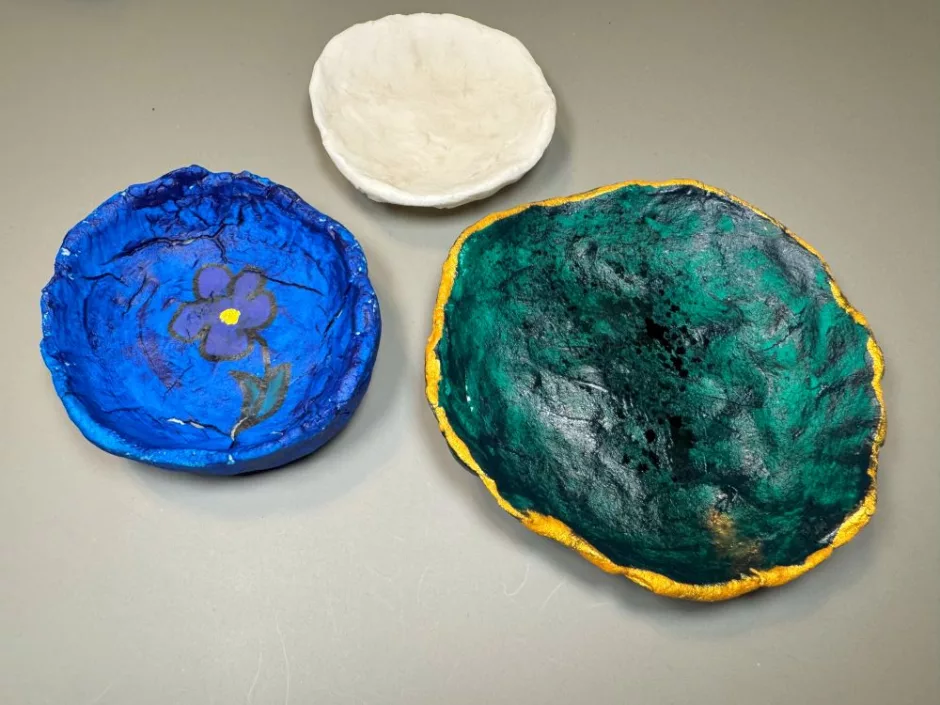
You can leave your pinch pot plain if you like, or decorate it.
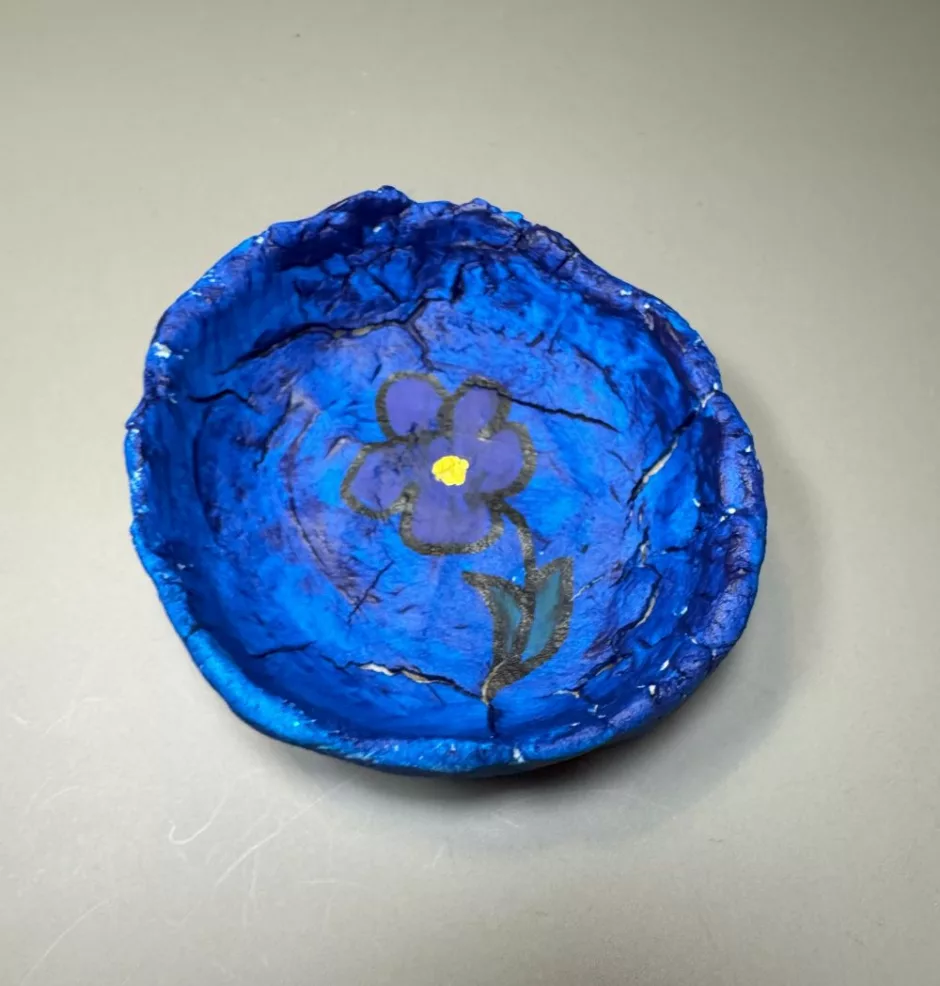
The blue one is painted and then I drew the flower with pigment markers and a paint pen.
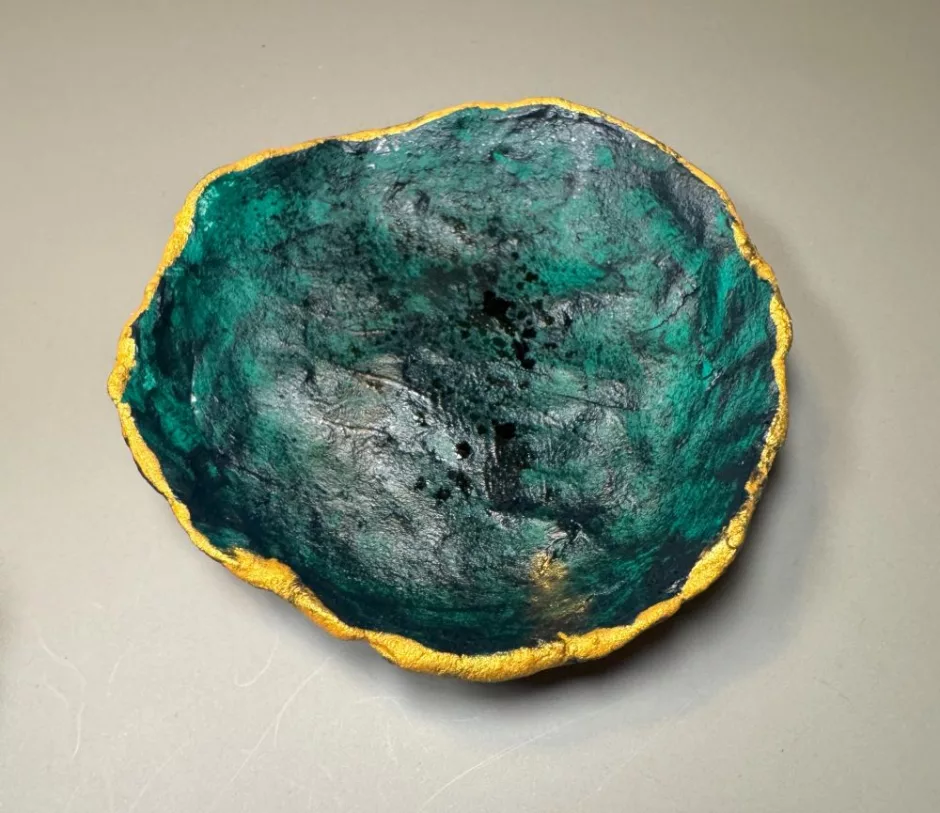
The green is also painted, with gold ink on the edge and a spritz of Walnut Ink in Java on the inside (buy similar).
Little kids might want to just use markers or paint or even stickers to decorate their pinch pots. You can also seal them with Mod Podge if you like to make the finish a little more durable.
One you know how to make a pinch pot I’ll bet you’ll be making a bunch. It’s such a fun and easy craft project!