Affiliate links may be included for your convenience. View our privacy and affiliates policy for details.
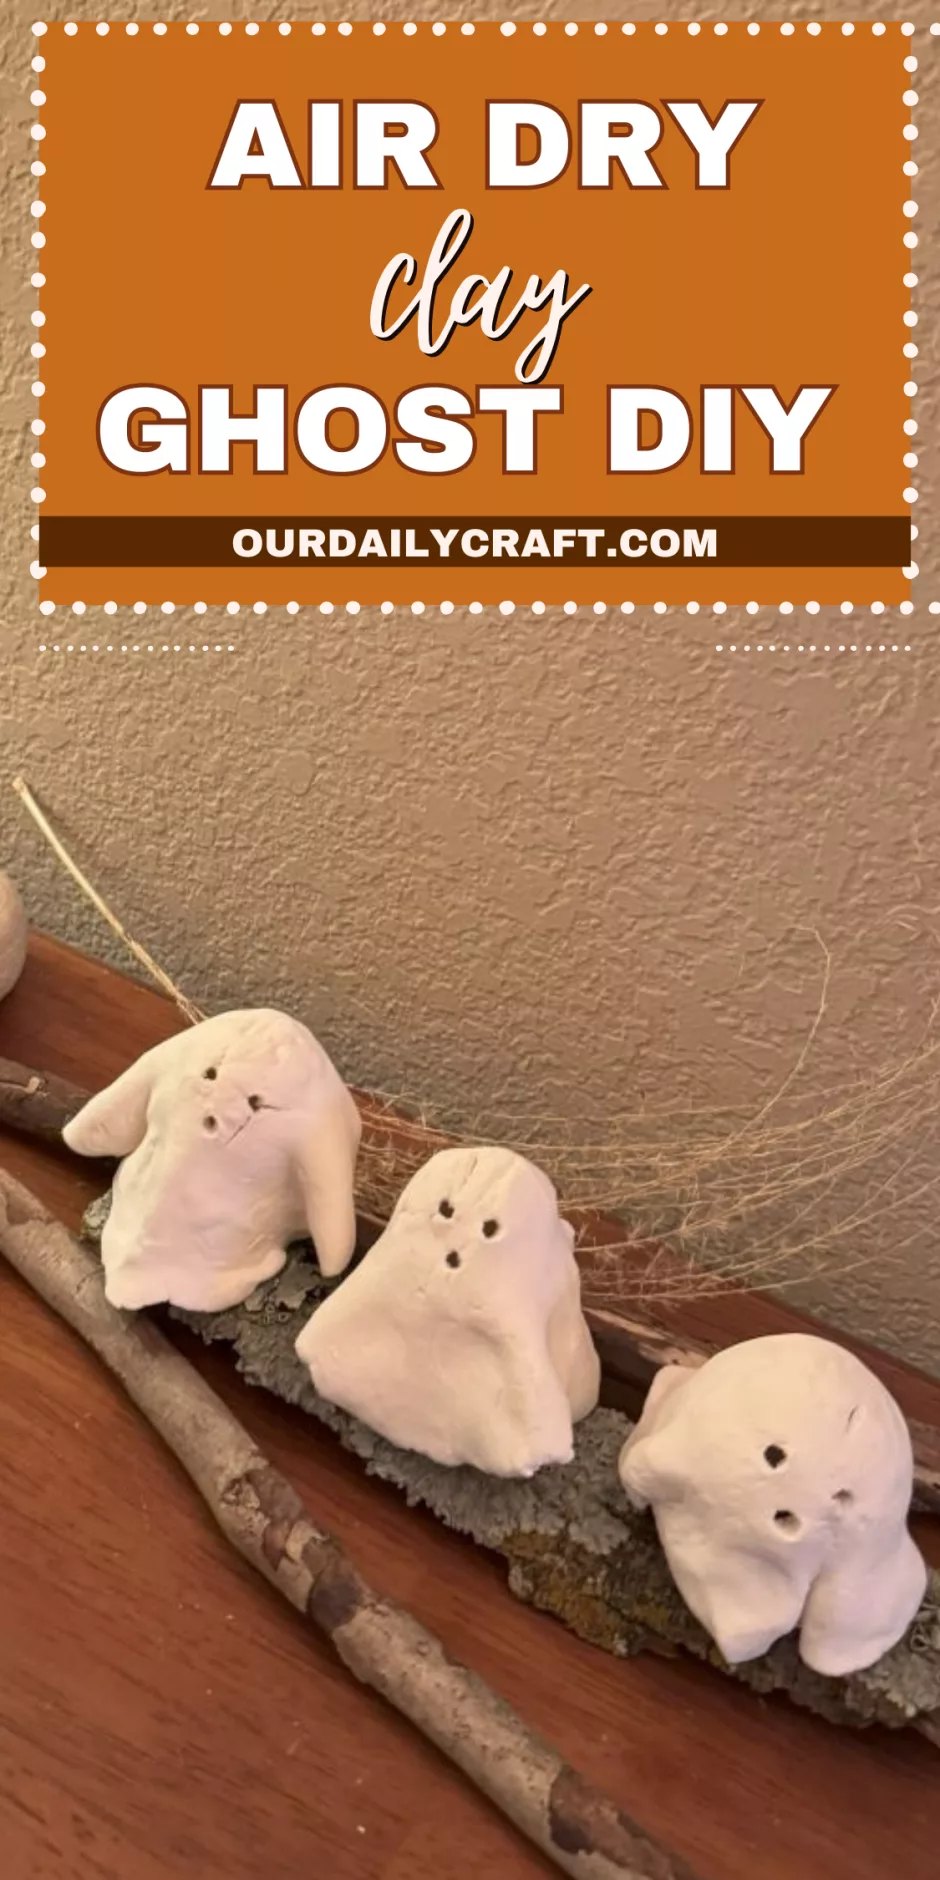
I love using air dry clay for a variety of projects throughout the year, and when I started seeing air dry clay ghost pictures all over the Internet, I knew I needed to make some.
This is a quick and easy airy dry clay project, but it does take a day or two to dry, depending on the weather when you make them.
Supplies
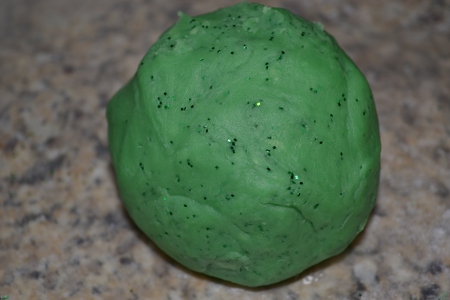
You can either buy air dry clay for this project or make your own. I like to make DIY air dry clay because it only has three ingredients and it’s super easy to make.
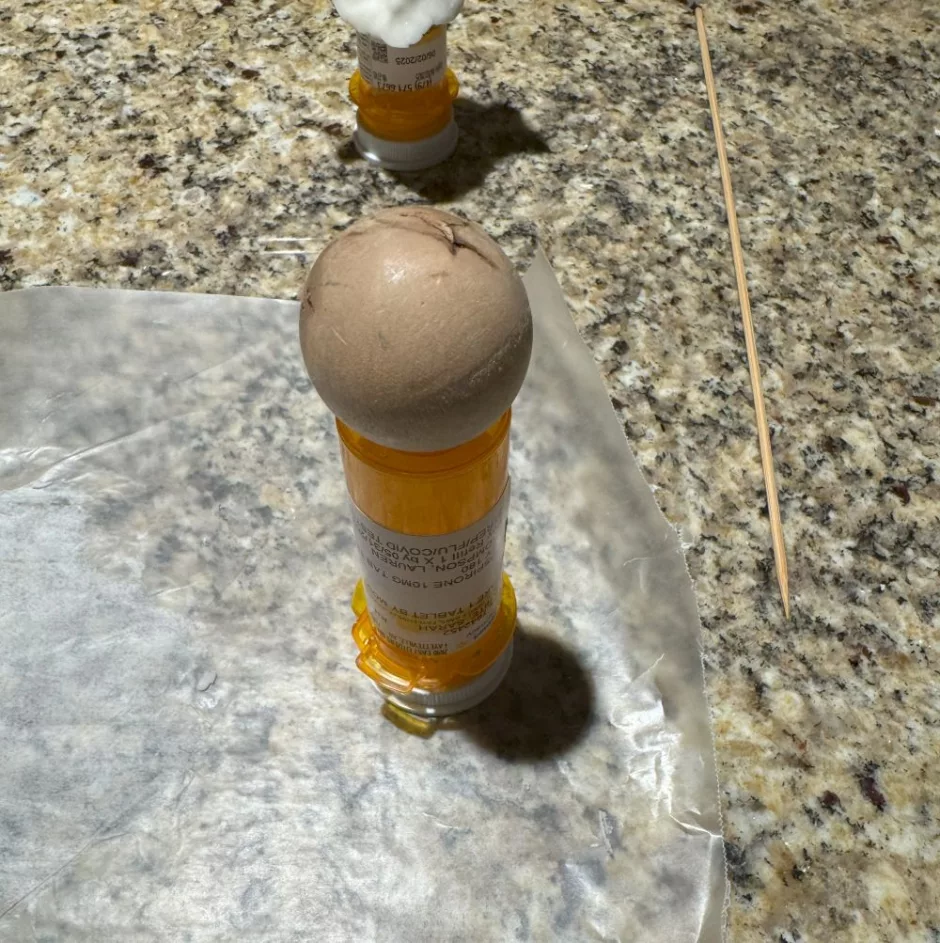
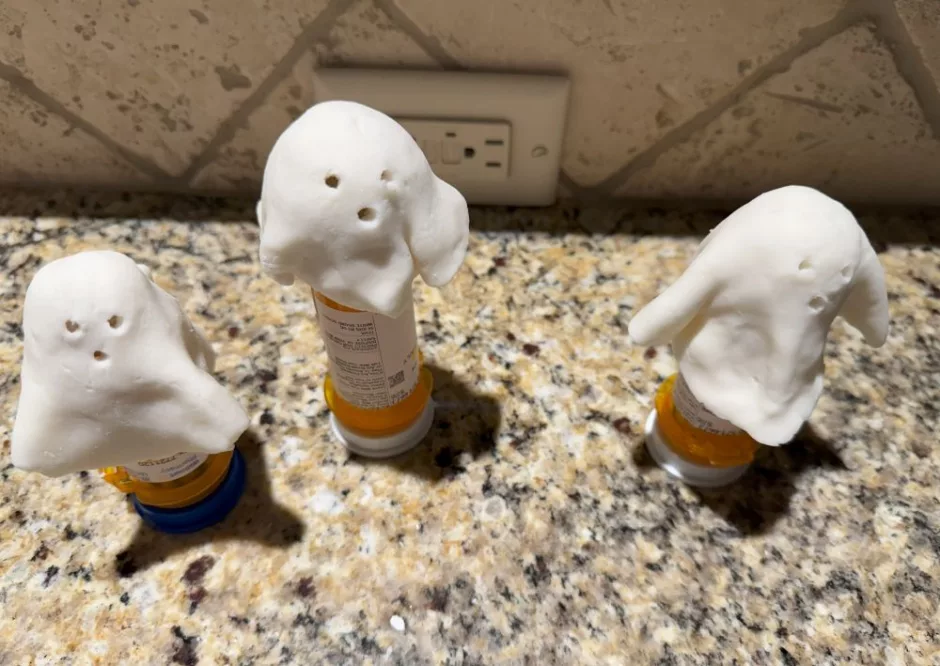
You’ll also need something to form your ghosts on. I used a few empty prescription bottles with a wooden bead on top. You could also make a form out of aluminum foil, or use a small ball for the head.
I used a skewer to make the eyes and mouth holes, but a toothpick would also work.
How to Make an Air Dry Clay Ghost
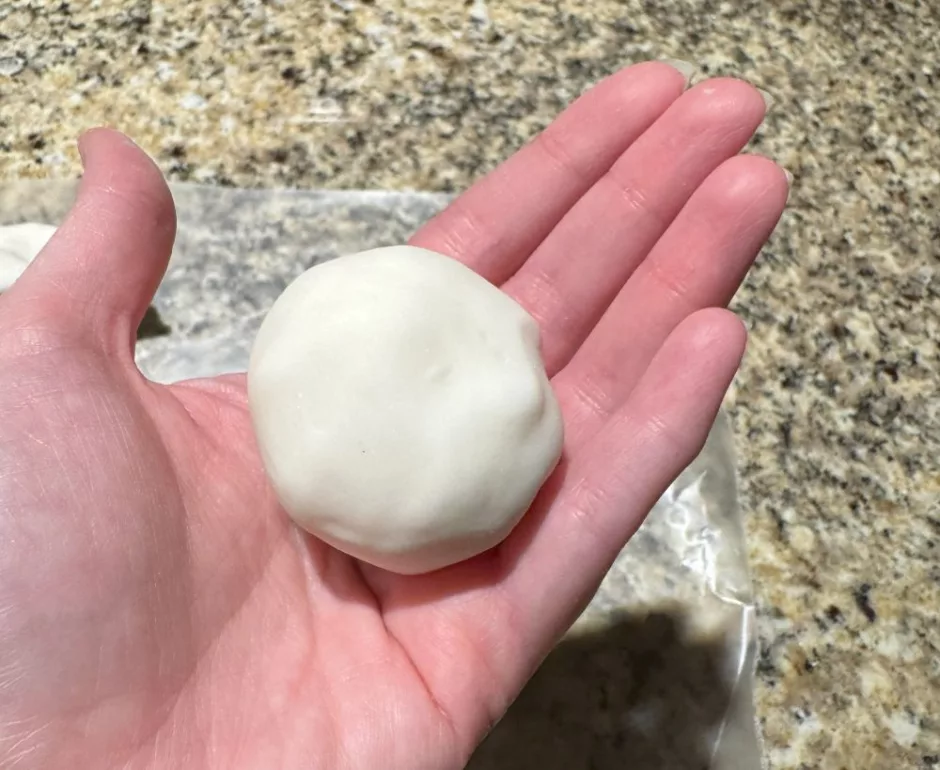
Pinch off a bit of air dry clay and roll it into a ball. Mine were about the size of ping pong balls, but you can make them bigger or smaller as you like depending on the size of ghost you are going for. Mine are each about 2 inches/5 cm tall.
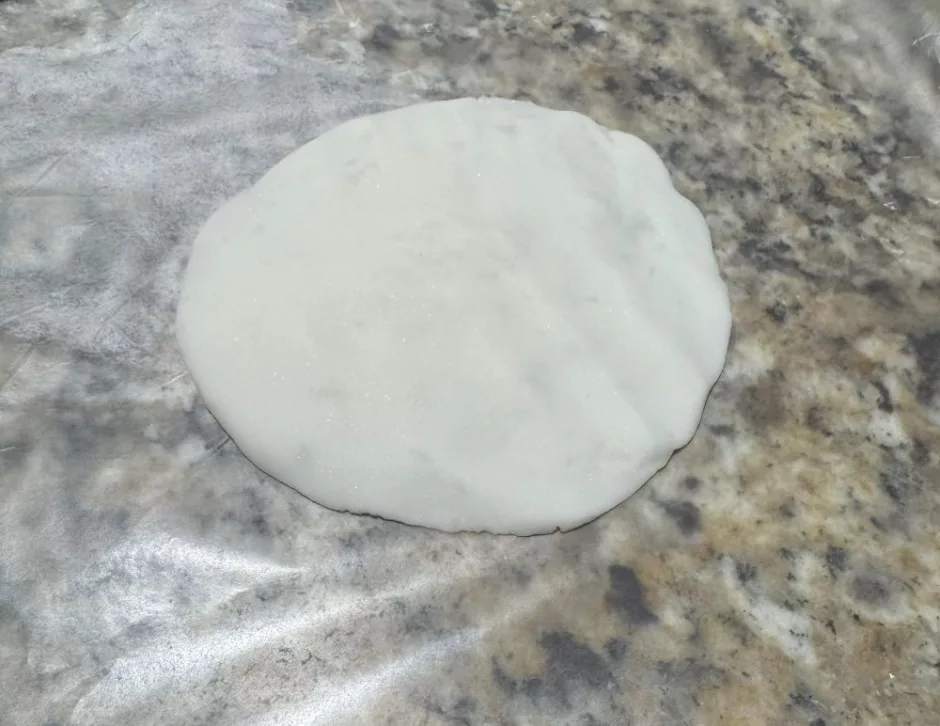
I like to work on waxed paper. If your dough is sticky you can add a little corn starch to the surface and knead it in. Press down with your hand or use a rolling pin to make sort of a circle shape.
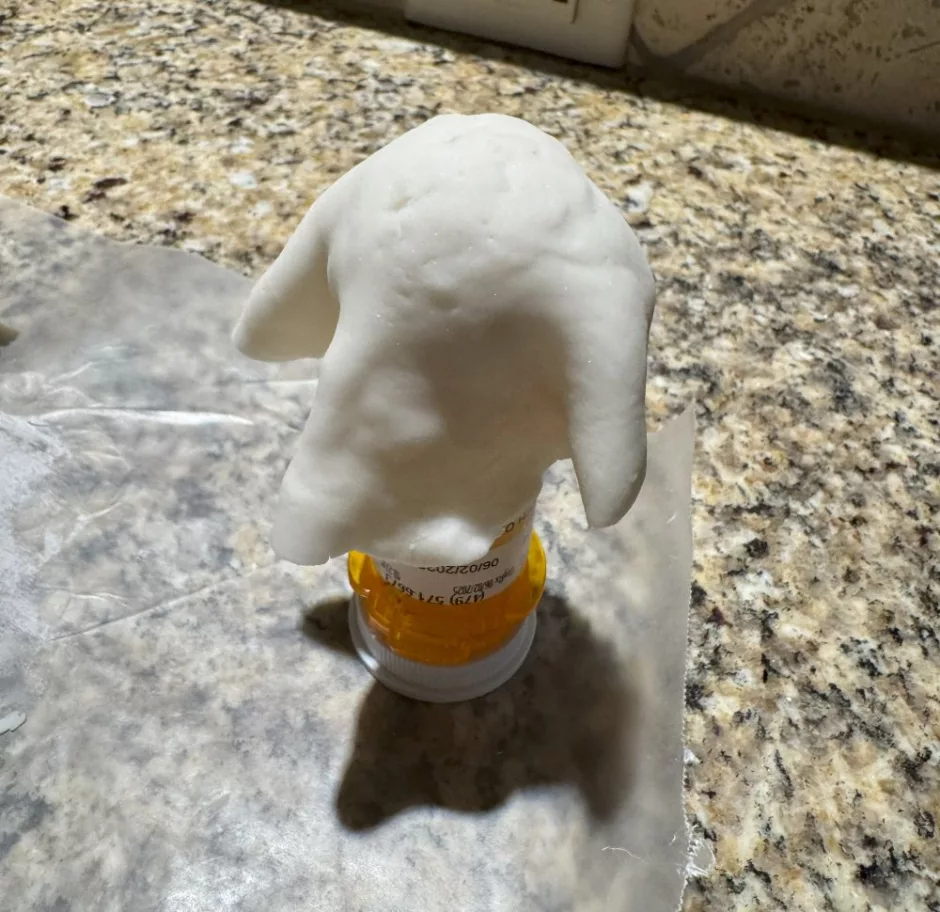
Drape the dough over your form and adjust the folds as you like.
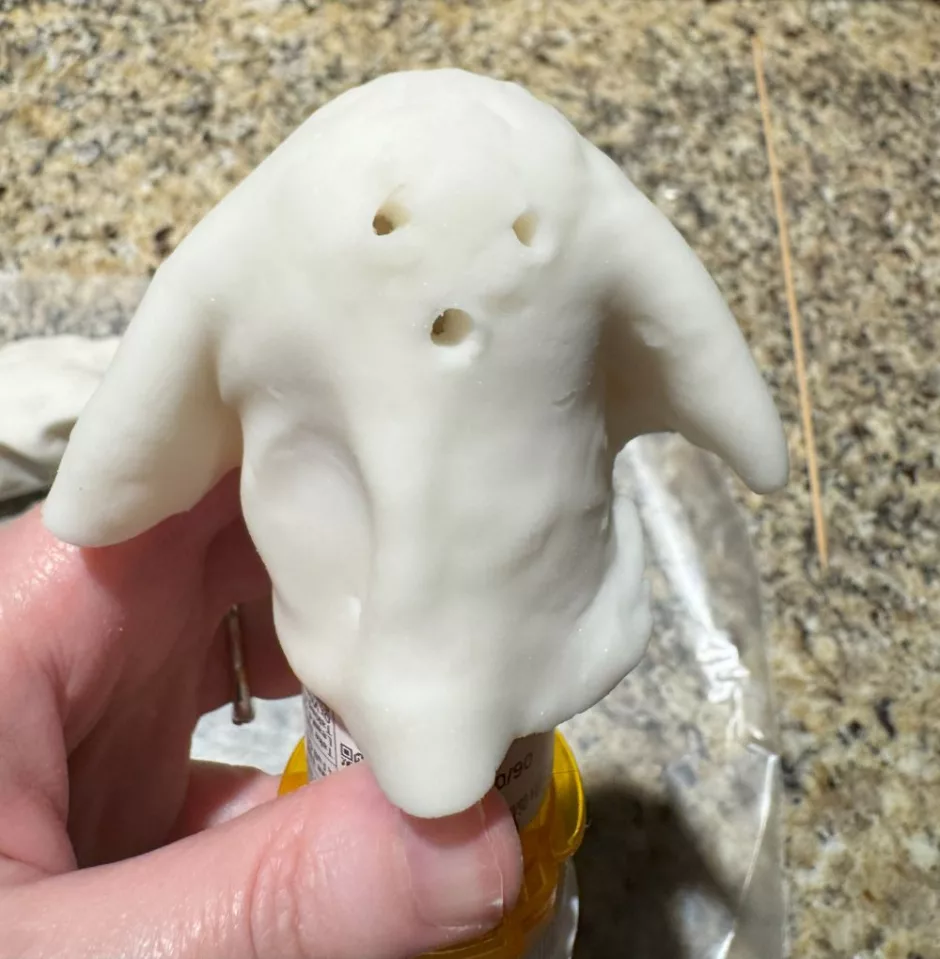
Use a toothpick or skewer to make holes for the eyes and mouth. I love this one because it looks like it has arms!
Allow to dry.
If you have trouble getting the ball out of the head of the ghost when it’s dry, use your skewer to help.
Finishing Your Clay Ghosts
I like these air dry clay ghosts just like this, but you can also paint them (white or any other color) or decorate them with stencils, stamps, decoupage, glue on sequins or stickers. Really anything you like.
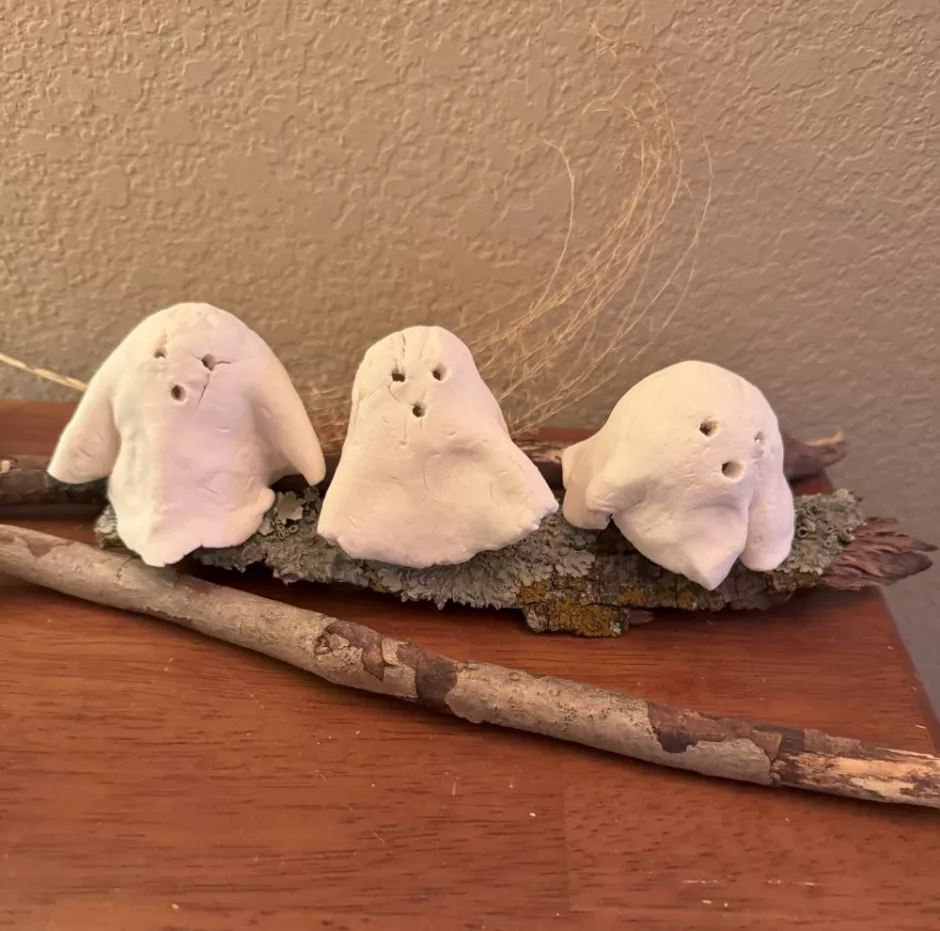
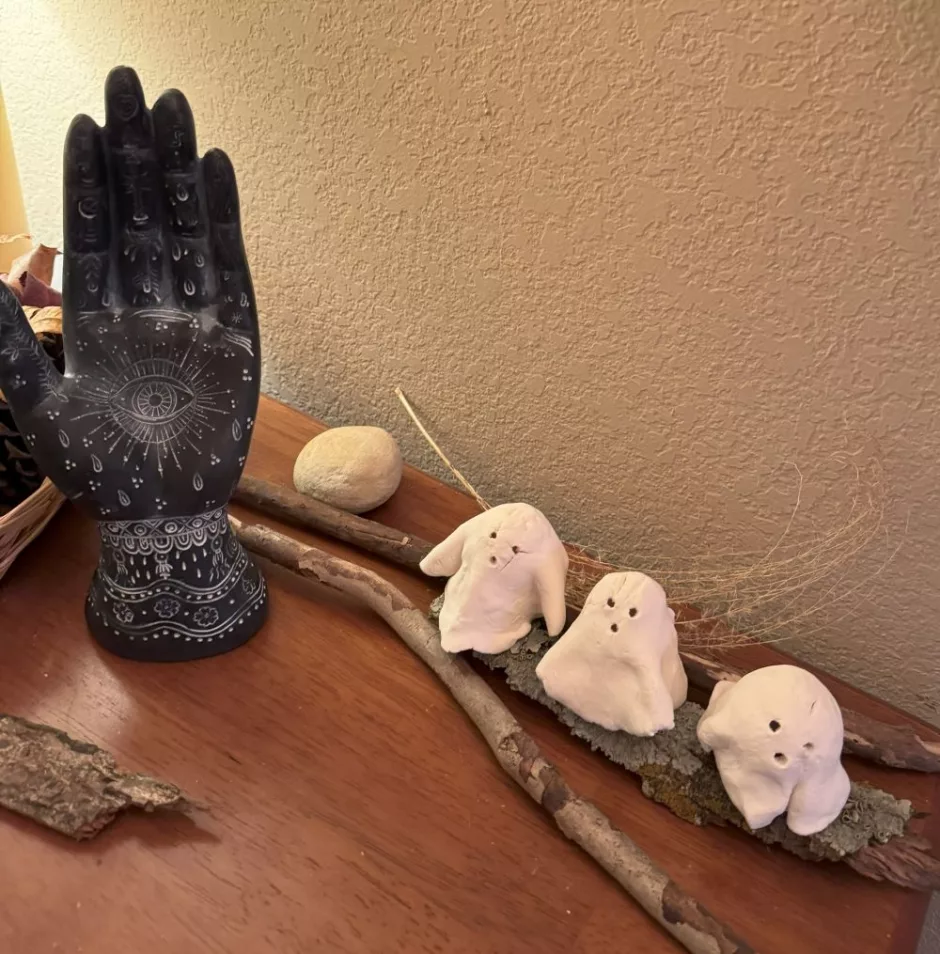
The classic application is to stick an LED tea light under the ghost so the light will shine through their eyes. As soon as I find mine I’m sure I will do this, too. But for now I like them just sitting in a row on a piece of bark my crow child brought me.
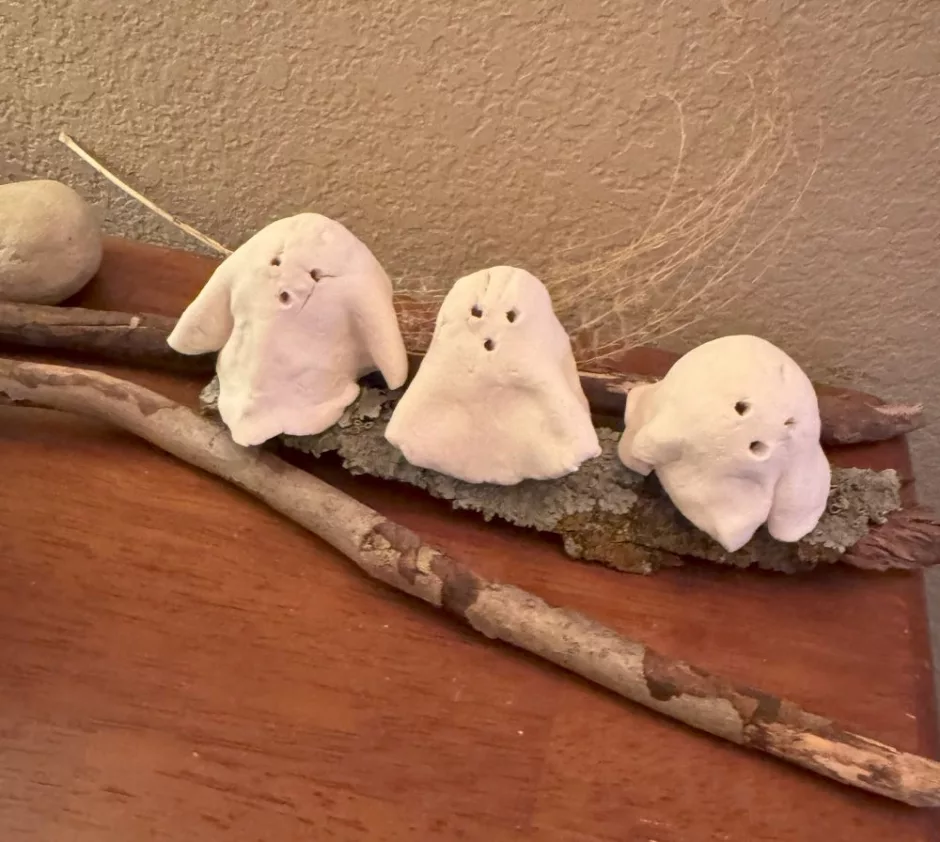
You probably noticed in my pictures that the ghosts cracked a little. That’s from uneven drying. I don’t mind it, but if you do, you can try to prevent it by covering the ghosts with a slightly damp towel as they dry. (More on avoiding cracks in air dry clay projects.)
I also think taking them off their supports a little sooner so the inside could dry faster would have been a good idea.
If yours crack and you don’t like it, you can add a little more clay to the cracks. I think painting might help, too, but I haven’t tried it yet.
Have you ever made an air dry clay ghost? I’d love to hear how you display yours.