Affiliate links may be included for your convenience. View our privacy and affiliates policy for details.
When the Bit was a baby, I never thought to put bows or clips in her hair. This was, apparently, a mistake, because by the time her hair was long enough that I really wanted to use them, she refused. It was a milestone the day she allowed me to put barrettes in her hair (pink plastic cat and the fiddle barrettes that were mine when I was a kid), but she took them out before we even got to school.
These days she’s finally come around to occasionally letting me put things in her hair, so I decided it was time to make her something to display and organize her clips as well as making them accessible to her.
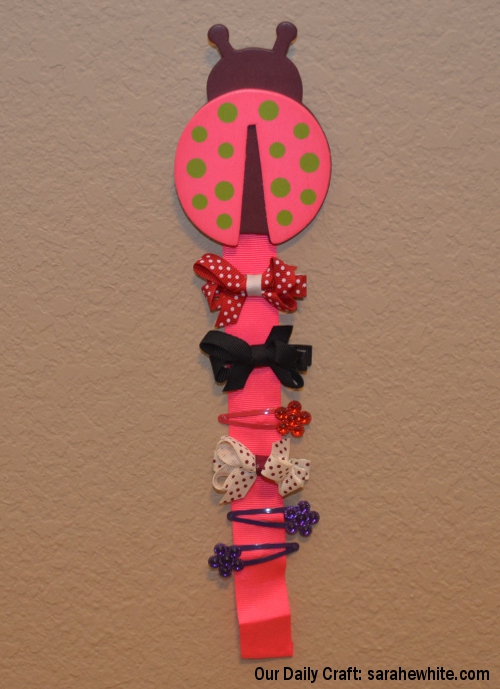
I happened to have a pre-painted wooden shape on hand, and a spare piece of ribbon that was just the right color, so this took me almost no time at all to make. You probably have things in your house you could use, too.
What You’ll Need
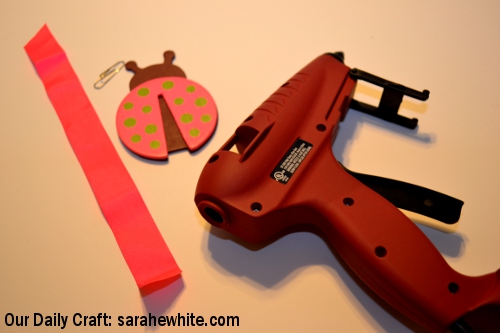
- painted wooden shape (I’m pretty sure mine came from JoAnn a few months ago and cost less than $1)
- length of wide ribbon (mine’s about 10 inches long but this was just a piece in my stash; I was planning to go for 12 inches if I were cutting a piece from scratch)
- one paperclip
- glue gun
- hammer and nail
- hair clips
What You’ll Do
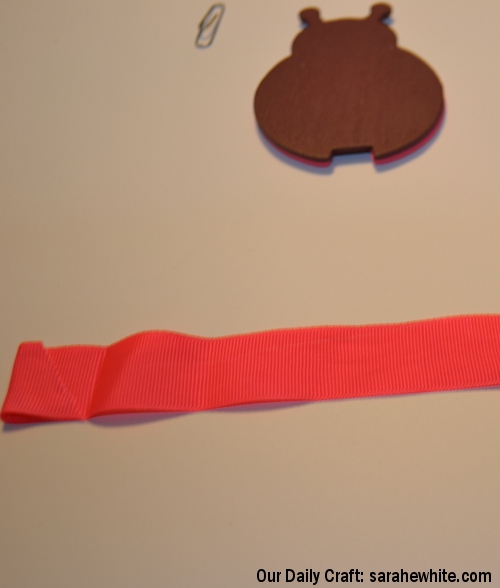
- Fold edges of ribbon over and glue down. I happened to be using a fabric glue stick in my glue gun, but I’m sure regular glue would work, too. Allow to dry for a minute or so.
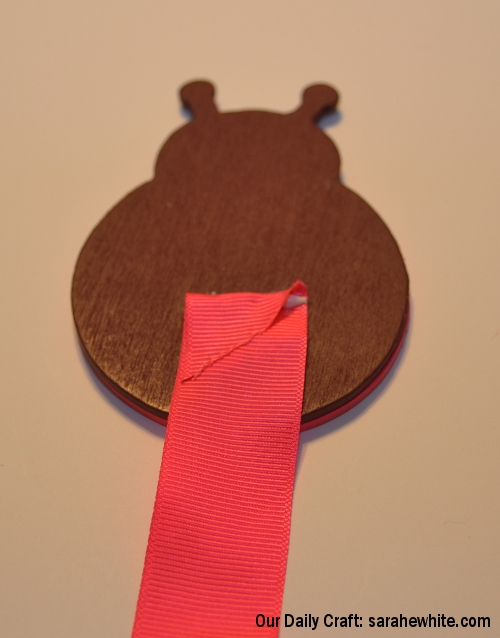
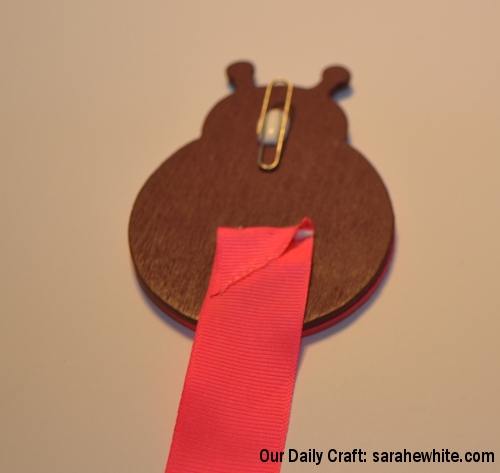
- Glue ribbon to back of wooden shape, with the “back” of the ribbon facing up. I glued mine high enough so that the folded over edge is completely covered by the wood.
- Open the paperclip slightly. Lay down a dollop of glue and place the smaller part of the clip in the glue, with the bigger side facing up and pulled out a bit (this is where the nail will go when you attach it to the wall). Allow to dry thoroughly.
- Hammer a nail into the wall where you want the clip organizer to go. Mine is below a light switch next to the Bit’s closet. Use the paper clip as a loop for the nail, and clip clippies onto the ribbon.
Obviously this is a pretty short ribbon and won’t do for a big collection of clips, but we don’t have a lot right now (or course, thanks to Pinterest, she’s about to have a bunch more!). If you need to house a bigger collection, make your ribbon longer, or make multiple hangers and organize clips by color. I have a butterfly wooden piece in the same color scheme as the ladybug and will probably be making another one of these soon.
If you’re the mom of a girl, did you have trouble getting them to wear things in their hair? What did you do?
Find this and other cute crafts for kids at the Kids Get Crafty Linkup!


4 Comments
Cute organization! My daughter is 18 months. She’s thrilled to put something in her hair- and then just as thrilled to pull it right out. I don’t have any tips- I always wonder how people get little girls to keep hair bows in! I figure we’ll just have to wait.
Very cute!! And much needed in our house.. we have hair clips everywhere!
Thank you for sharing on Kids Get Crafty!
Maggy
Thanks, ladies! I have one mom friend who has gotten her daughter to successfully wear something in her hair most of the time, and I think it’s because she’s had bows since birth! (Even when she didn’t have hair she had something on her head.) So maybe that was my mistake: waiting until she had enough hair to need it!