Affiliate links may be included for your convenience. View our privacy and affiliates policy for details.
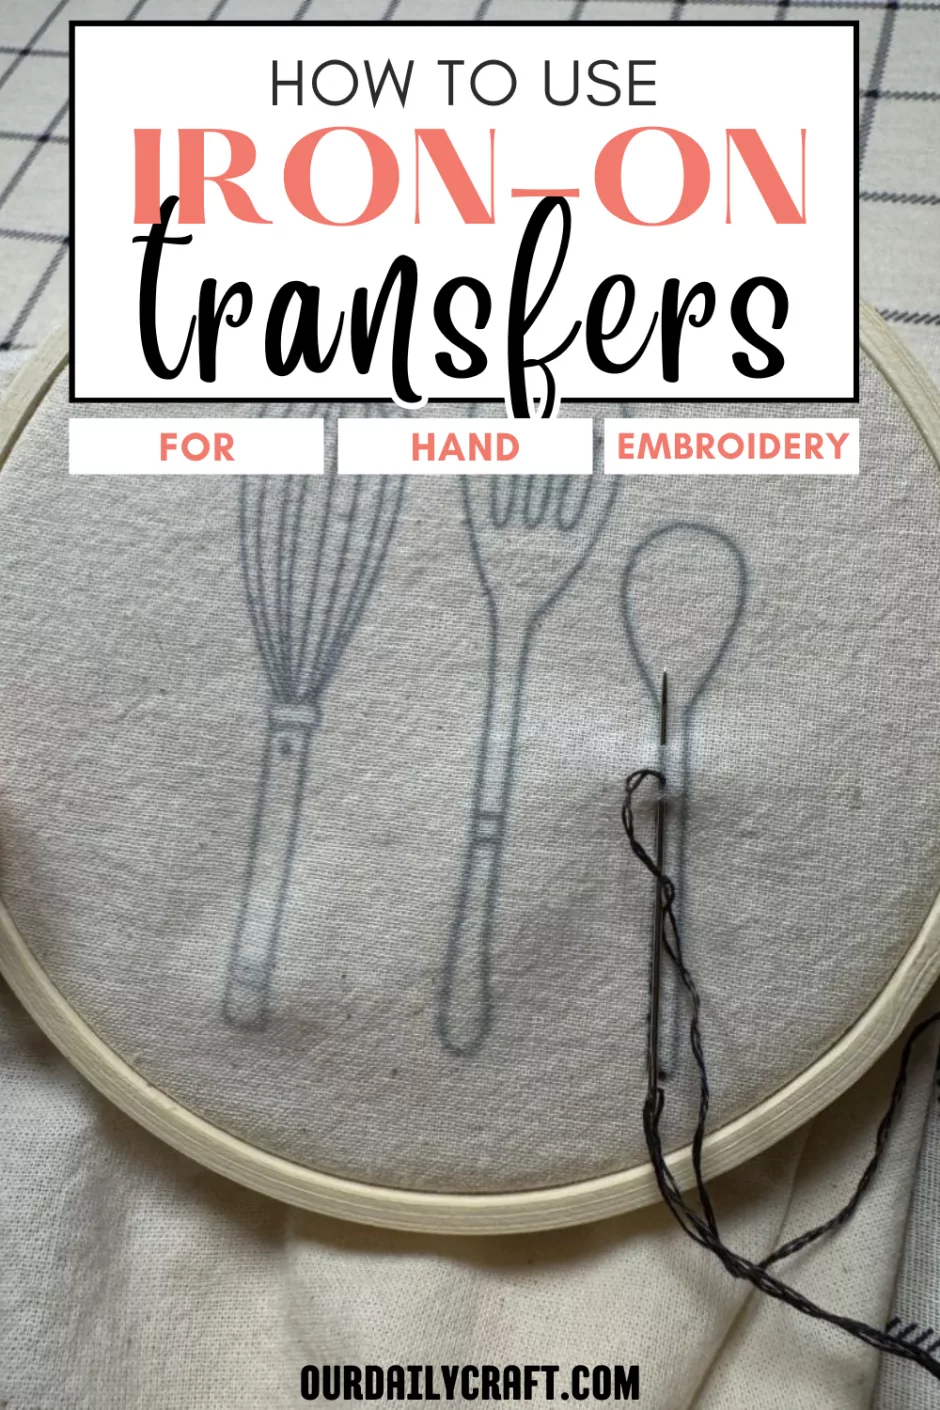
There are lots of ways to transfer patterns to fabric so you can embroidery them, but once you know how to use iron on embroidery patterns, you may find this becomes your favorite method.
What Are Iron On Embroidery Patterns?
Iron on embroidery patterns are designs that look like ink drawings, but when you apply heat to them, the image is transferred to the fabric.
You then sew over the lines to make your design.
I have this really old set of iron on designs from Dimensions brand, which included 19 baking and crafting designs from Claudine Hellmuth.
I don’t think they make these any more (the copyright on my set is from 2011!) but the brand Aunt Martha’s makes a ton of iron on embroidery patterns, as well as paper and pencils you can use to make your own iron on designs.
Once the design is pressed into the fabric, it is permanent and can be stitched over with regular embroidery floss.
Using iron on designs saves a lot of time drawing a design by hand, and it’s great for woven fabric that doesn’t need to be stabilized while you stitch.
I still like peel and stick, water soluble designs for embroidery on T-shirts and knit fabric because it helps the fabric stay in place while you stitch.
How to Use Iron On Embroidery Patterns
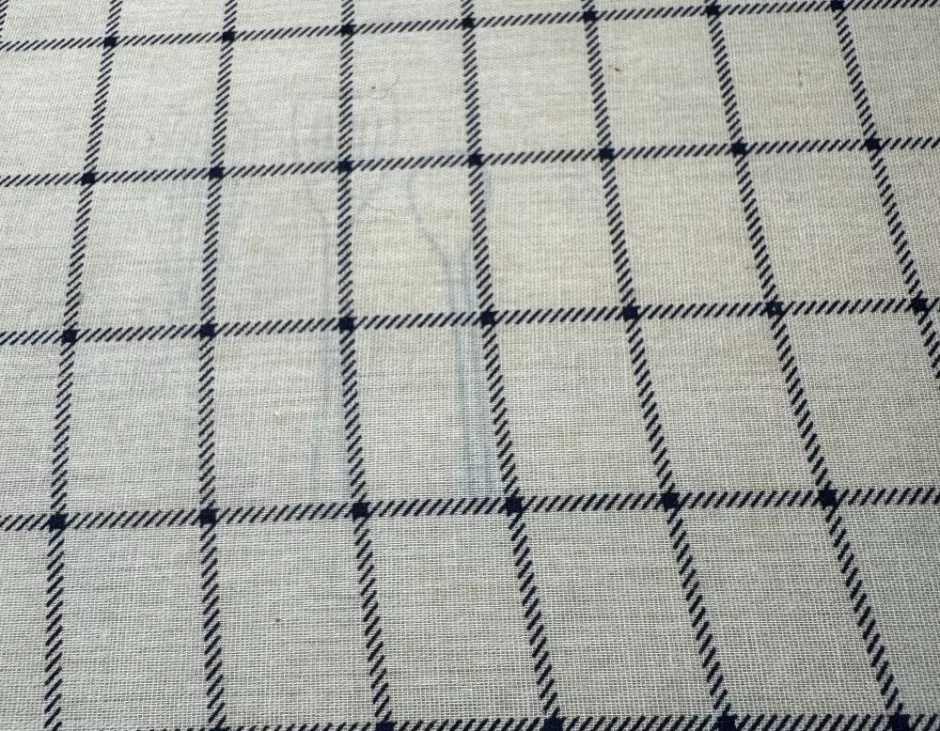
You can iron embroidery patterns on any fabric that can take the highest heat setting on your iron. Heat is what transfers the ink to the fabric. Cotton fabric is a great choice but some other fabrics that can take high heat would work as well. Here I am using muslin.
Iron your fabric first to make sure the area you want to stitch on is flat and free of wrinkles.
The iron on designs come on sheets, so you can cut out the images you want to use. Make sure there’s no other ink on the portion you are ironing that you don’t want to be on your design.
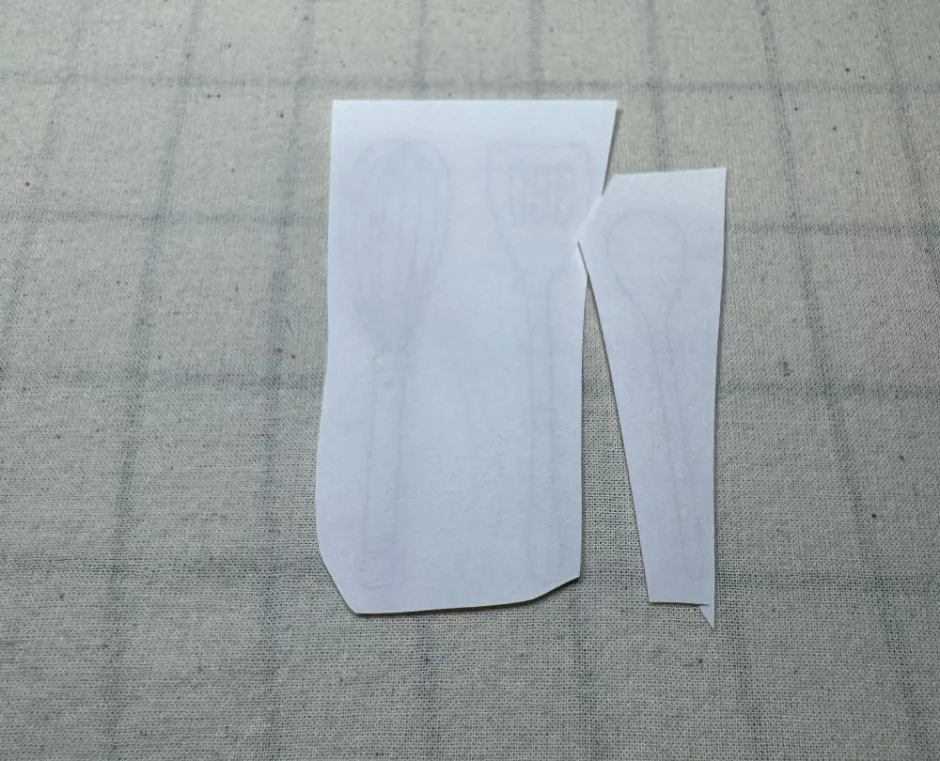
Place the transfer paper ink side down on the right (front, viewable) side of your fabric.
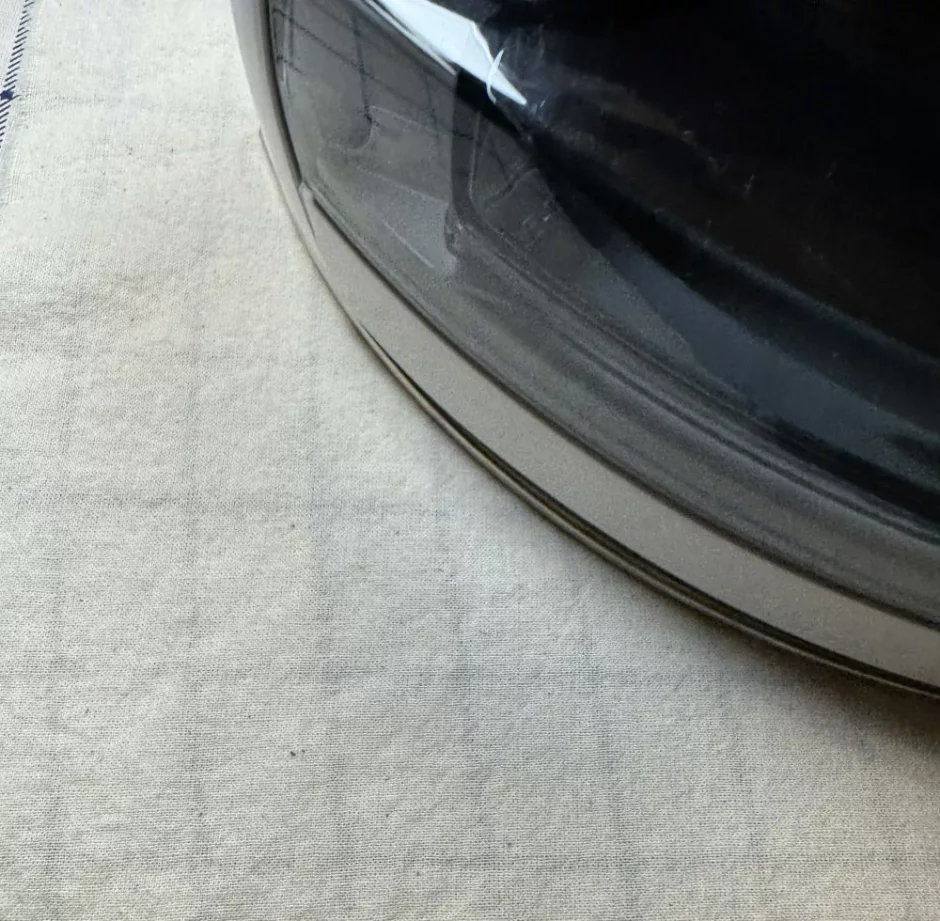
My package said to iron on high heat for about five seconds, moving the iron in a circular motion. Longer pressing might help if you are using a darker fabric.
I actually pressed mine too long because it transferred onto the fabric and onto my ironing board cover. Oops.
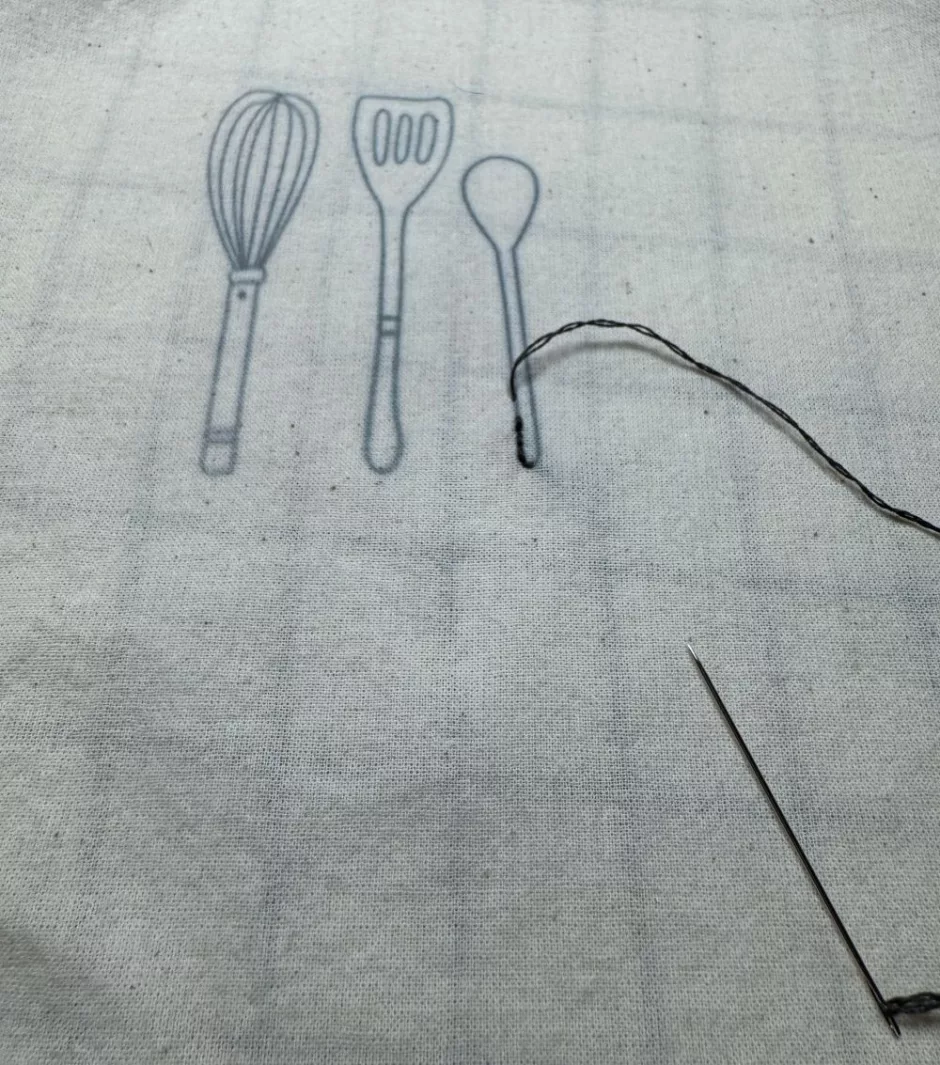
Allow the paper to cool for a few seconds, then lift off the fabric. It won’t be stuck to the fabric but the image should have transferred.
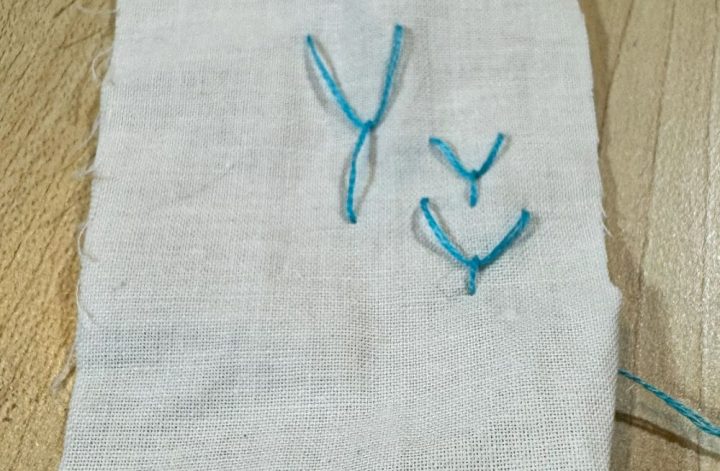
What if you want to use the iron on designs on darker fabric? Here the blue fabric is part of an old sheet, and the red may be polyester but it did fine with the hot iron. The lines aren’t as visible on these but they’re workable.
Stitching on Iron On Transfers
The next step in how to use iron on embroidery patterns is actually stitching them. I used two strands of embroidery floss on these projects, but you can use more or fewer as you like.
You can just hold the fabric while you stitch, but I think it’s a lot easier to use a hoop to hold the fabric tight. Plus this little 4-inch hoop is just so cute!
I used backstitch because the lines are so fine and I thought I might miss some details with different stitches, but you can use whatever embroidery stitches you like.
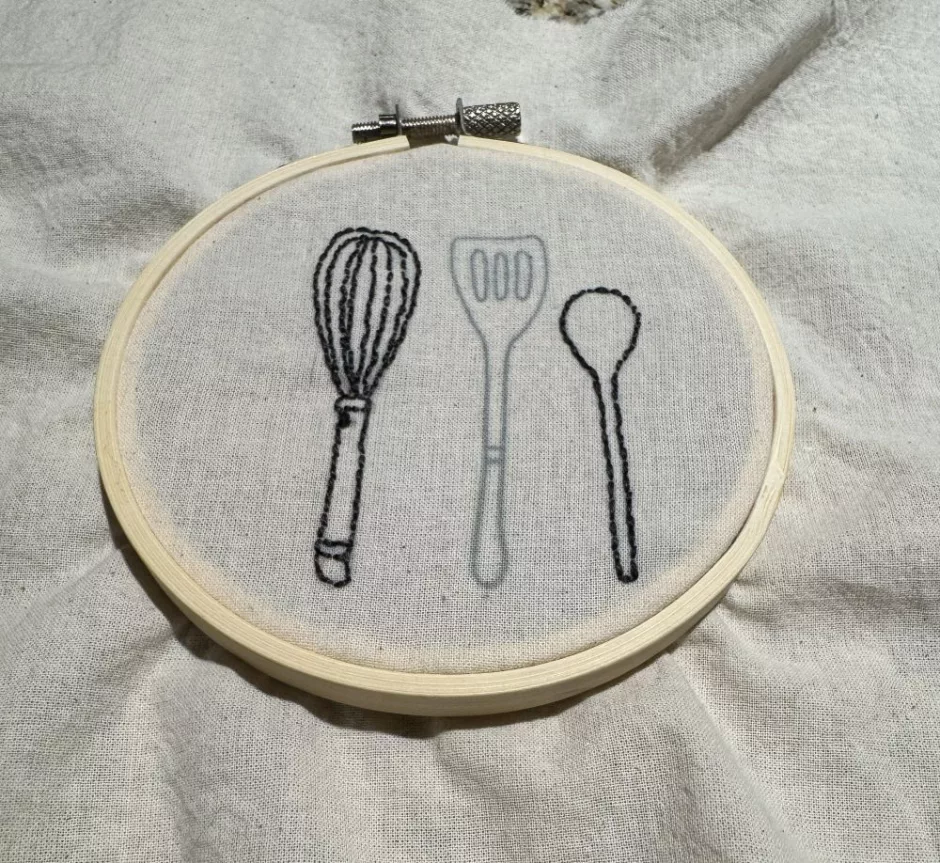
The little French knot in the handle of the whisk was made by wrapping the thread twice around the needle.
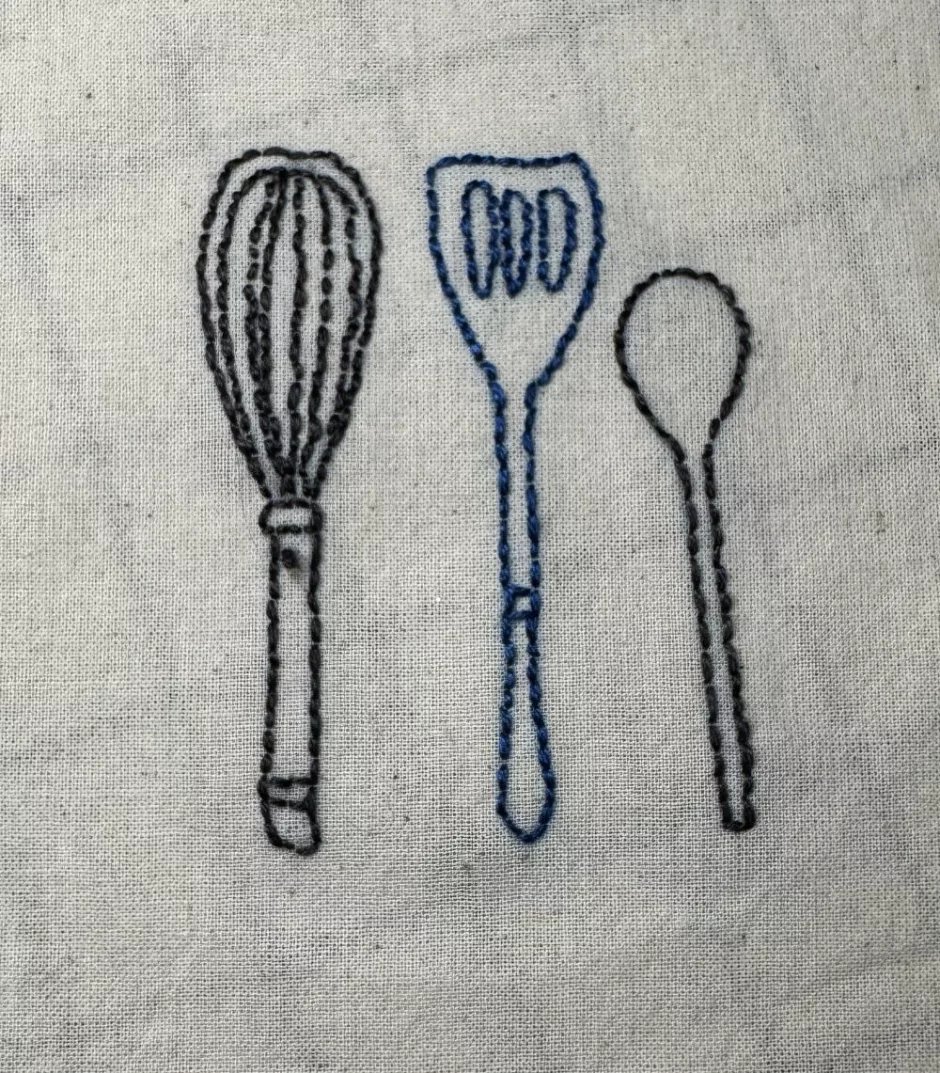
After stitching the whisk and the spoon in the same color, I opted for a different color for the spatula because why not?
Once you’ve learned how to use iron on embroidery transfers, you’ll want to use them for all sorts of things. I think this utensil one is going to become a panel on a bag, the sewing machine will be a Christmas ornament, and I think the brushes would be cute as a patch added to a notebook or art journal.
Of course you can also stitch them on clothing, aprons, napkins, flour sacks or anything else that will hold still long enough to stitch on it.
Have you ever used iron on transfers for embroidery? I’d love to hear about your experience!