Affiliate links may be included for your convenience. View our privacy and affiliates policy for details.
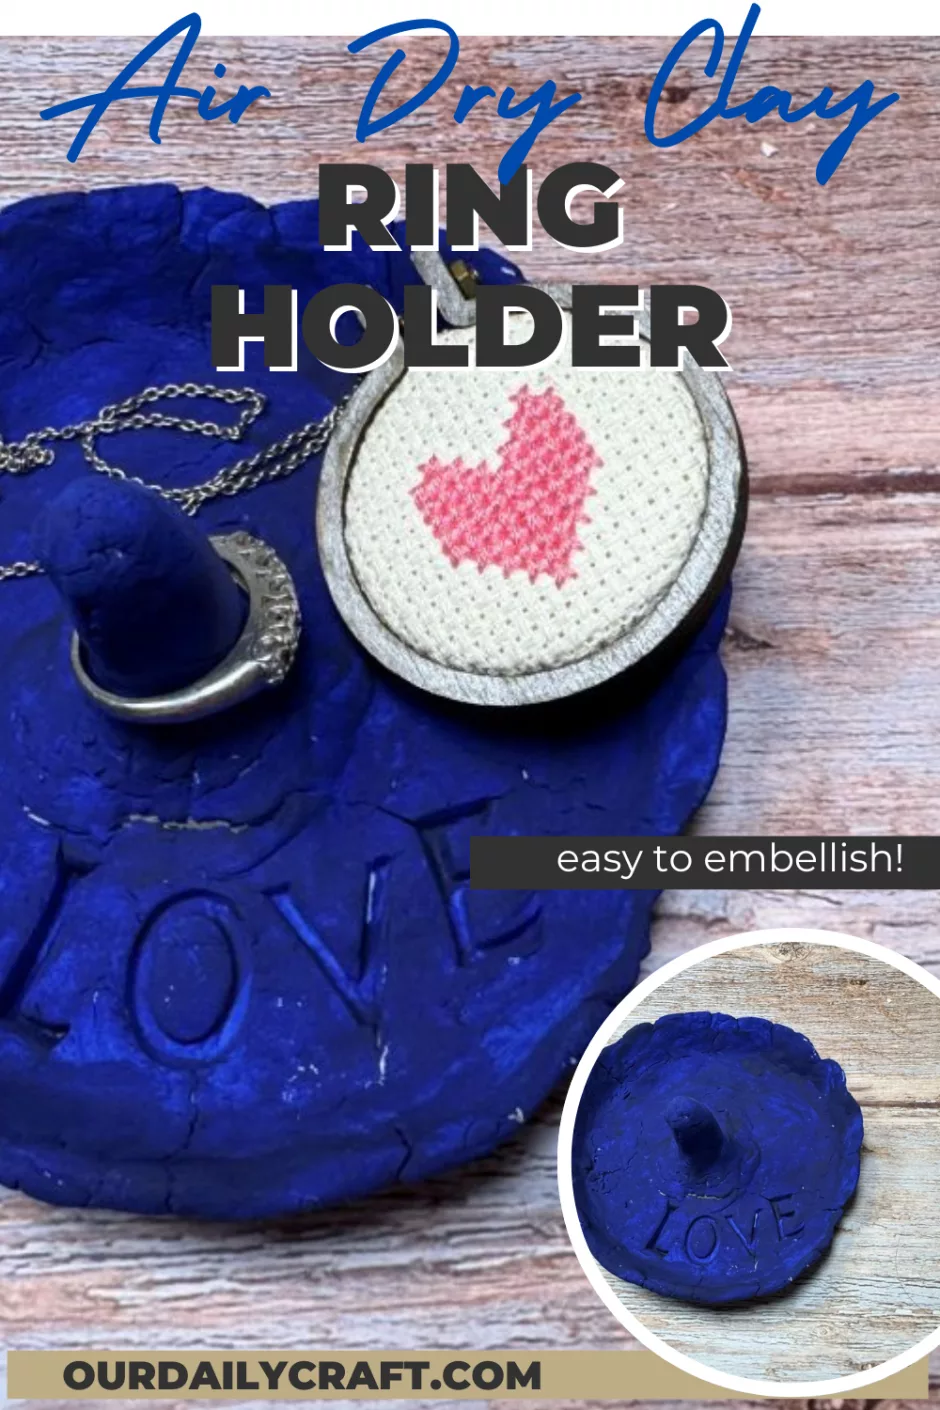
This air dry clay ring holder is a great easy air dry clay project that’s basically just like making a pinch pot with a few additions.
These little clay jewelry dishes are great for holding rings and other jewelry wherever you take them off, and you can embellish them lots of different ways.
Ring Holder Supplies
All you really need to make an air dry clay ring holder is some air dry clay. If you ask me, the best air dry clay is the stuff you make yourself, and my air dry clay recipe uses just three ingredients and takes only a few minutes to make, so you might as well try it!
You’ll also need a cup with some water in it, a paintbrush (for applying water and/or paint) and whatever you want to use to embellish your jewelry dish. I used acrylic paint, but I also stamped a word in the clay while it was still wet. I used these stone stamps, but if you already have letter stamps for other crafts those might work here, too.
How to Make an Air Dry Clay Ring Holder
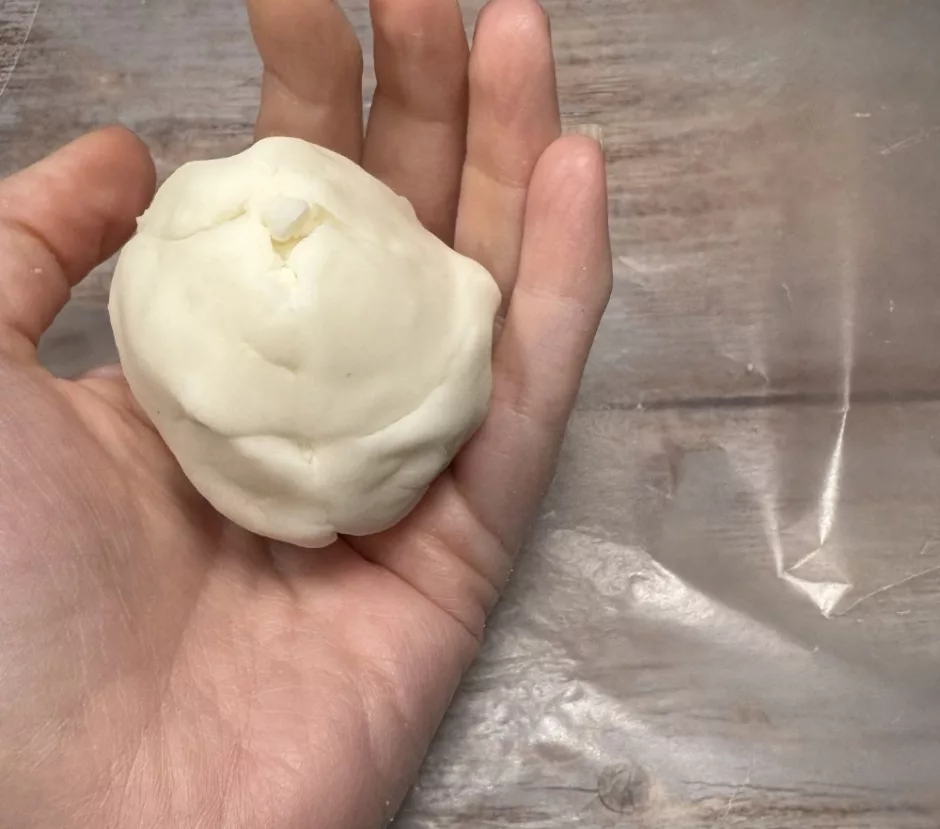
First start with a ball of clay. This is bigger than I would normally use for a pinch pot.
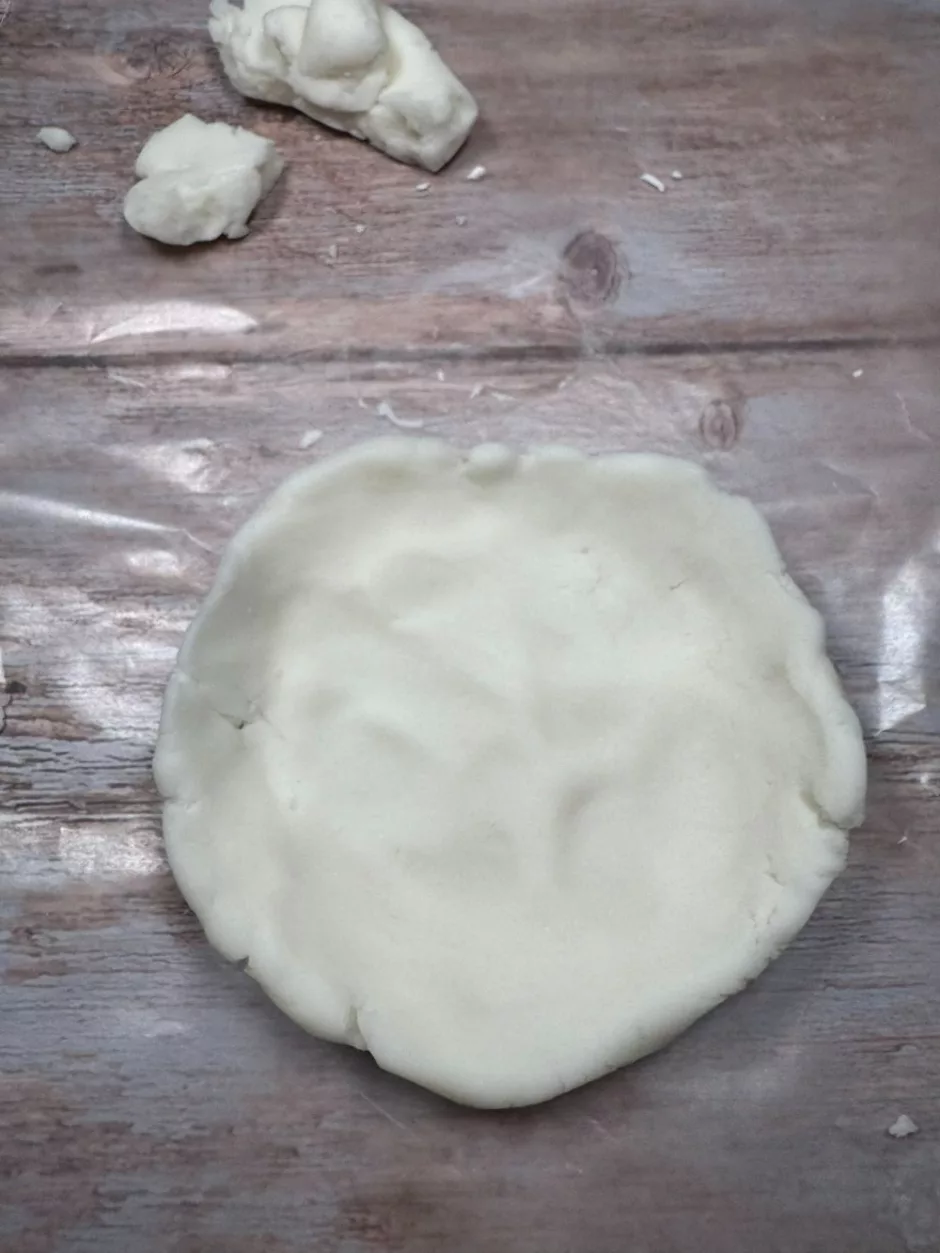
Once I got started forming the tray part by pressing down at the center with my thumbs and spreading the clay out, I pinched off a hunk that I thought would be appropriate for the ring holder in the center. You can break this piece off before you start making the pot if you’d rather. You can see this piece in the background of the photo above.
I am not much of a perfectionist when it comes to the sides being perfectly smooth. I like that it looks like a person made it.
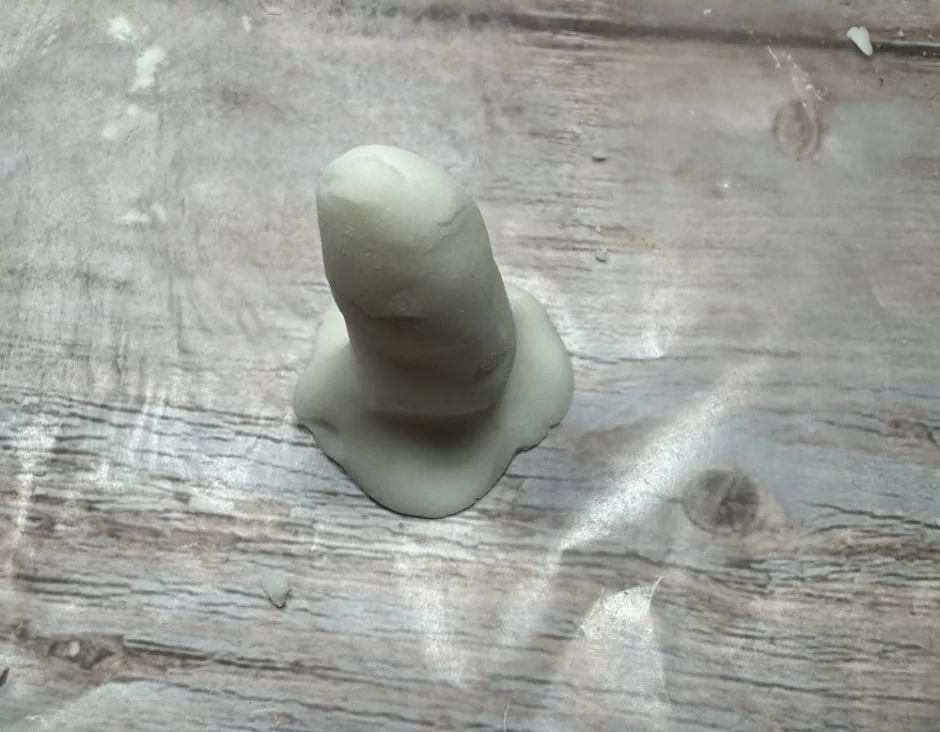
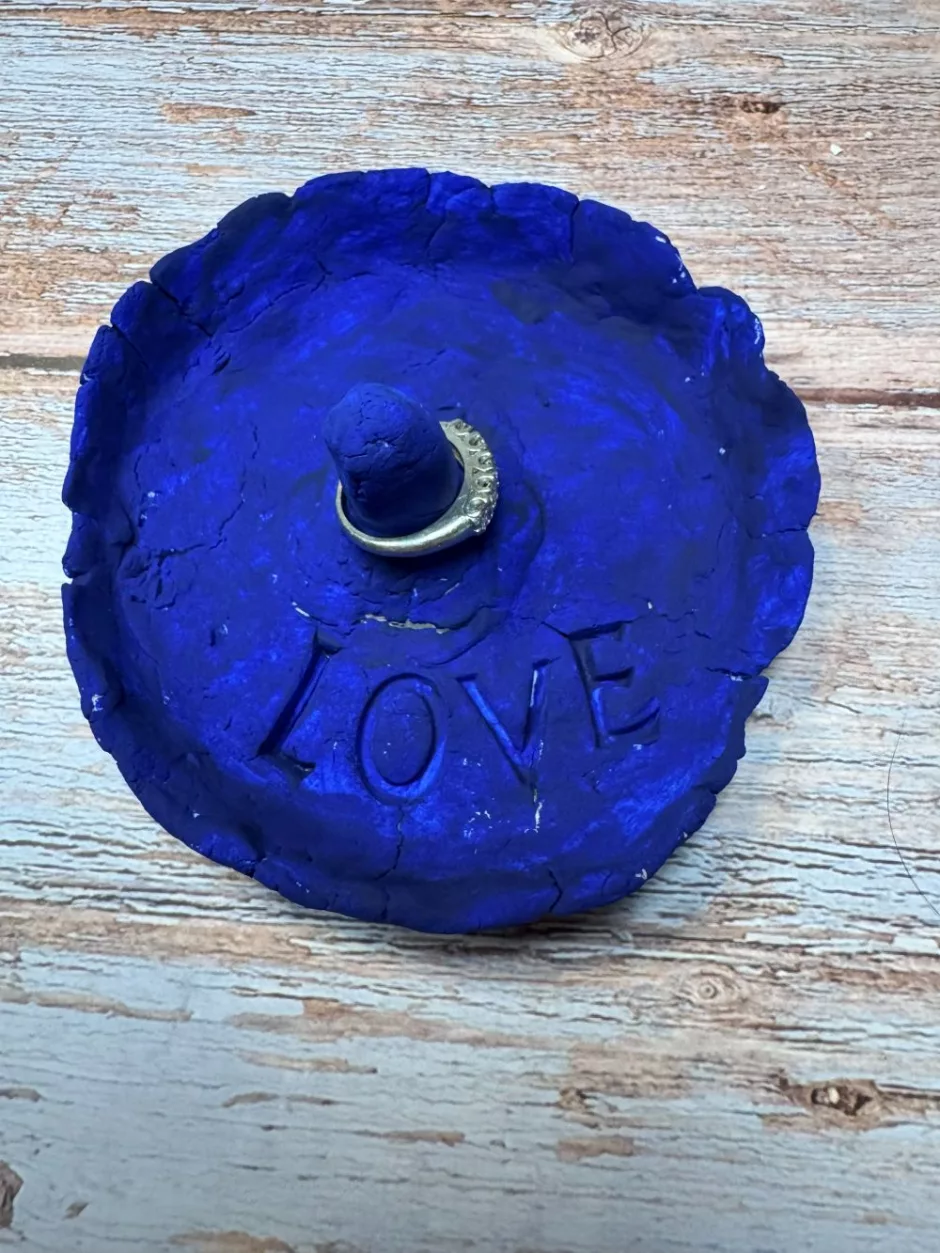
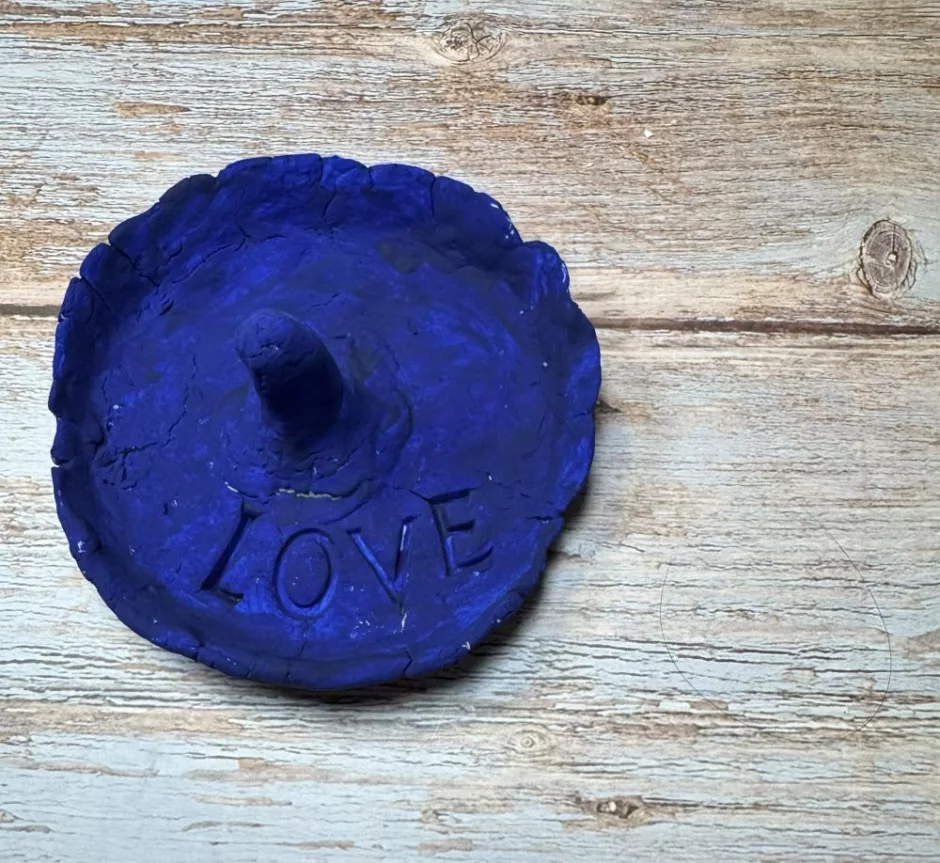
Once the tray part is done, shape the center holder. This sort of looks like a tall wizard’s hat that doesn’t come to a point. The base should be wide so it can attach to the center of your ring dish. Make sure your ring will fit on it and slide at least most of the way down and that it doesn’t seem too tall (I had to try a few times to get mine narrower at the base and then I wanted it shorter).
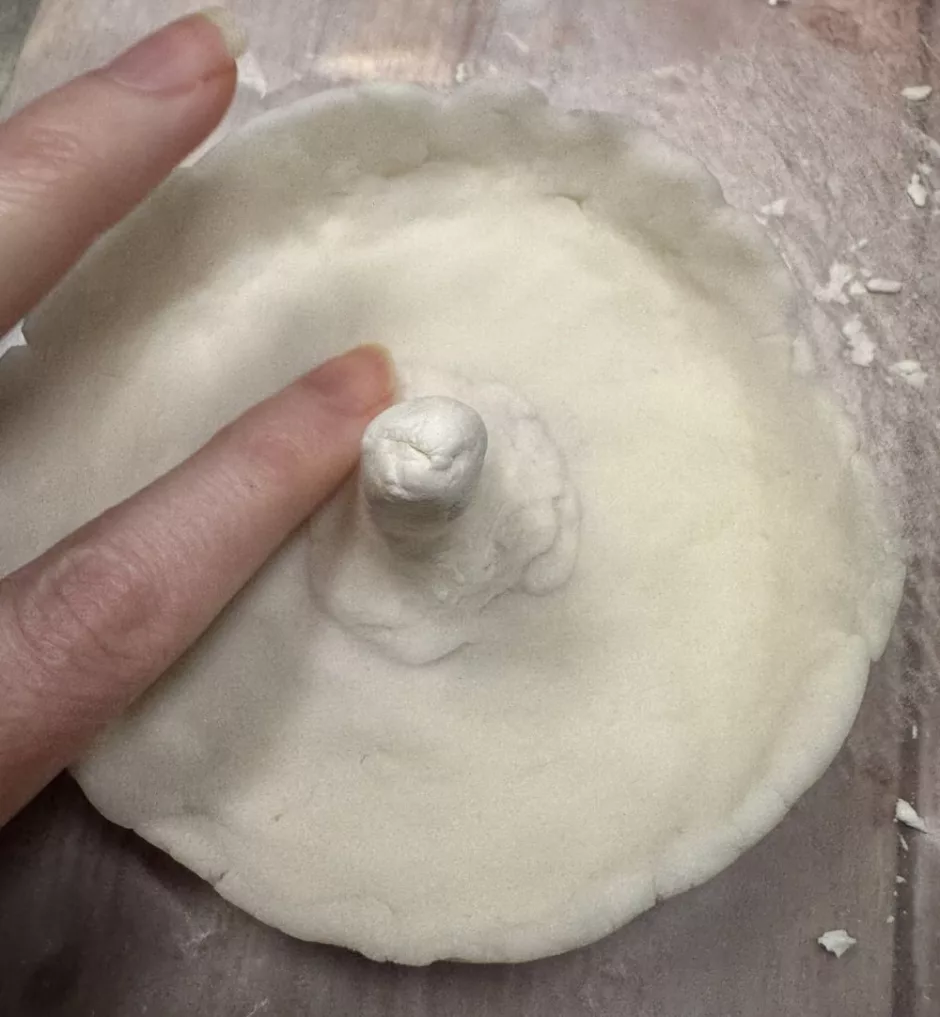
Use your fingers or a paint brush to wet the edge of the base and where it will sit in the dish and push them together so they will dry as one piece.
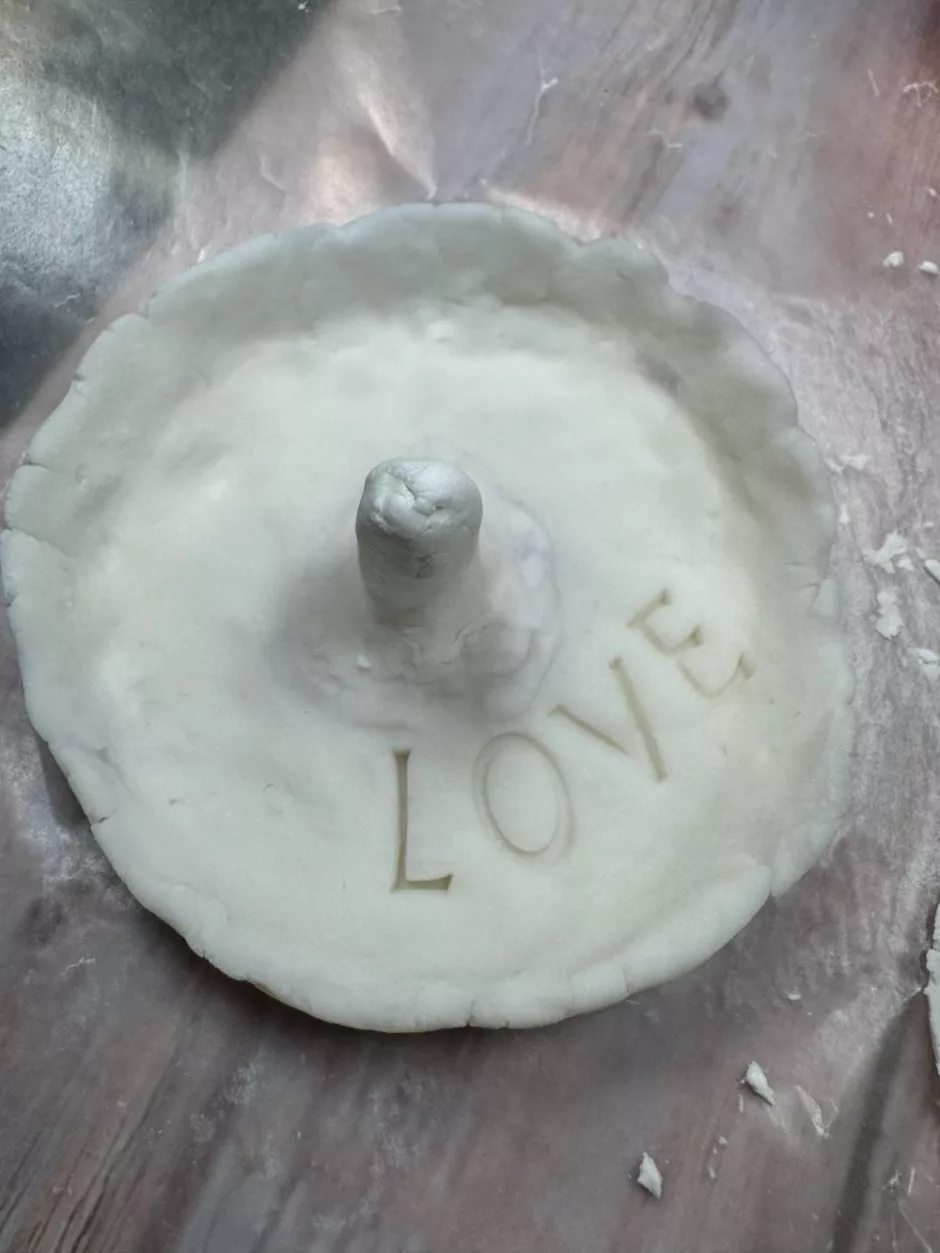
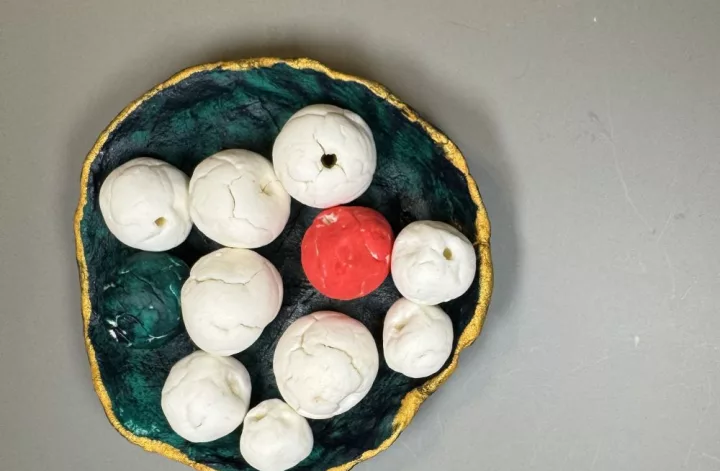
If you want to do any embellishing while the clay is wet, do it now. I stamped the word love. Pressing beads into the clay and leaving them to try would also be pretty, or you can make imprints on the surface if you like.
Decorating Your Jewelry Dish
Now that your air dry clay ring holder is dry you can think about other decorations you’d like. I painted mine a solid color but you could paint the ring holder one color and the dish another color. Add a face to the ring holder part or paint it to look like a hat or a unicorn horn.
I was thinking about filling the letters with glue and sprinkling in glitter or seed beads. You could also paint around the edge of the dish with a different color (as I did with one of my pinch pots) or paint a design like a flower with the ring holder in the center.
From there it’s only a short leap to making the dish itself a different shape. Or adding more than one ring holder if you have multiple rings. I just keep a necklace or bracelet on the other side (shown above, my cross stitch heart pendant).
And once you have one air dry clay ring holder, you’ll want one for every place you might take off your rings. Good thing you made a lot of clay!