Affiliate links may be included for your convenience. View our privacy and affiliates policy for details.
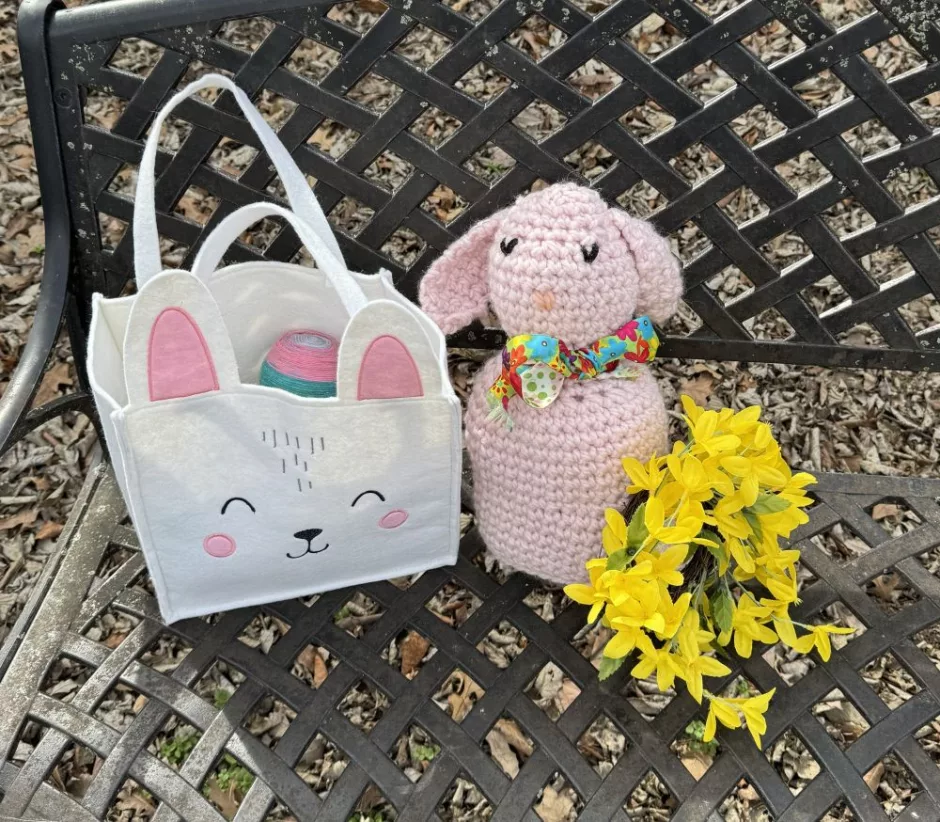
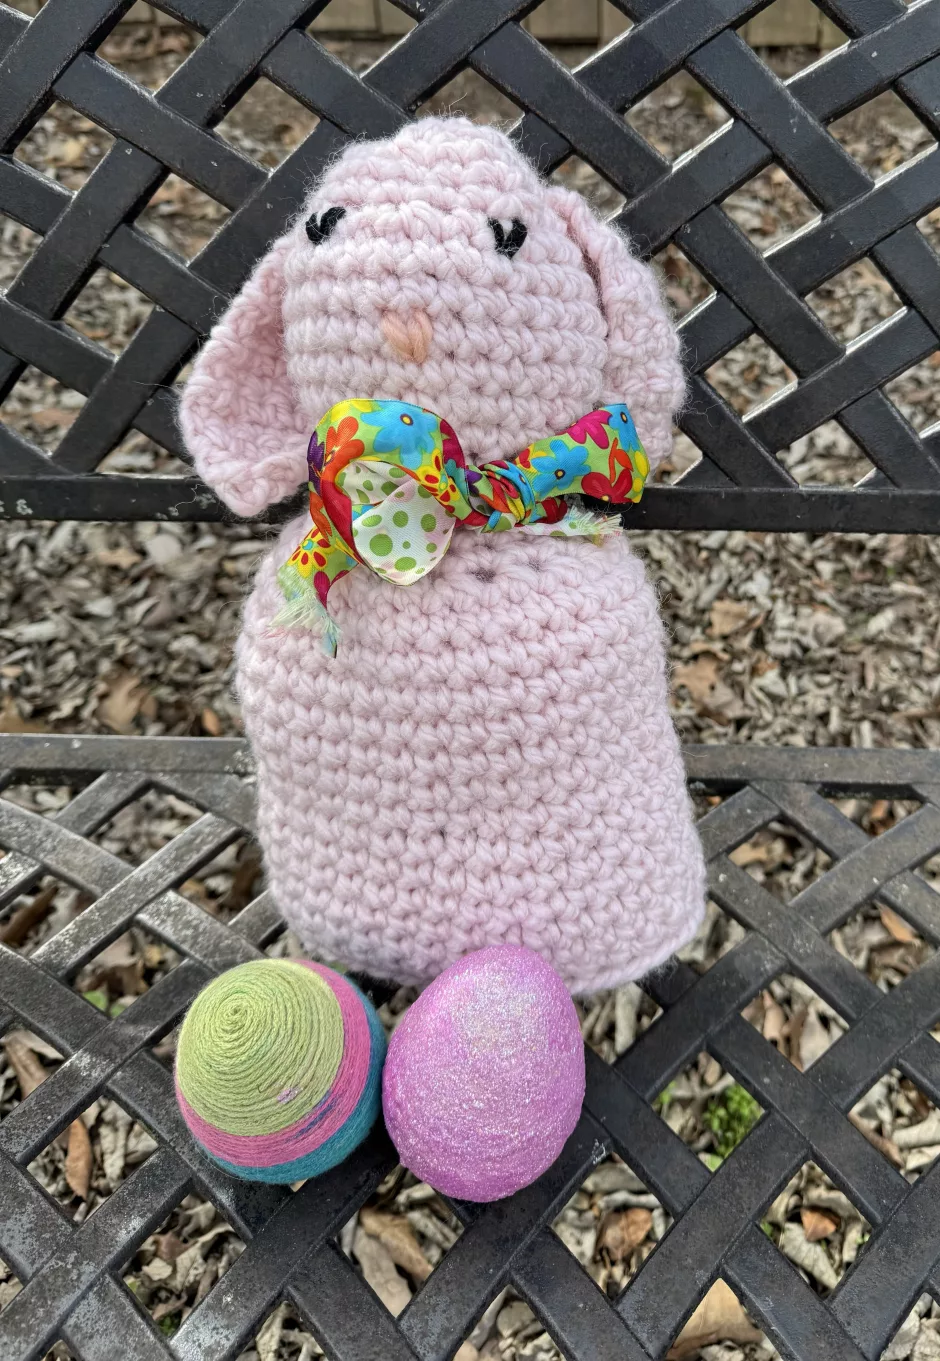
This easy crochet bunny pattern was a bit of a challenge for me to use as much of a ball of yarn as I could. I ripped it out multiple times but ended up with just 7 inches of yarn left, which was super satisfying. And the bunny is pretty cute, too.
Supplies
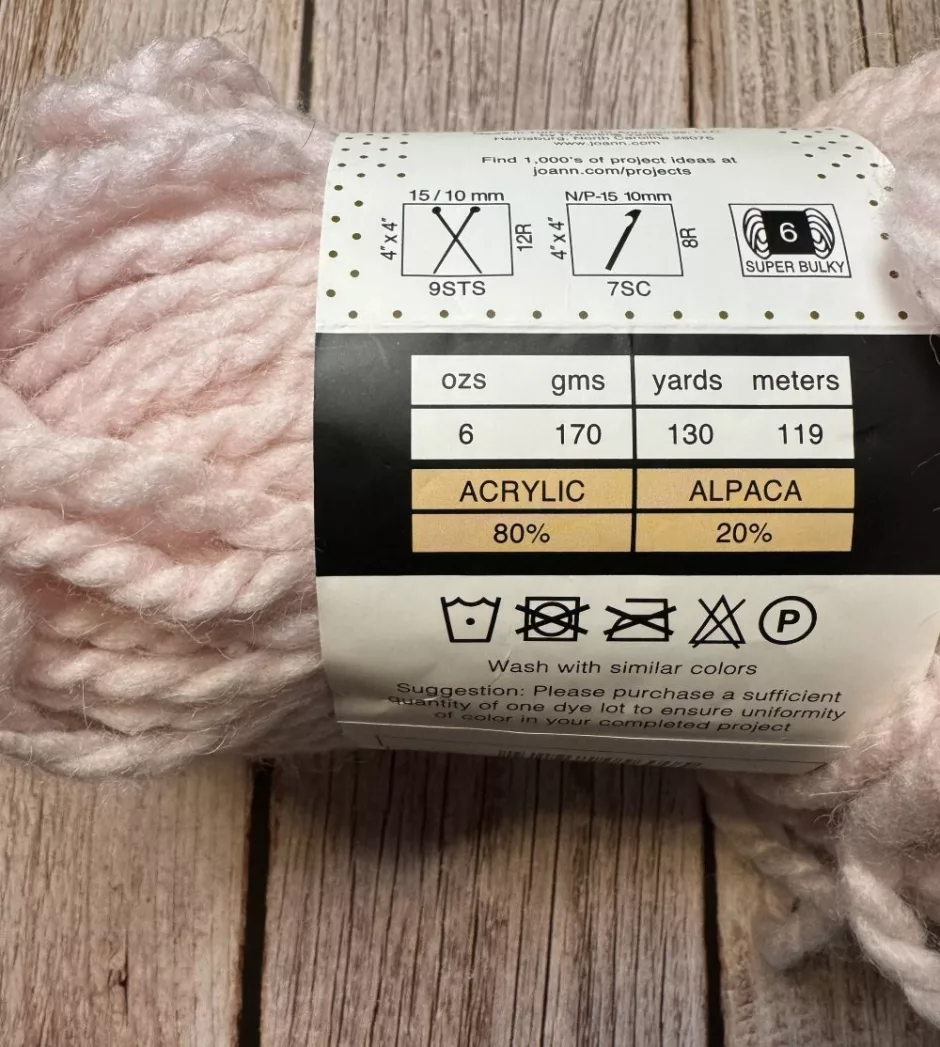
For this crochet bunny you’ll need almost exactly 130 yards of super bulky yarn. Of course you may need a little less or a little more if your gauge is different, but the ball I used was 130 yards. The yarn shown is buttercream Alpaca Solid, which was a Joann exclusive yarn.
It was a blend of acrylic and alpaca made for Joann by Premier Yarns. They don’t have a similar one, but their Parfait Chunky, which is a blanket style yarn, would be a fun option. Both Bernat Softee Chunky and Premier Basix have a similar looking texture to the yarn I used. The color is pale pink but any pastel would do.
I used a size M/13/9 mm crochet hook.
You’ll also need two locking stitch markers, a bit of yarn for any facial features you want to include, a yarn needle, scissors, and whatever you want to stuff your bunny with.
Gauge
Gauge is not critical for this project, but you want the stitches to be relatively tight so your stuffing doesn’t show. I got 8 stitches and 9 rounds per 4 inches/10 cm in single crochet.
Size
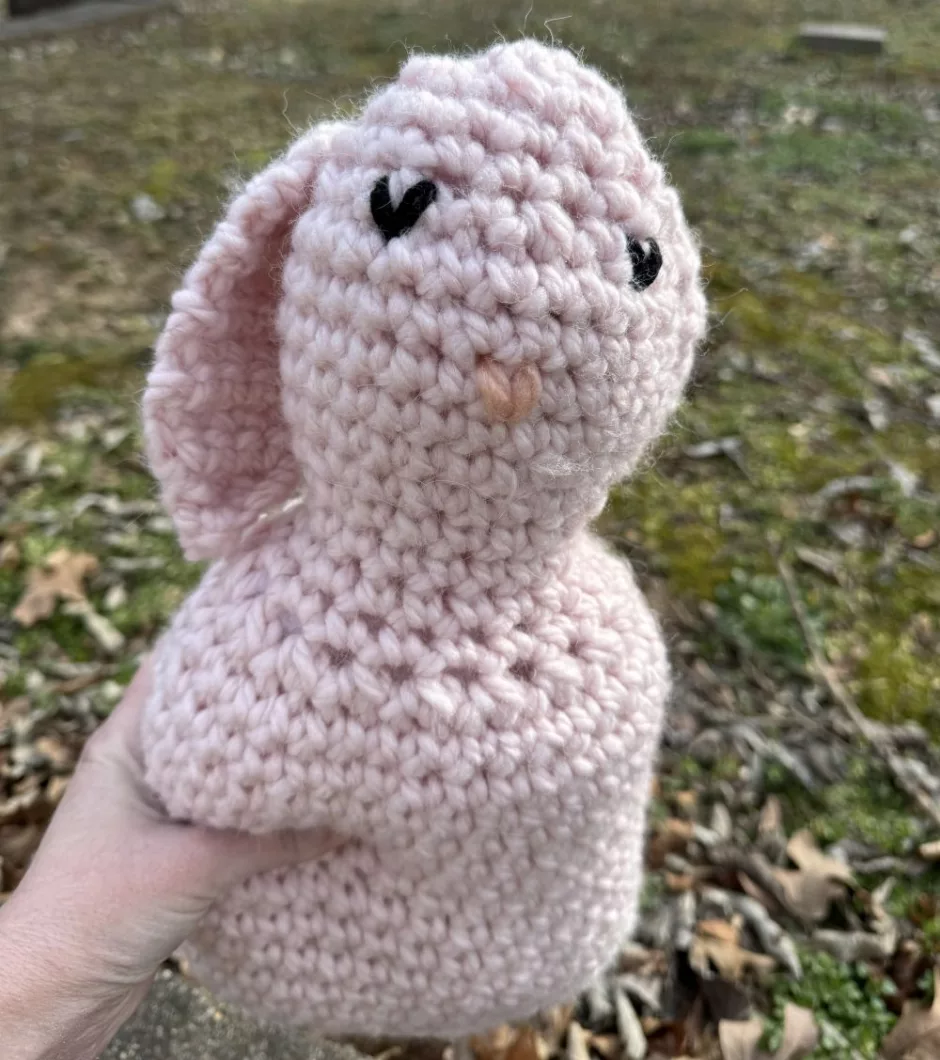
My crochet bunny came out about 14 inches/35.5 cm tall and the base is about 7 inches/17.78 cm across. The ears are about 5 inches/12.7 cm long.
Add this project to your Ravelry queue.
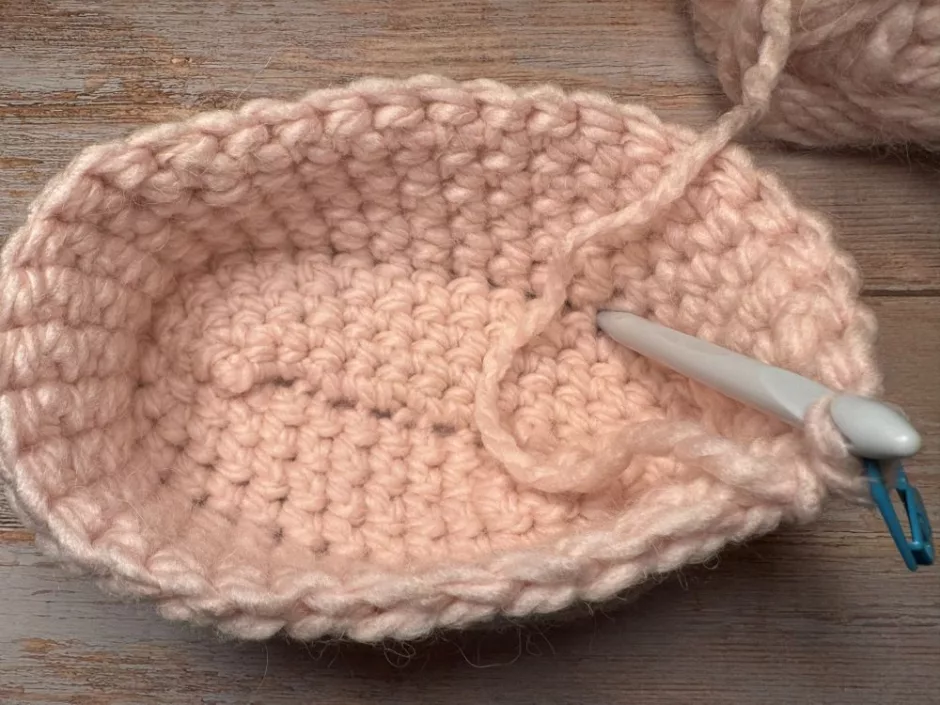
Easy Crochet Bunny Base
The crochet bunny is worked from the bottom up to the top of the head in one piece. It starts with a chain you work on both sides to turn into an oval. You could also make the base a circle or rectangle if you’d rather.
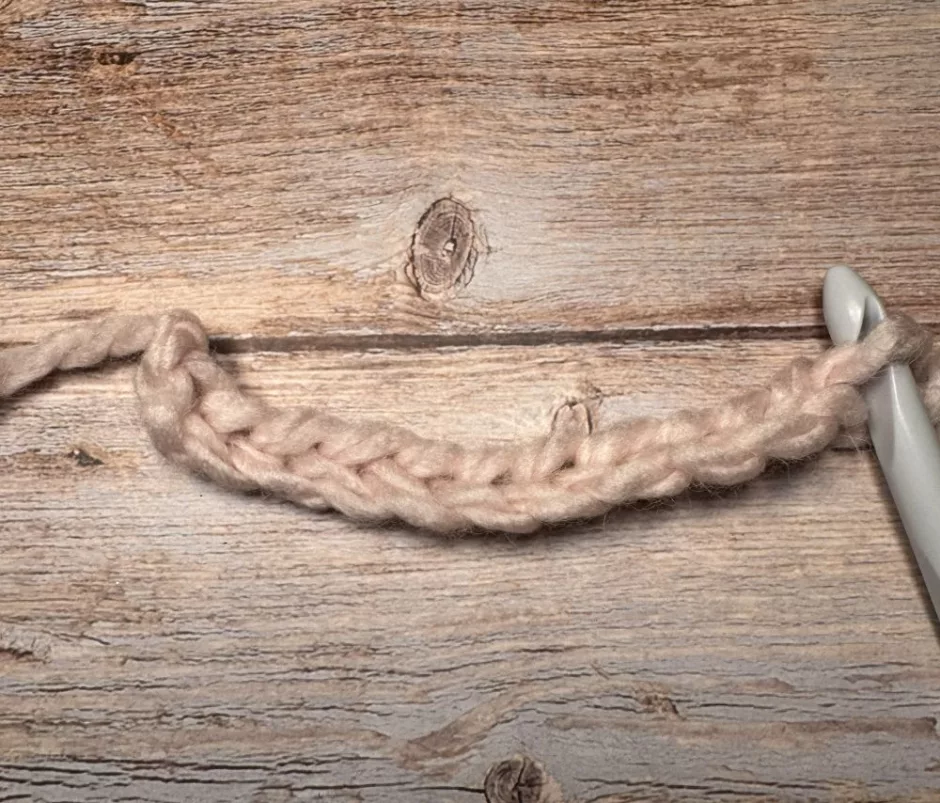
I started with a chain of 11.
Work 9 single crochet stitches across, then 2 single crochets in the last chain.
Turn the chain to the right so you can work into the other side of the chain and repeat (9 single crochets, then 2 in the last chain). You’ll have 22 stitches total.
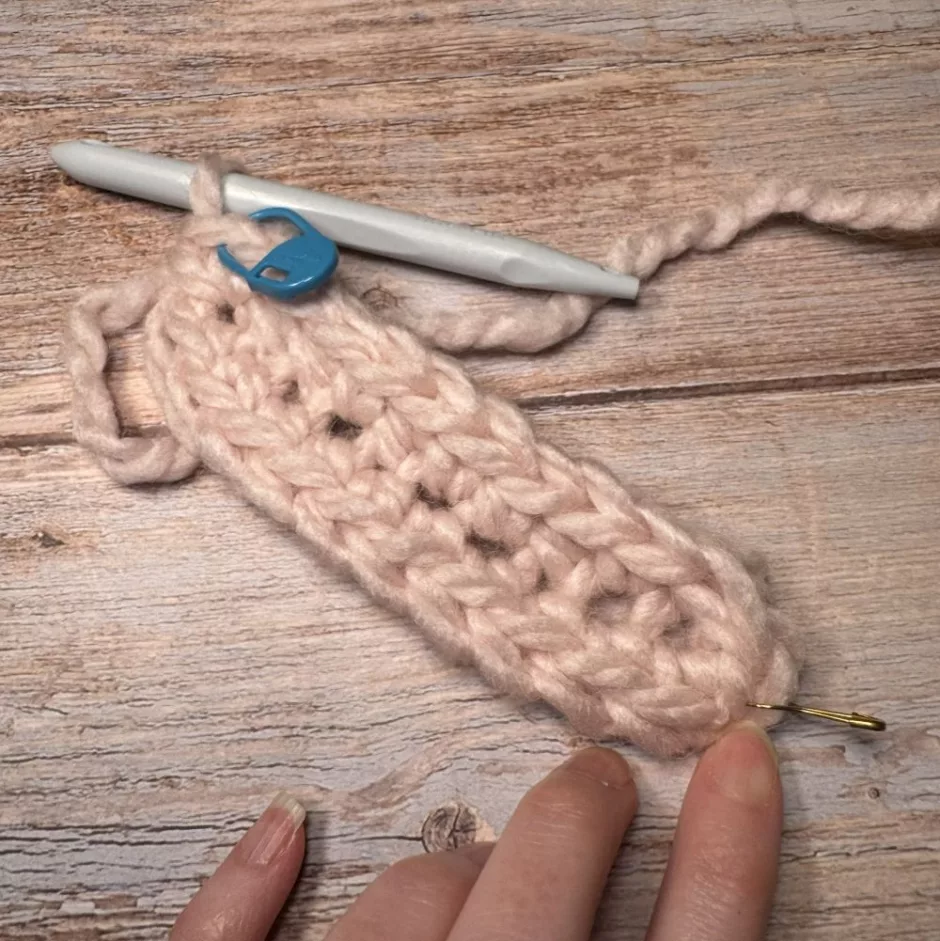
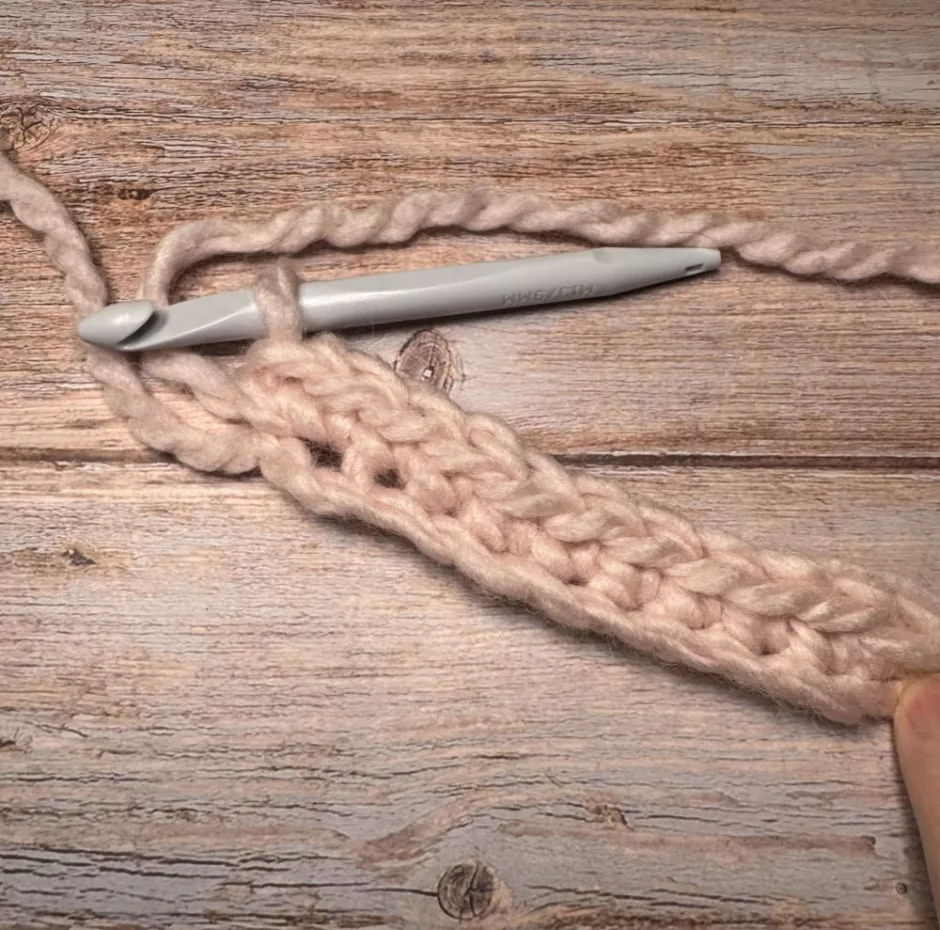
Place a stitch marker in the last stitch of the round and the second stitch of each of the two double crochets on the other side.
On the next round, single crochet 2 in the first stitch, single crochet to the marked stitch, work 2 single crochets in the marked stitch and the next stitch, single crochet to the last stitch, work 2 single crochets in the last stitch. 30 stitches.
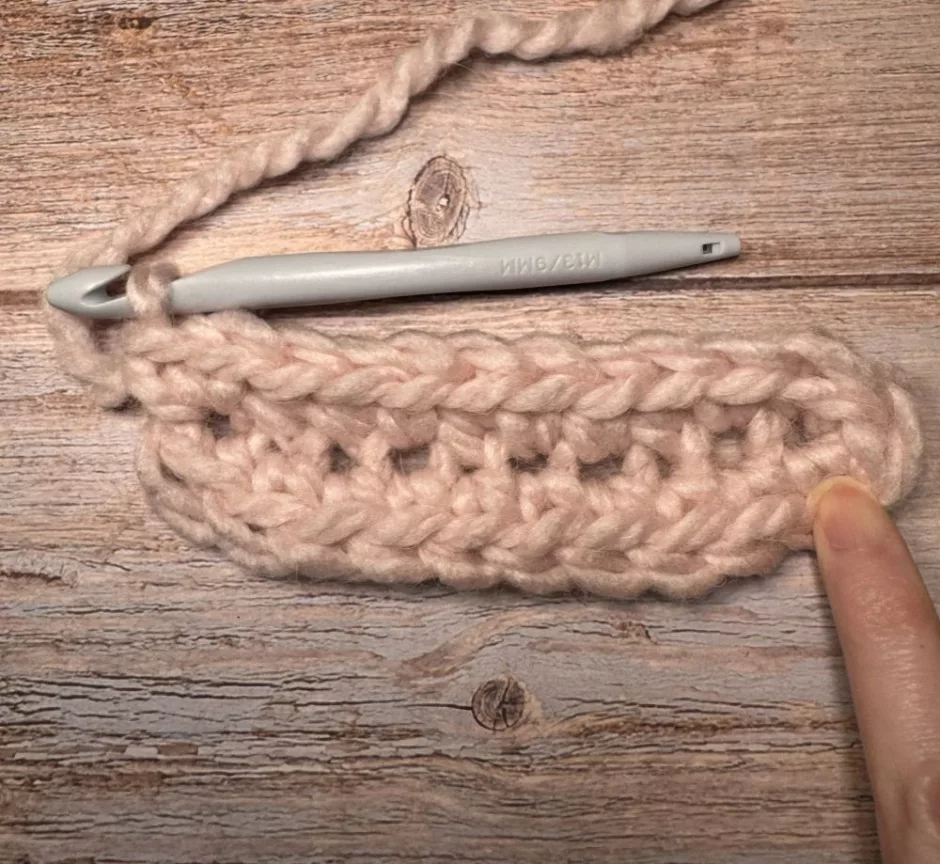
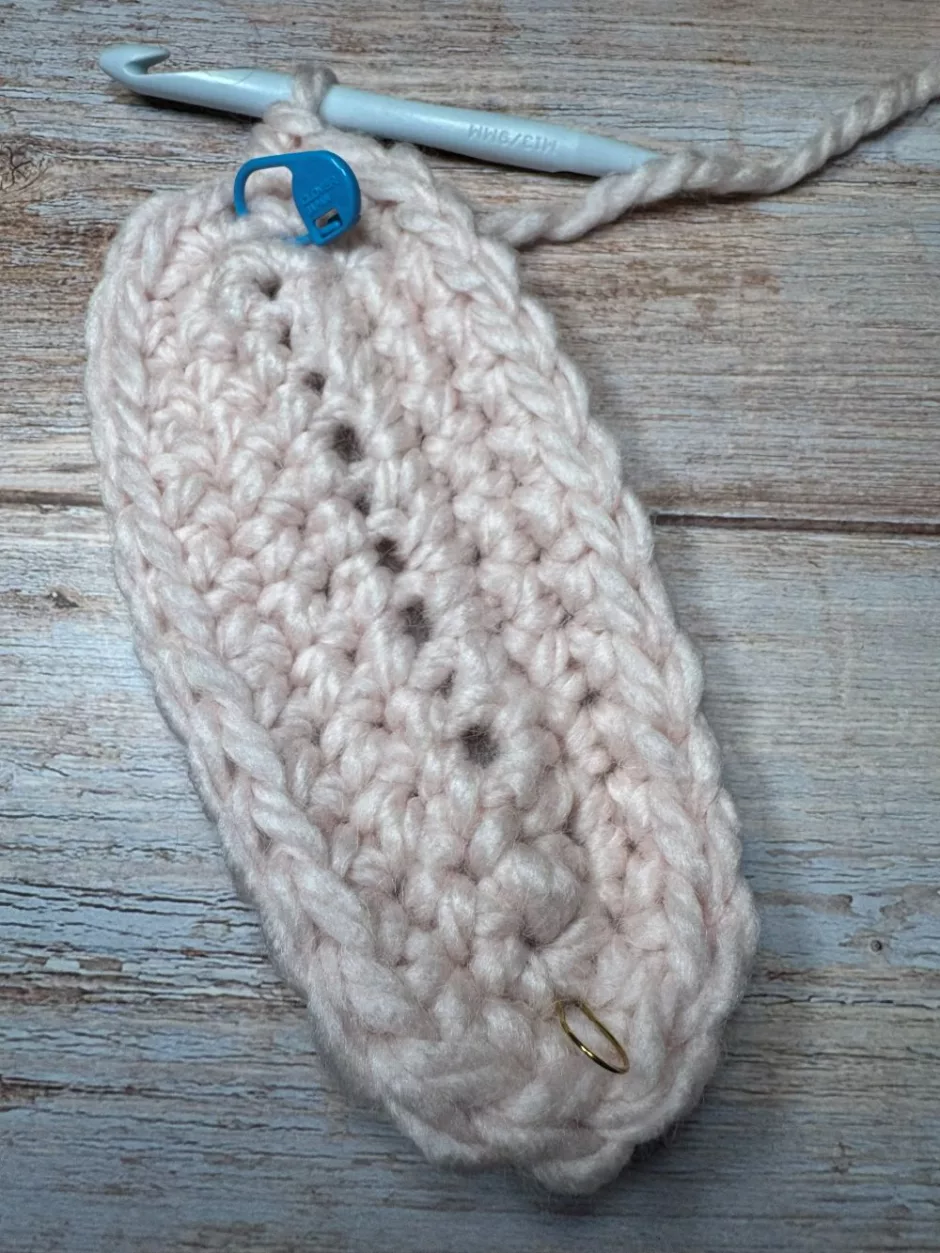
Move your stitch markers up and repeat the last round, working an increase in the first and last stitches as well as twice in the curve on the other side of the oval. You will have 34 stitches.
You can keep going to make the base as big as you like, but here’s where I stopped. The base is about 7 inches/17.78 cm long and 4 inches/10 cm wide.
Crocheting the Body and Head
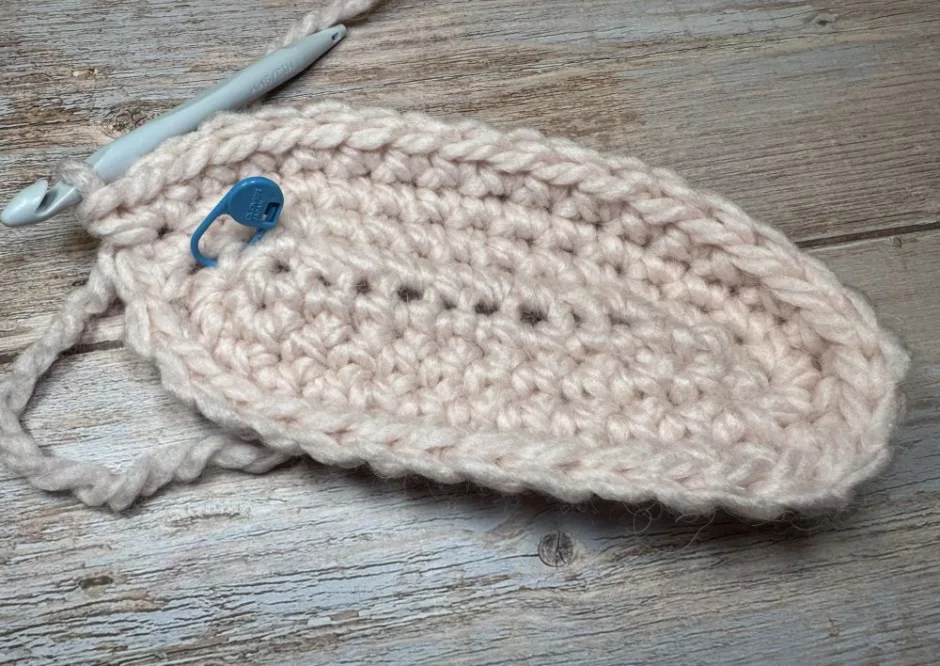
Work a single crochet in the back loop only in each stitch around. You can remove the marker at the side but keep the one at the end of the round and move it up as you go.
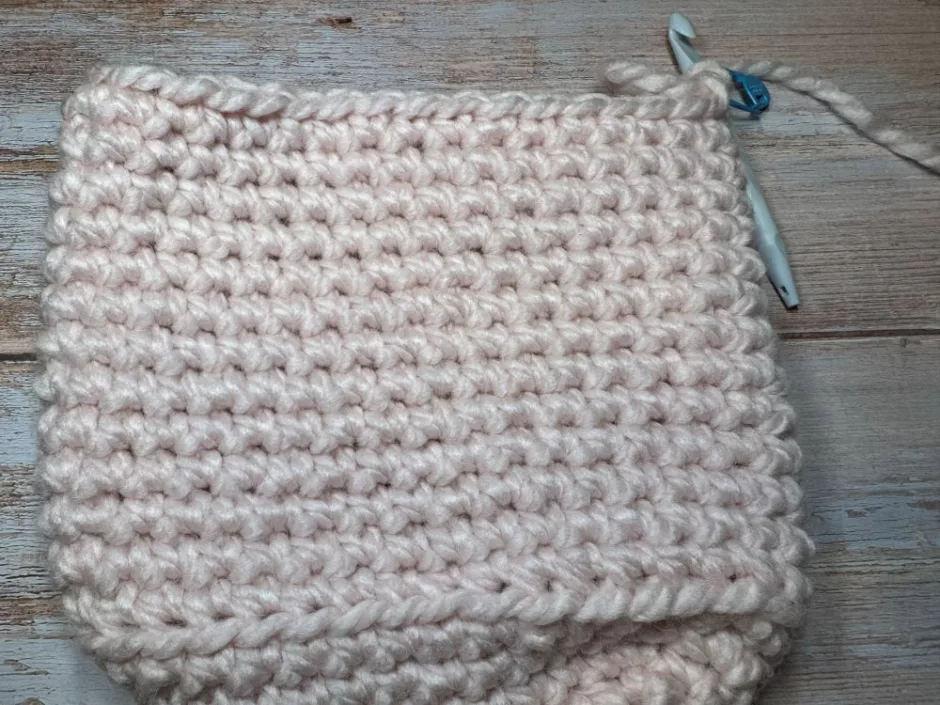
Work single crochet in continuous rounds to desired height of the body of the crochet bunny. Mine is about 6 inches/15.24 cm from the back loop only round.
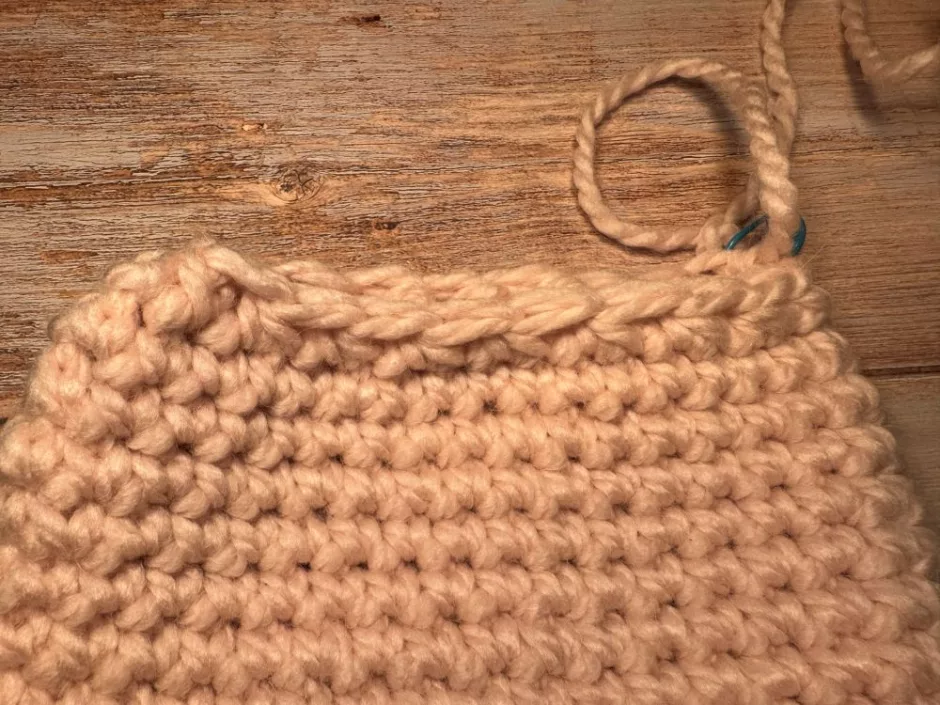
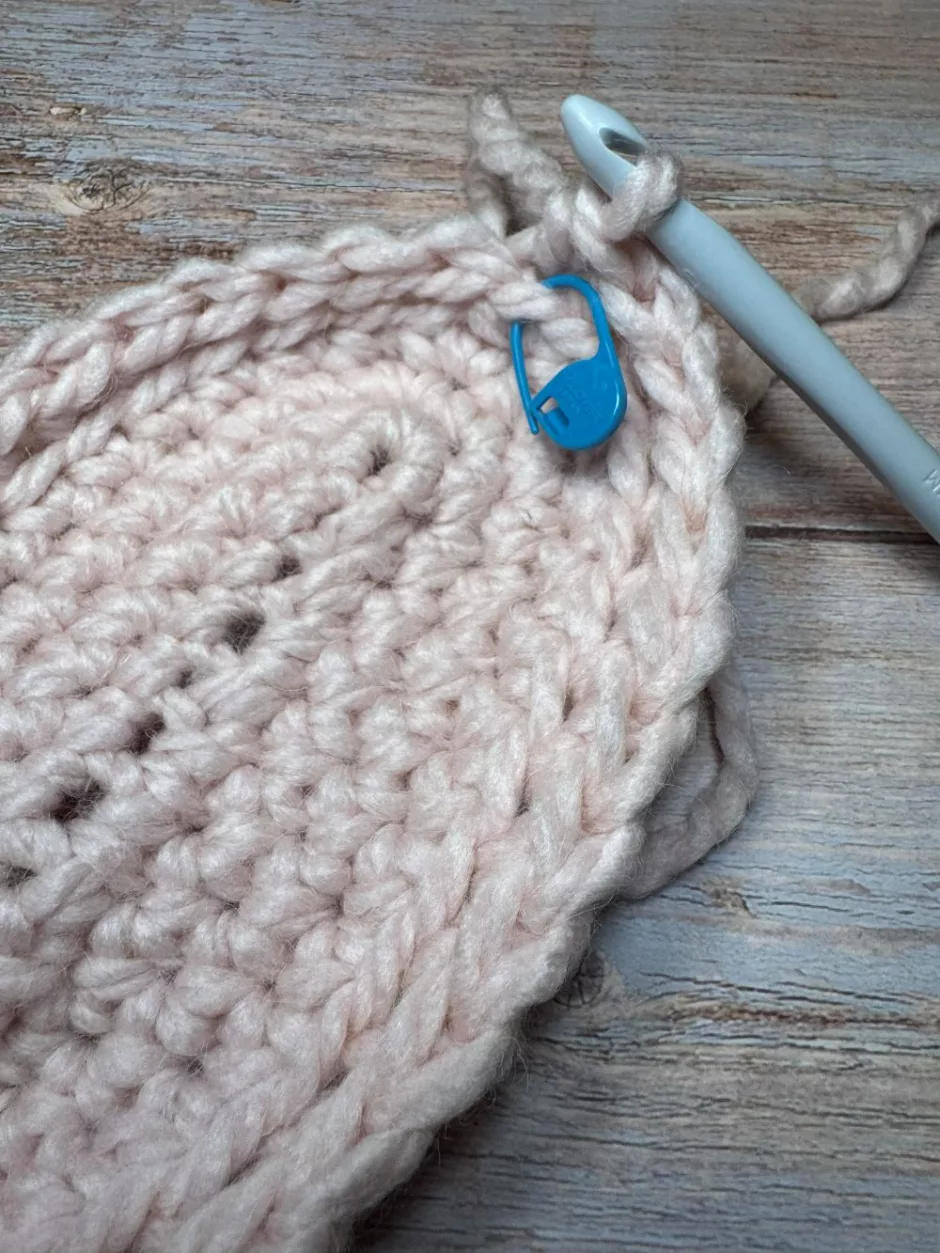
Single crochet 2 together around. 17 stitches remain.
Single crochet 2 rounds.
*Single crochet 2 in the next stitch, single crochet 1 in the stitch after that. Repeat from * around. 26 stitches.

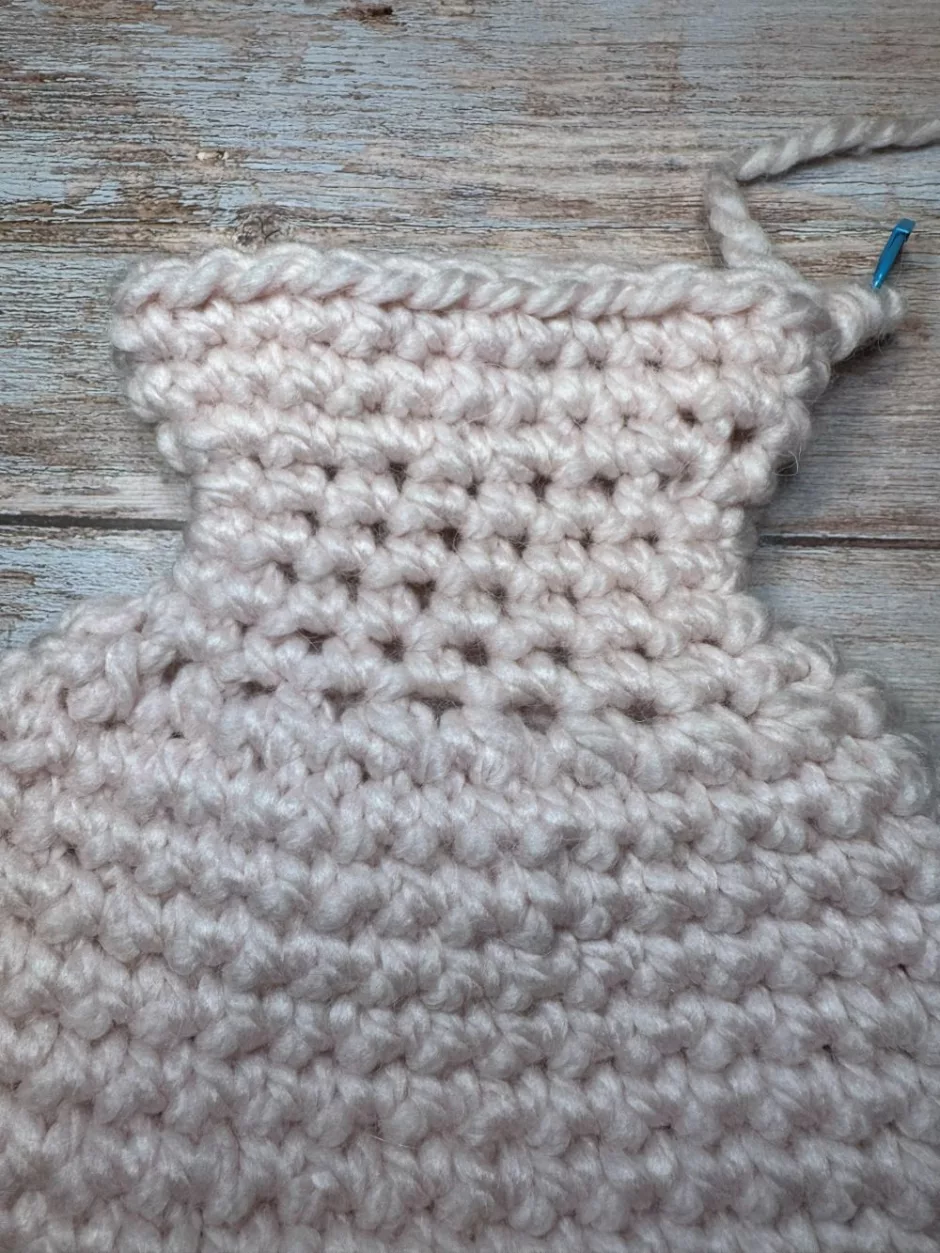
Single crochet 3 rounds.
*Single crochet 2 together, single crochet 1. Repeat from * around, ending with another single crochet 2 together. 17 stitches.
Single crochet 1 round.
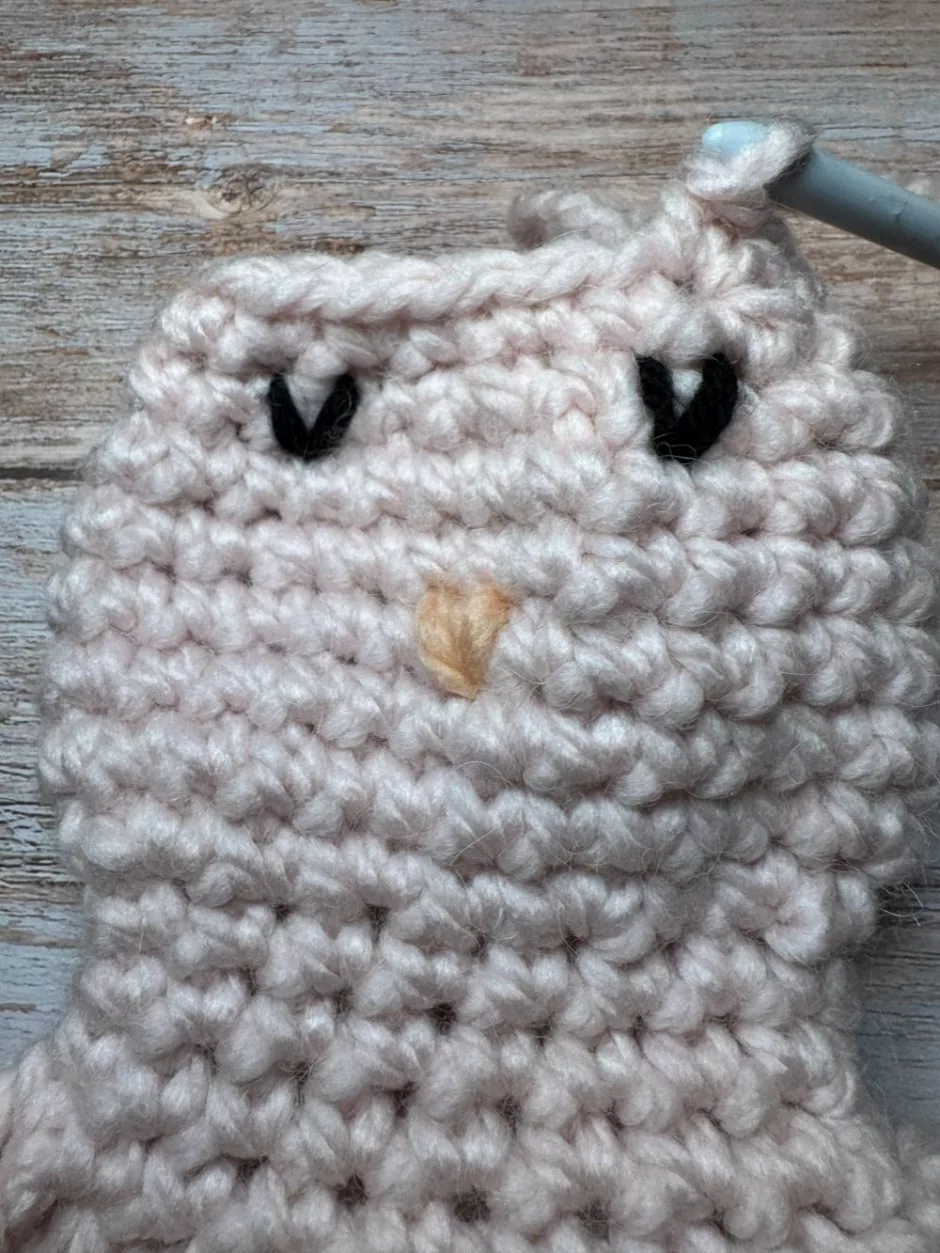
At this point I added the facial features and started to stuff the crochet bunny. I did sort of duplicate stitch to add a nose in super bulky yarn and the eyes I used worsted weight yarn held double. I stuffed the bottom with a few old socks for weight and the rest is actually stuffed with quilt batting because that’s what I could find easily in my craft room.
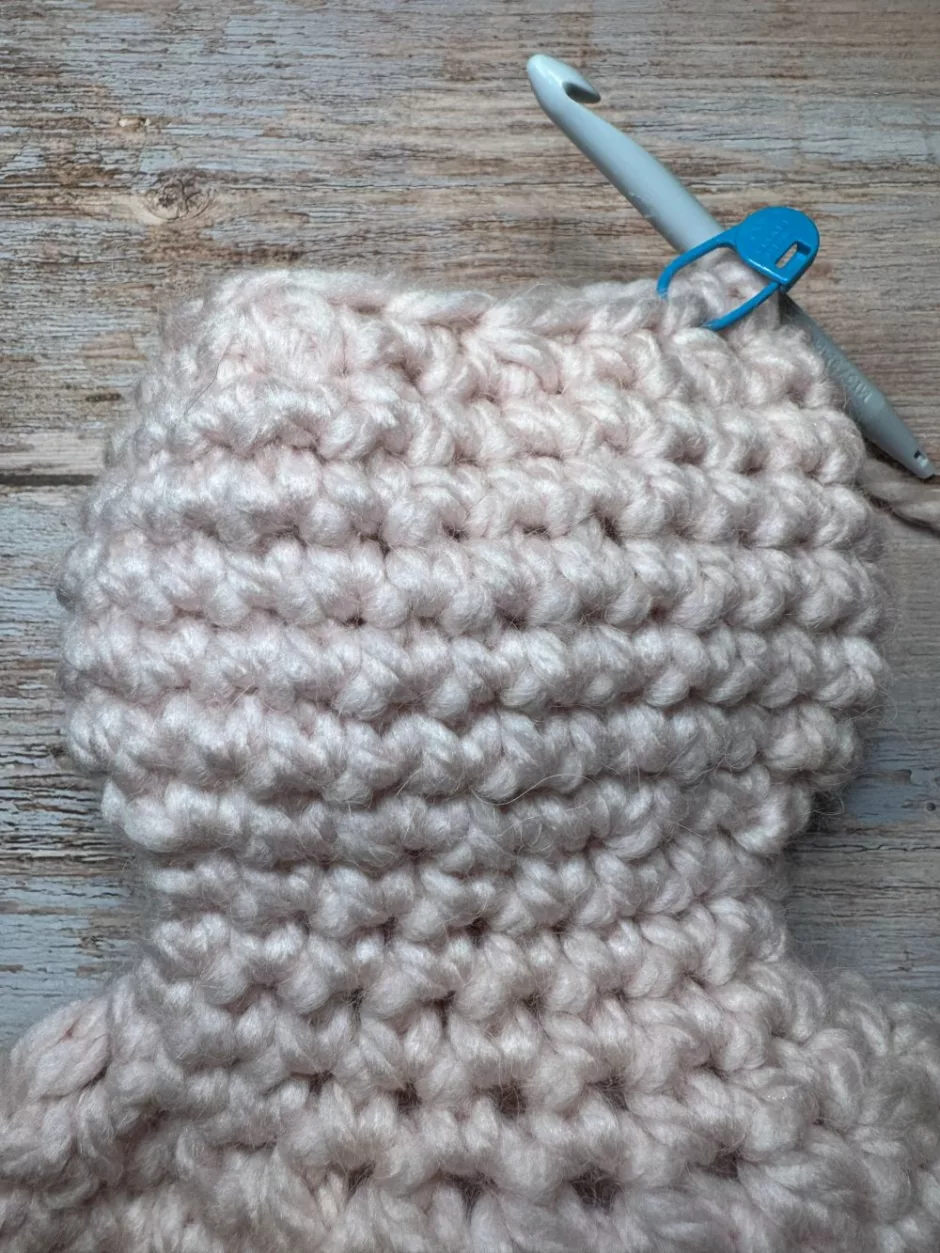
Single crochet another round.
Single crochet 2 together around, and work a single crochet in the last stitch. 9 stitches.
Cut yarn, leaving a long tail. Stuff the top of the head and sew it closed.
Crocheting the Ears
I had about 11 grams of yarn left for the ears so I tried to make them as long as I could with the yarn I had left. Here’s what I came up with.
Chain 4, then single crochet 3 across, and single crochet 3 again.
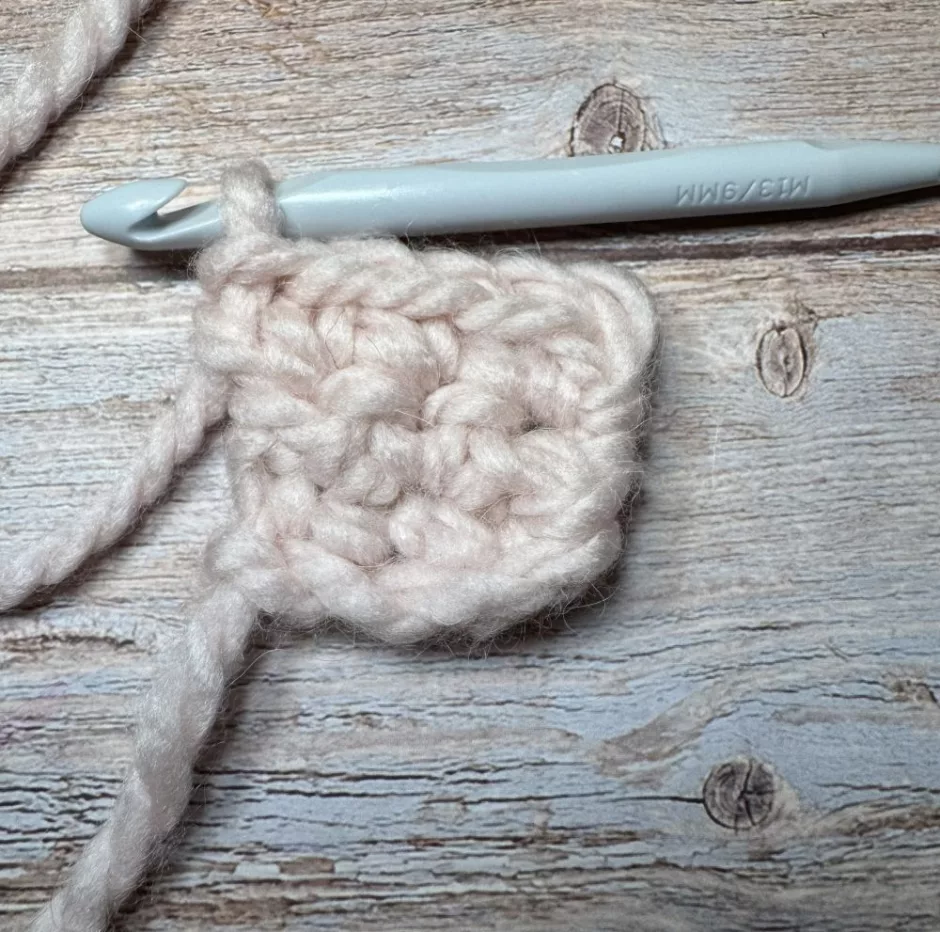
Single crochet 2 in the first stitch, single crochet 1, single crochet 2 in the last stitch. 5 stitches. Mark this side as the front with a stitch marker if desired.
Work 9 rows in single crochet and fasten off, leaving a tail for sewing.
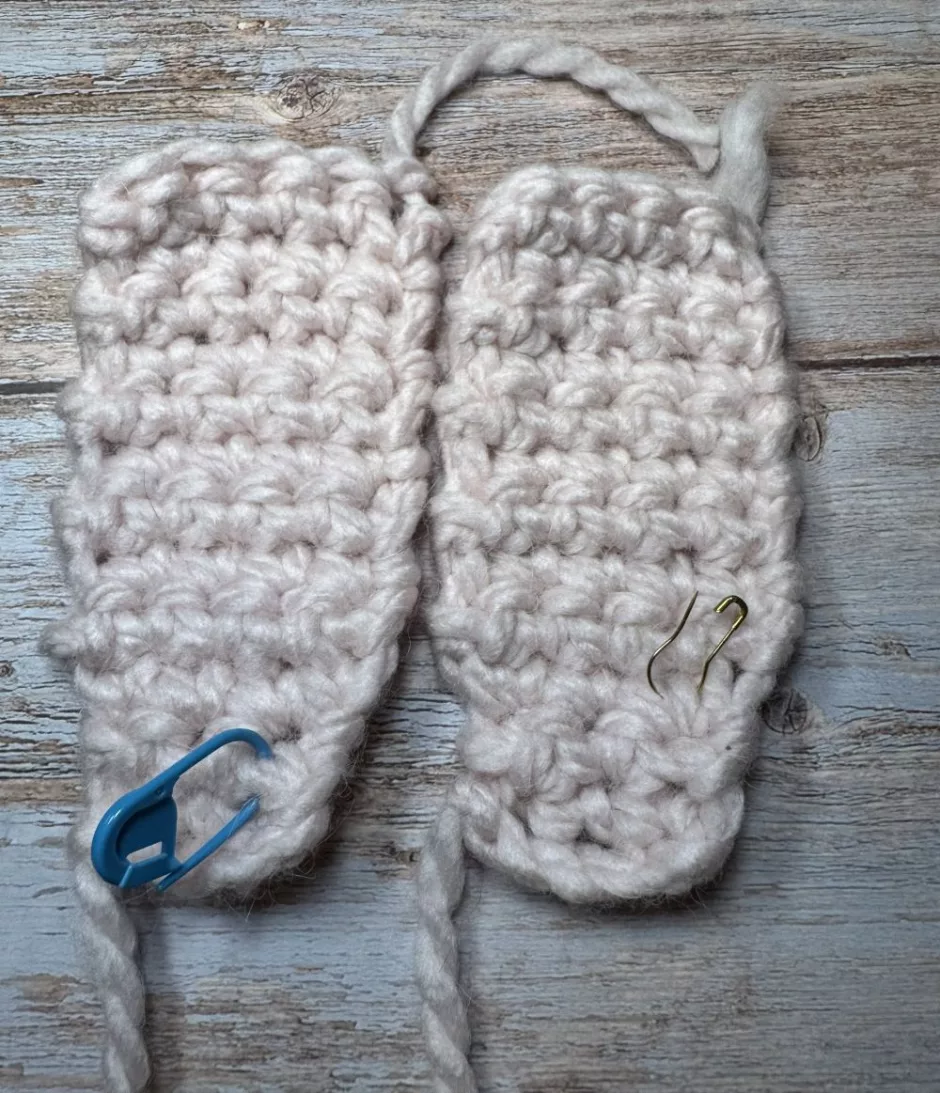
Make another ear the same way. I was so close to out of yarn I actually worked a slip stitch as the last stitch instead of a single crochet but when it’s sewn to the head you can’t tell.
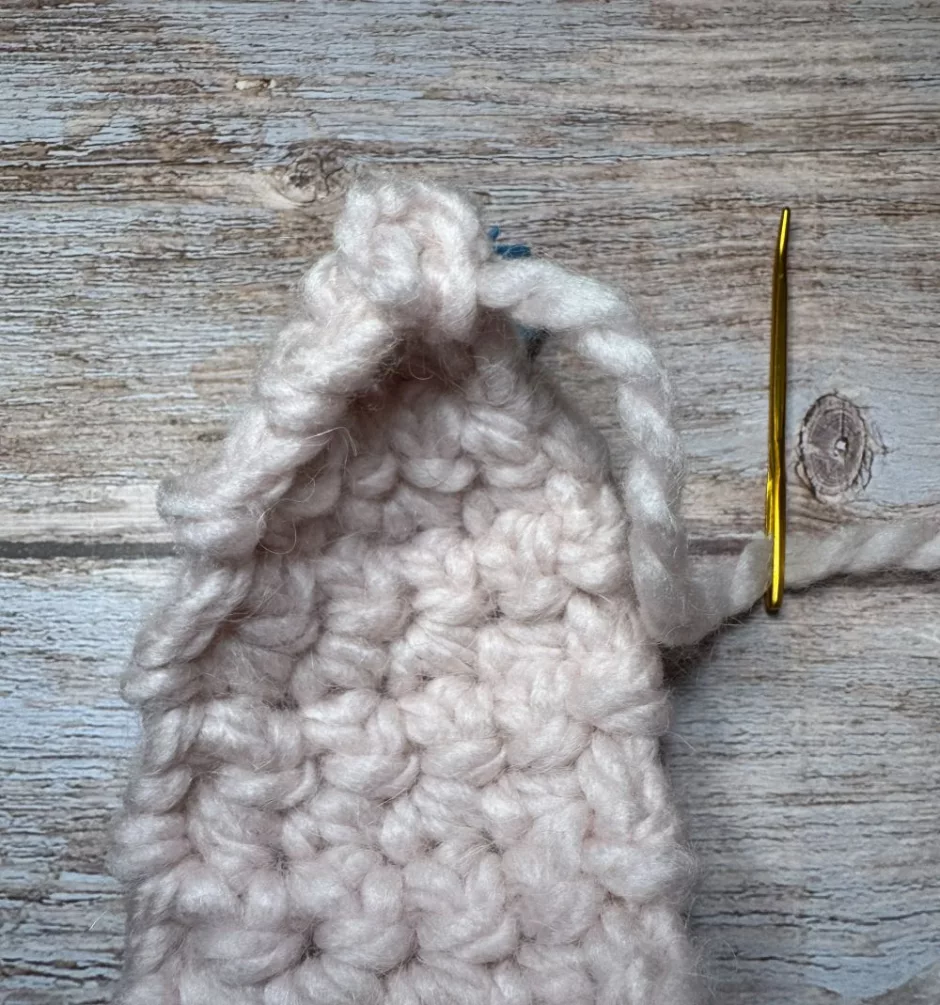
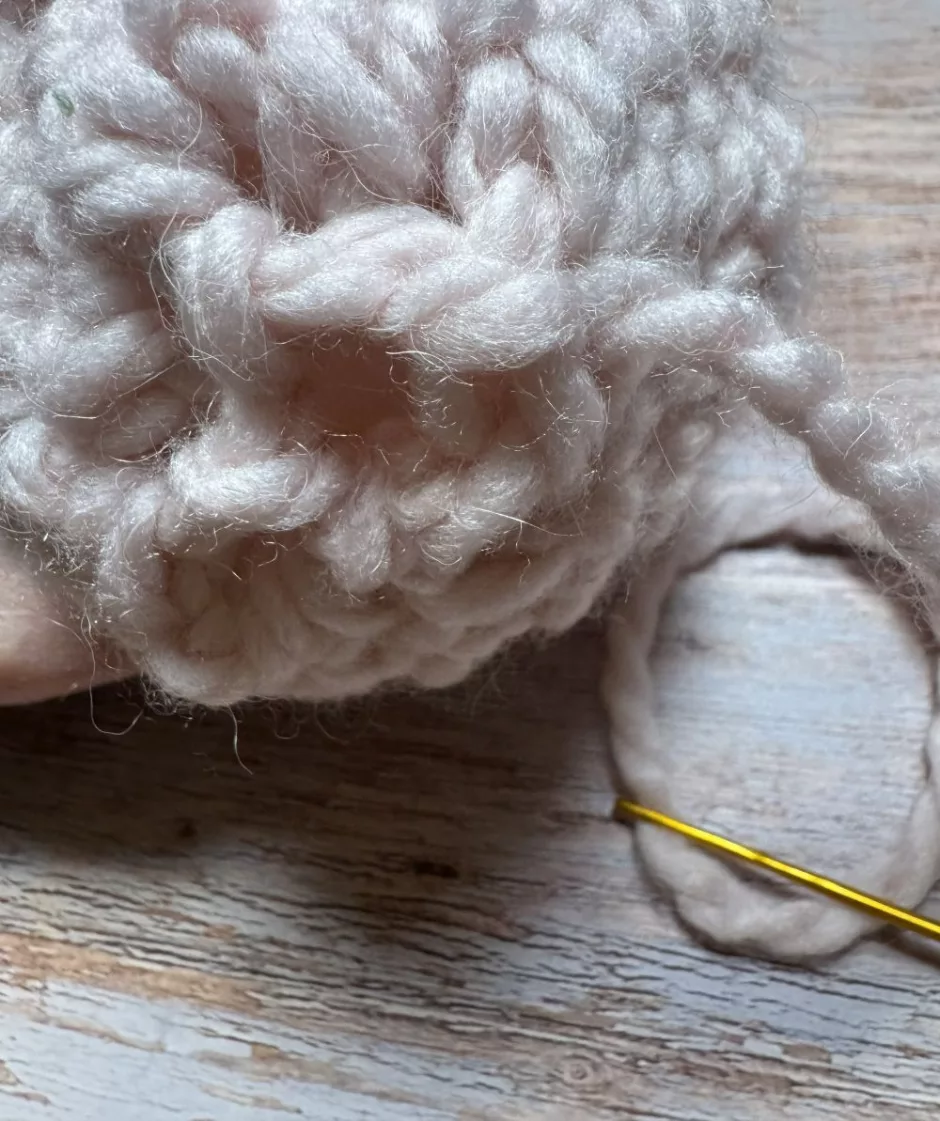
At the tips of the ears I sewed the beginning and the end of the chain together to give the ear more of a pointy look. Weave in the remaining ends.
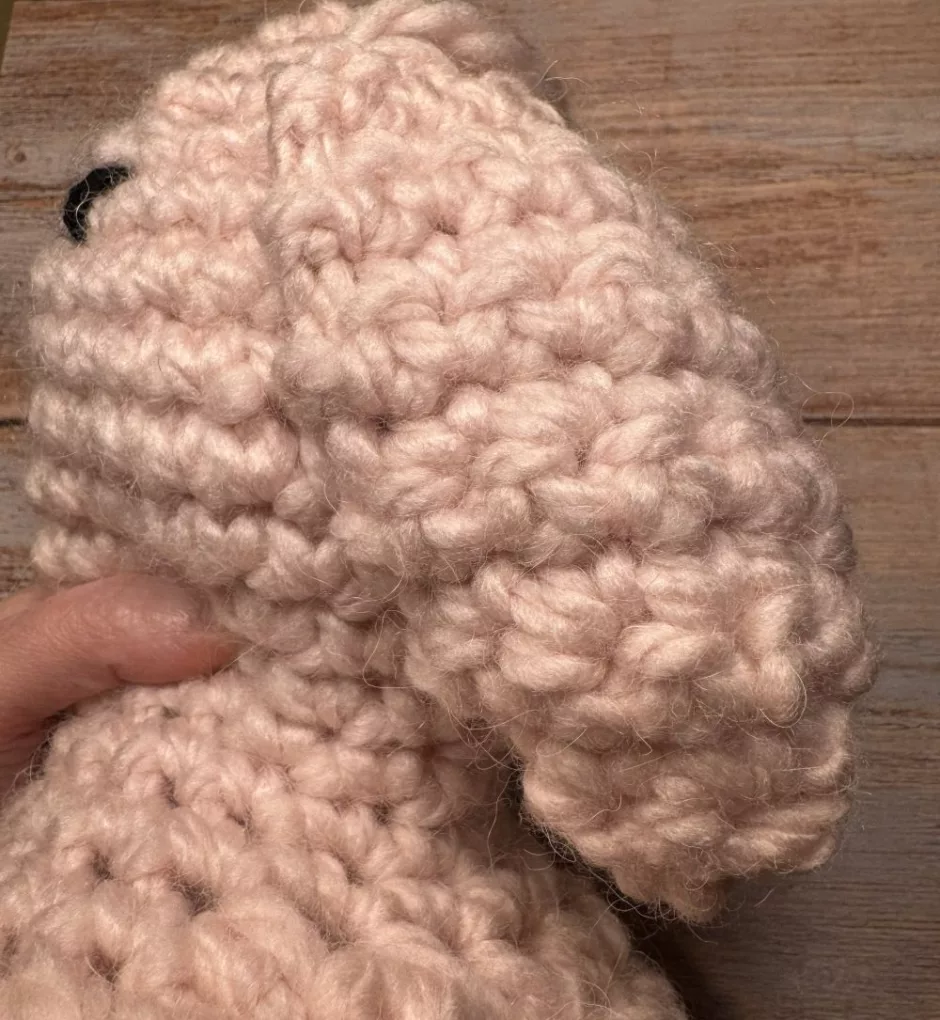
Sew the ears to the head, hiding any yarn ends in the body.
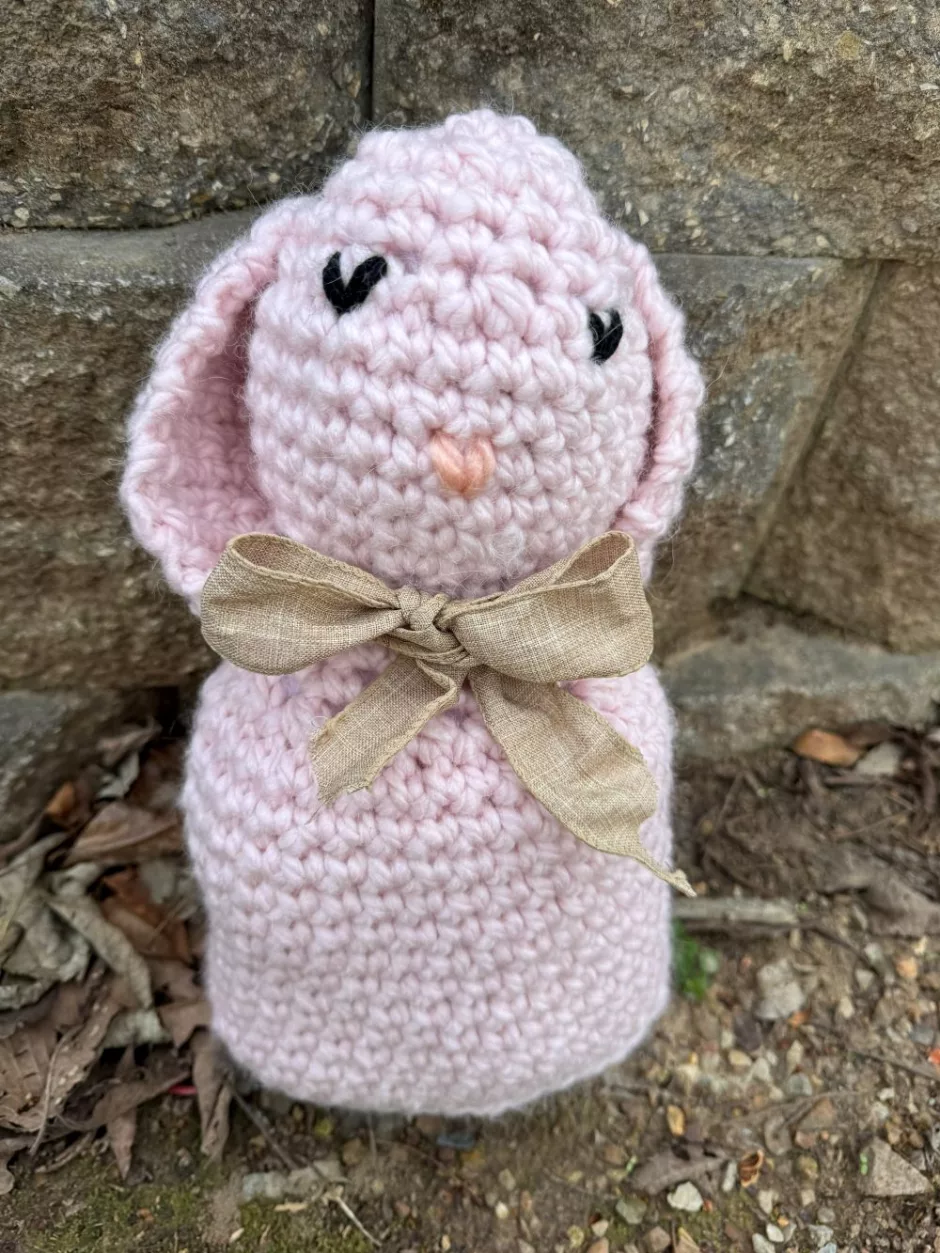
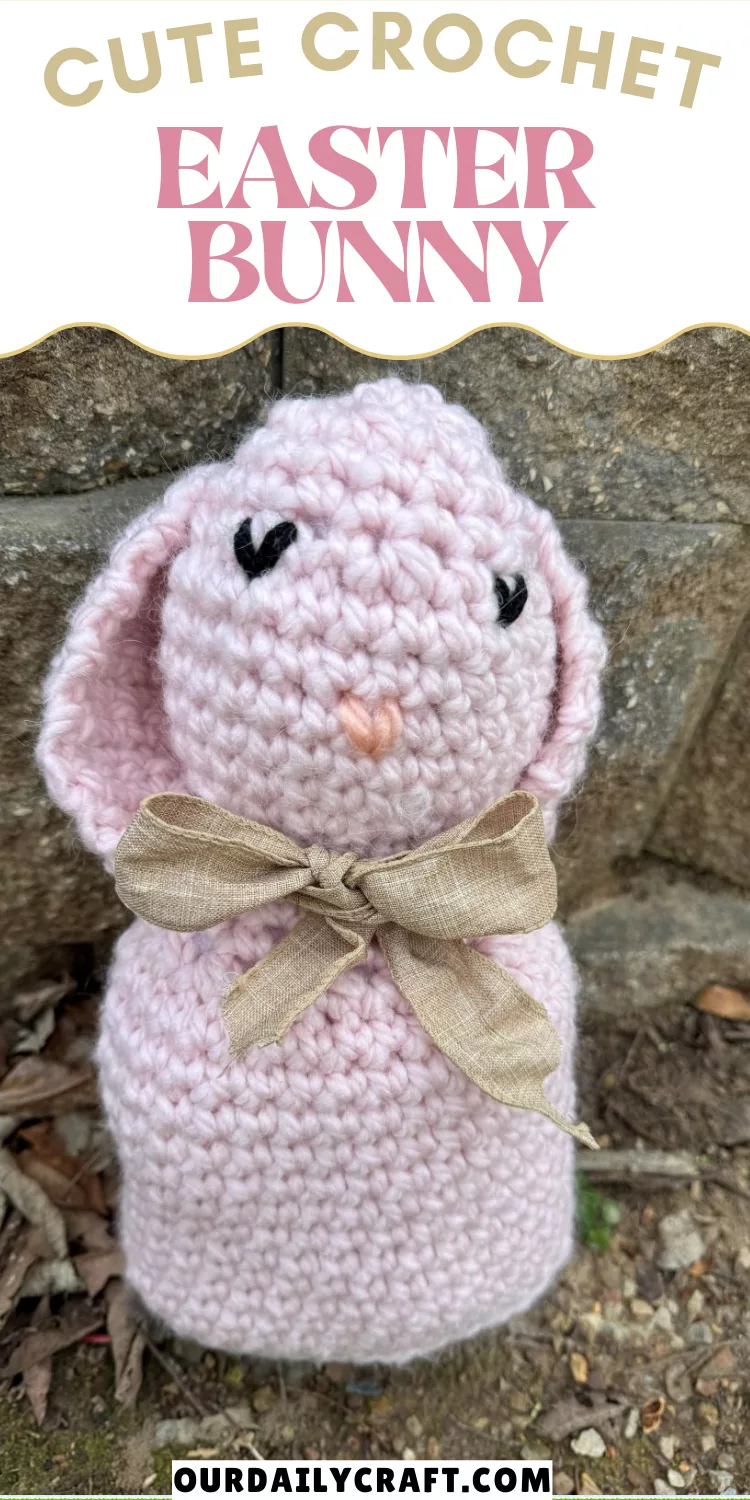
This crochet bunny was a lot of fun to make, and it’s super cute with a ribbon tied around its neck. You could also finger knit a scarf for it, or crochet a flower to put on it, or whatever other accessories you might like.
If you like this pattern, like it on Ravelry!

1 Comment
The bunny looks so cute. I will make it to give my friend.