Affiliate links may be included for your convenience. View our privacy and affiliates policy for details.
Sometimes when we knit or crochet a garment, the fit or feel doesn’t end up exactly as we’d like, so that’s the perfect time to add elastic to knit and crochet projects.
Why Add Elastic to Knit or Crochet Items?
The main reasons you might want to add elastic to a project is to stabilize part or the garment or to make ti fit better.
For example, if your sweater’s neckline sags a little, adding elastic to the back can help hold the stitches together better.
If you have a hat that’s a little too big, adding elastic to the bottom allows you to pull in the stitches a little bit for a better fit.
I really wanted to try to add elastic to a knitting project because I have this knit bra top (the My Little Secret crop top worked to a bra length) that has never fit as well as I would like.
But while I had the elastic out I also decided to try it on a pair of crochet shorts where the waistband isn’t a perfect fit.
What Kind of Elastic?
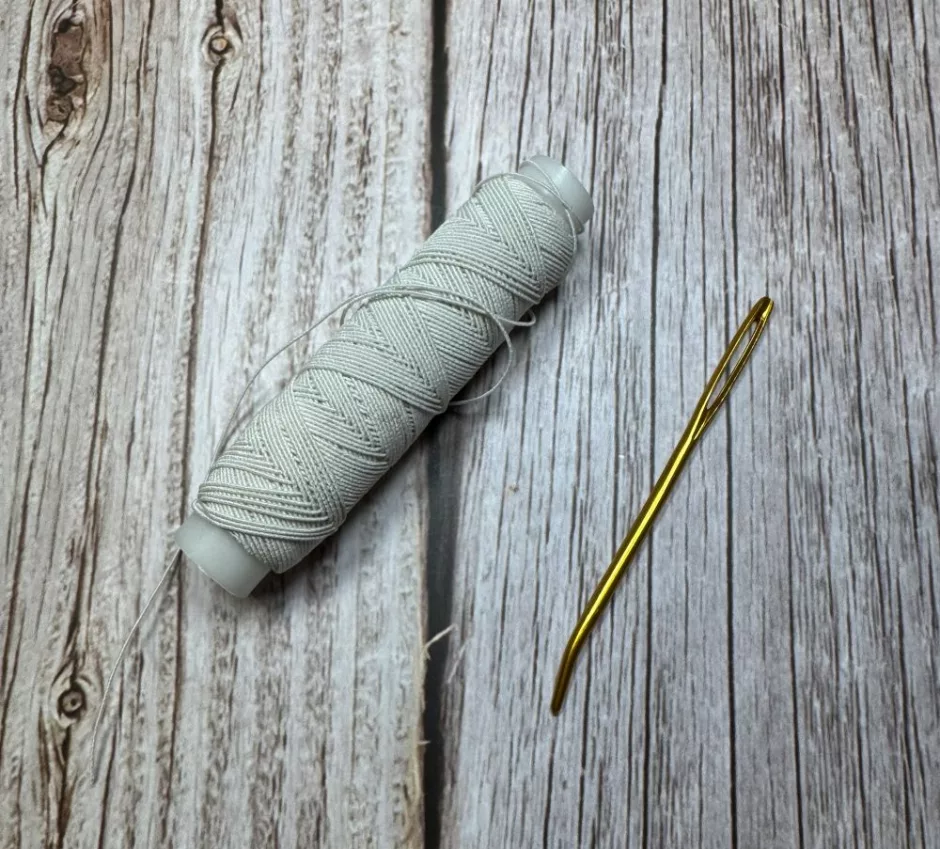
I have this rather old spool of elastic thread that is meant to be for sewing, for instance if you’re gathering fabric or adding stretch to a seam or doing shirring.
I’ve never really done any of those things and I’m not sure why this is in my collection of sewing stuff, but it’s perfect to add elastic to knit and crochet projects.
In addition to the elastic itself, all you need to complete this project is a large-eyed sewing needle. I used my favorite hooked end yarn needle.
How to Add Elastic to Knit
Let’s start with knitting and we’ll cover crochet below, but the process is really the same.
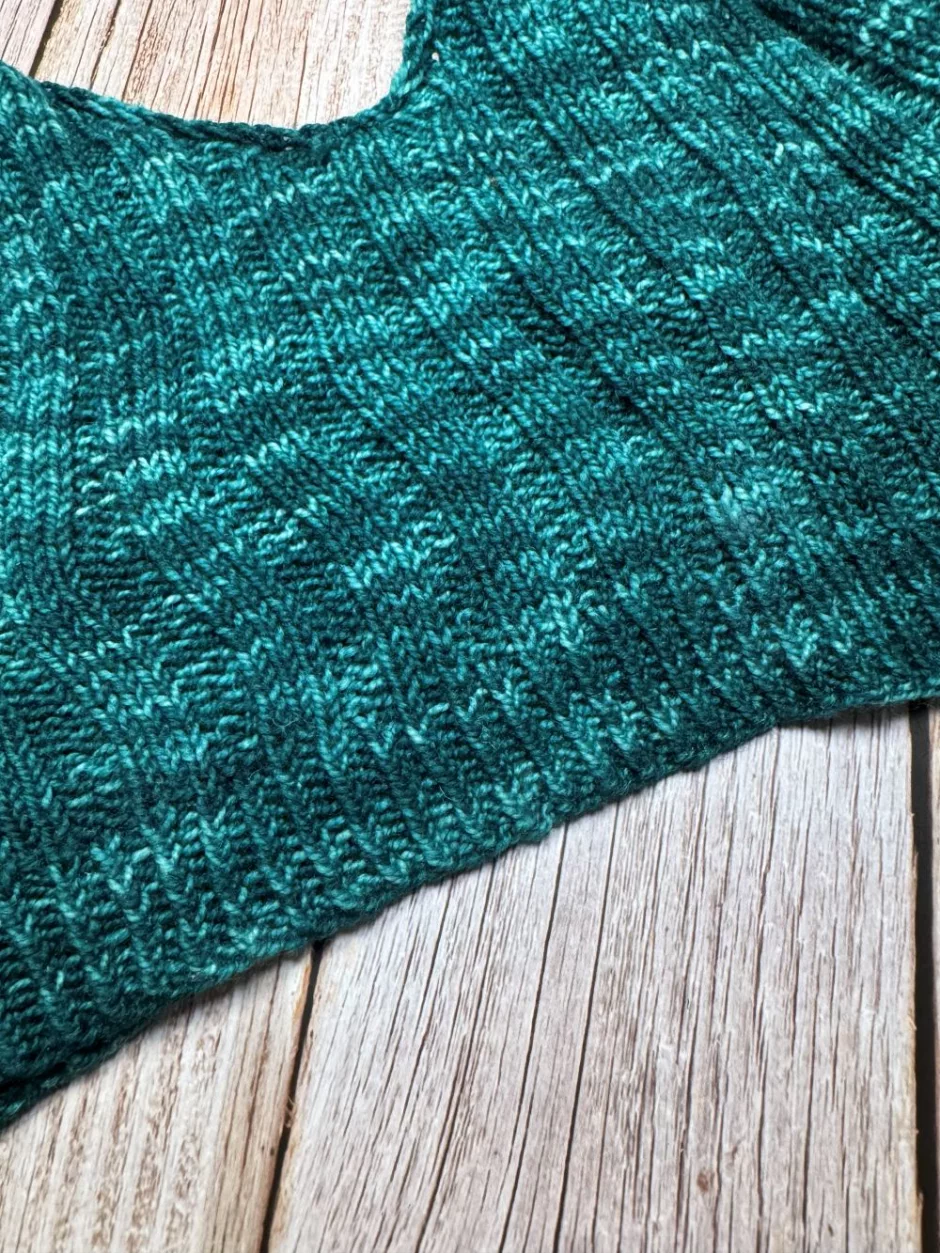
Here I roughly wrapped the elastic around my body about where the hem of the bra top falls and started with that length of elastic. It’s a good idea to start with more than you think you will need so you can have one continuous piece all around the garment.
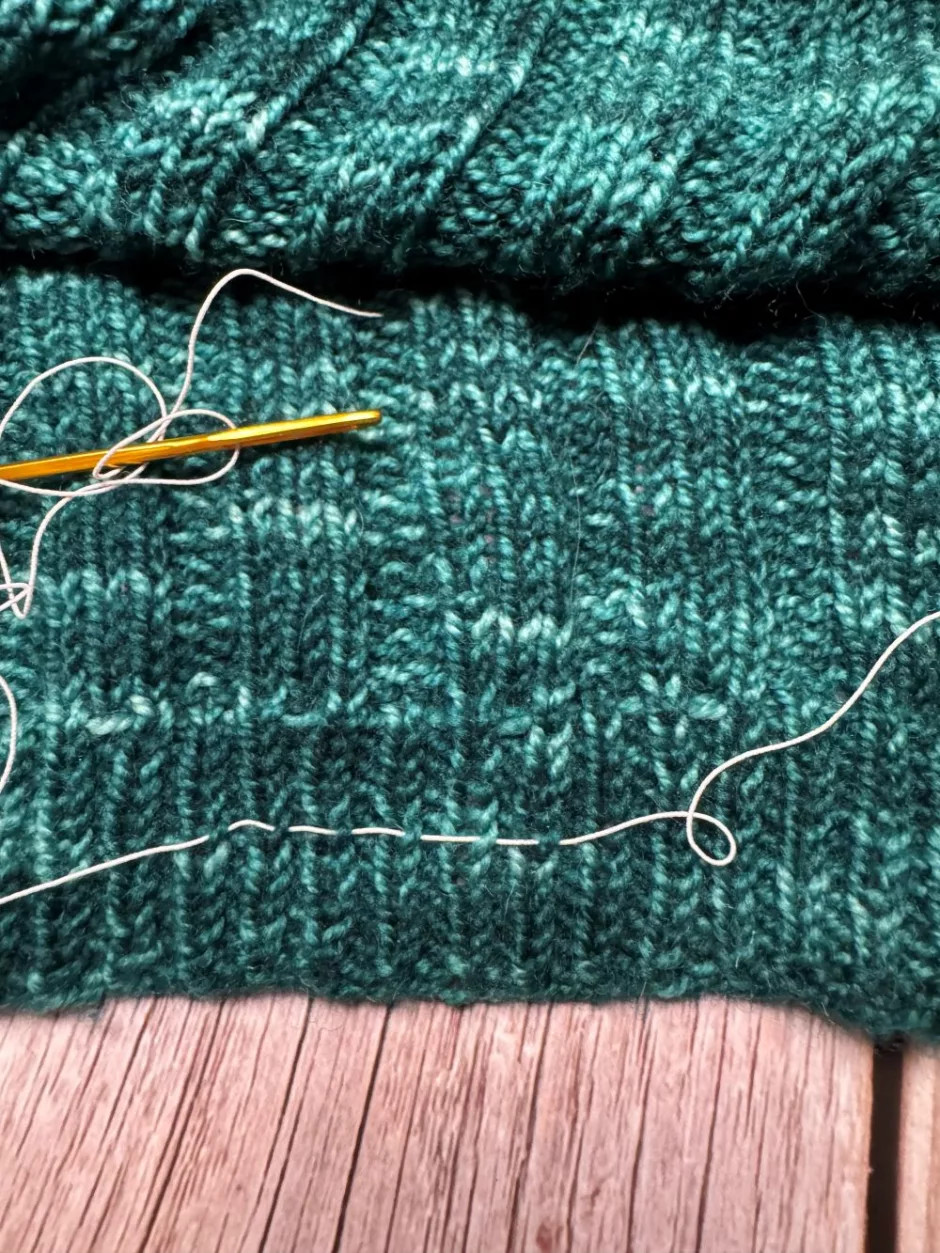
Thread the elastic on the needle and start running it through the stitches on the back of the work. I went through the right leg of each knit stitch on the inside of the top, about halfway down the ribbing. You can also put in more than one strand if you need more stability.
I didn’t tie a knot or anything, just left the end hanging out while I worked my way around.

When I was done I gave the elastic a tug to tighten up the ribbing a bit and then tied the ends together. Then I smoothed it out so the fabric would lie flatter.
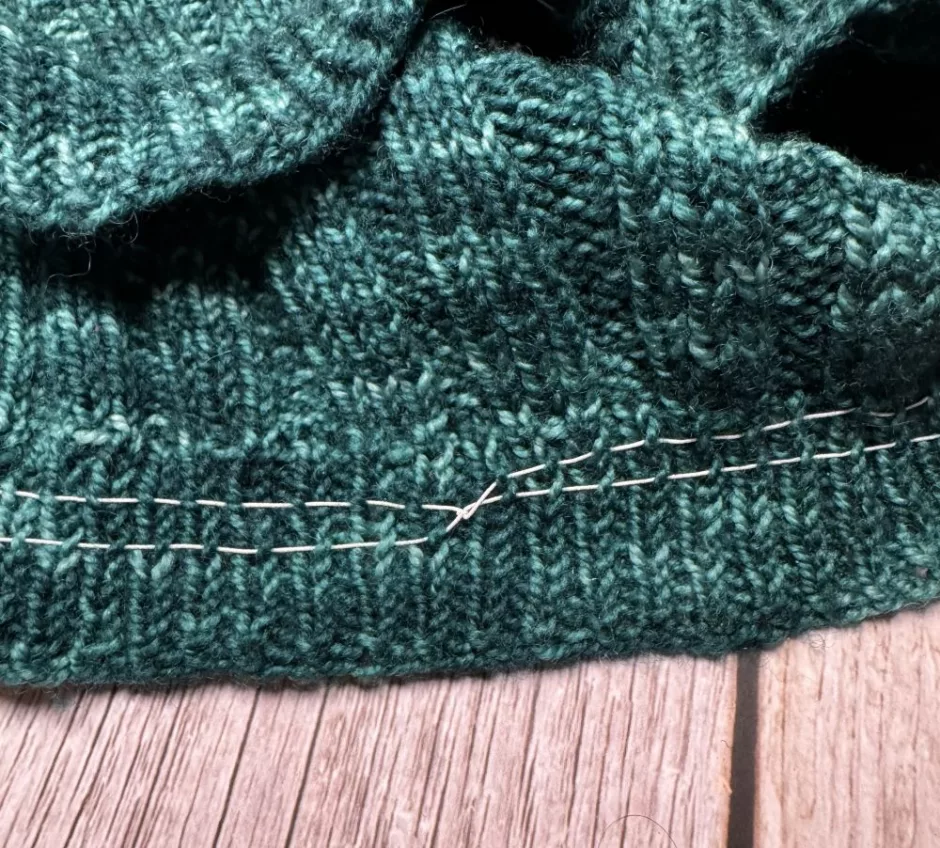
You can weave the ends into the fabric for extra stability.
Now when I wear this it feels like I’m getting more support and a better fit, and I definitely will wear it more because it feels the way I expected it to. But I also feel like I need to adjust the elastic every time I wear it, too, so weaving in the ends didn’t really matter because they are loose again now.
I can’t really feel the elastic when I wear it but if you’re sensitive to strings you might not like having the elastic unsecured in the back.
Adding Elastic to Crochet Projects
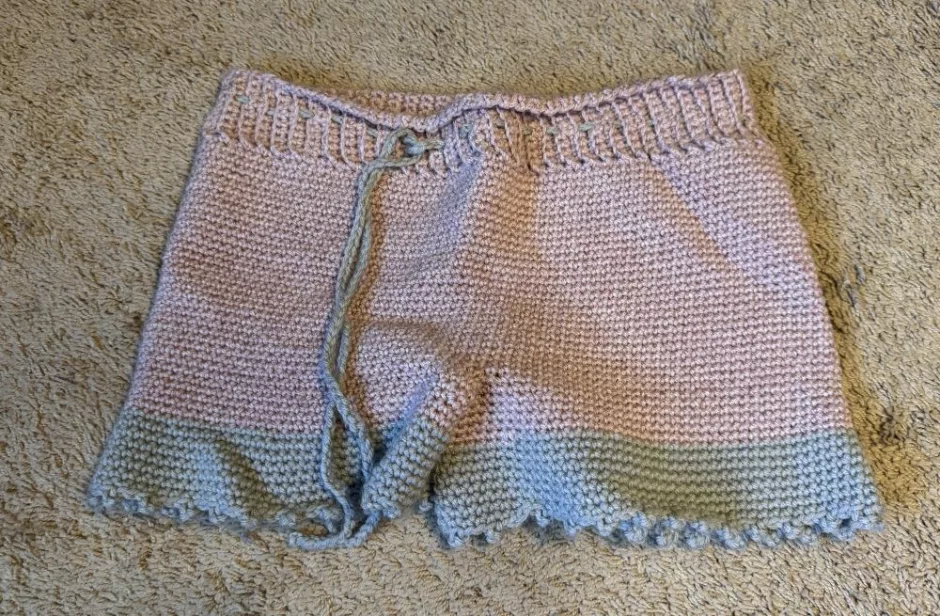
The same thing can be done to add elastic to crochet projects that need a little reinforcement. These shorts have a waistband that’s probably a little bigger than it should be, and even with the addition of a tie they feel like they get saggy.
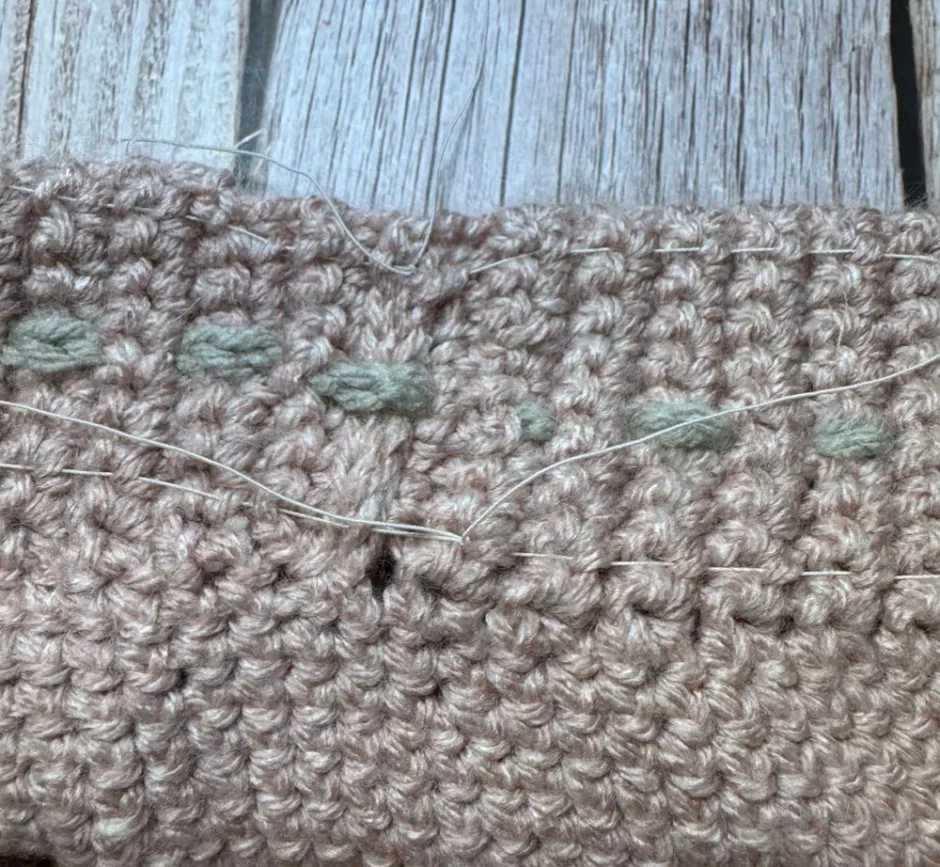
Here I added two lines of elastic, one at the top and one at the bottom of the waistband. Again I just went through one side of a stitch all the way around. I didn’t tighten them up very much because I wanted to see how they feel on but the process is the same.
I haven’t had a chance to wear these for a long time yet but I think the elastic will help hold everything where it needs to be, and I can always tighten them up along with the tie at the waistband to get the kind of fit I want.
Adding elastic to projects can’t solve every fit problem, but if you have a garment you wish were just a little more snug or had a little more support, this is a great thing to try.