Affiliate links may be included for your convenience. View our privacy and affiliates policy for details.
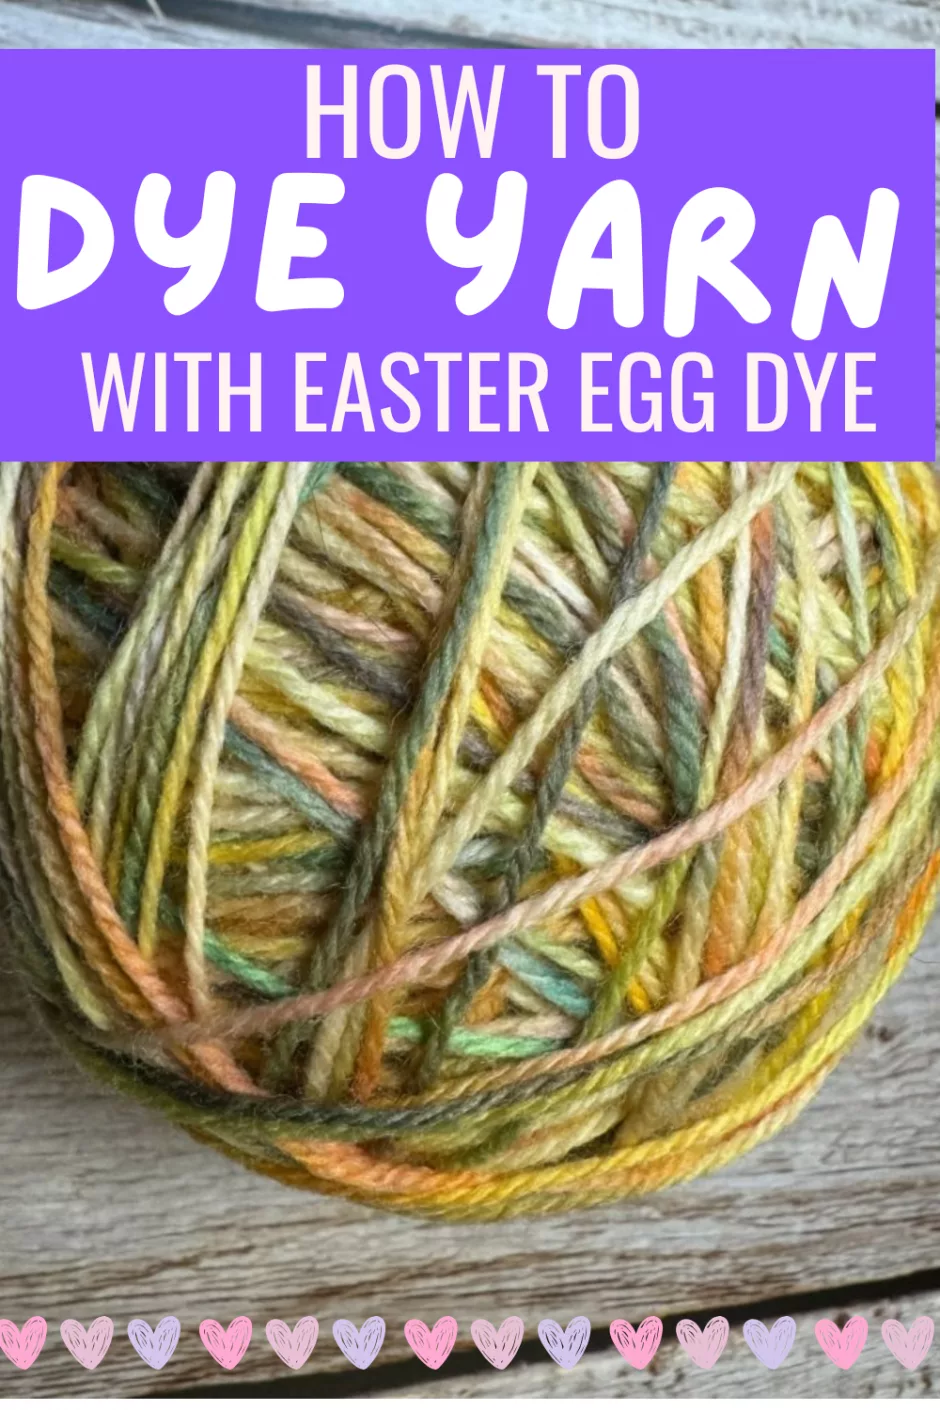
When you’re done dyeing the Easter eggs, if you have some dye left over, a great use for is to dye yarn with Easter egg dye. This is a really easy process and a great way to practice dyeing yarn without any special equipment.
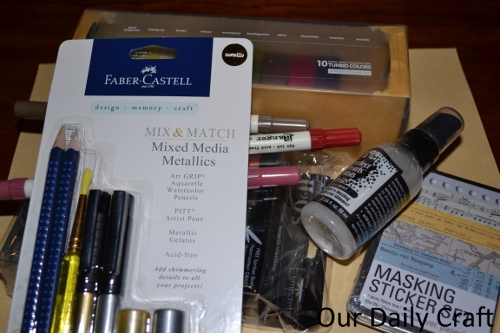
Materials
The easiest yarn to dye at home without special equipment or dyes is 100 percent wool yarn in a light color. I think this was Knit Picks Swish Fingering, which is a 100 percent wool sock yarn, but it was weirdly not 100 grams (more like 68) but was still tied up like an unused hank in my stash when I found it so I really don’t know.
You’ll also need your Easter egg dye, a work surface that can get wet (I used the lid from a big plastic storage box, with a layer of newspaper on top of that and a layer of plastic wrap on top of that to hold the dye where it could get on the yarn but also limit how much dye got on my lid) and a bucket or your sink, but I like using a bucket.
An old towel and a drying rack are also really helpful.
How to Dye Yarn with Easter Egg Dye
If needed, prepare your yarn so that it is a hank. It’s basically the backward process of turning a hank into a ball, which you can do with a swift or a couple of chairs if you don’t have a swift. Take short lengths of another yarn (preferably white/light) and tie the hank loosely in a few places so it won’t tangle during the dyeing process.
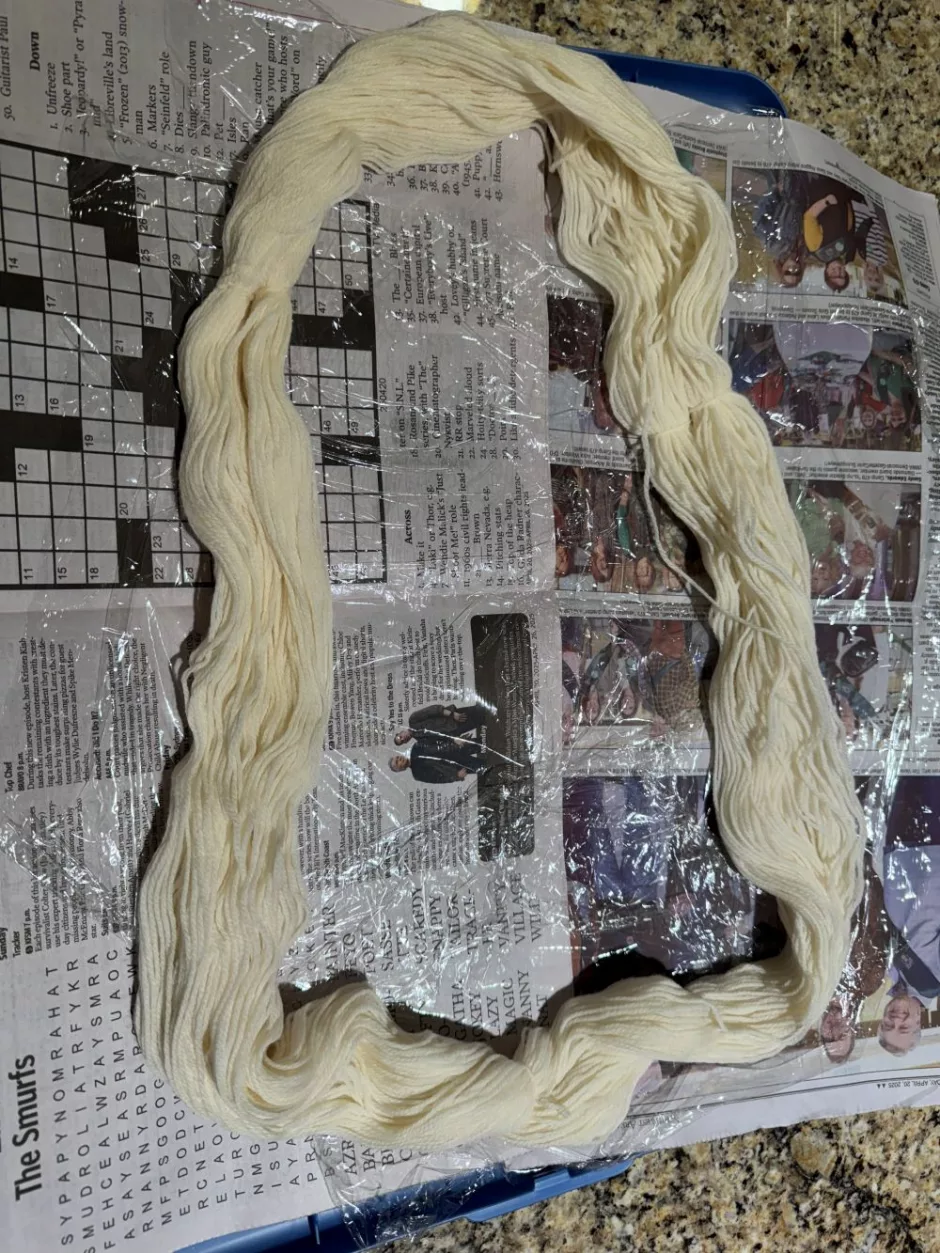
Prepare your work surface and place the hank all spread out on your surface.
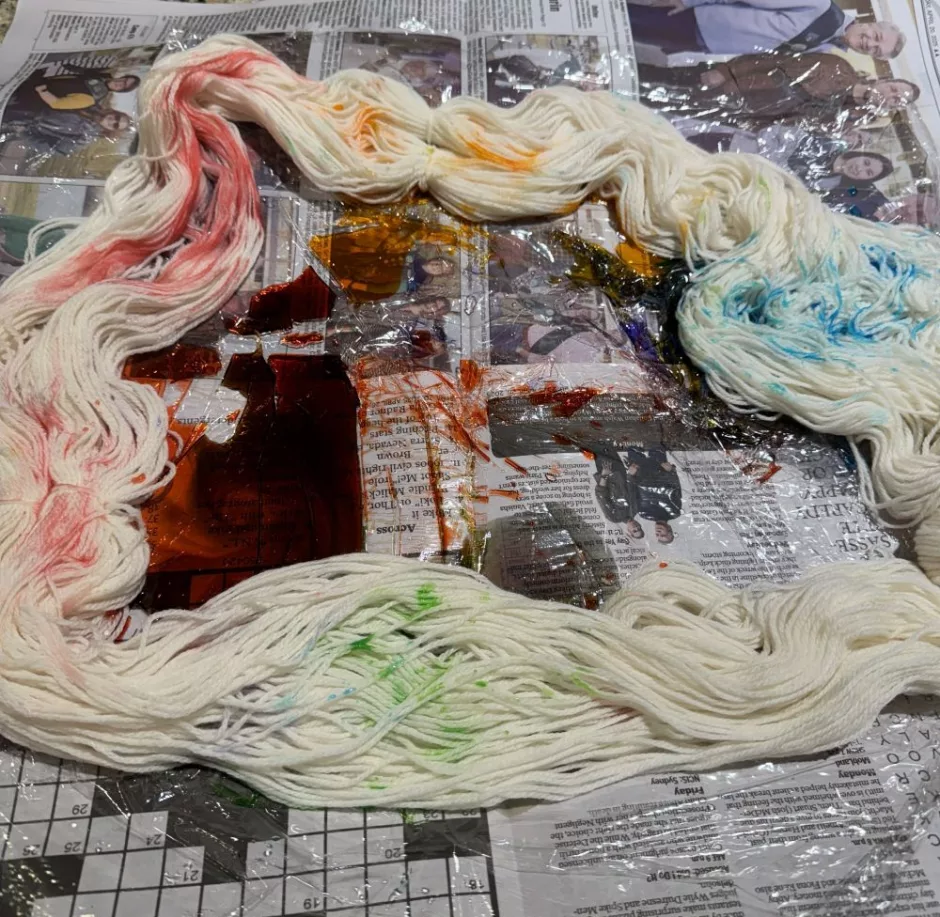
Start applying dye. I started really gently trying to plan out where different colors would go.
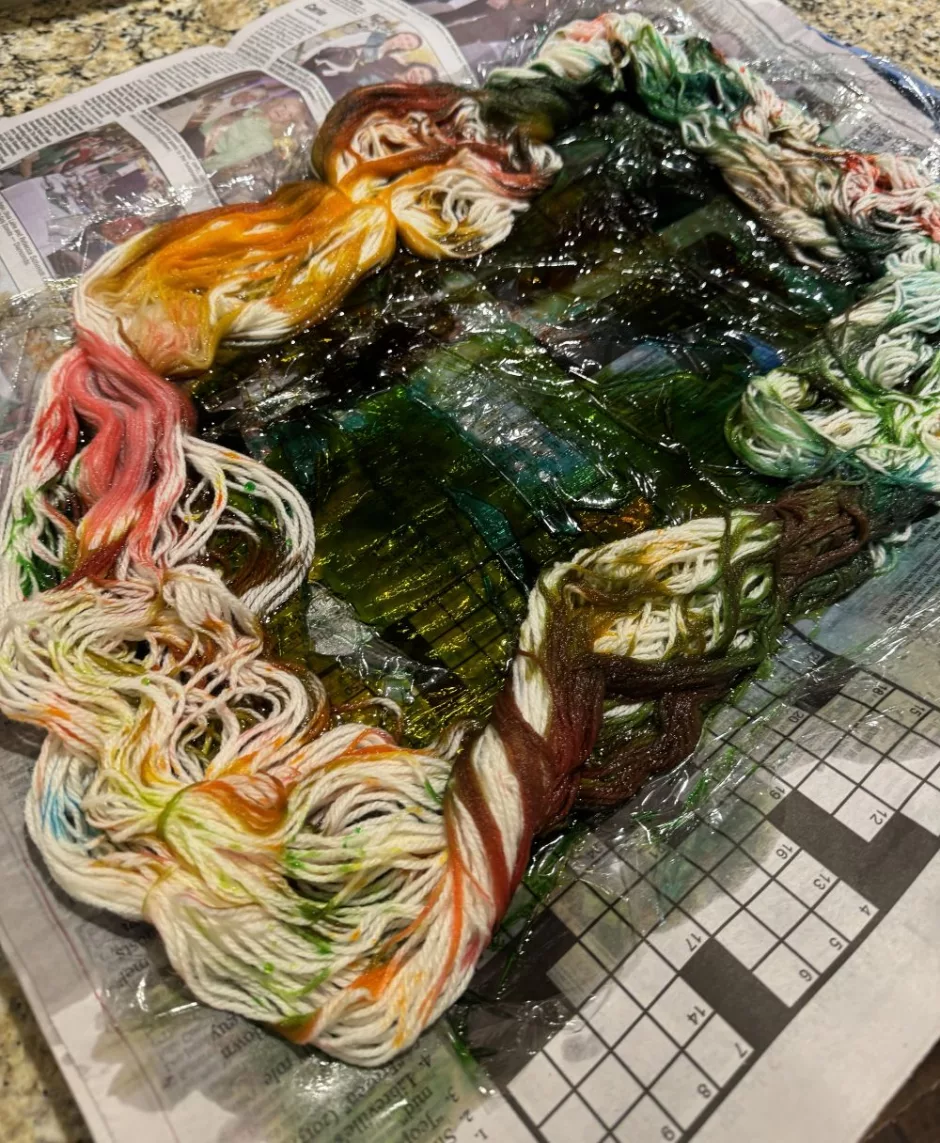
Eventually I just spilled dye all over.
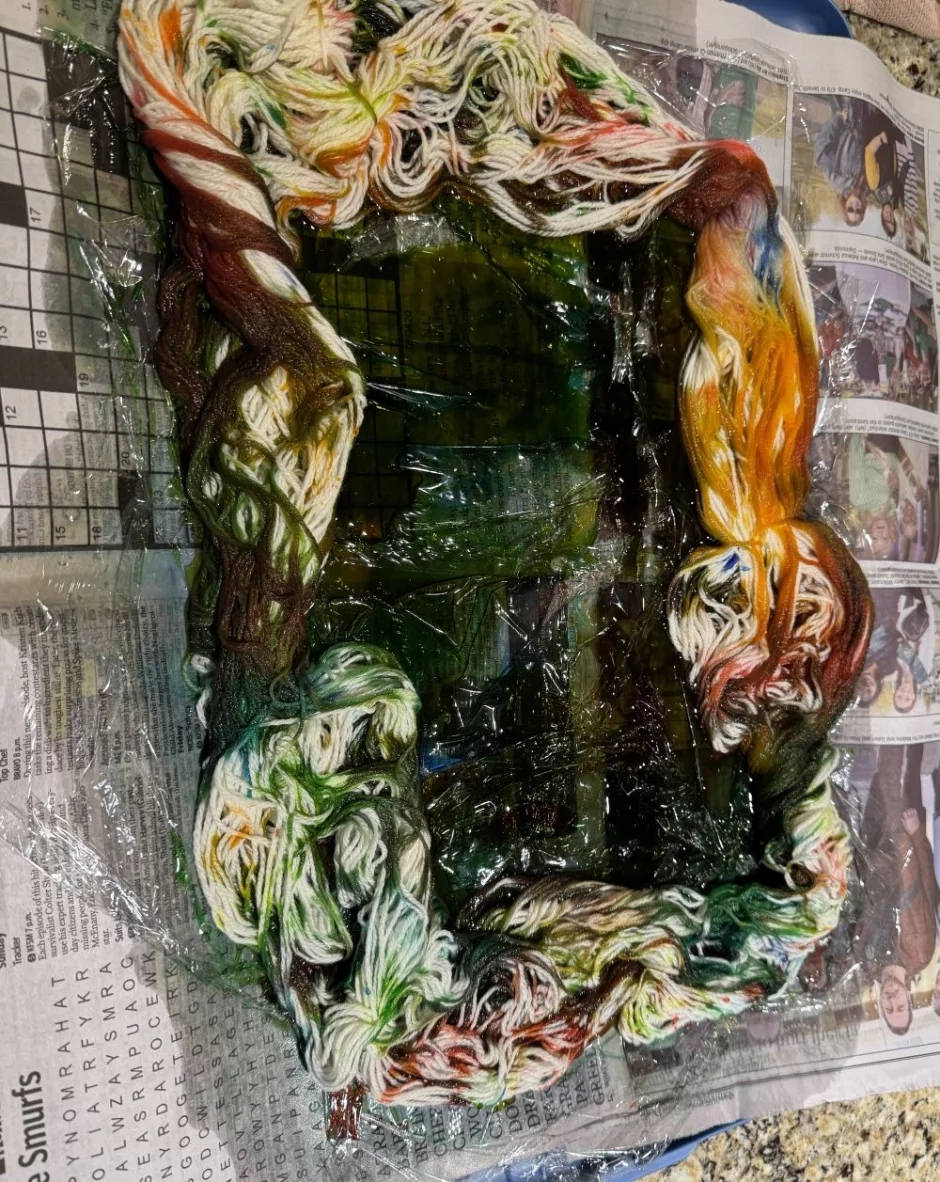
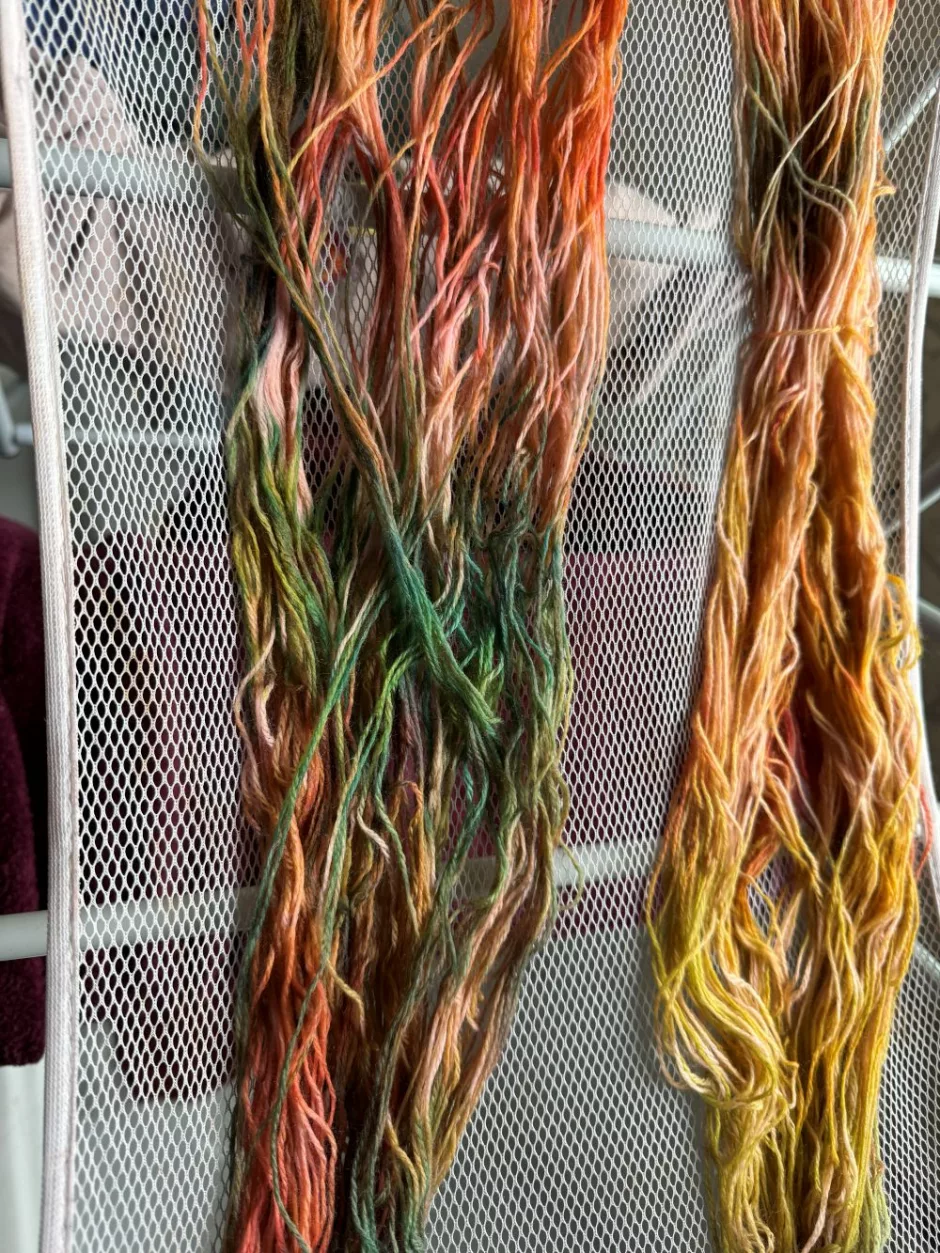
I didn’t totally cover the yarn but this was how it looked when I was out of dye.
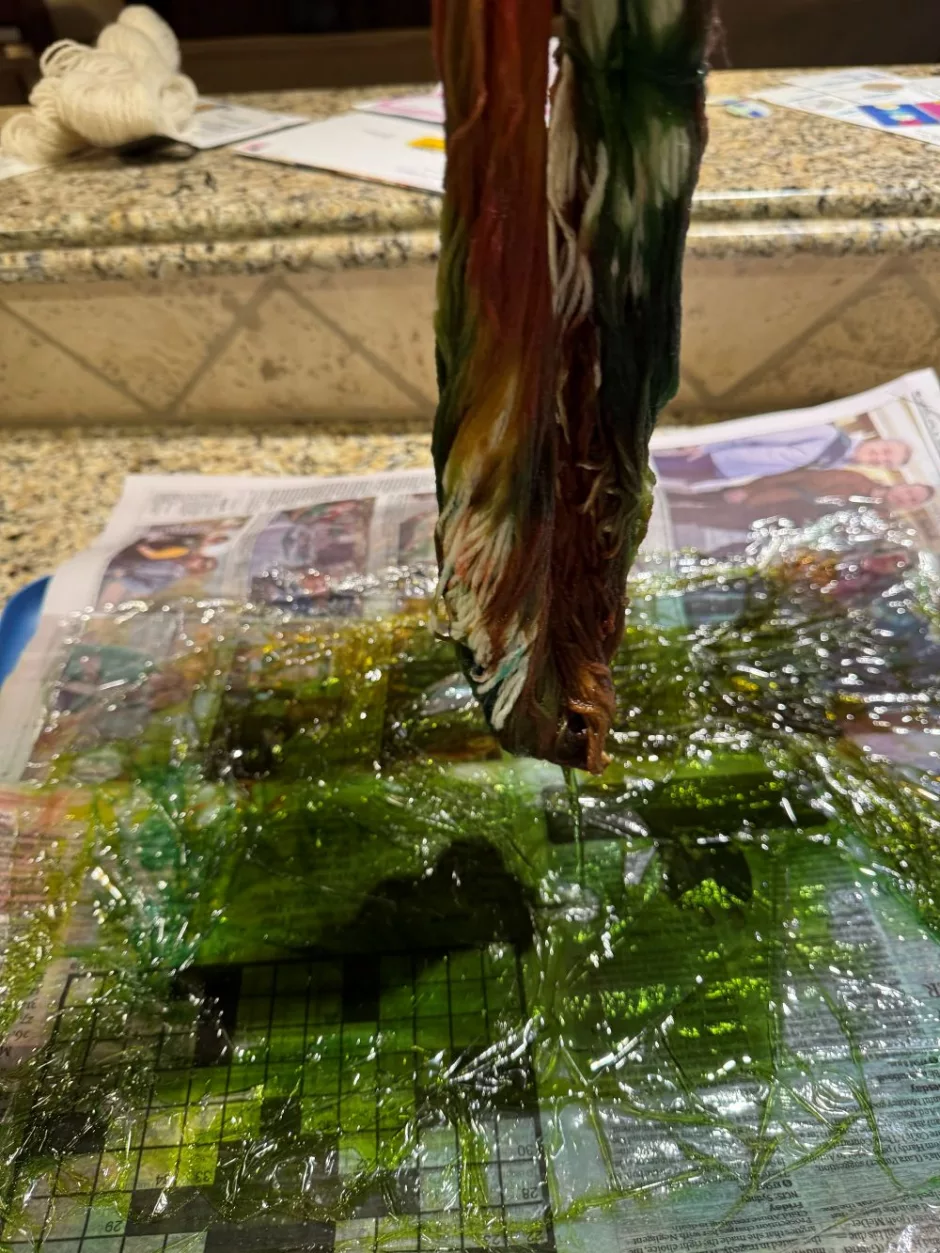
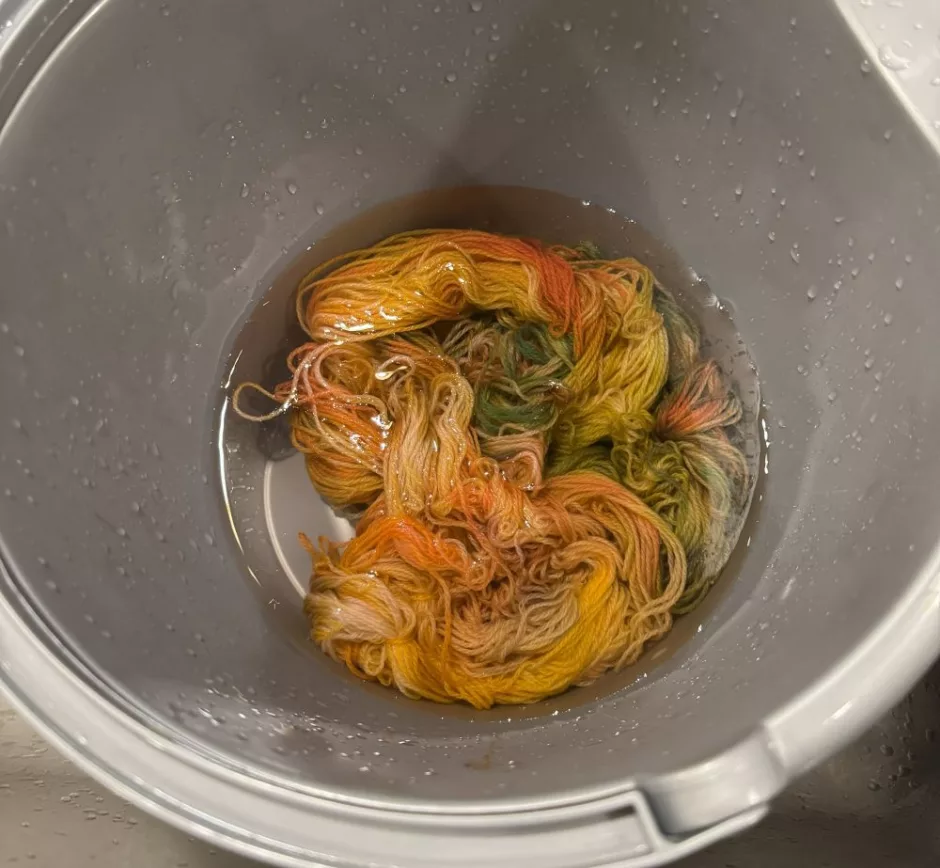
Pull the yarn out of the dye mess and allow it to drain a bit, then put it in a bucket.
Finishing Your Easter Egg Dye Yarn
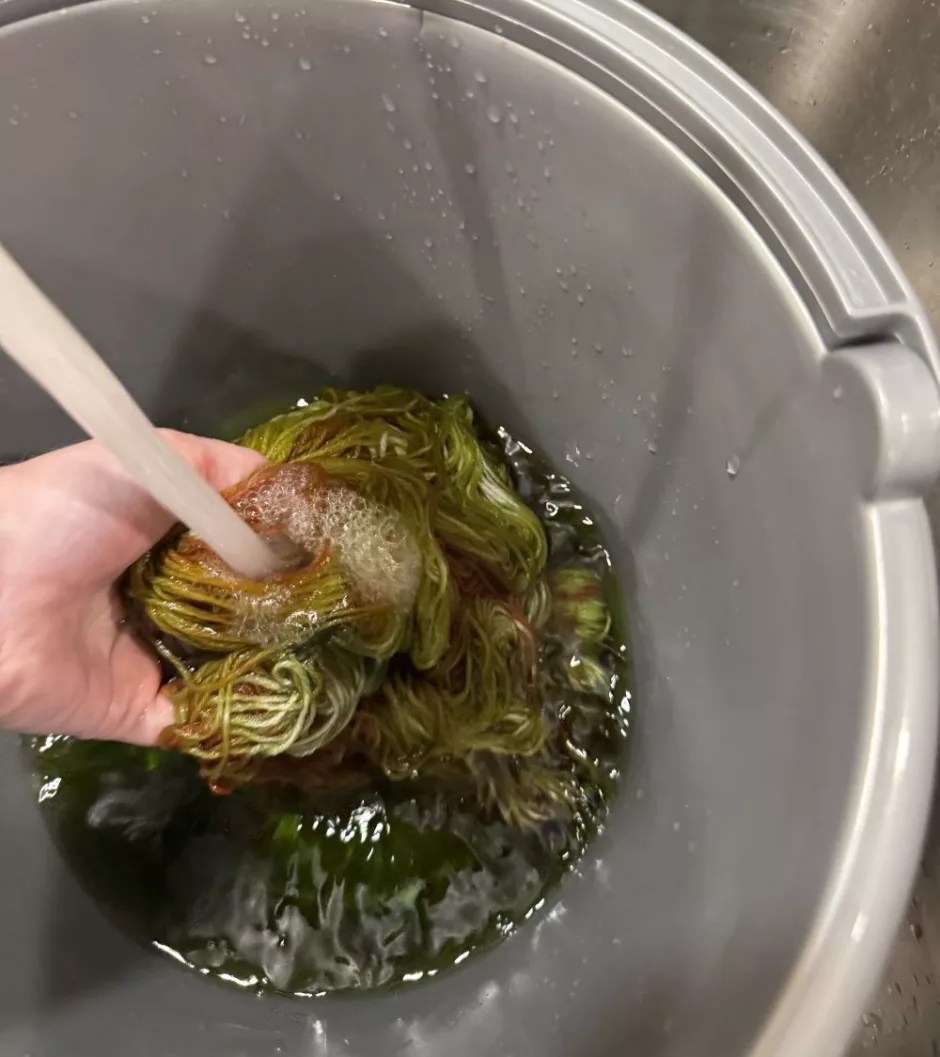
Rinse the yarn under cool water to begin to remove the excess dye. I did this in a bucket in my kitchen sink.
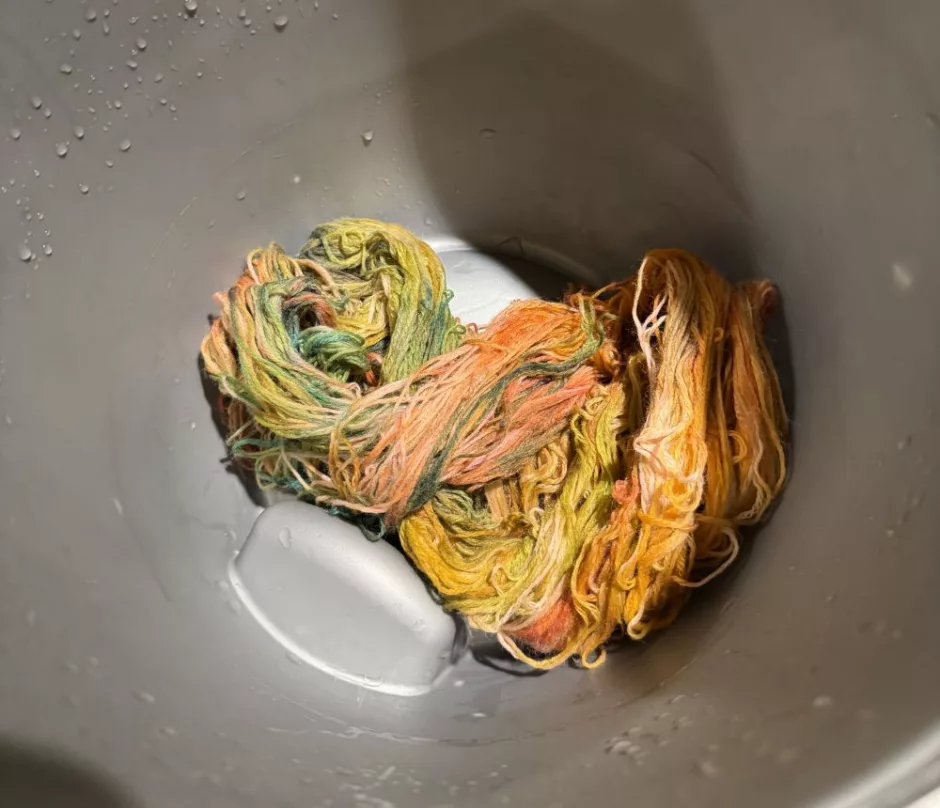
Once you’ve done the initial rinse (or several) you can also just put the yarn in a bucket of water and let it sit for a few minutes. Stir gently, drain, rinse and fill the bucket again.
The goal is to get to clear water when you rinse or soak the yarn. This is a process and will take longer than the dyeing itself. Be patient and persistent because you don’t want the dye coming off on you while you knit or use the yarn.
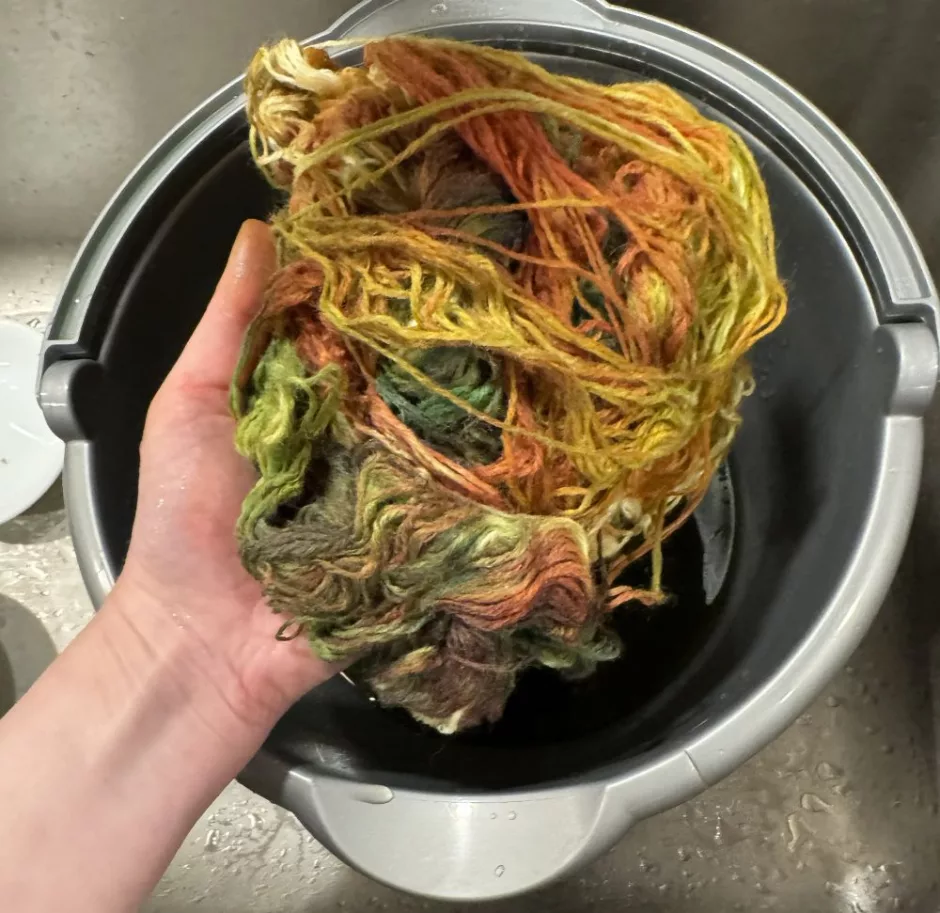
When the yarn water is clear, empty the water from the bucket. Take the yarn out and rearrange it as needed to make it look like a hank again. You can gently squeeze out a little more water at this point.
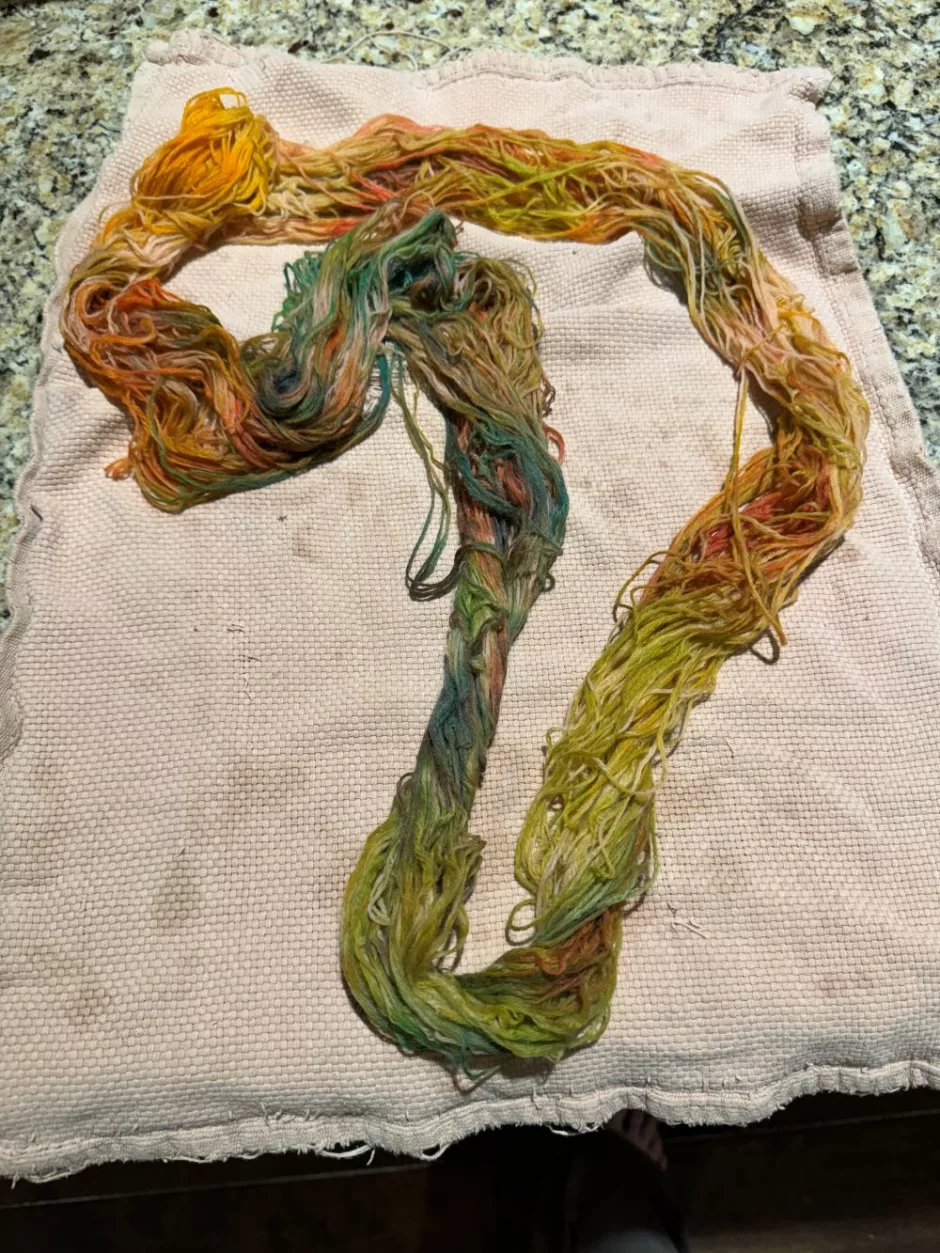
Lay out an old towel and put the hank on it.
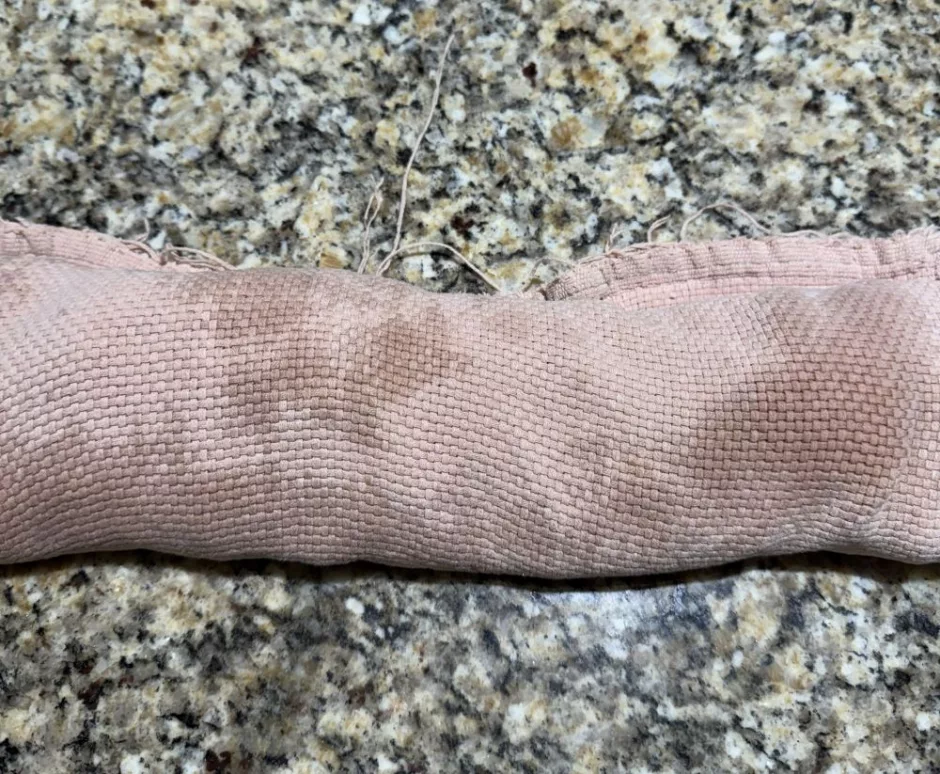
Roll it up a squeeze gently to remove more water.
Lay your hank on a drying rack (or another towel, but a dry one) and allow it to dry thoroughly.
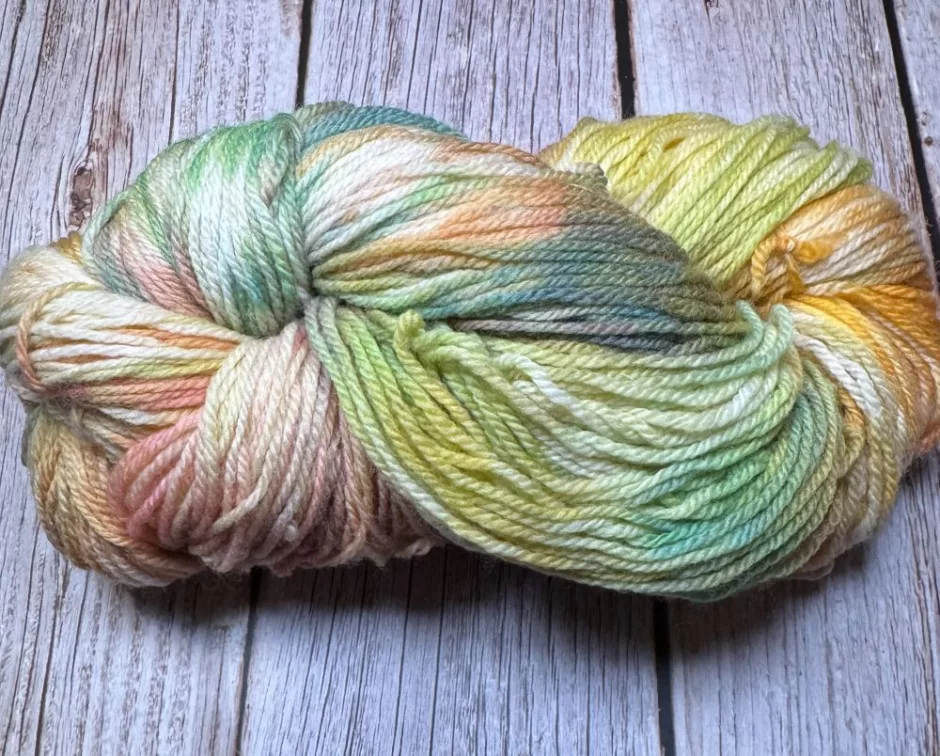
Fold it back into a twist for storage.
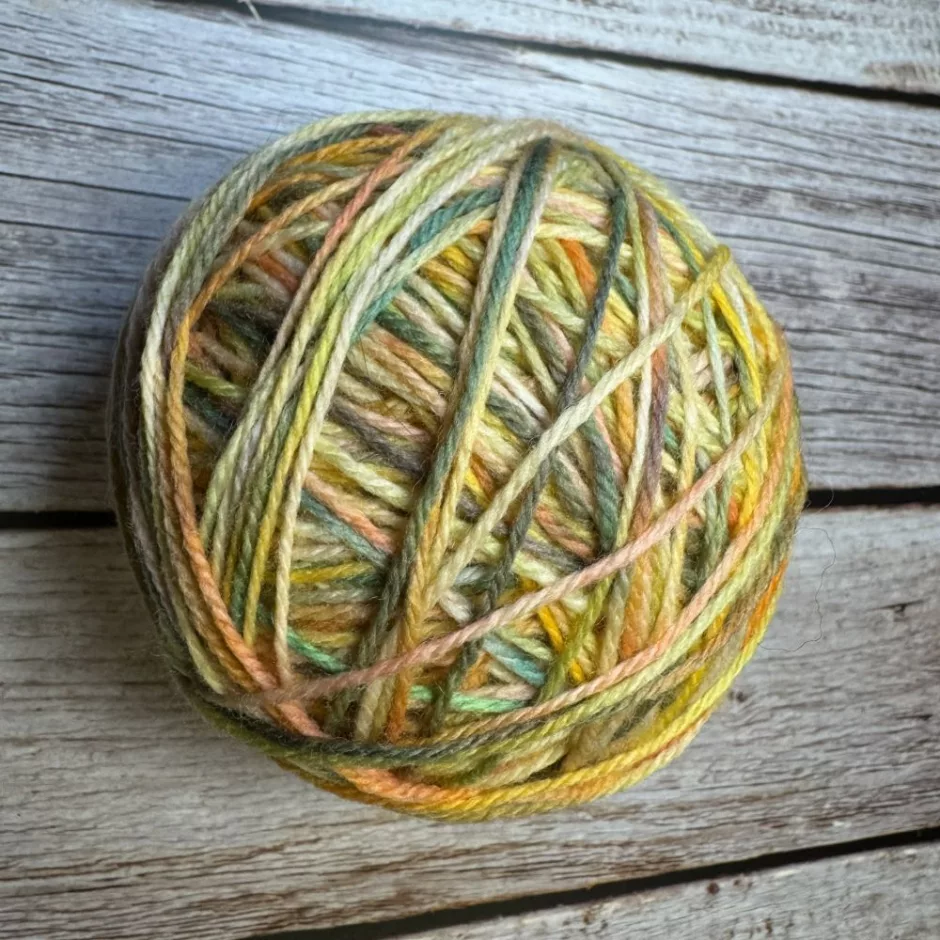
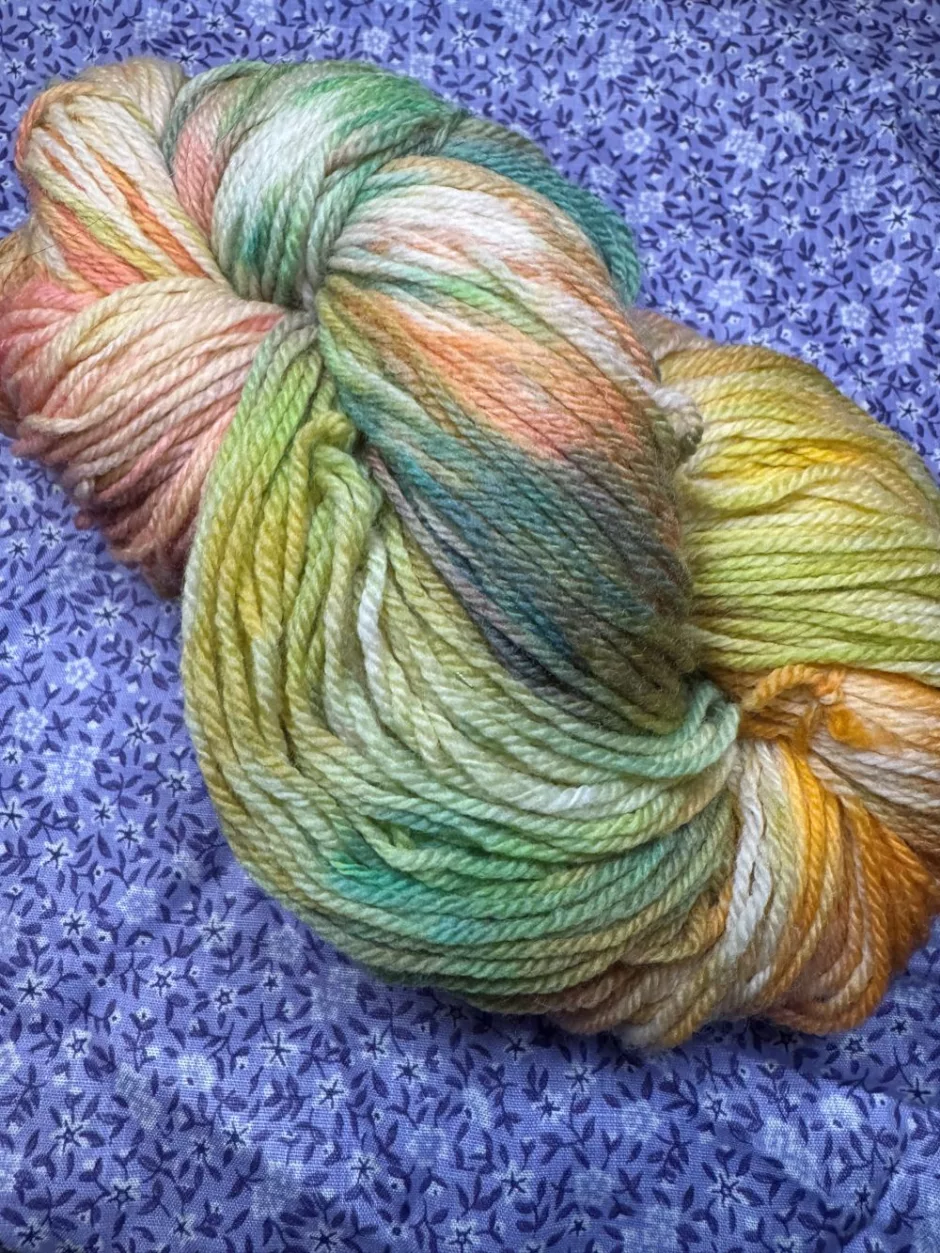
Or roll it into a ball. It’s fun to see how different the yarn looks in a hank versus in the ball.
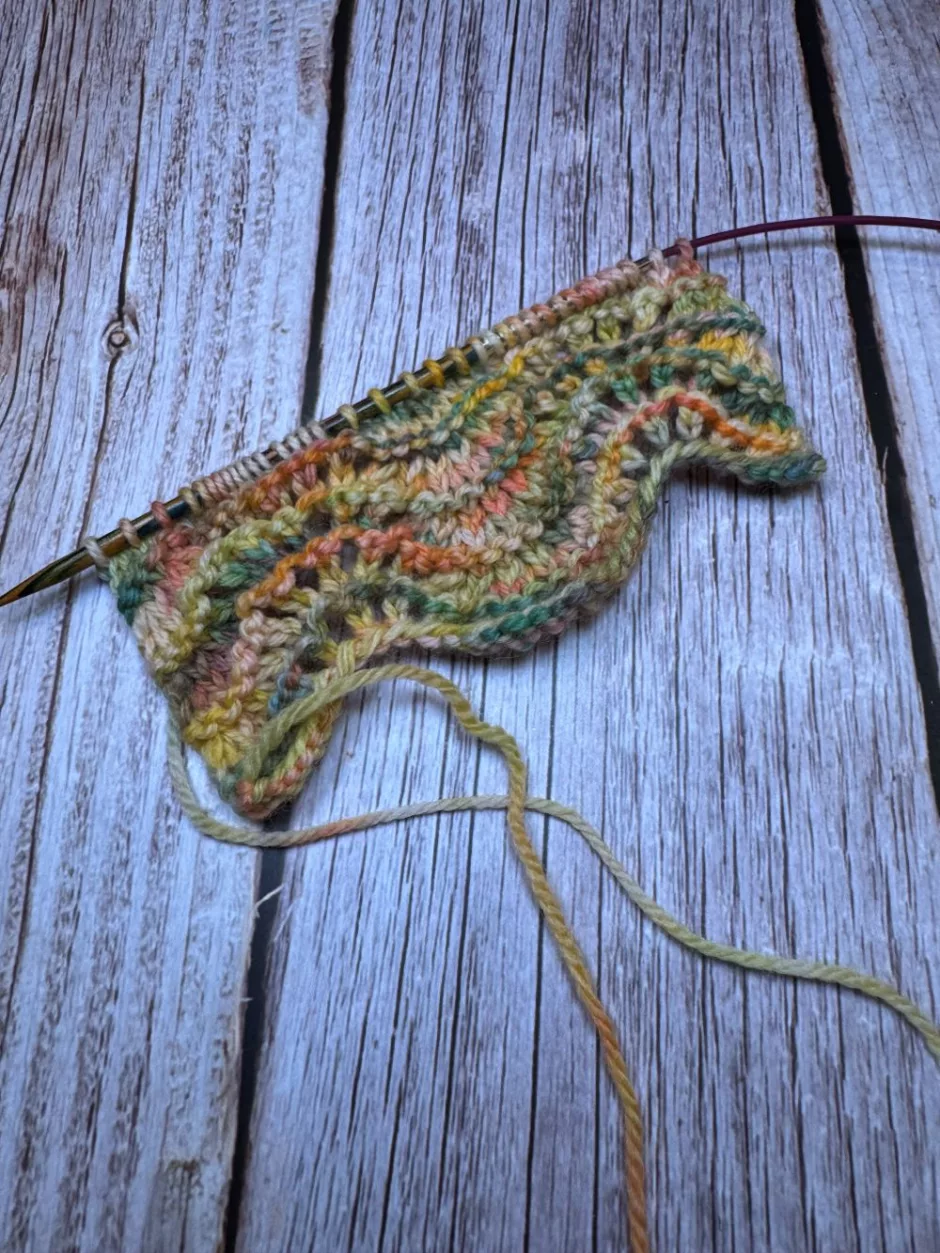
And different again when knitting with it. This is a sample of feather and fan, which soon will be a pretty spring scarf.
And now you know how to dye yarn with Easter egg dye! I’m sure this would work with fabric, too, so grab all the white stuff you can find and don’t let a drop of that Easter egg dye go to waste.