Affiliate links may be included for your convenience. View our privacy and affiliates policy for details.
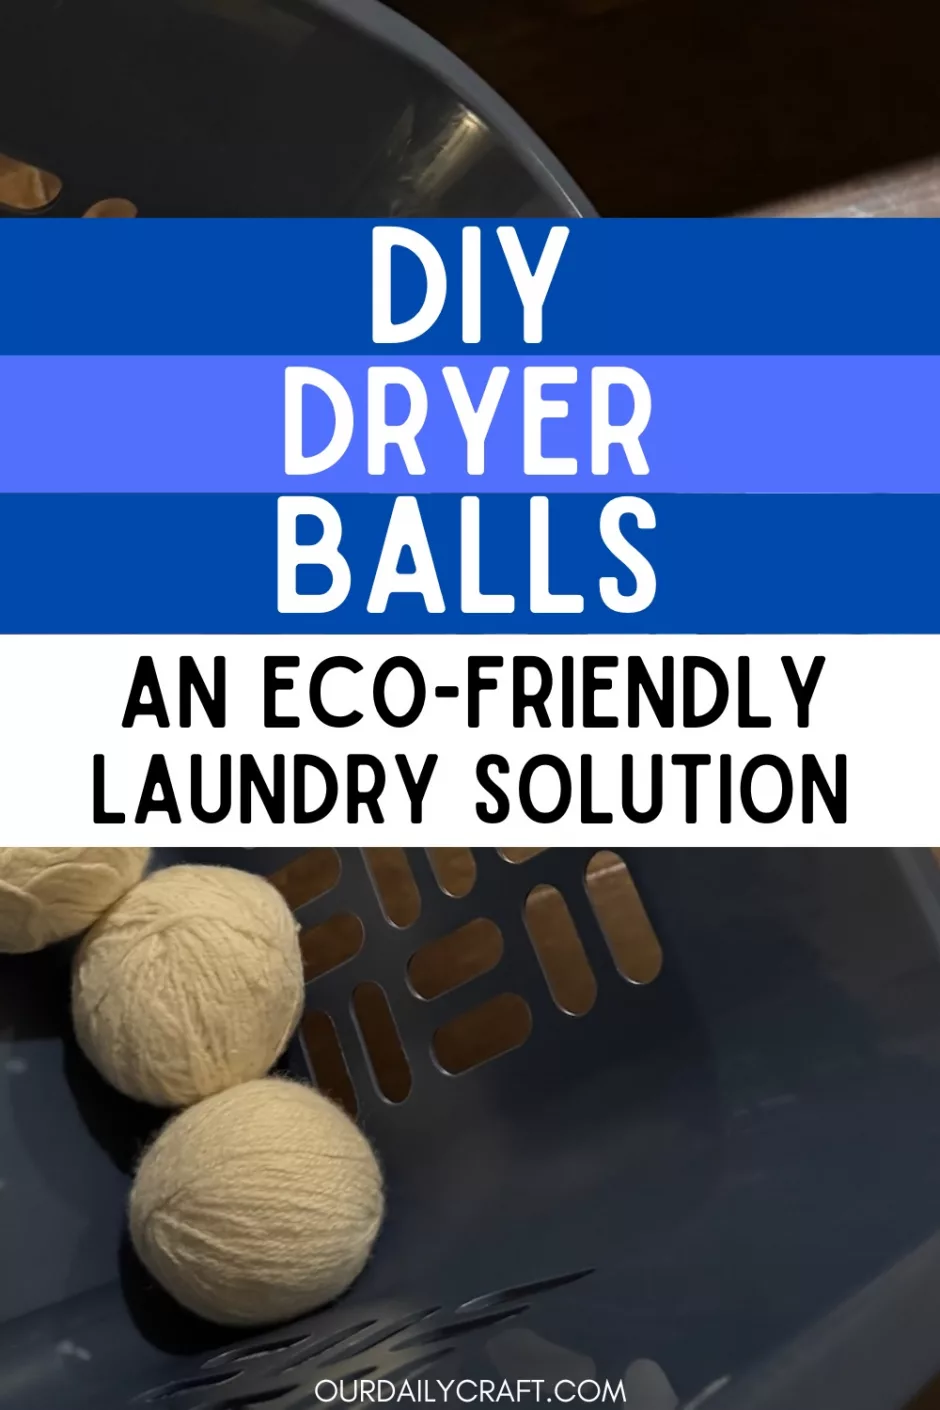
It’s easy to make DIY dryer balls, especially if you happen to have some light colored wool yarn hanging around. Dryer balls are an alternative to dryer sheets, so let’s learn all about them, how to make them and how to use them.
What Are Dryer Balls?
Dryer balls are just big balls of felted wool that you put into your dryer when your clothes are drying. The idea is that they speed up drying time, reduce wrinkles and reduce static cling.
They are considered an eco-friendly alternative to dryer sheets or fabric softener. They’re biodegradable and easy to make at home. Of course you can also purchase dryer balls, usually in sets of four, and it’s recommended you use all of them in the machine when you run your dryer.
You can also add a couple of drops of essential oils to your balls if you want to freshen up your laundry even more. Just make sure you don’t use perfume or any scents that include alcohol, as that poses a risk of fire. Learn more ways to use essential oils in the home.
How Do Dryer Balls Work?

Place your DIY dryer balls in the dryer on top of the clothes or other things you are drying. Then just run the machine as usual.
The dryer balls knock around in the drum of the dryer and into your clothing, which helps the hot air circulate, drying items faster. Because the wool can also absorb moisture, that helps with drying times, too.
The agitation of the clothes can help them feel a bit softer and have fewer wrinkles than are found in loads without the dryer balls. And the increased air circulation cuts down on static because the clothes aren’t clinging together as much.
Dryer balls can be used for a long time — up to 1,000 loads, or until they start falling apart — and are a low-tech way to make your laundry better, so why not give it a try?
Supplies for DIY Dryer Balls
If you want to try making your own dryer balls, you can make them pretty easily with 100 percent wool yarn. It’s best to use light colored and undyed yarn so it won’t deposit color on your clothes.
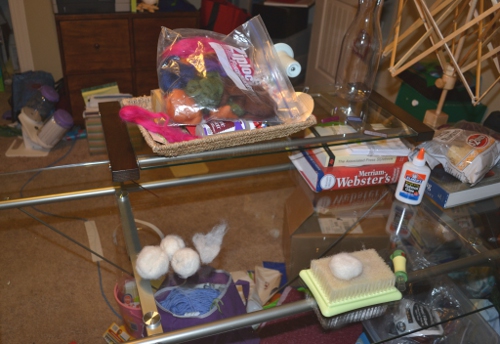
I made four dryer balls (since that is what is typically recommended to use in a load) and each one used about 50 grams of yarn.
You’ll also need a washing machine and some way to hold the balls in a ball shape as they felt. Most tutorials call for putting the balls in panty hose, but I don’t have any and didn’t want to buy them for this purpose, so I used a pillowcase and rubber bands.
Having tools for needle felting might also be helpful, but probably not essential.
How to Make Dryer Balls
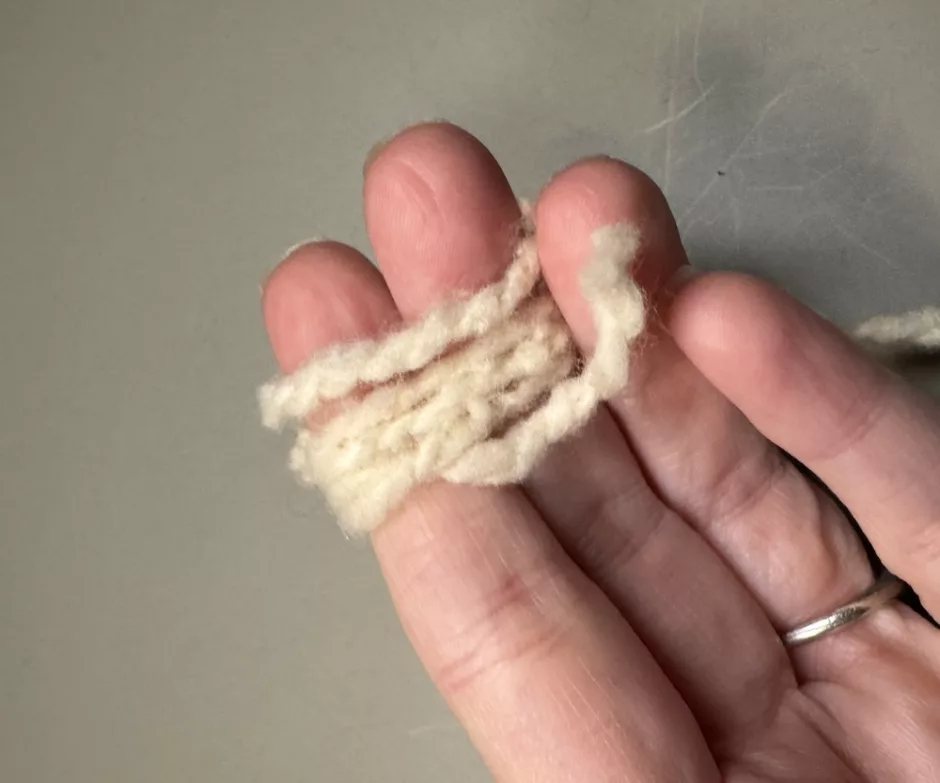
Making a DIY dryer ball starts with making a ball of yarn. If this isn’t something you normally do, here’s how it’s done. First wrap the yarn around a couple of fingers a couple of times.
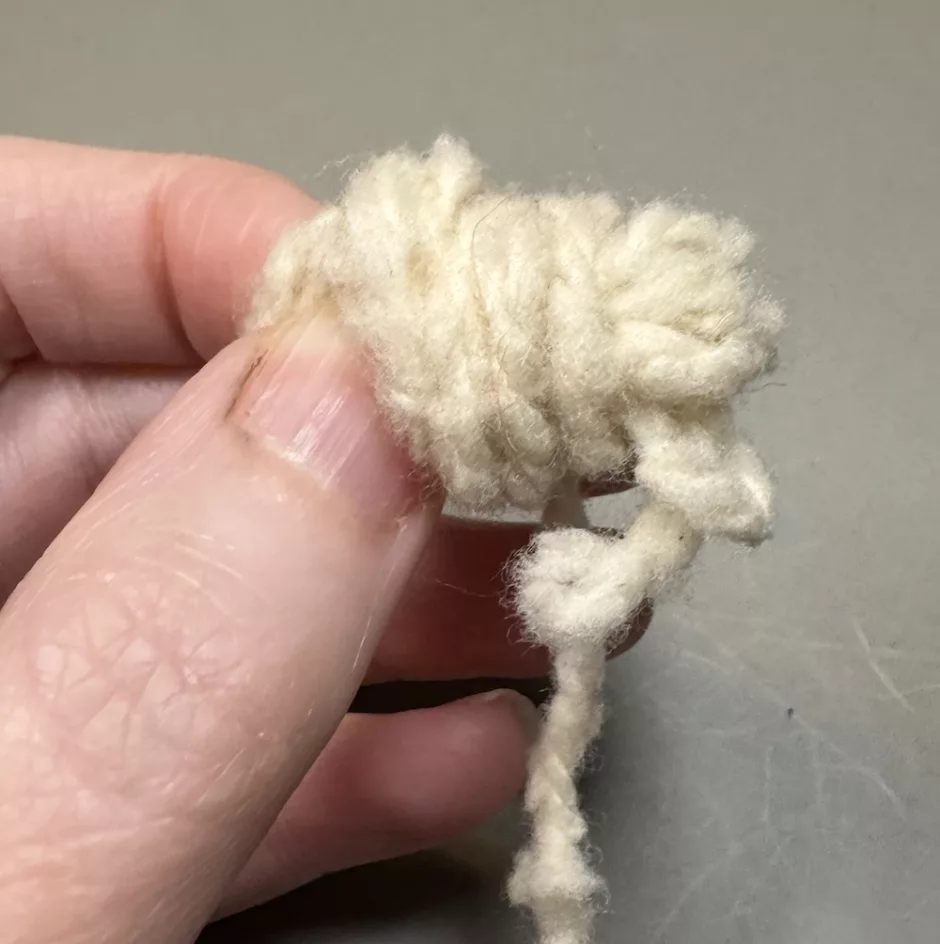
Take your fingers out and hold the bunch of yarn, then wrap more yarn around it.
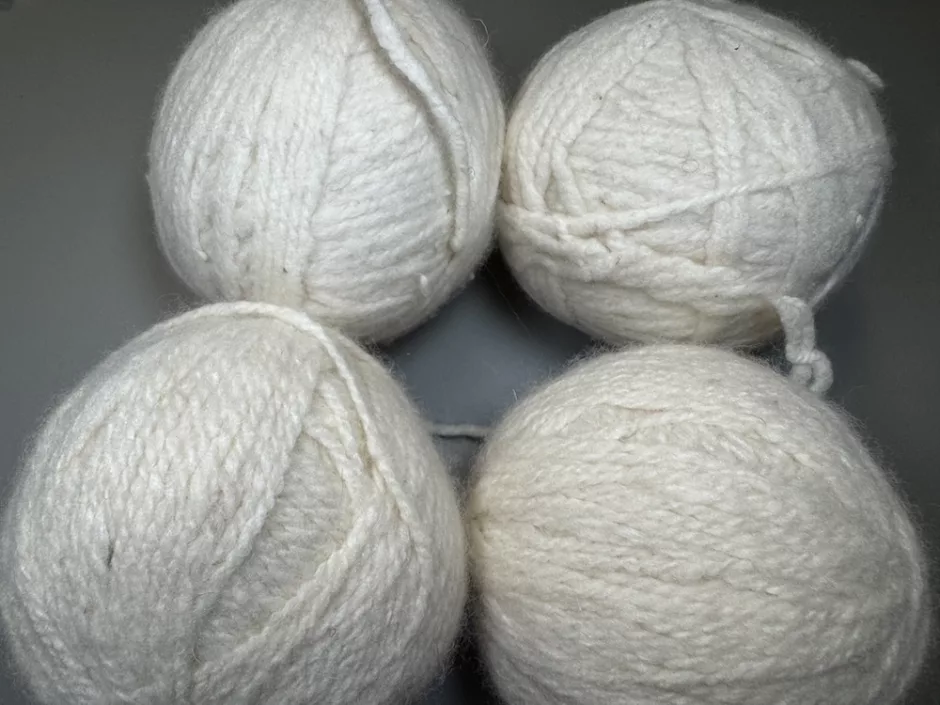
Keep wrapping and turning until you have a ball that weighs around 50 grams, or one quarter of the amount of yarn you have. You want to wind them somewhat tightly but it doesn’t have to be super tight.
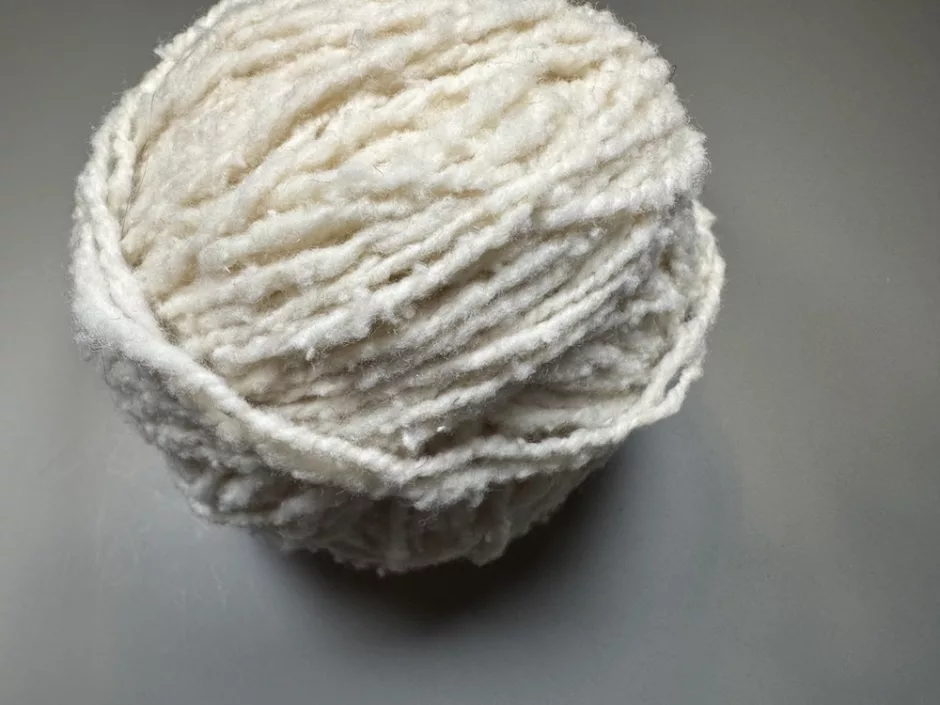
My balls came out about 12 inches/30.5 cm around.
I tried to felt one ball by hand but that was a disaster, so I think you really need to do these in a washing machine. Put one ball in the bottom of your hose/pillowcase and use a rubber band or a non-felting piece of yarn to secure the top just above the yarn ball.
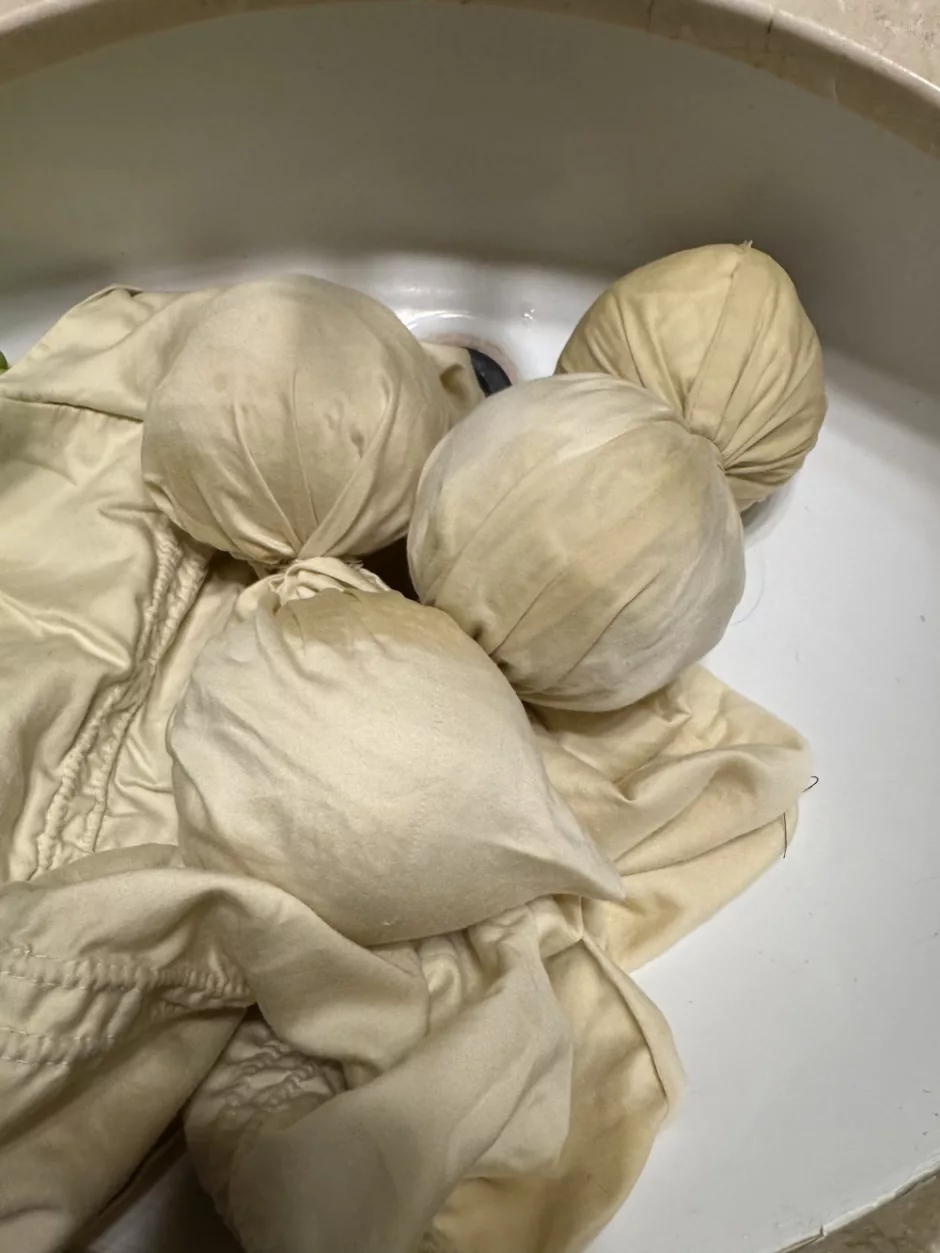
Repeat until all your balls are secure.
To felt, run in your washing machine on the hottest water, highest agitation and shortest cycle you can. Use a little bit of detergent. I have a front-loading machine so it took two cycles on hot and high spin to get them pretty well felted.
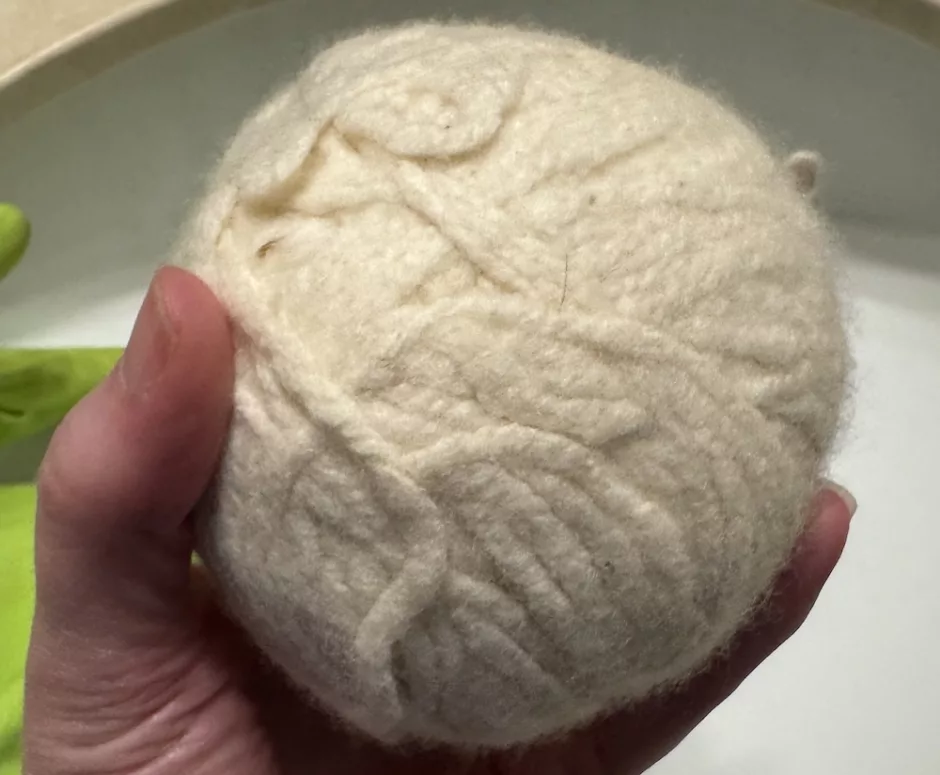
If you still have strings hanging off you can needle felt them to secure to the ball or trim them off.
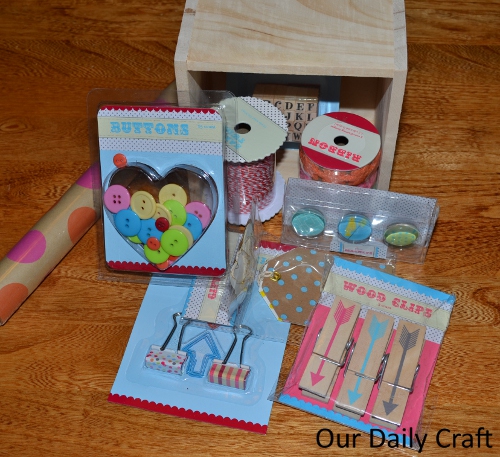
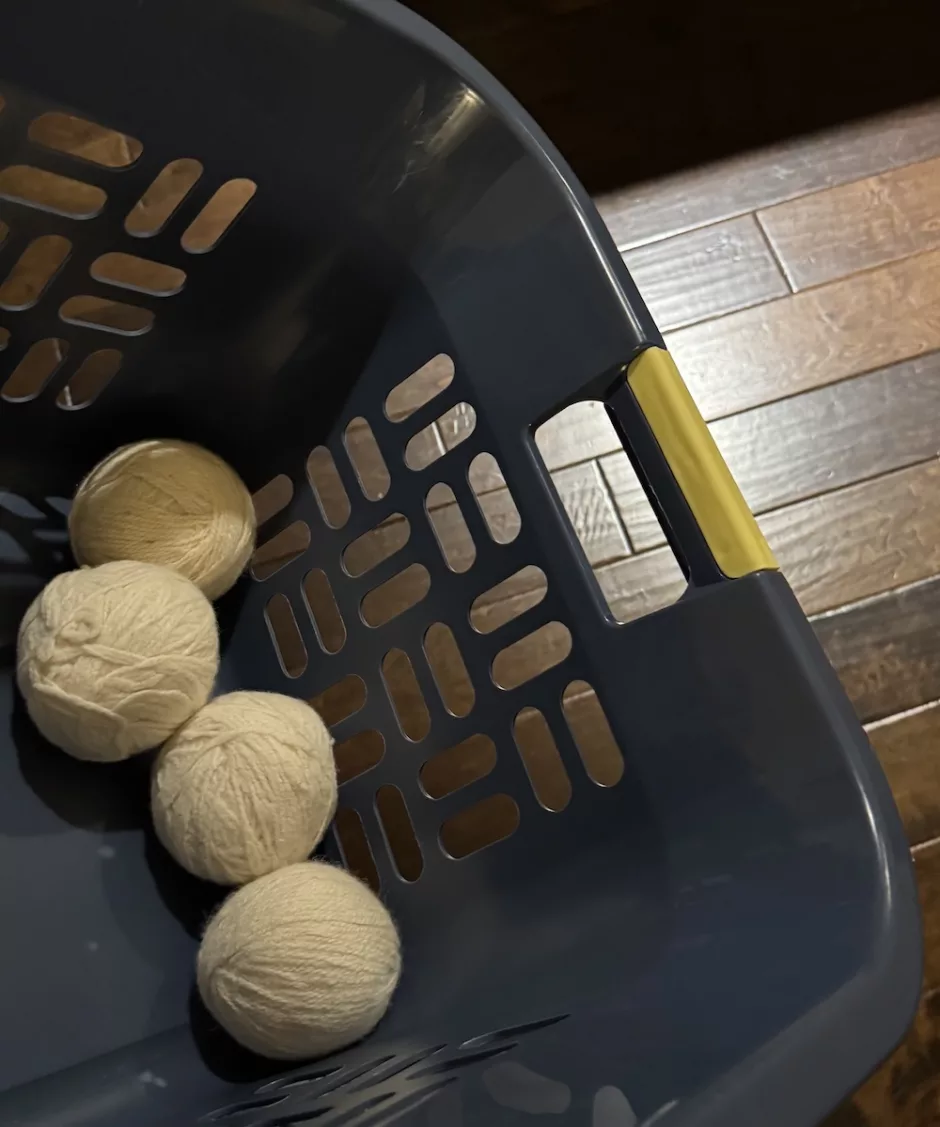
If you store your dryer balls in the laundry room you’ll probably remember to use them better than if you leave them wherever you folded the laundry. And you might find that you want a few sets if you do a lot of laundry at once. DIY dryer balls also make great gifts for people who like practical gifts and want to be more eco-friendly.
And while you’re replacing single-use items with reusable options, check out my pattern for a reusable mop pad.