Affiliate links may be included for your convenience. View our privacy and affiliates policy for details.
After a few semi-successful tries at knitting socks on a circular knitting machine, it was only a matter of time before I tried to knit legwarmers.
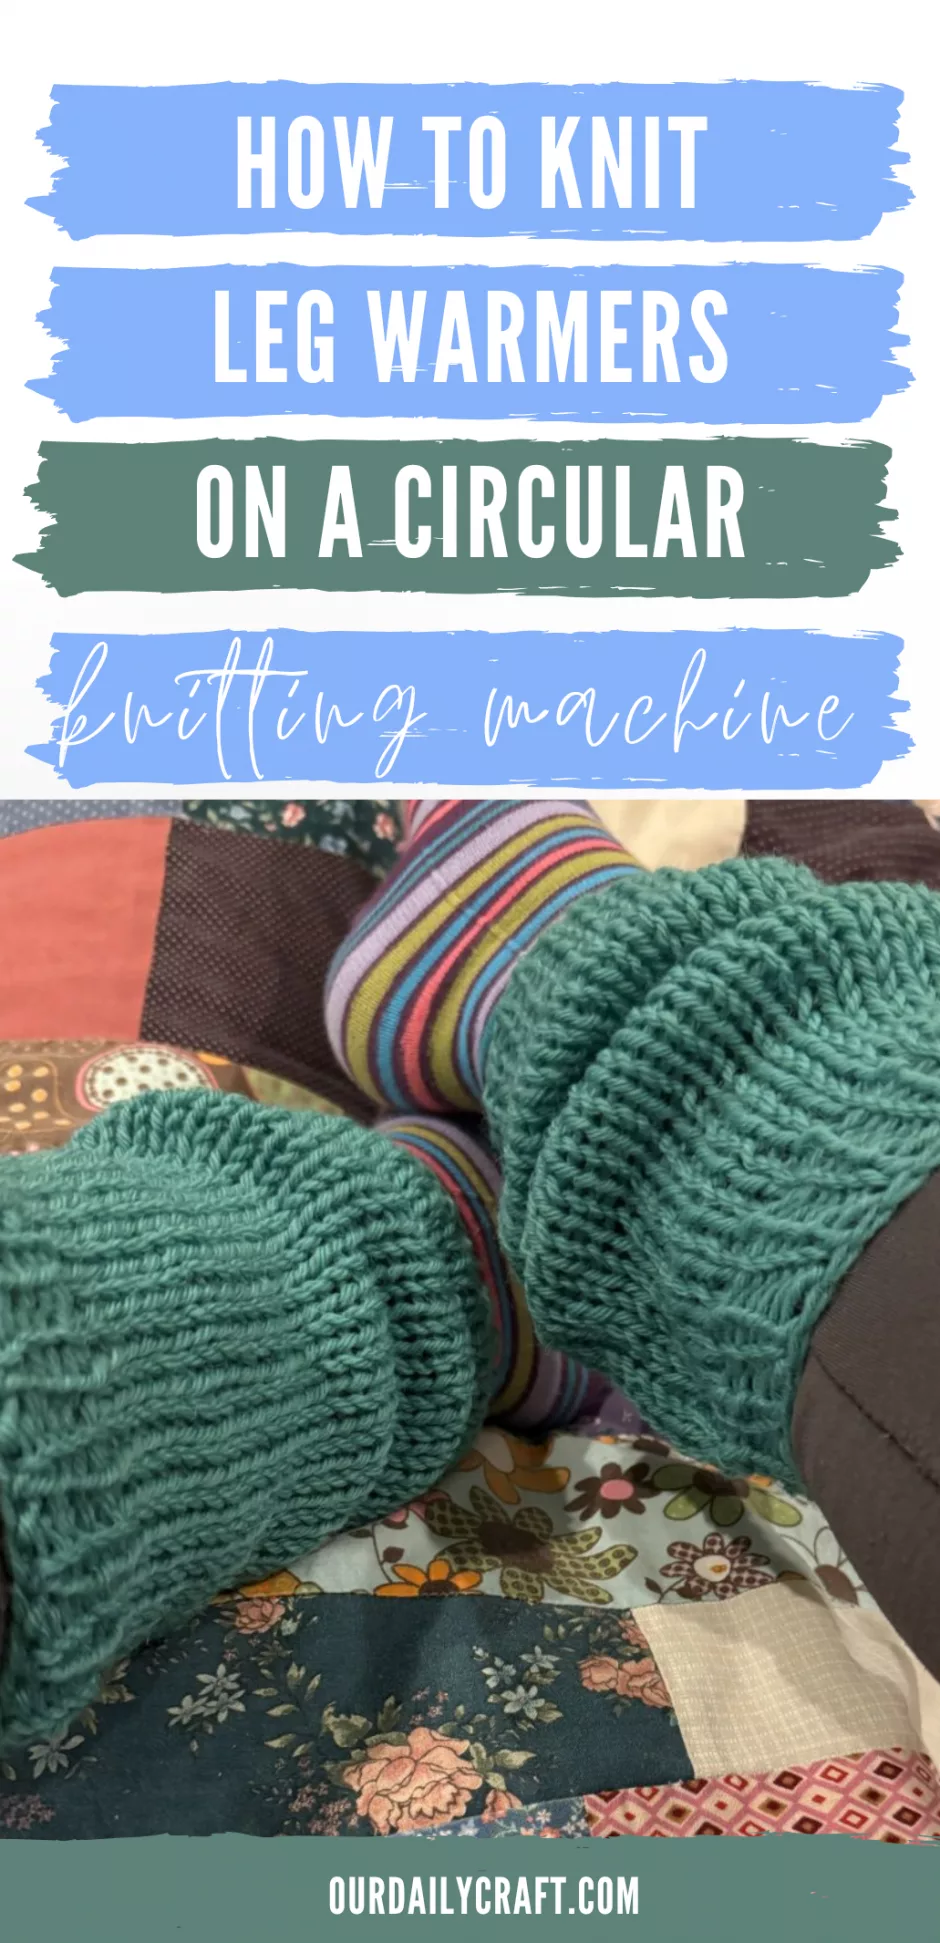
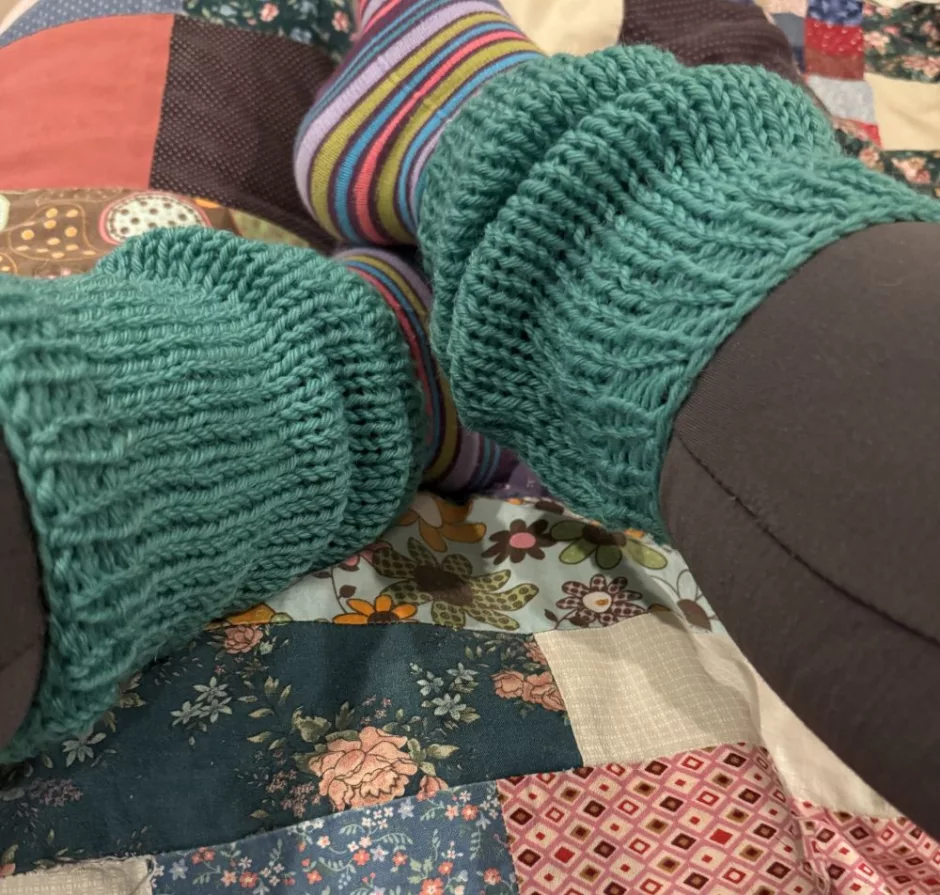
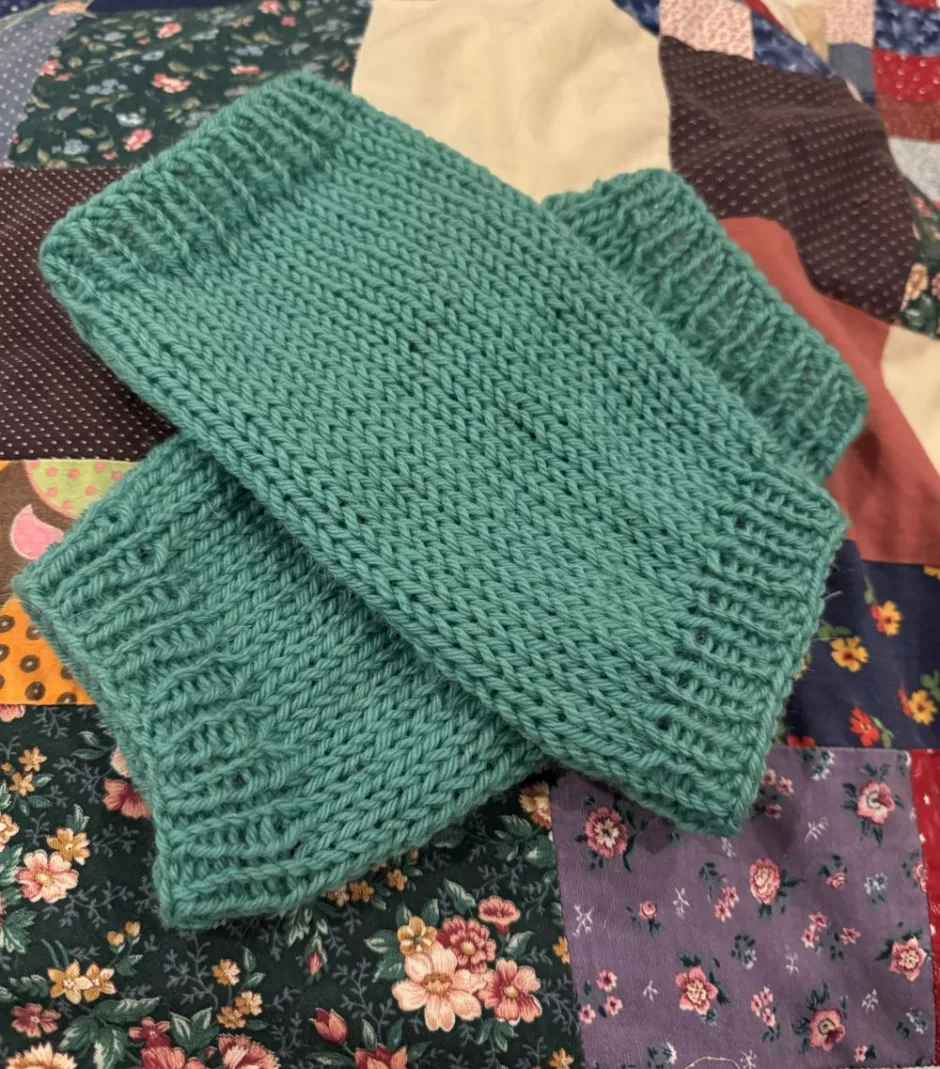
These legwarmers are worked in a flat panel so you can make them just the size you need. I also added knit ribbing to the ends so they cling to the leg better.
Let’s learn how to knit legwarmers on a circular knitting machine!

Swatching
I used my Addi King knitting machine for these legwarmers, but you can use any larger model circular knitting machine. I used worsted weight yarn and also used a bit of waste yarn at the beginning of my legwarmer. You might also want some at the end to use as a stitch holder, or you can use your knitting needle to pick up the stitches.
More specifically I used almost 120 yards of Knit Picks Wool of the Andes worsted in color Tranquil to make my knit legwarmers. That’s just a little more than a skein so we’ll talk below about how to make this a single-skein project if you want. Of course your yarn usage will vary depending on the size of your leg, the desired length of your legwarmers and how much ribbing you add (and whether it’s knit or crocheted).
If you want to add knit ribbing like I did, I actually used size 6 US/4 mm knitting needles at the ankle end to make the fabric tighter and size 7 US/4.5 mm needles at the top so it would be a little looser. But we’ll get to all that.

For now, use some waste yarn if you like or just go in with your chosen yarn and make a flat panel swatch. Mine is bigger but make yours at least 20 stitches wide and 20 rows long. Use waste yarn on a yarn needle to pick up and hold the stitches, or just take the knitting off the machine.
Give it a good stretch in all directions (being careful not to drop stitches if you left them open at the top.
Count the number of stitches and rows in 4 inches/10 cm.
Designing Your Legwarmers
Measure your leg around where you want the top of your legwarmer to be. My leg is about 12 inches/30.5 cm.
Use your gauge and desired ease to determine how many stitches you need. Like with socks you probably want negative ease at the widest point so the legwarmer will hug your leg, but the bottom can be looser/more slouchy.
My gauge is 3.25 stitches per inch. The widest panel I can work on my machine is 38 stitches, which comes out to about 11.7 inches/almost 30 cm. That sounds like a reasonable amount of ease to me.
If your legwarmer needs to be wider than the panel size you can work on your machine, divide your stitches in half and make two panels for each legwarmer. Sew the panels together and then pick up and knit or crochet edgings in the round if you want them.
Next determine how many rows you need in the same way. Measure how much leg you want to cover (for me that’s 10 inches/25.4 cm), subtract how much ribbing or edging you want (1 inch/2.5 cm each side, or 2 inches, 5 cm total) and multiply what’s left by your gauge.
So I want the part knit on the machine to be 8 inches/20.3 cm, and my gauge is 4.25 rows per inch/2.5 cm. That comes out to 34 rows; I did 36 just to make it a nicer number that was easier for me to remember.
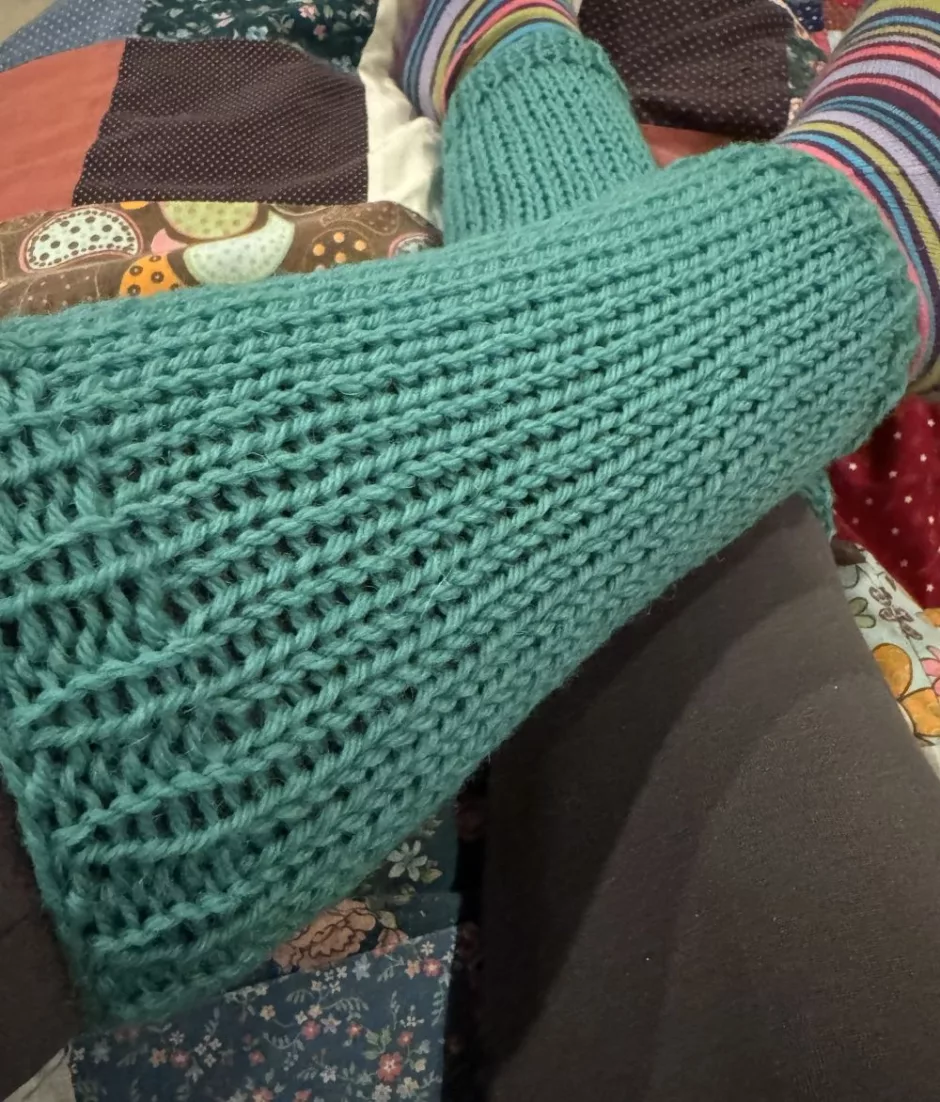
Now my legwarmers are meant to be worn pretty straight on the body because I typically wear them under jeans. If you want a slouchier look, work more rows than the basic measurement would suggest, bearing in mind you will need more yarn.
How to Knit Legwarmers
If your machine has a stopper, place it where you need it to be to make a panel of the width you want. (More on this in the panel knitting post linked above.)

Use waste yarn to knit a few rows. I like to cast on, work back, then pass back and forth again before joining the working yarn.
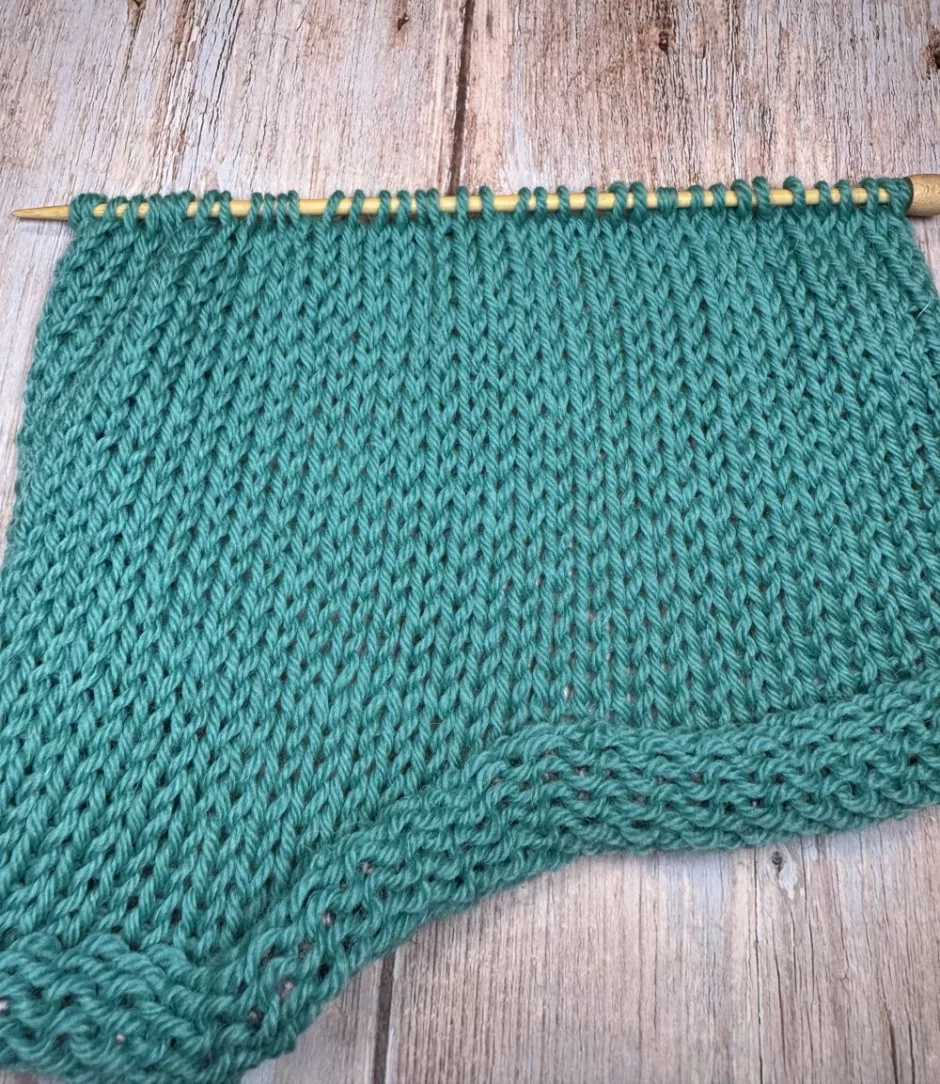
Using the main yarn, knit the desired number of rows.
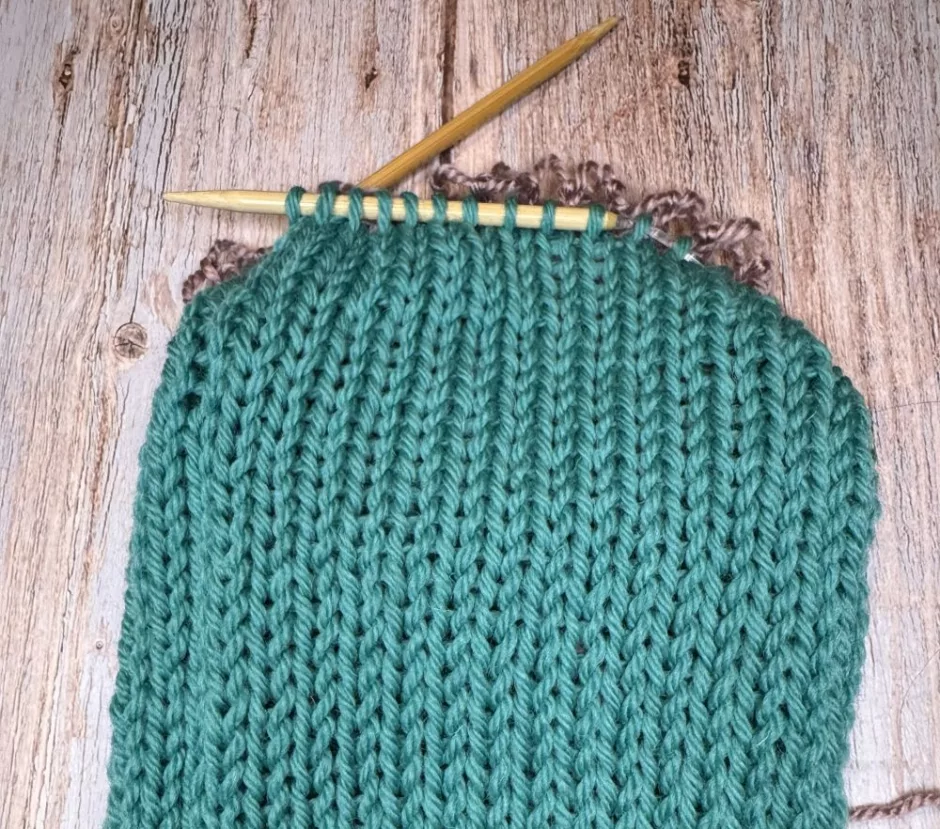
You can use another piece of waste yarn threaded onto a yarn needle to grab the stitches off the machine. This is shown in the swatch photo above.
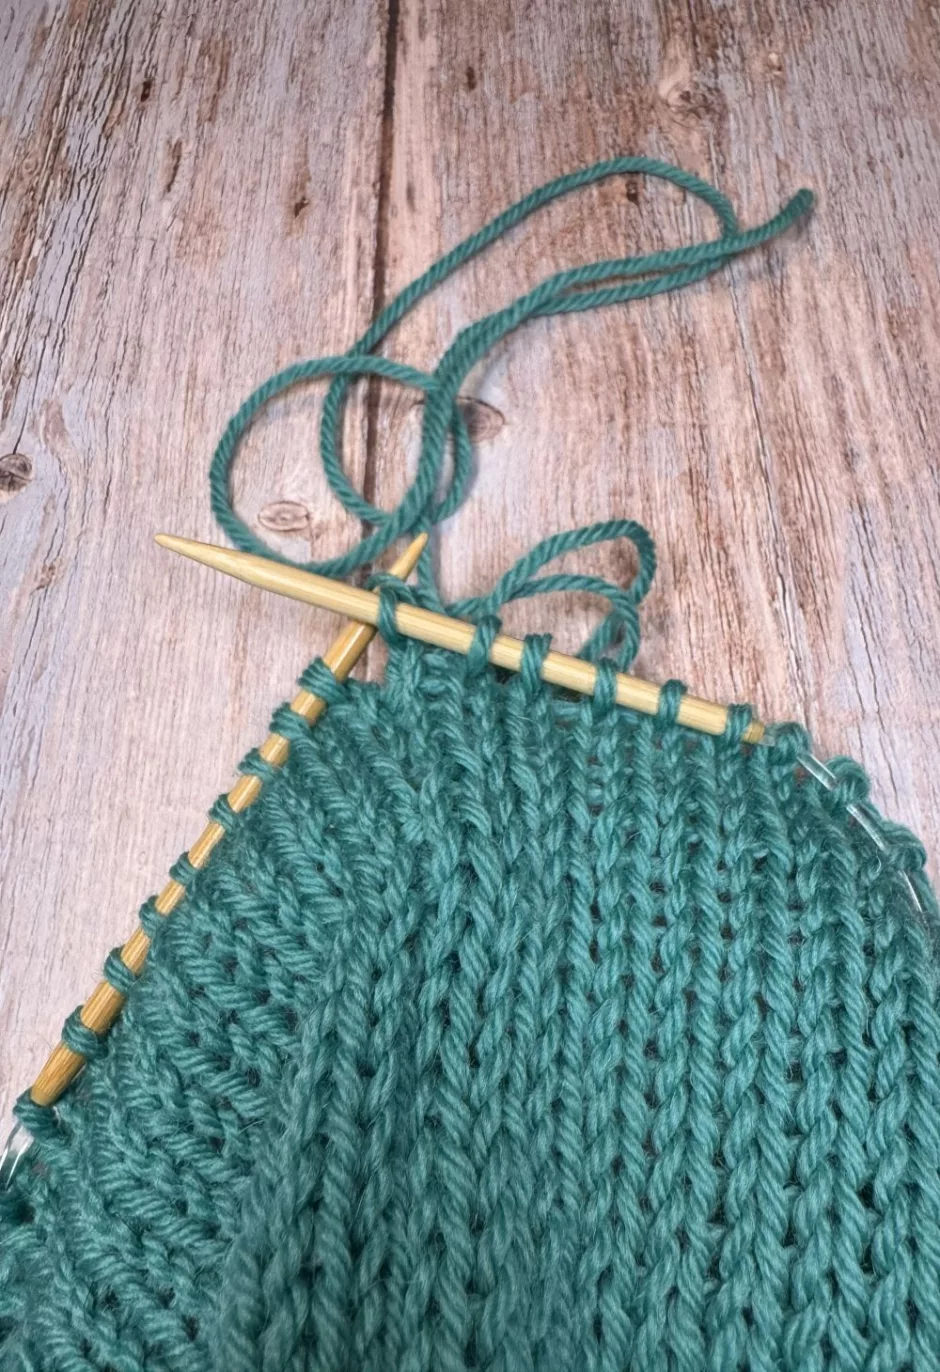
Or if you are knitting ribbing you can grab the stitches with your needle. If you’re going to crochet edging instead, you can grab the stitches on waste yarn, work into the loops as if they were a crochet chain, and pull out the waste yarn when you’re done.
If you’re not adding edging you can just cut the working yarn, leaving a long tail, and thread the tail onto a yarn needle to pull the stitches off the machine. Consider some of the ways to finish a scarf, just make sure you leave the end open instead of closing it off.
How I Finished My Legwarmers
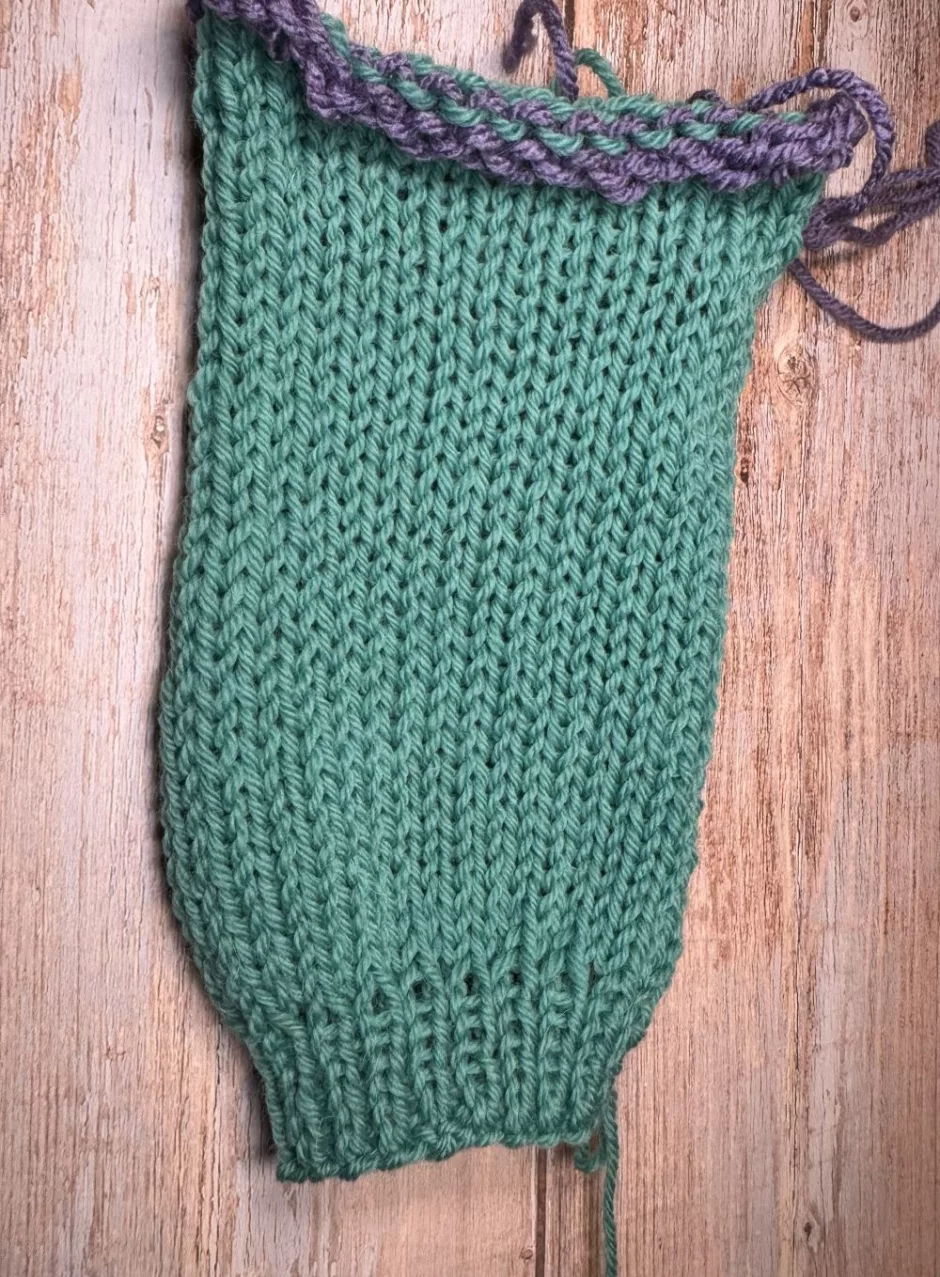
Because I was feeling like a bit of a showoff, and I didn’t want to have to cut the yarn, I worked the ribbing at the top bottom of the legwarmer (using smaller needles than at the top) flat. I used 1×1 ribbing for an inch/2.5 cm, which was 6 rows. I used my favorite easy stretchy bind off, which involves knitting 2 together through the back loop across.

When I got down to one stitch I pulled out a crochet hook, turned the legwarmer wrong side out and sewed the edges together with single crochet.
Then at the bottom I picked up the stitches onto a circular needle, unpicked the waste yarn and worked the loop from the crochet stitches together with the first stitch on the needle. Knit another inches/2.5 cm of ribbing in the round. Finally, cut yarn and try it on to make sure you like it before you make the second one.
Design Options
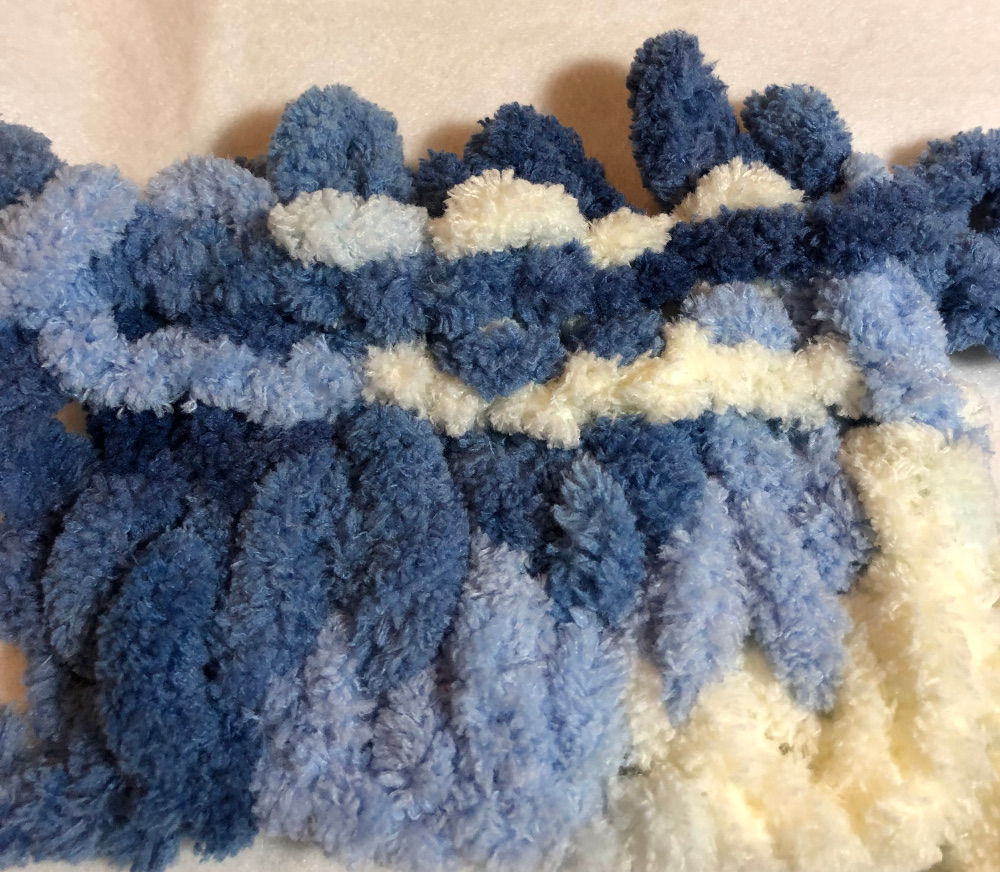
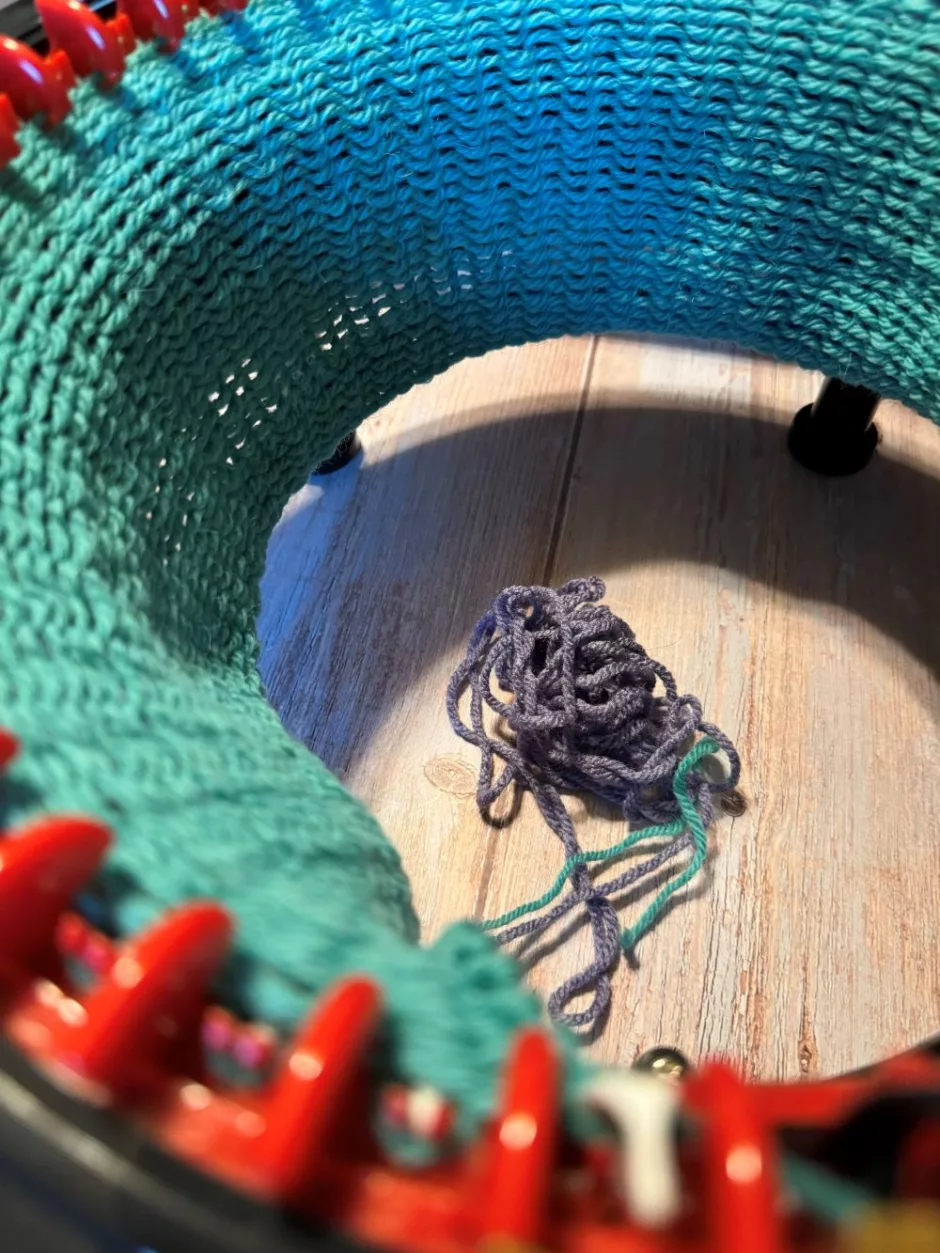
One reason I assembled my knit legwarmers this way was because I was trying to preserve yarn in the hope I could make this a single skein project. I went over by less than 10 yards. You can see how close I was in the photo above.
Of course even if you’re using the same yarn I did you may need more of it, but here are some options for helping your yarn stretch:
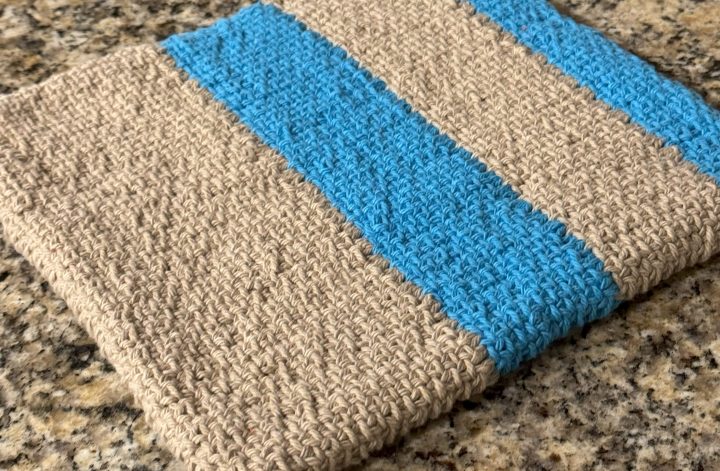
- Add stripes to the body of the legwarmers. Keep track of how many rows of each color you use if you want them to match.
- Work the ribbing in a different yarn/color.
- And if you have more yarn, make it slouchy! Weigh your yarn and divide it in half. Crank most of it into a panel, leaving around 20 yards for edgings if you want them.
These knit legwarmers were a lot of fun to make and I definitely want to make a slouchy version now, too. I’d love to know how you style yours!