Affiliate links may be included for your convenience. View our privacy and affiliates policy for details.
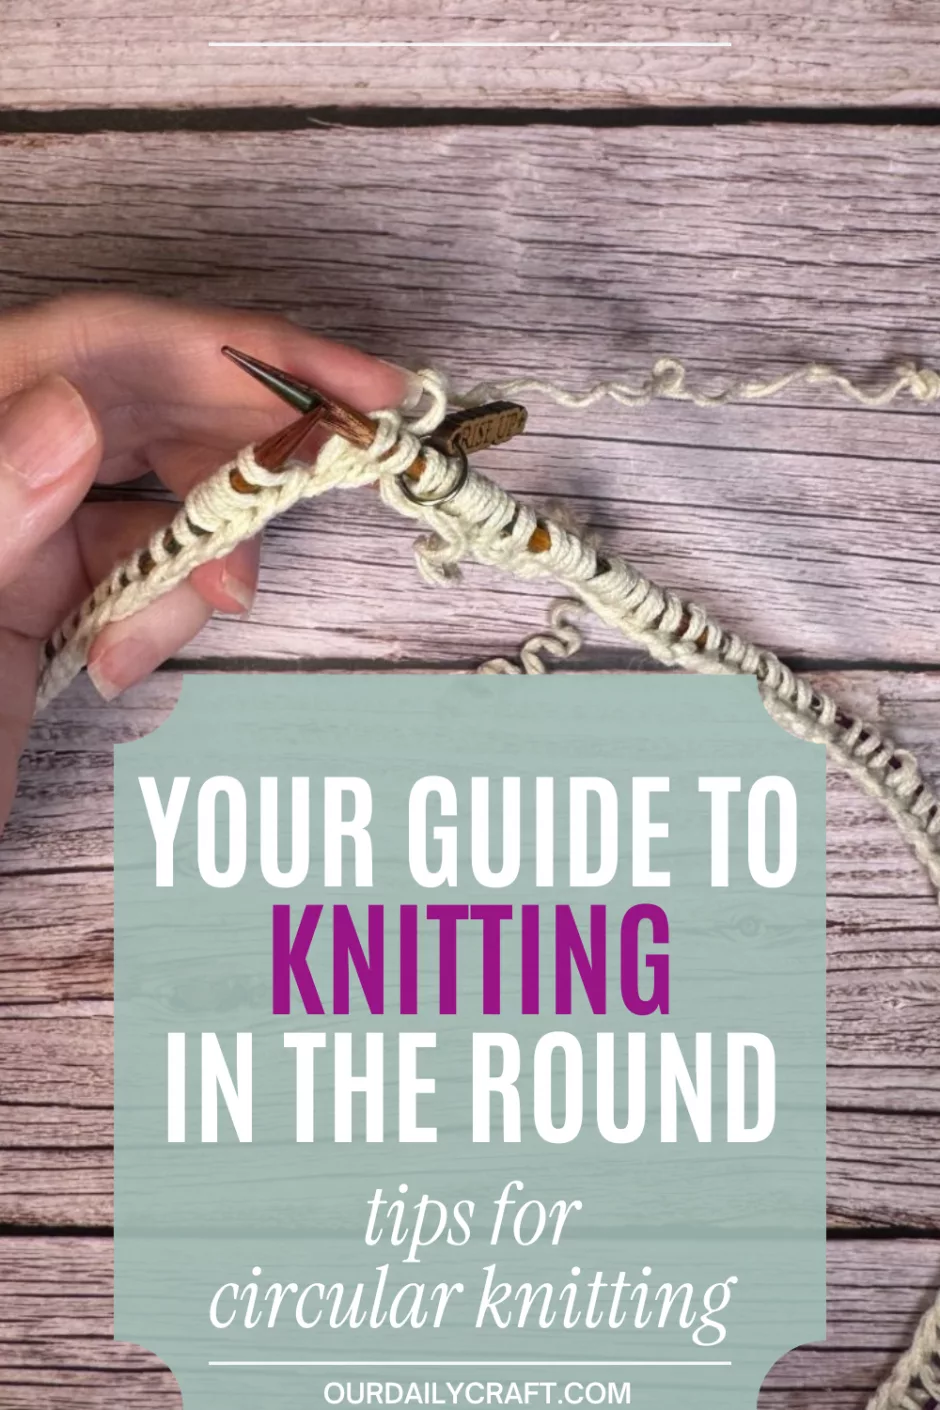
Knitting in the round is an important part of knitting. It’s the best way to knit things like hats and socks, and often used for sweaters and other garments. Circular knitting isn’t difficult but sometimes new knitters are confused about how exactly to do it. So let’s get into it!
Why Knitting in the Round?

Knitting in the round uses double pointed knitting needles or one or two circular knitting needles to make a tube rather than flat pieces of knitting.
We call it circular knitting because it looks like you’re knitting around in circles, but technically we’re knitting a spiral as the rounds stack on one another. You’re also always working from the outside/right side/front of the work.
Knitting in the round is the way to make seamless knitting projects, from fingerless gloves to socks to hats and sweaters. Working in the round is ideal for stranded knitting because you can always see what you’re doing and know right away if the colorwork is off. And because you’re always knitting on the front side, stockinette stitch is a breeze in circular knitting, because you just knit every stitch.
Needles for Circular Knitting
Sometimes patterns will suggest the kind of needles you should use for that particular project, but you can use any needle configuration that you like for most circular knitting projects.

Here are the major options:
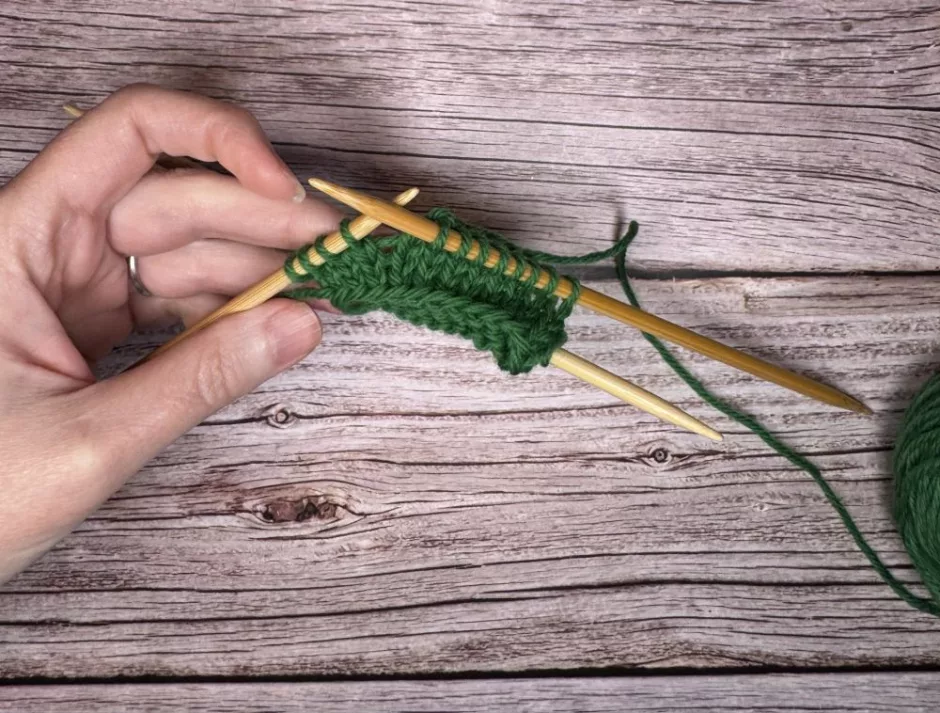
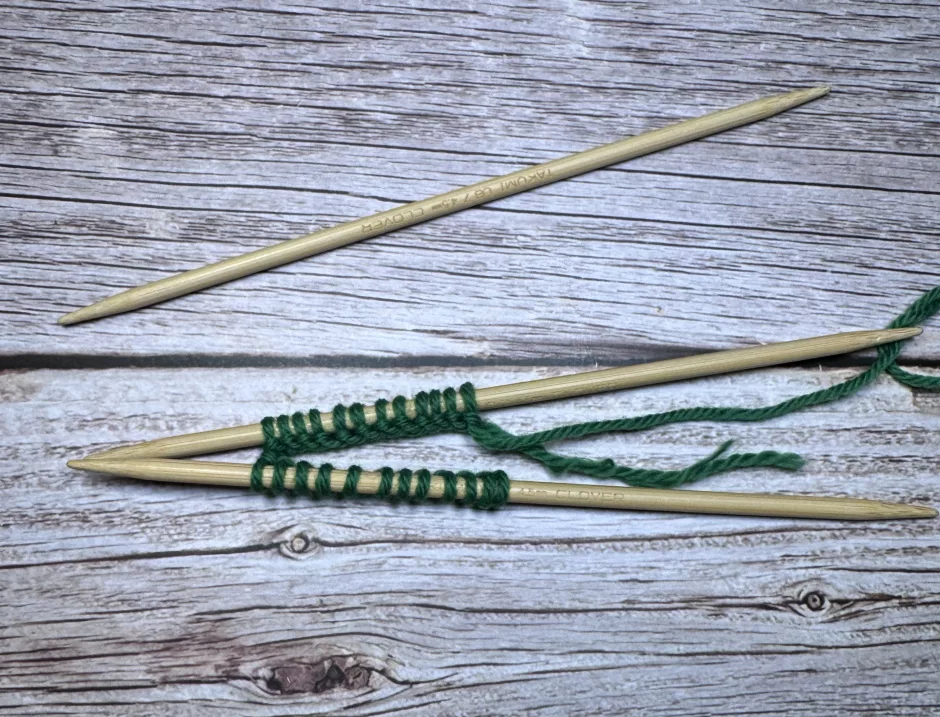
- Double-pointed knitting needles: these short, straight needles with points on both ends (also known as DPNs) are often used for socks and the tops of hats. They’re sold in packs of four or five, and you can use three to five or even more needles to suit the size of the project you’re working on. Learn how to knit with double pointed needles.
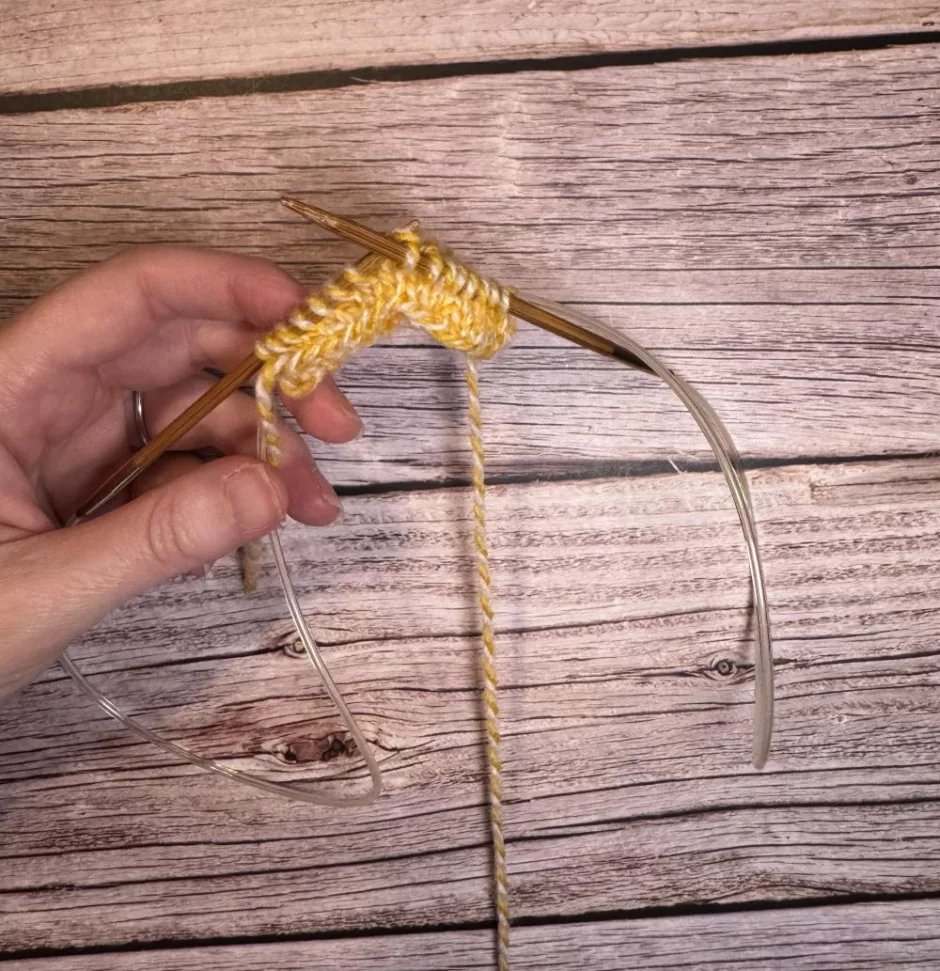
- Single circular needle: a single circular needle is ideal for larger circular knitting projects like the main body of a hat or a sweater. It’s probably the easiest way to work in the round because you aren’t fiddling with multiple needles, but you have to have a needle of the right length for your project to fit comfortably. Most of the photos in this tutorial show one long needle.
- Two circular needles: working with two circular needles at a time allows you to work a smaller circumference project on circular needles and uses fewer needles than you would need for DPNs. They can be used for any project you’d use double pointed needles for, or if you’ve been using a single circular needle but have decreased so your stitches won’t fit on the needle anymore. More on how to knit in the round with two circulars.
- Magic loop: using a longer circular needle to knit a smaller circumference piece is done with a technique called magic loop. It’s similar to working with two circular needles because you have to manipulate the needle and stitches a bit to get them in the right place to knit, but some prefer it to the other methods for knitting in the round. See how magic loop knitting works.
Stitch Patterns in the Round
As mentioned above, circular knitting is always worked from the front side, so how you work different stitch patterns is different when knitting in the round instead of knitting flat.
Stockinette stitch is done by knitting every stitch of every round, while garter stitch is knit one round, purl one round to make the ridges on the right side.
There are many great resources that show how to knit different stitch patterns in the round. I like Wendy Bernard’s stitch dictionary books (one is Up, Down, All-Around Stitch Dictionary), which include stitch patterns with instructions for working top down, bottom up, back and forth and in the round.
If you want to convert a flat stitch pattern for knitting in the round, you need to work the opposite stitch from what the pattern says on the even numbered (or what would have been wrong side) rows. You also may be able to remove stitches at the end of the pattern that are used to balance the project when worked flat. Always knit a swatch in the round to make sure it works out the way you expect before embarking on a project.
Casting on For Circular Knitting
You don’t need to use any particular cast on when working in the round. Sometimes a pattern will suggest which cast on to use, or you can just use your favorite.
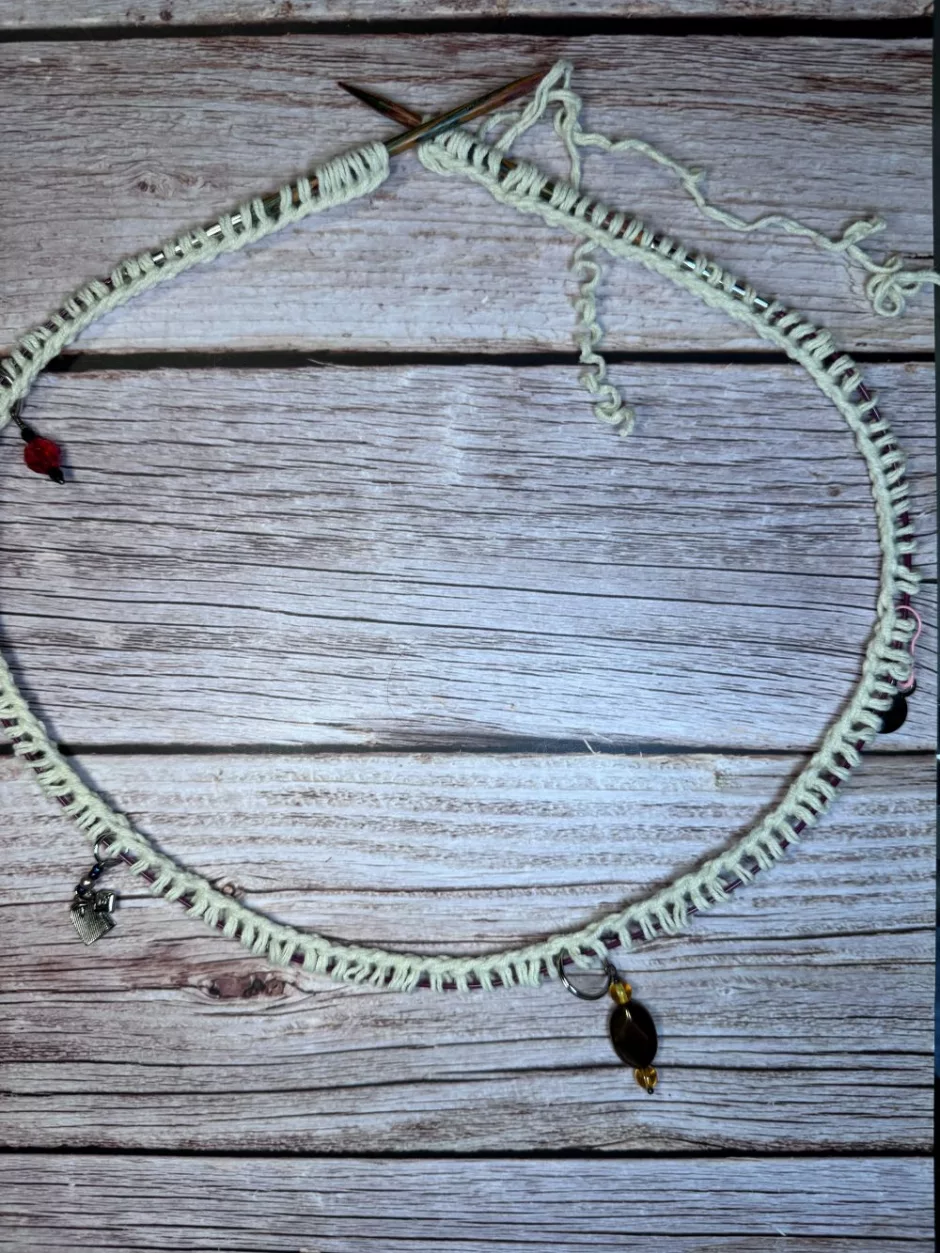
If you are casting on a large number of stitches (and this goes for flat knitting as well) using stitch markers to mark off a certain number of stitches makes it easier to count. Here I put a marker after every 25 stitches cast on.
Regardless of your needle configuration, cast on onto one needle, unless you’re working with double pointed needles and have too many stitches to fit on one needle. Then you can cast on as many as you can on the first needle, then start casting onto a second needle, pulling it up close to the first one so there’s not a gap.
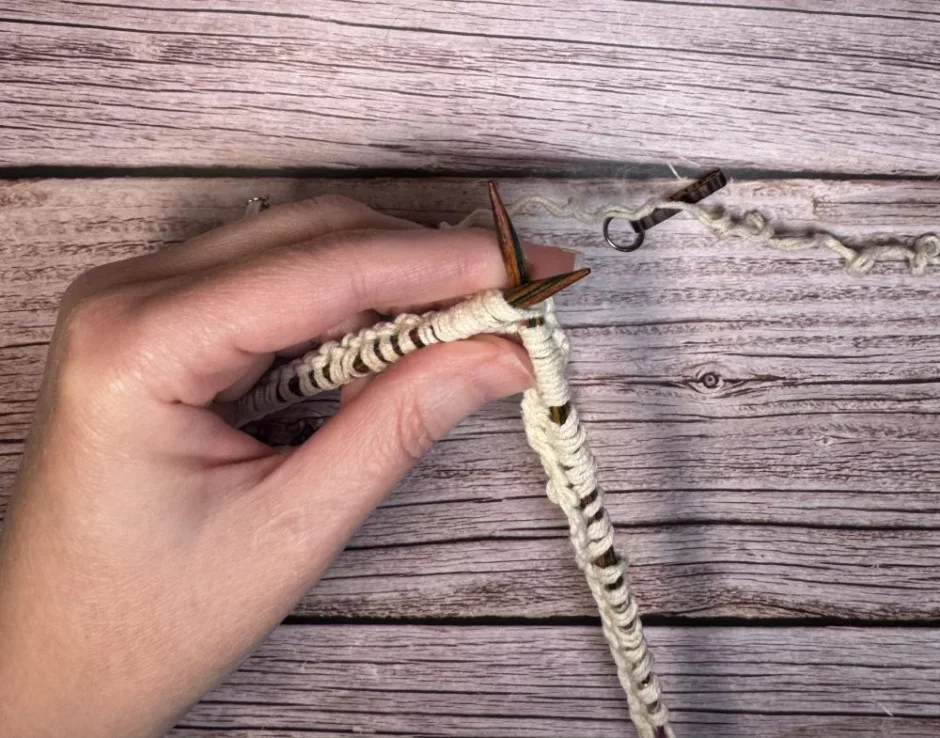
“Being Careful Not to Twist”
Before we get to how you actually get started knitting in the round, we need to talk about a common phrase you’ll often see in circular knitting patterns. They often tell you to “join for working in the round, being careful not to twist stitches” or something like that.
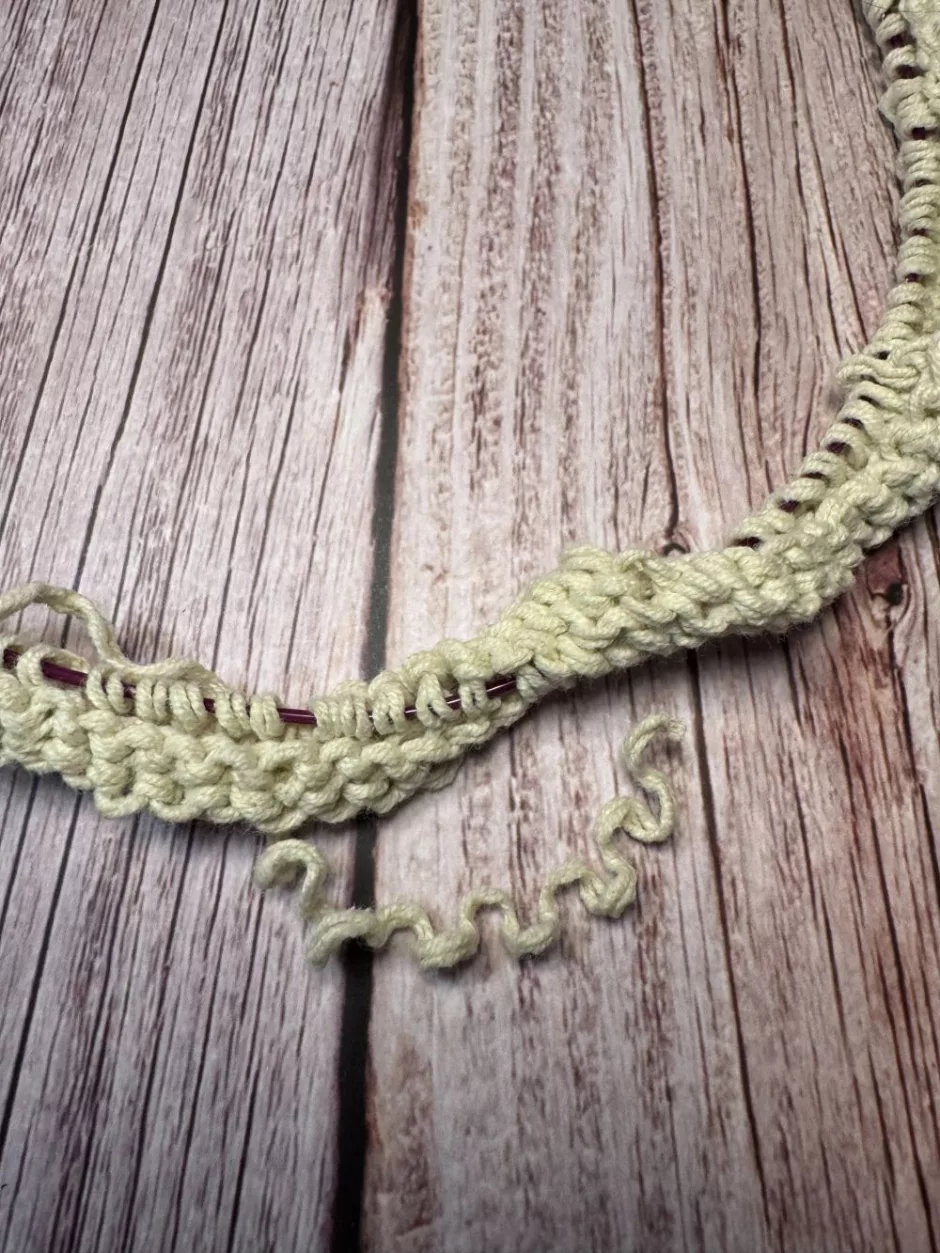
If your stitches are twisted when you knit, there will be a twist in your knit fabric, like this, which is usually not something we want.
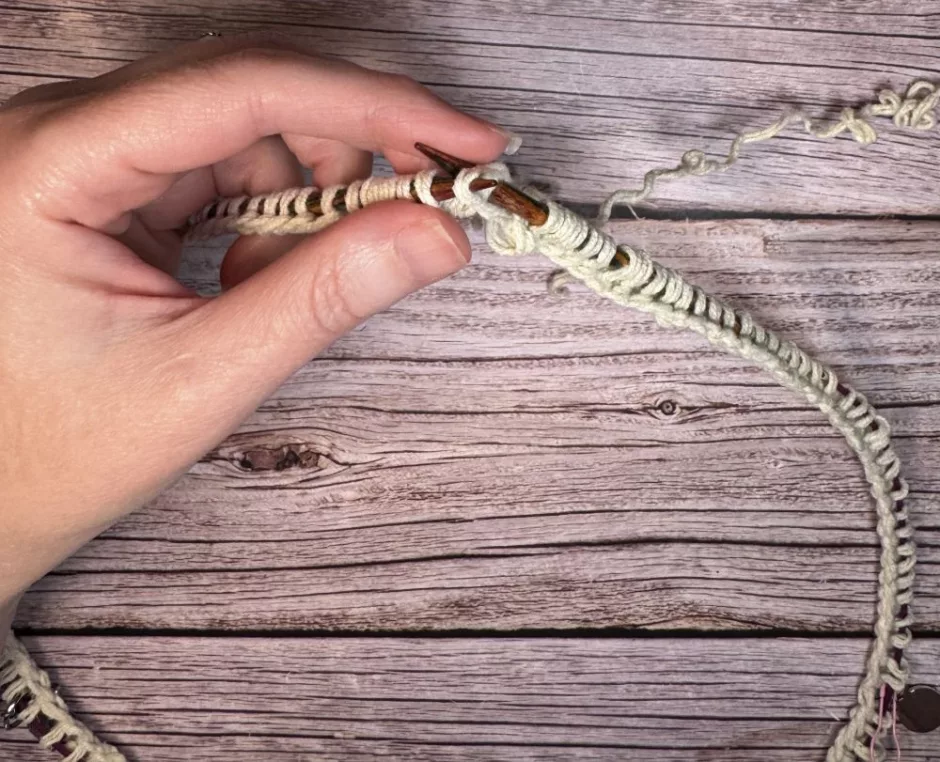
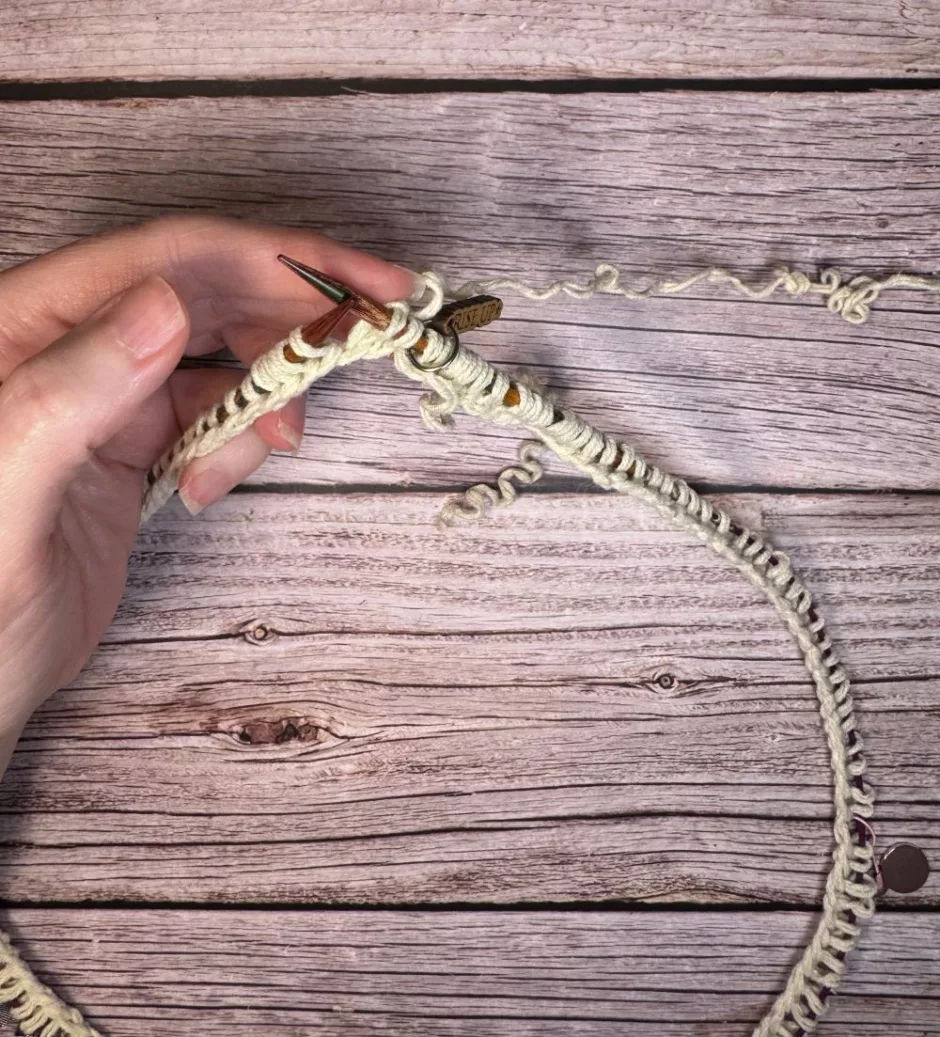
Lay your knitting down flat and spread the stitches out as much as possible so you can see that the knots of the cast on are all pointing down and there’s no twists in the cast on. You can see this in the circular needle photo above or here with DPNs.
If your stitches are too bunched up on the needle to be able to see if there’s a twist, or you just want to make extra sure, knit the first row of the pattern before joining in the round. This makes it much easier to see if there’s a twist, and you can sew that one stitch seam with your yarn tail.
Alternatively, go ahead and join using one of the methods mentioned below. After you knit the first round, spread the stitches out as best you can and look for a twist. If you find one, this is your last chance to untwist the project before the twist becomes permanent.
Join for Knitting in the Round
Another common phrase in circular knitting patterns is “join for working in the round,” but patterns don’t usually tell you how best to do that. Here again there are a few options.
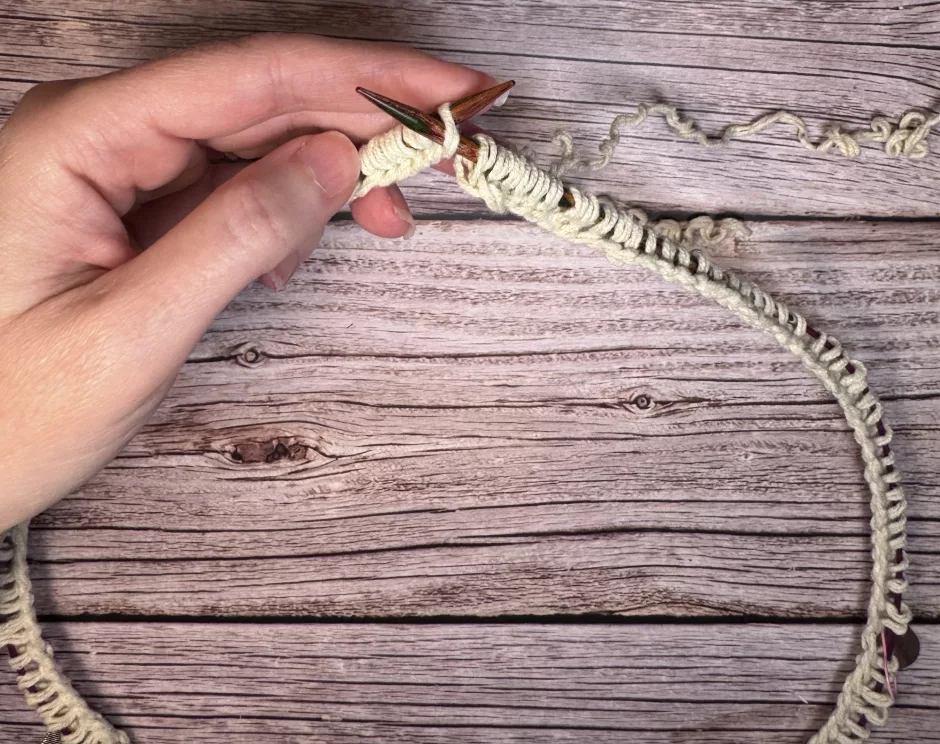
Complete your cast on and make sure there’s no twist. Take the last stitch you cast on and slide into onto the needle where the first stitch you cast on is.
Take the first stitch you cast on, pull it up over the last stitch, off that needle and onto the other needle. Essentially you’ve now swapped the first stitch and the last stitch and locked them together.

Another option is to cast on an extra stitch, slide the last cast on stitch onto the needle with the first cast on stitch as before.
Knit the first stitch and the last stitch together. Then knit as usual.
Finally you can just start knitting. The stitches will naturally join without you doing anything special. That’s generally how I do it, but the other methods are fine if they make you feel more secure.
However you start, it’s a great idea to use a stitch marker to mark the end of the round when knitting in the round. If you’re working on a long circular you can put the marker between the first and last stitch. For other configurations, put the marker before the last stitch so it won’t fall off when you stop knitting.
Alternatively you can use a locking stitch marker in either the last stitch or the first stitch of the round. Just move it up every few rounds so you can still see where it is.