Affiliate links may be included for your convenience. View our privacy and affiliates policy for details.
I wrote a post about finger knitting a long time ago but figured it was time to dig deeper with a full finger knitting tutorial.
What is Finger Knitting?
Finger knitting is a way to make a knit-look fabric just using your fingers to manipulate the yarn. You wrap the yarn around several fingers on your non-dominant hand until you have two loops on each finger, then pull the lower loop over the upper loop and off your fingers.
Repeating this process gives you a long strand of finger knit fabric that’s fun to use for a variety of projects.
I feel like kids go through a finger knitting stage in their tweens or a little younger if they have access to yarn. It’s also fun for adults, regardless of whether you know how to knit with needles.
Uses for Finger Knitting
Probably the most common things you see done with finger knitting is making snakes and little scarves or headbands. A necklace is also a classic project for kids to make, and my post linked above shows how to make a chunky bracelet with finger knitting. I also have a pattern for a chunky loop scarf made with finger knitting.
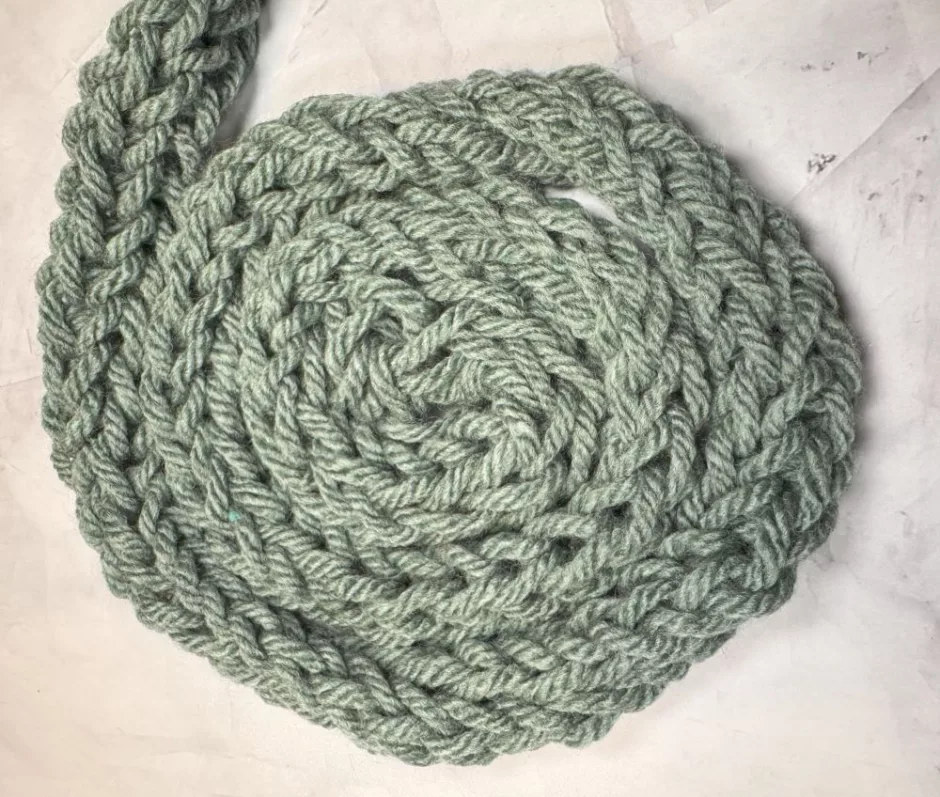
You can also coil finger knitting and sew it together to make coasters, rugs, baskets and other items.
Some people even finger knit blankets, which you can do by joining strands of finger knitting as you go.
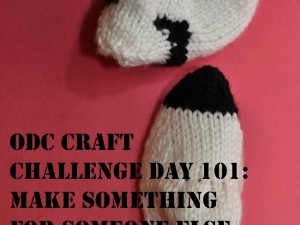
Strands of finger knitting can be used to make decorations or little animals, and you can use a long strand to hang bunting or even as a garland for a holiday tree.
Finger knitting is a great stash busting project that doesn’t take much time at all to learn, so let’s get started!
Finger Knitting Tutorial
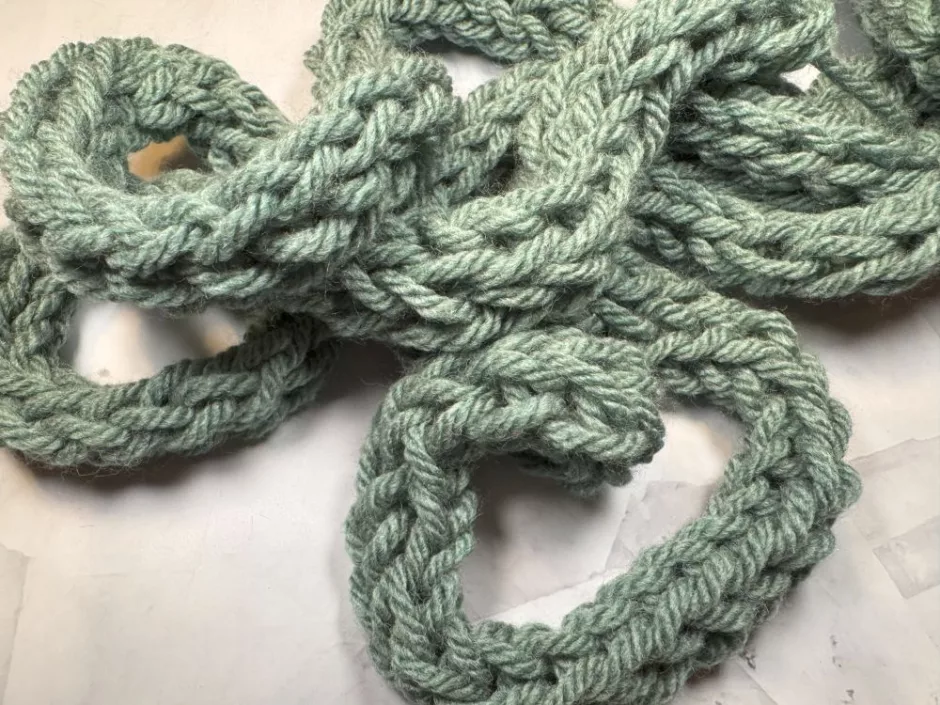
I like to use bulky or super bulky yarn for finger knitting because it makes nice, even stitches that look more like knitting than thinner yarn does (see below). For this finger knitting tutorial I’m using Lion Brand Hue + Me in color Harbor, which is a bulky/chunky/yarn weight 5.
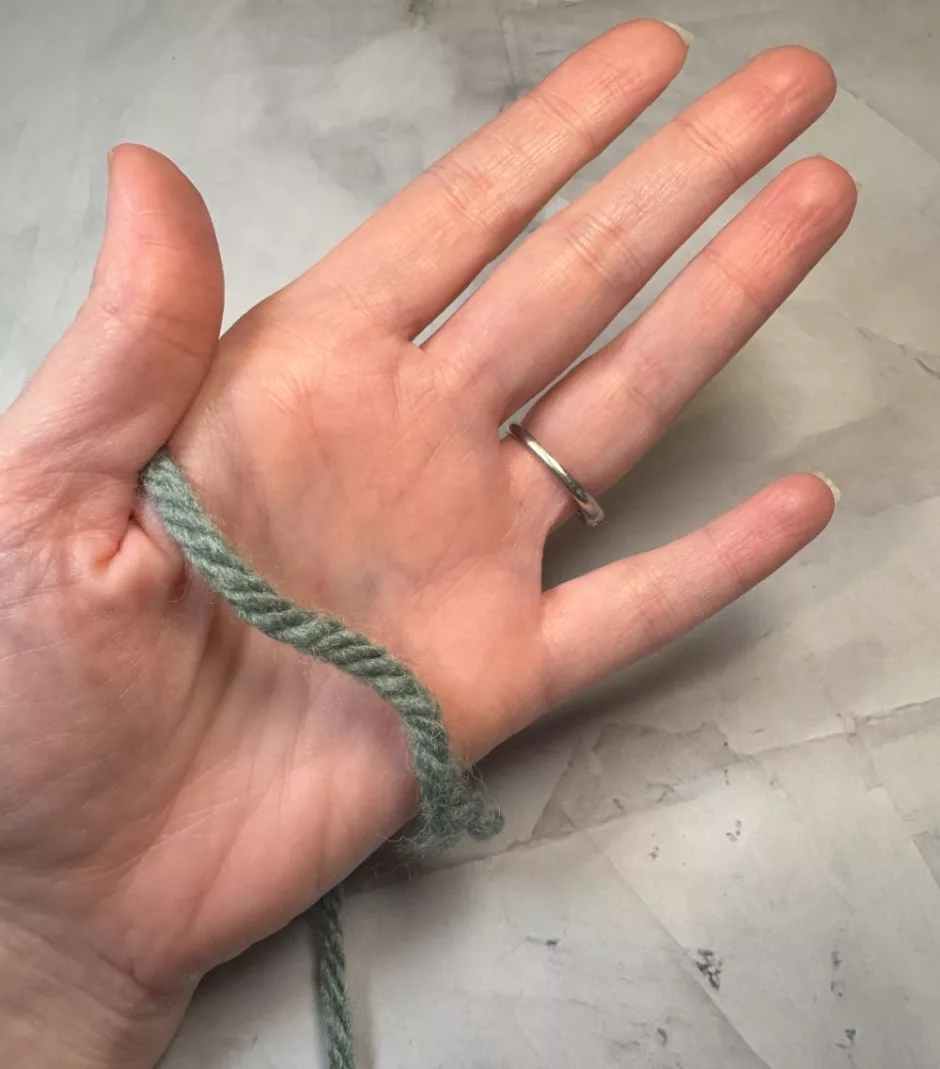
To begin, have your non-dominant hand so that your palm is facing you. In the photos I’m working on my left hand, but the process is the same working on your right hand if you’d rather. I’m also showing knitting over all four fingers, but you can use fewer if you want a narrower piece of knitting.
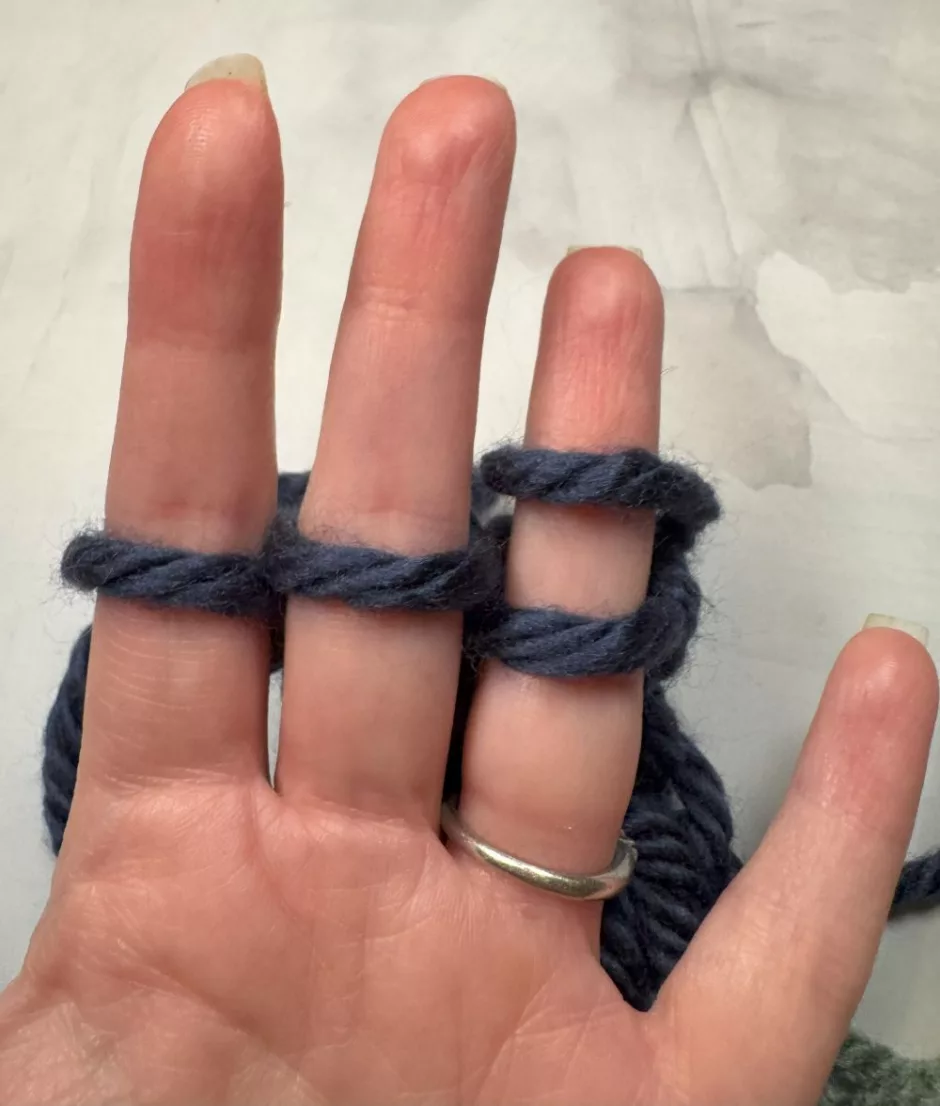
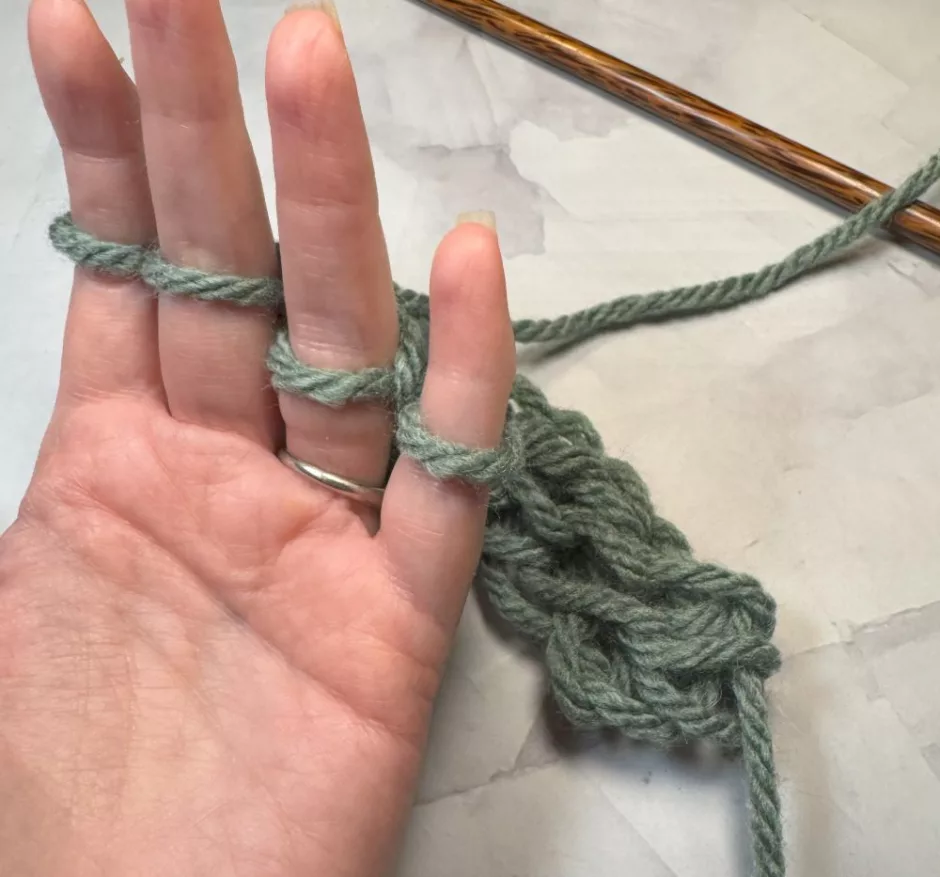
Leave a little yarn tail alongside your thumb. Begin weaving the yarn through your fingers — behind, in front, behind, in front.
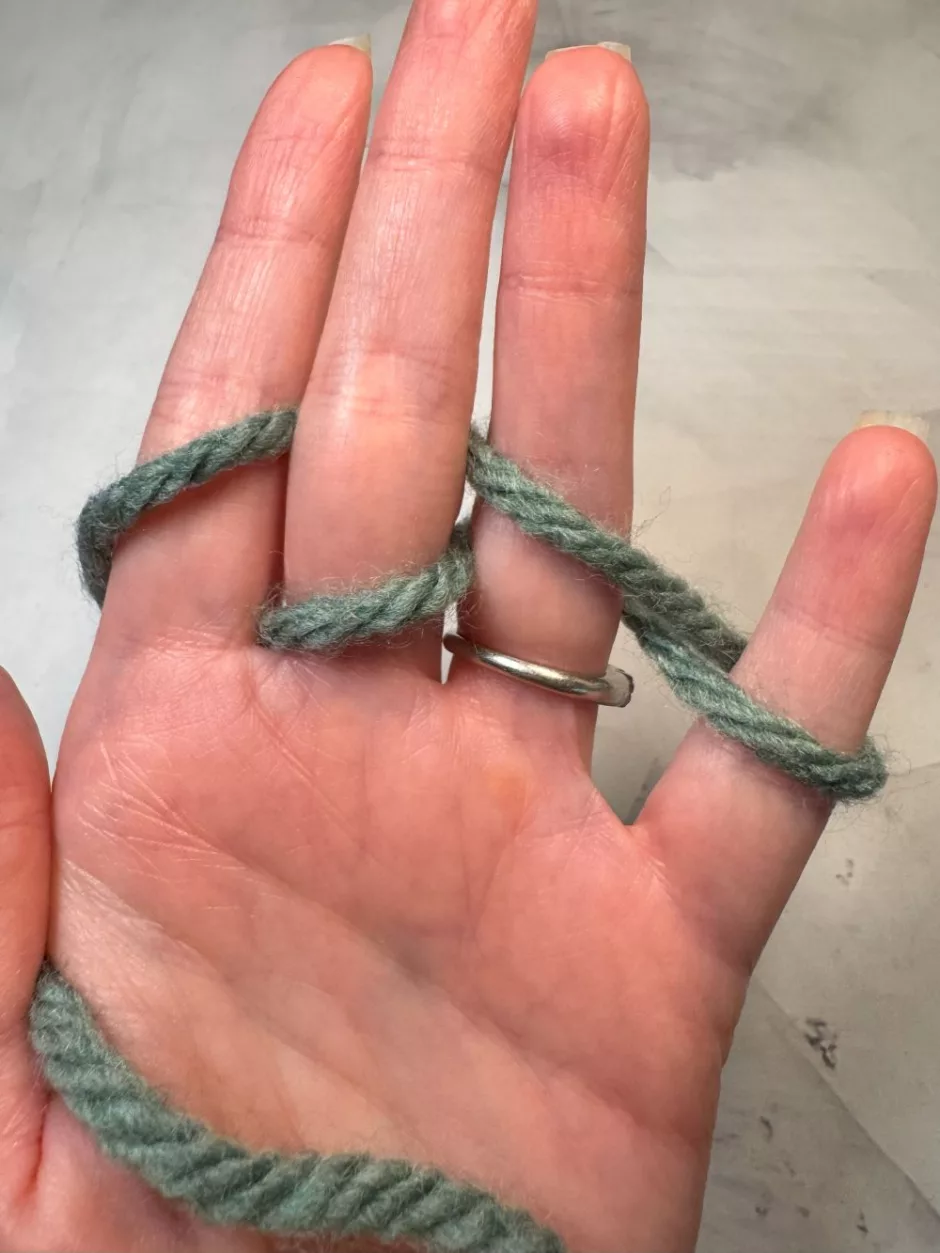
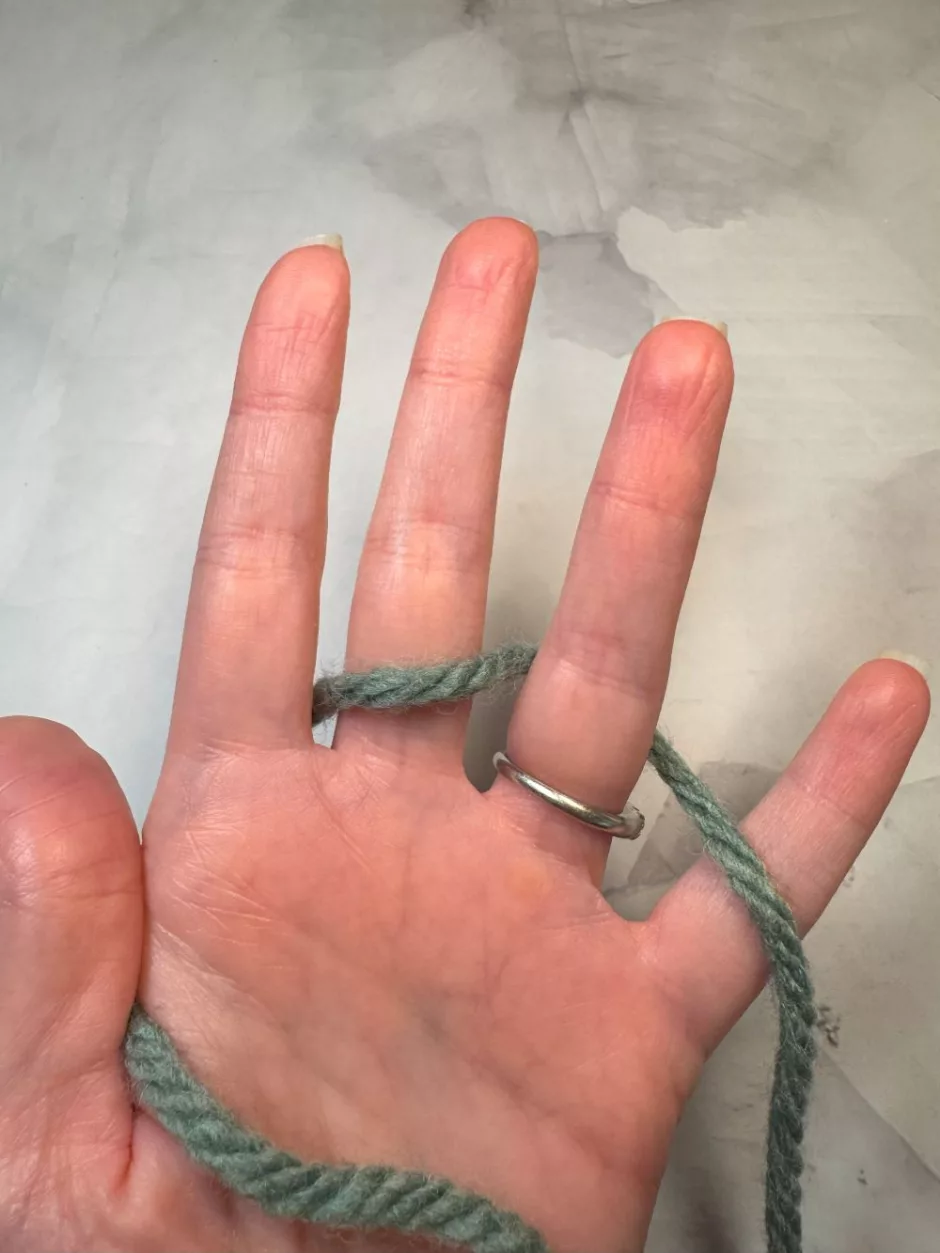
Go around behind your pinky and back across the opposite way — behind, in front, behind, in front.
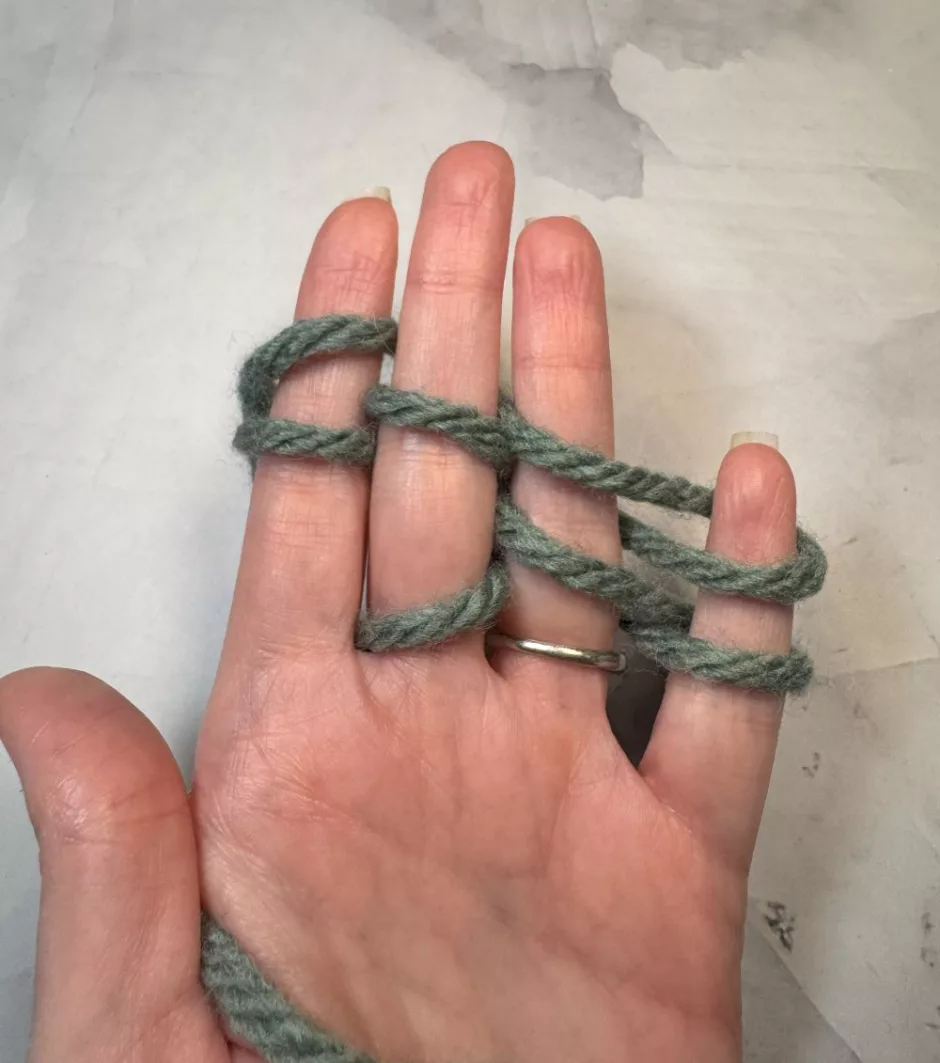
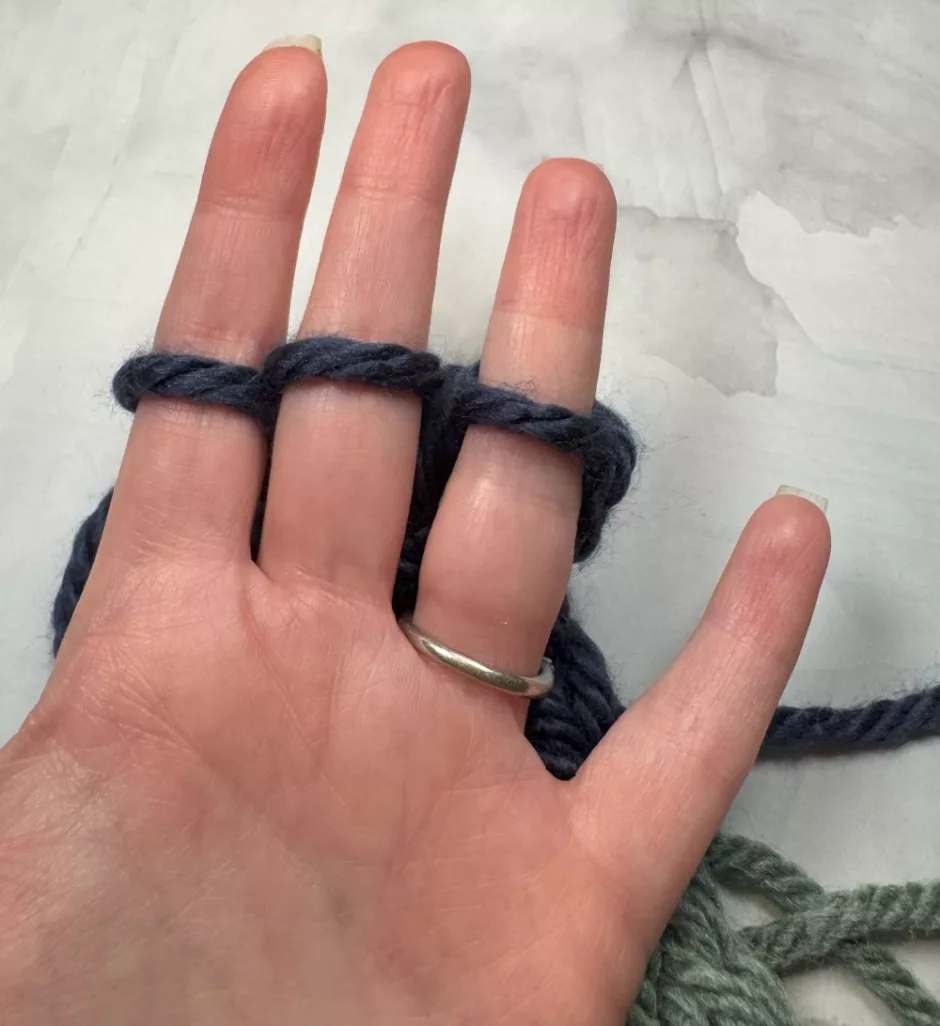
Go across and back in the same manner again so that each finger has two loops on it and the yarn is back by your thumb.
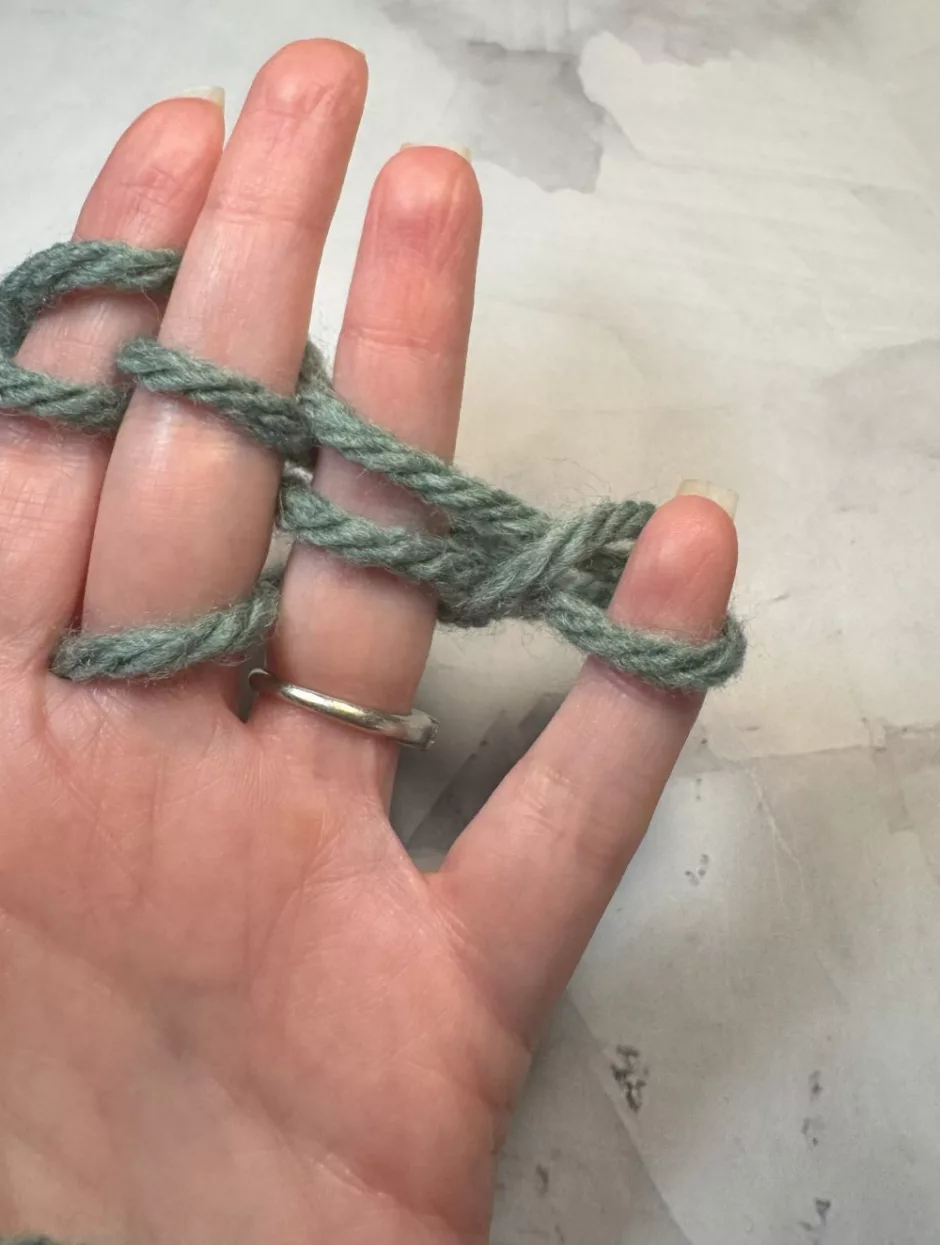
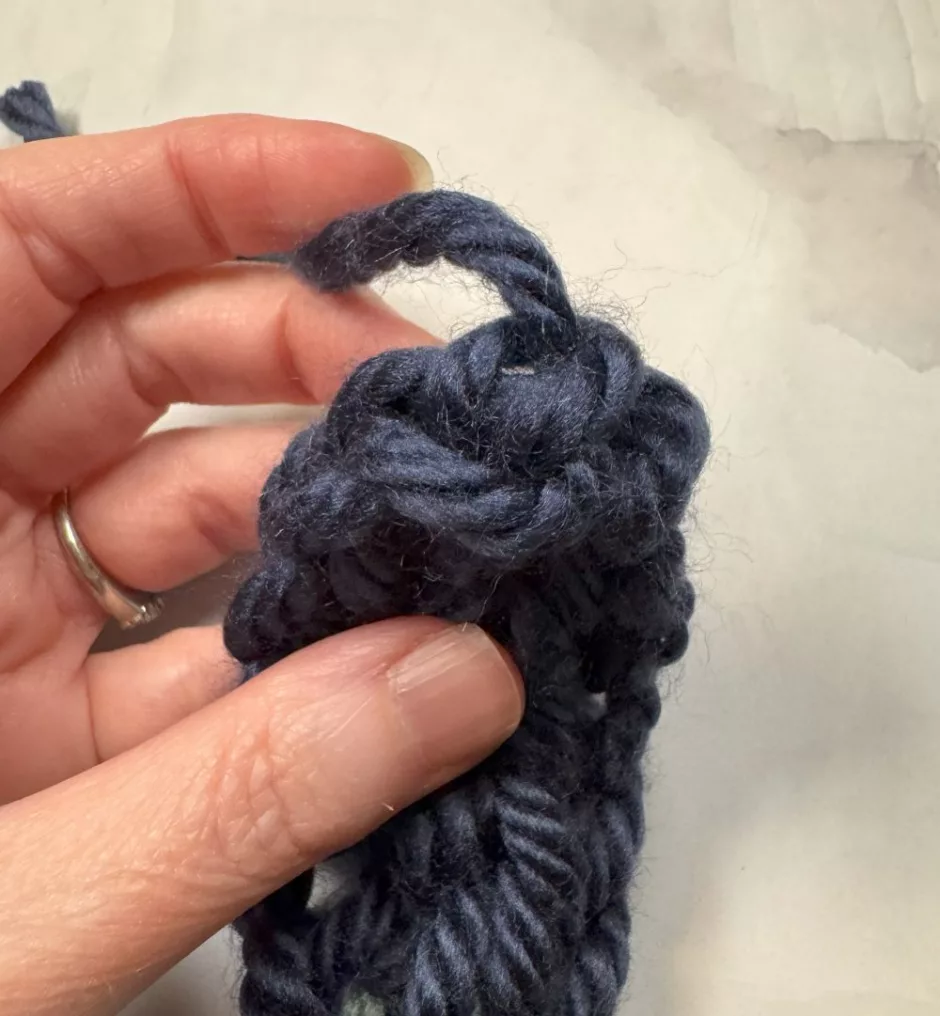
Lift the bottom loop up and over the top loop and off your finger. I start with my pinkie and work across, but you can go whichever direction you like.
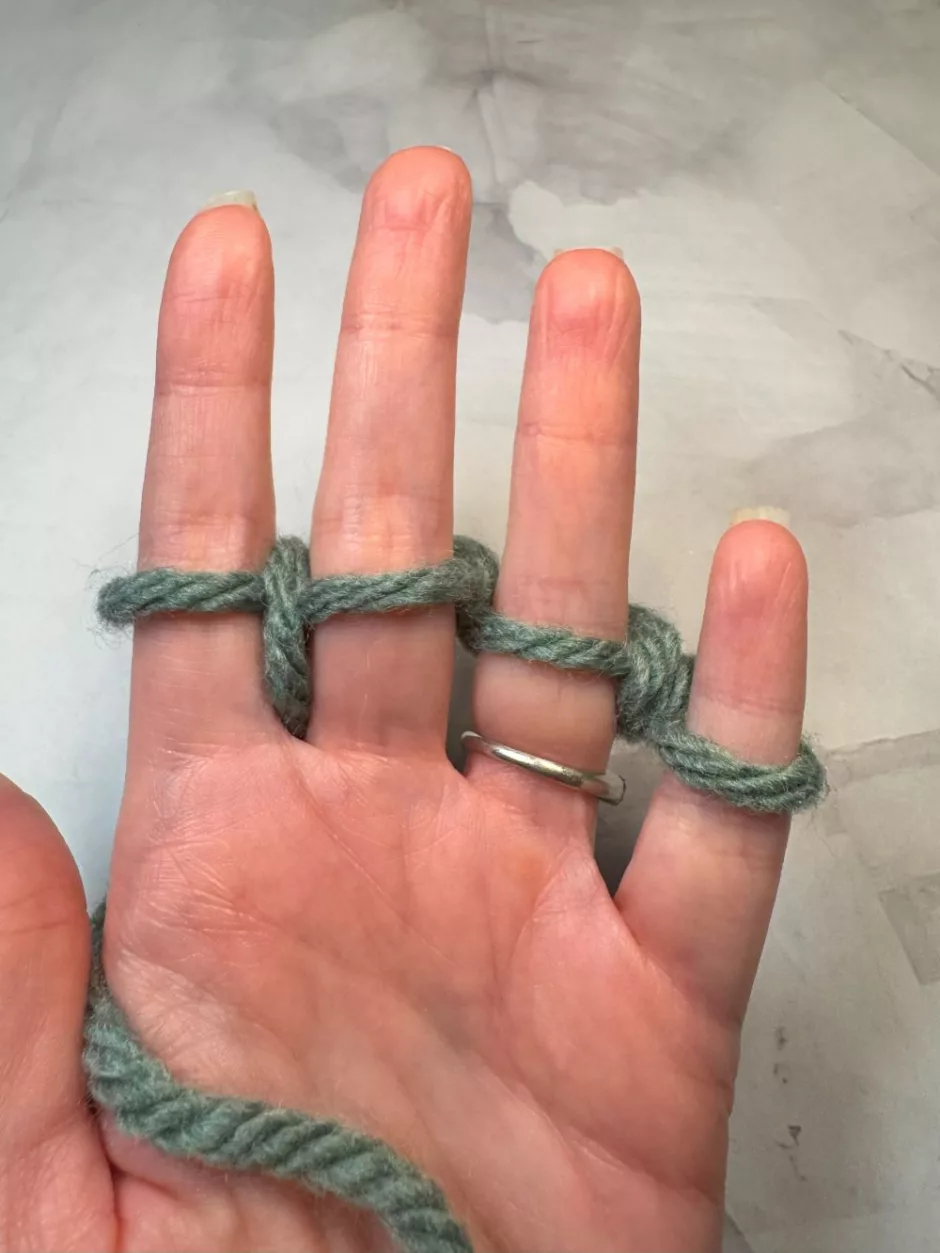
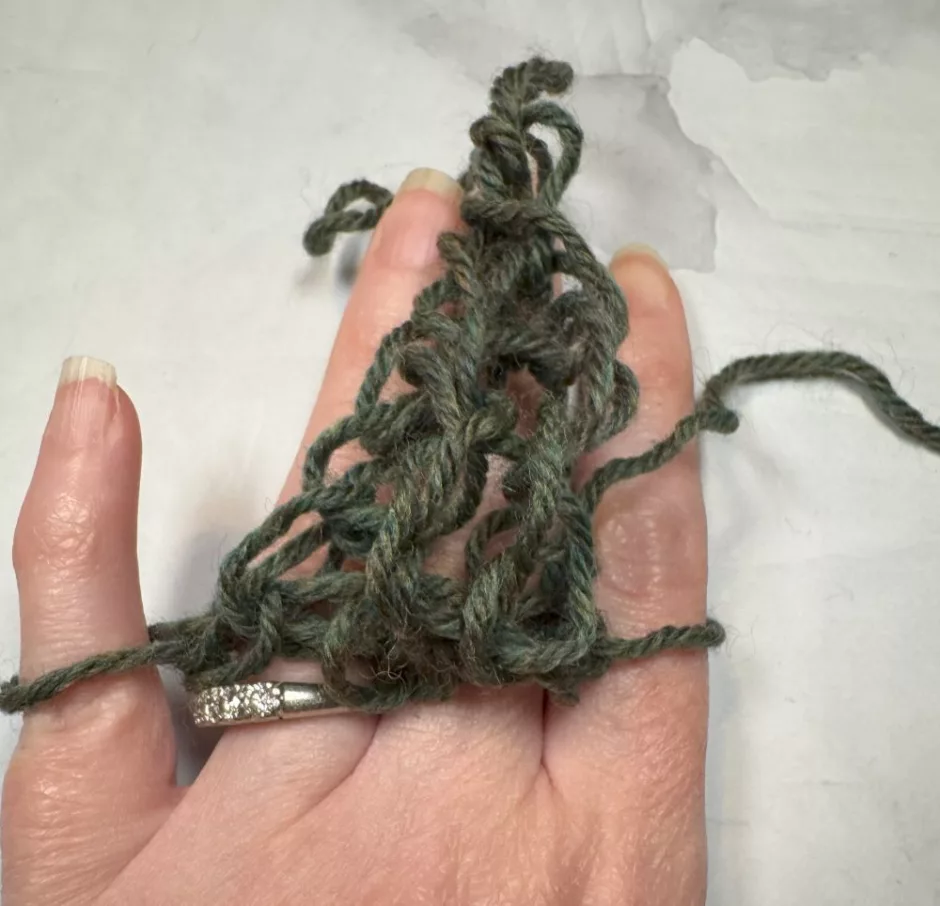
Wrap the yarn across and back again. Pick up the bottom loops again.
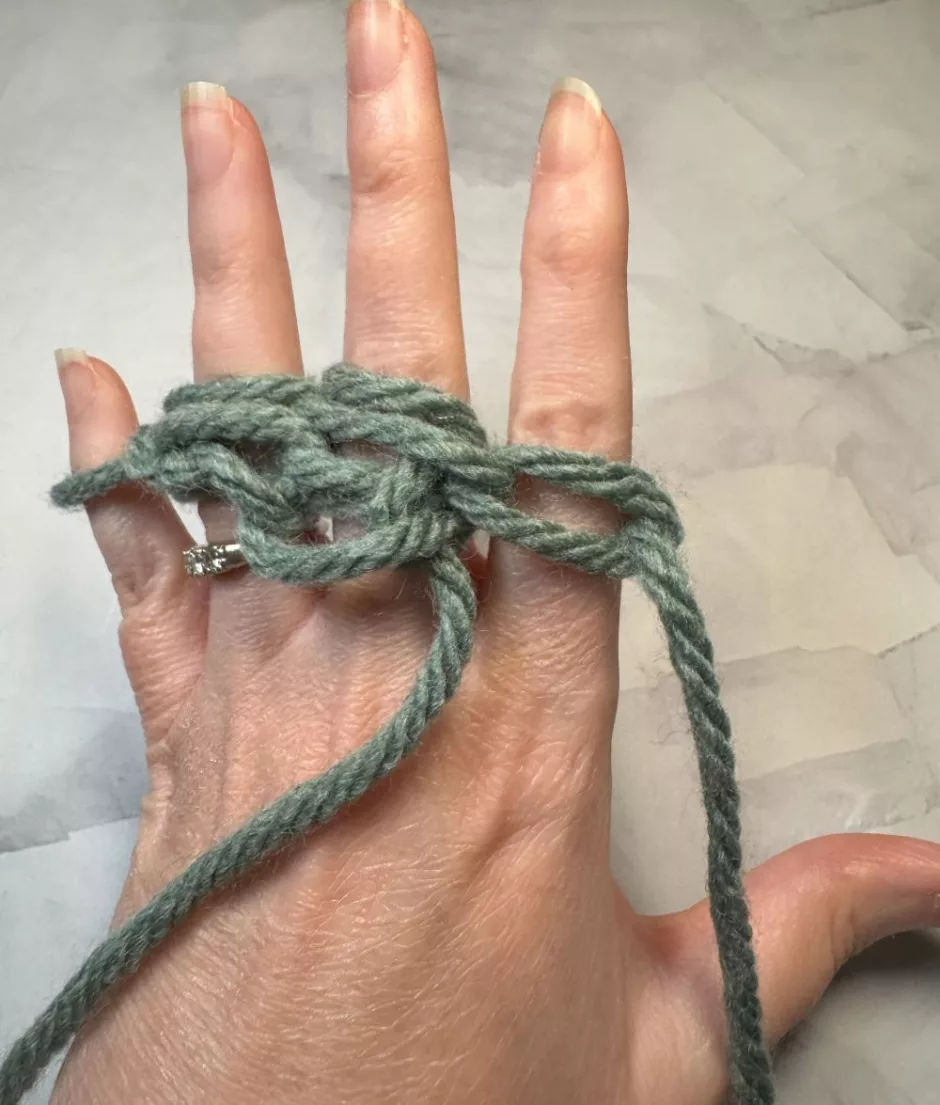
At first it looks like a mess, but it will come together.
That’s all there is to it! Repeat as long as you want.
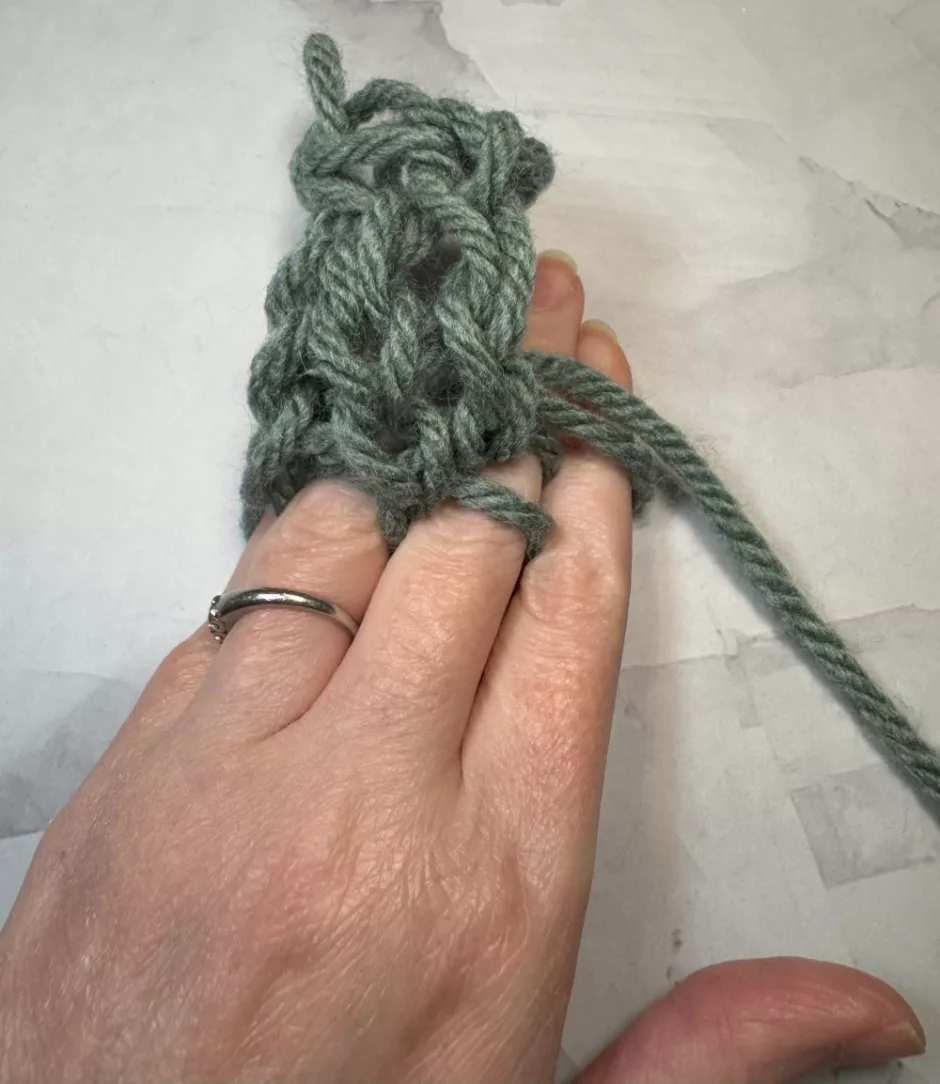
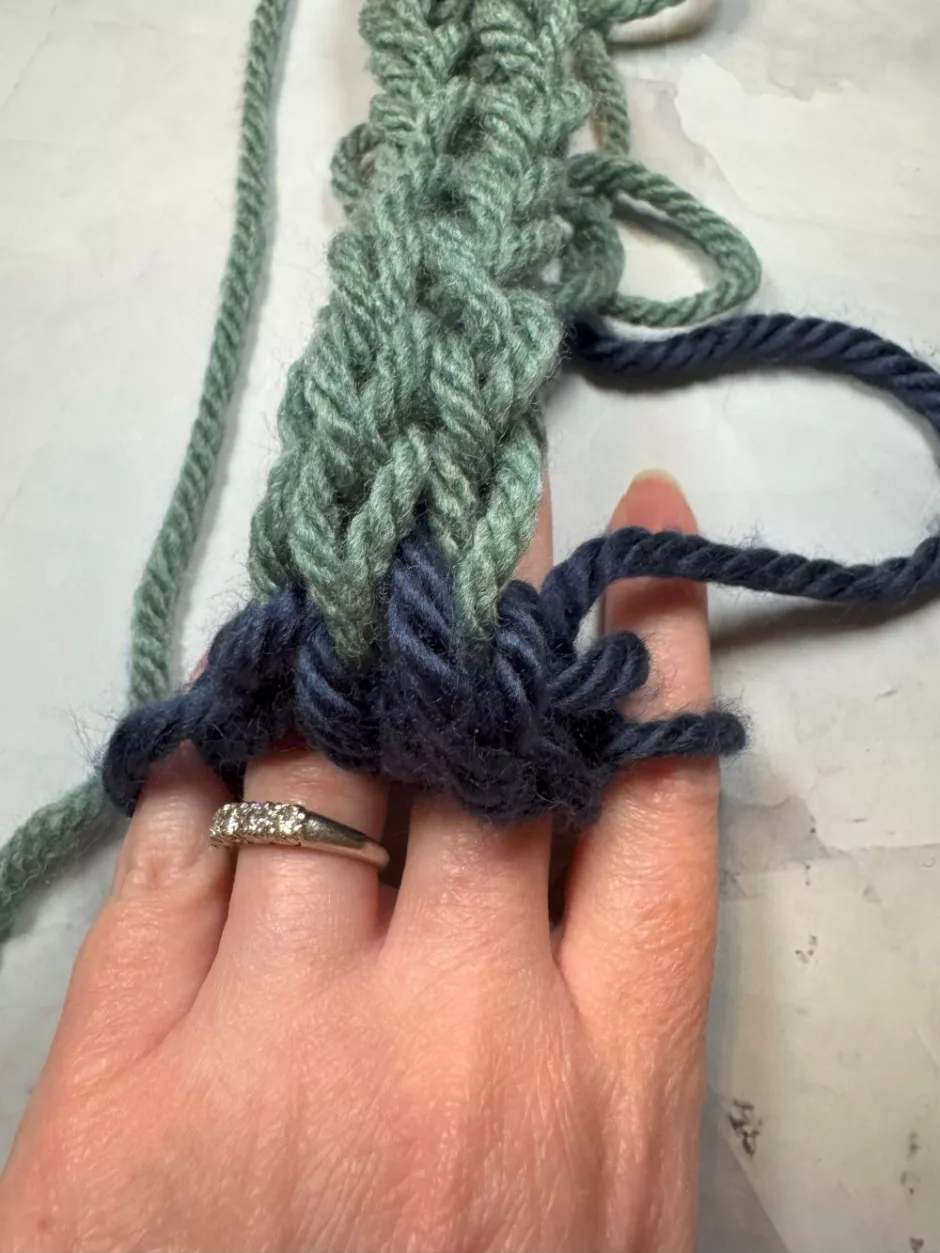
Every so often you’ll want to pull on the strand you are making to stretch the stitches and give them that classic v look we know and love from needle knitting (note that the v side is facing your hand).
To finish, I knit my last row (yes my color changed, more on that below), then take the loop off my pinkie and put it on my ring finger, then lift the ring finger loop up and over.
Move that loop to the middle finger and lift the middle finger loop off, then put that one on the pointer finger, pull the pointer finger loop up and off, leaving one loop left.
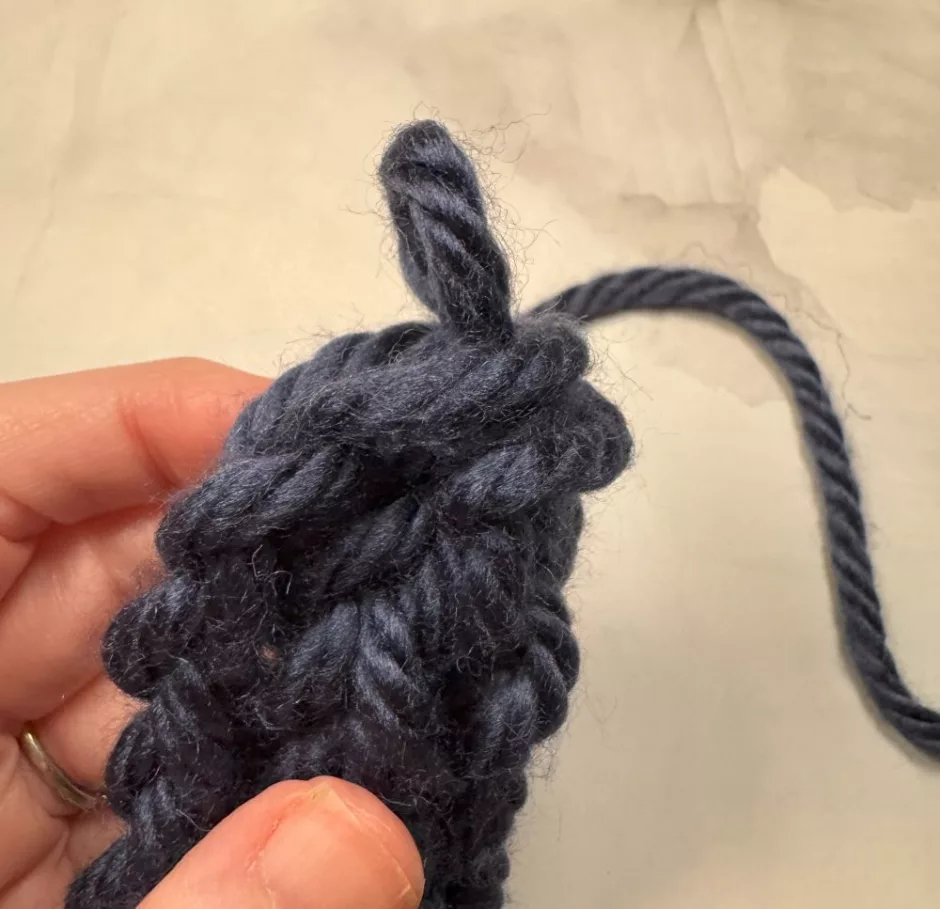
Cut your yarn and put the tail end through the last loop.
Finger Knitting Tips
If you find your stitches are really tight and hard to pull over your fingers, you could be wrapping your yarn too tightly. Try spreading out your fingers as you wrap or after you do to give a little more play to the yarn.
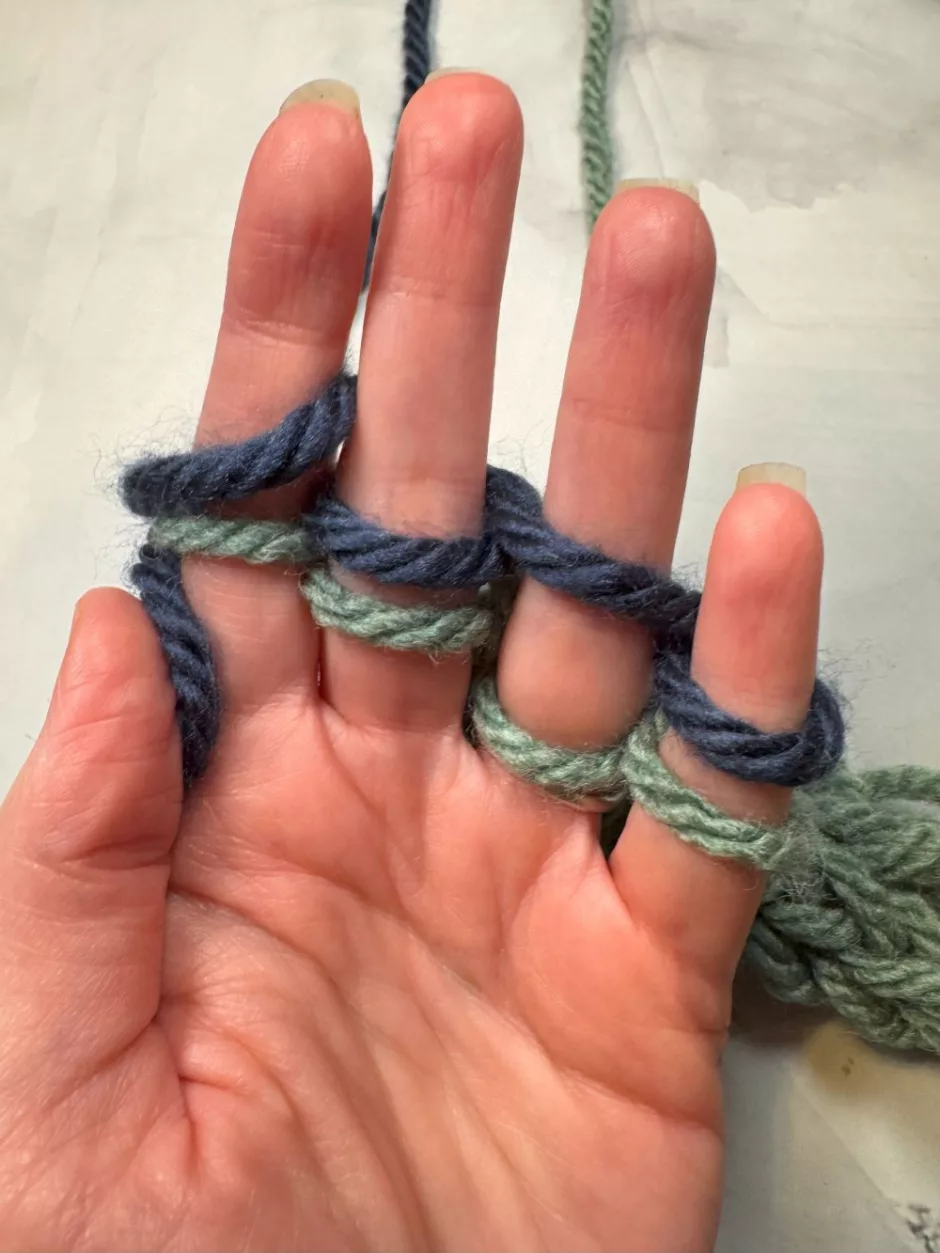
Want to change colors? Just leave a tail as you did at the beginning and start wrapping with the new color on the next pass of stitches.
You can change colors as often as you like.
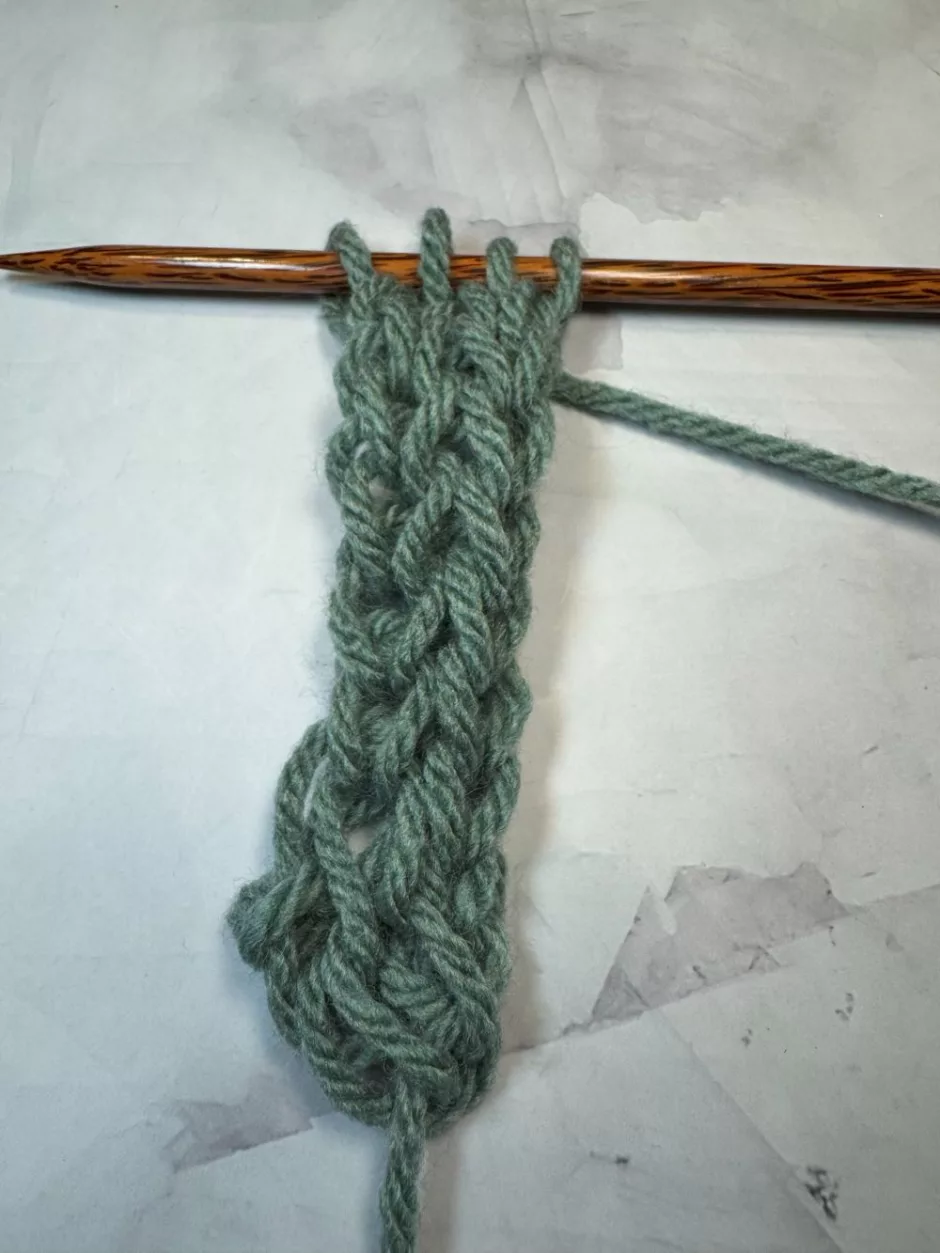
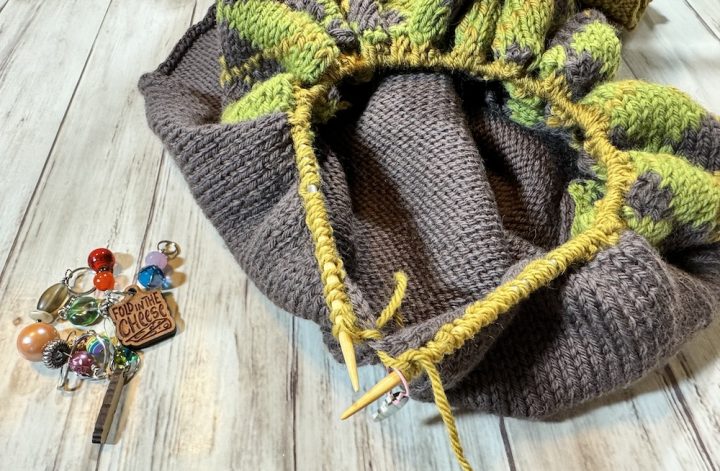
Need to put your project down? I like to use a knitting needle to slip the stitches off my fingers and hold them until I’m ready to get back to work. You can use a pencil if you don’t have a knitting needle handy.
Then just put the stitches back on your fingers (in the same order and with the work facing the same direction) as before and start wrapping and knitting as usual.
As mentioned above I prefer to work with a bulkier yarn when finger knitting, but try different weights and see what you like. This is a worsted weight yarn sample.
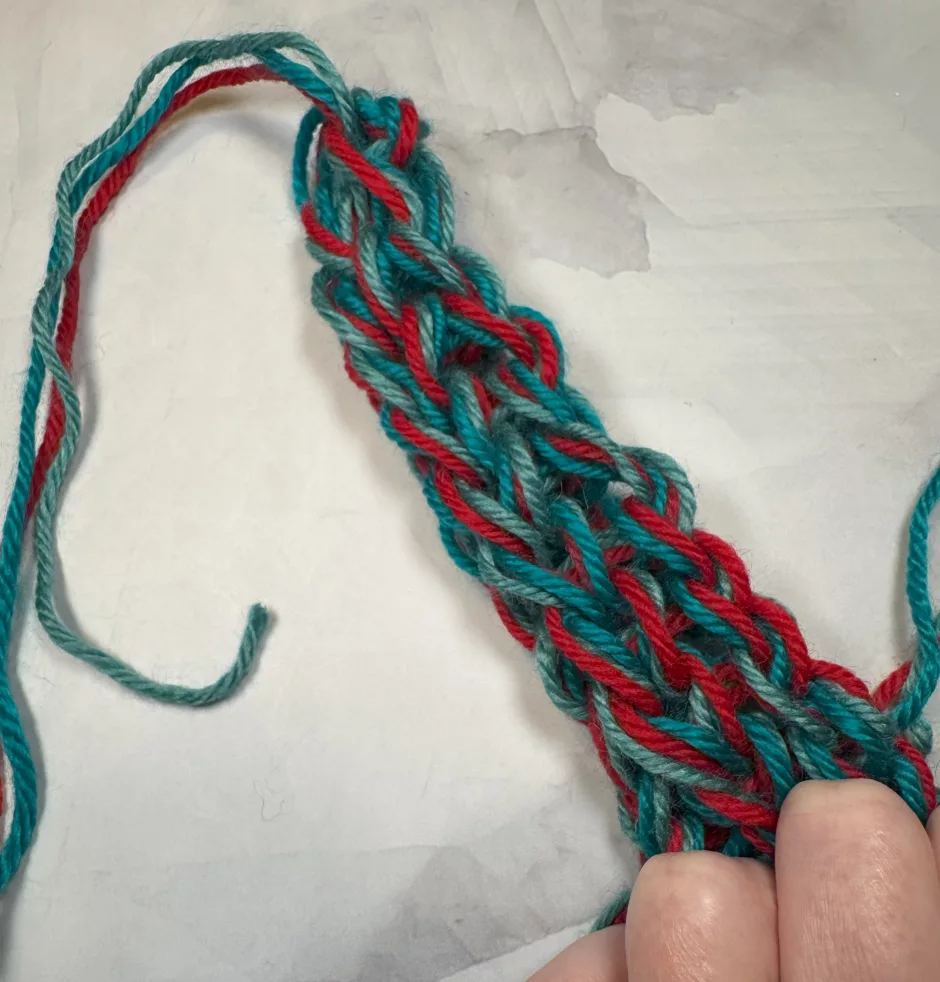
You can also knit with more than one strand held together, which makes for an even better stash busting project. This one is three strands of worsted weight held together.
I hope you found this finger knitting tutorial helpful. I can’t wait to see what you make.