Affiliate links may be included for your convenience. View our privacy and affiliates policy for details.
This garter stitch washcloth knitting pattern is a perfect first project for a new knitter, and I’ll walk you through everything you need to know to make it a success.

Why Start with a Washcloth?
A washcloth is a great first knitting project because it is small, so it’s relatively quick and easy to knit, even for a new knitter.
Also a washcloth is still useful even if the tension is weird, there are dropped or added stitches, or other problems that are common for first knitting projects.
Working a garter stitch washcloth is a perfect first project because it requires the fewest skills of any knitting pattern. You just need to know how to cast on, make the knit stitch and bind off.
And if you’ve never knit at all before, don’t worry. We’ll cover everything you need to know here.
Supplies for Knitting Washcloths
Washcloths should be knit using cotton yarn because it is absorbent, durable and easily machine washable.

There are lots of different brands of cotton yarn available, but probably the most common is Lily Sugar’n Cream, which you should be able to find at any big box retailer that sells yarn.

You can use any medium/worsted/yarn weight 4 cotton yarn for this project. Something like the symbol highlighted here should be found on the ball band, or the words medium weight or worsted weight. You’ll need about 45 yards, so one ball will be fine. I used the color cornflower.
You’ll also need knitting needles. A pair of size 7 US/4.5 mm knitting needles works well with this size of yarn. You can buy whatever material needles you can find. I like wooden needles for beginners because they grab the yarn a little bit and slow you down, but aluminum or plastic needles are fine, too.
To finish your washcloth you’ll also need a pair of scissors and a yarn needle.
If you want to follow along with the video tutorial, watch it here:
Getting Started Knitting a Washcloth
The first thing you need to do in order to knit your washcloth is to cast on stitches. Casting on is the way we put the loops on the needle that become our stitches.
I love to teach people who are learning to knit the knit cast on, because it uses the same moves as making the knit stitch.

To start you’ll need to make a slip knot and slide it onto one of your needles. Make sure it’s loose enough to slide on the needle but not so loose it falls right off. You’ll want to leave about 6 inches/15 cm of tail before the knot to weave in later.

Hold the needle with the slip knot in your left hand and the empty needle in your right hand. Take the tip of the right hand needle through the loop on the left hand needle from front to back.

Take the end of the yarn that’s attached to the ball and wrap it over the right hand needle counter clockwise. You can hold the yarn in either hand while you do this.

Hold onto the working yarn as you use the tip of your left index finger to push the right hand needle back through the loop on the left hand needle to the front of the work. There’s now a loop on the left hand needle and one on the right hand needle.

Pull on the right hand needle until the loop on it is big enough to lift up onto the left hand needle. Pull on the yarn end to tighten. Again, not too tight, not too loose. This takes practice so don’t worry if you don’t get it perfect the first time.

Repeat those steps as many times as you need to for the number of stitches you want. I used 30, which gave me a washcloth around 7 inches/17.75 cm square, but your washcloth can be as big or as small as you like.

Knitting the Garter Stitch Washcloth
Now that you have all the stitches you need, it’s time to knit. This is the beauty of learning the knit cast on, because you already know everything you need to make the knit stitch.
The needle with the stitches should be in your left hand and the empty one in your right. The yarn is at the back of the needle.

As before, take your right hand needle into the top stitch from front to back, wrap the yarn around the needle, bring it back to the front.

But this time instead of opening up the stitch and placing it on the left hand needle, you’ll just slide the old loop off of the left hand needle. This gives you one stitch on the right needle and one fewer stitch on the left needle than you started with.

Repeat this across. Now you have a full needle in your right hand and an empty needle in your left. You just knit your first row!
Now, flip the needle with the stitches on it over front to back and put it back in your left hand.

Repeat these steps again to knit the next row.

Continue until your washcloth is as big as you like. I like mine square.

You can test if your project is square without measuring it by folding the bottom corner up to the needle. If it makes a full right angle triangle, you’ve got a square.
Need more help with the knit stitch? Check out my full post on how to knit the knit stitch.
Finishing Your Washcloth
Once your garter stitch washcloth is the size you’d like, it’s time to finish up the project. We do that by binding off (sometimes also called casting off) which closes up the stitches so your hard work won’t unravel.
The most common bind off method starts by knitting two stitches.

Take the tip of the left hand needle and slide it through the first stitch you knit.
Pull that stitch up and over the second stitch and off the right hand needle. You’ve just bound off one stitch.

Repeat this across the row until you have just one stitch remaining on your right needle and none on your left.
Cut your yarn, leaving a tail of about 6 inches/15 cm.

Pull the last stitch so that the yarn tail goes through it.
Now it’s time to weave in the ends, which finishes off the project.
Thread your yarn needle with one of the ends and take it through a few of the stitches, following the path of the yarn that’s already there. Try to match the gauge of the existing stitches, don’t leave it too loose or pull too tight.
Once you’ve worked through a few stitches, change rows or change direction and work through a few more stitches.
Remove the needle, give your project a tug to ensure the tail is settled, then trim off the remaining tail.
Do the same thing with the other tail.

Congratulations! You just knit your first knitting project!
More Easy Knitting Projects for Beginners
If you want to try more garter stitch after finishing your garter stitch washcloth, here are a few more patterns for you to try:
- Garter Stitch Scarf
- Garter Stitch Hot Pad
- Bias Knit Washcloth in two colors (learn basic increases and decreases)
- Garter Stitch Bow Cowl
- Garter Stitch Cowl worked in the round (this one requires knowing how to purl, too)
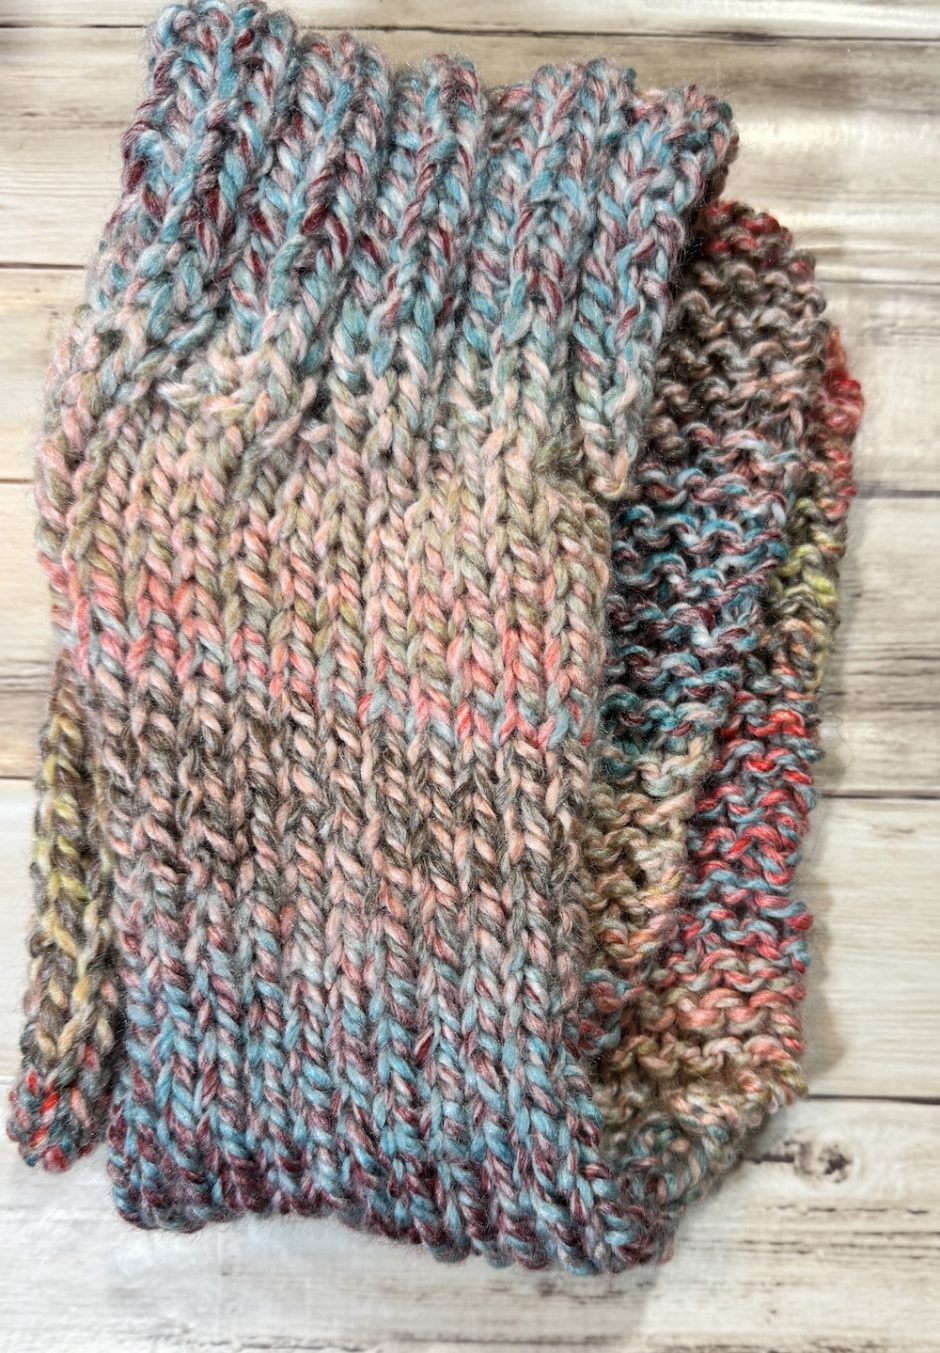
Ready to move beyond garter stitch? Try my sampler scarf knitting pattern shown above that includes garter stitch, stockinette (which alternates rows of knits and purls) and ribbing (combining knits and purls in the same row). You can even throw in some increasing and decreasing if you want.