Affiliate links may be included for your convenience. View our privacy and affiliates policy for details.
One of the first knitting projects new knitters usually make is a garter stitch scarf. I used to always teach knitting with bulky yarn and a simple garter stitch scarf (though washcloths are also good because they can be finished faster).

A garter stitch scarf teaches you a lot of the basic skills you need in knitting, including casting on, the knit stitch and binding off. And while it might sound totally simple (and it is) there are lots of ways to change up this basic “pattern” to make it your own.
Single Color Garter Stitch Scarf
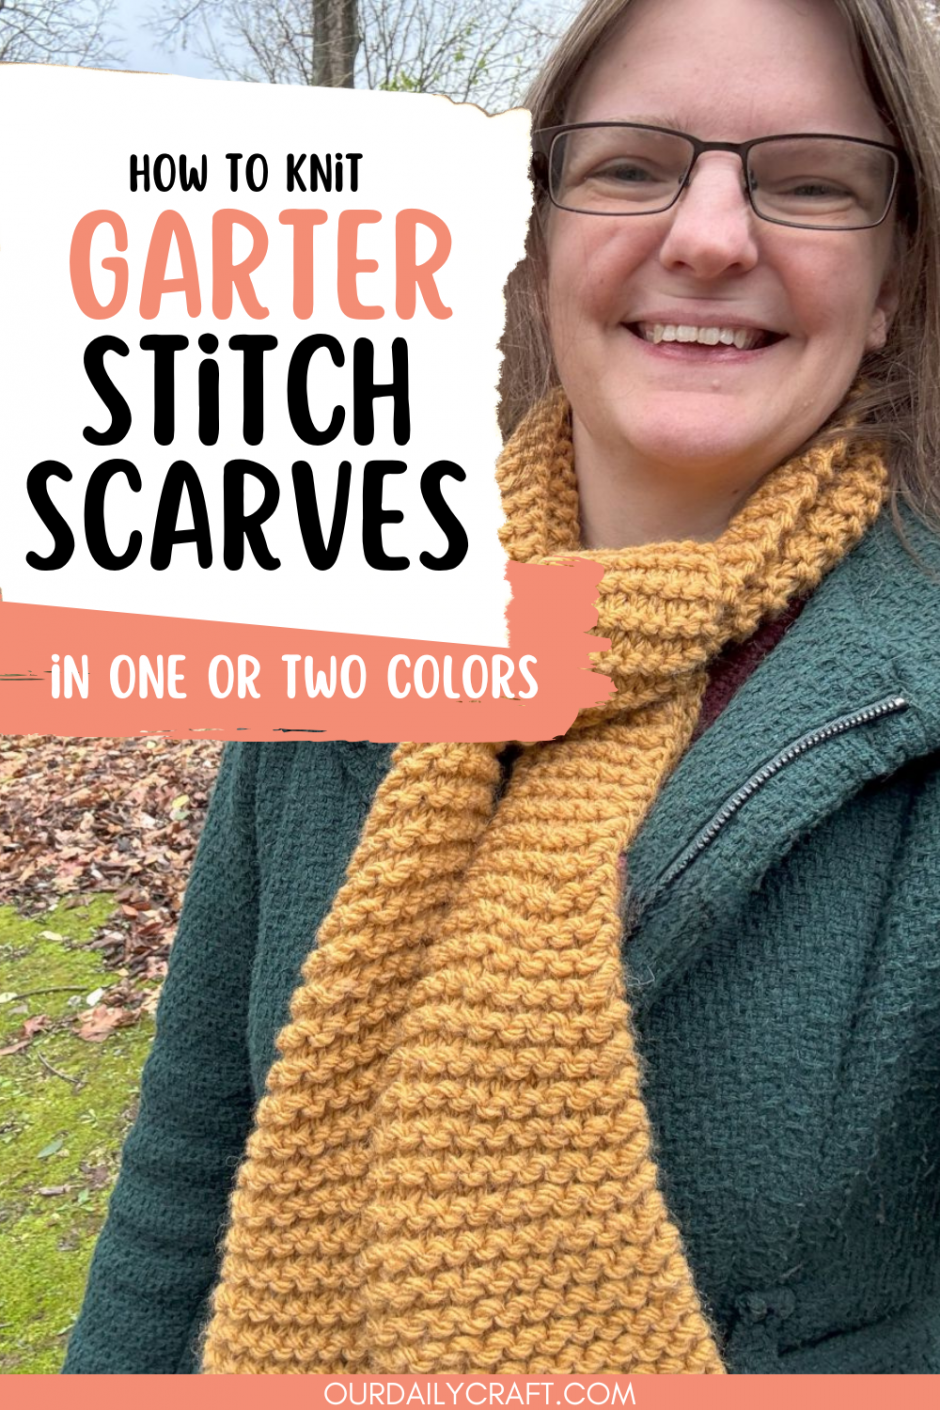
This most basic pattern is how I like to start people knitting. It uses a skein of bulky weight yarn (in this case, Lion Brand Hue & Me in color Mustard, but you can use any bulky yarn you like, as long as you have around 137-150 yards) and a pair of size 10.5 US/6.5 mm or 11 US/7 mm knitting needles. I used 11 because I found them first.

Cast on 15 stitches. If you’re totally new to knitting, the knit cast on is a great place to start because it teaches you almost everything you need to know to make a knit stitch.

Knit every stitch of every row (that’s garter stitch!) until you have about a yard of yarn left.

Bind off. Cut off the remaining yarn, leaving a tail of about 6 inches. Weave in ends.

This particular scarf came out to 5.5 inches/14 cm wide and 44 inches/111.6 cm long, which is a great size for tucking into your coat.

Two-Color Garter Stitch Scarf Knitting Pattern
But what if you want to change it up a little bit? It’s almost as easy to knit a scarf using two colors as it is one.

Here you’ll need a skein each of two different colors, or about 130 yards of each color (though you’ll use less of the color at the ends; probably about 100 yards total).
I used a slightly thinner (but still classified as bulky) yarn for this one, SWTC Saphira, which has been discontinued. For the same look choose a singles yarn that’s lightly spun, such as Patons Classic Wool Roving. I also used size 11 needles for this one so you could see the difference in gauge with different yarns.
This one came out more like 5 inches/12.7 cm wide on the same number of stitches. Because I had more yarn to play with I made a longer scarf, too. This one is 72 inches (aka 6 feet, or 1.8 meters).
I did the exact same thing, casting on 15 and knitting every stitch of every row.

After I worked 12 inches/30.5 cm, I changed to the second color of yarn. To do this, just leave a bit of a tail from the new yarn and beginning knitting at the beginning of the row. Cut the old yarn, leaving a tail for weaving in. Those first couple of stitches might look and feel a little weird, but once you weave in the ends they’ll be fine.

Knit with the second color to 12 inches/30.5 cm from your desired length. Change back to the first color and knit 12 inches again. Make sure you change colors on the same side of the scarf so the broken rows are both on the back of the scarf. (It helps to make these even if you count rows; each ridge is two rows of knitting).

Bind off, cut the yarn, leaving a tail and weave in all ends.
Other Simple Scarf Changes
Once you know how to change colors you can make stripes just as easily as you can make color blocks.
You can also use a different weight of yarn and cast on more or fewer stitches as you like to get a wider or narrower scarf.
Try holding two strands of yarn together while you knit, especially if one is mohair or otherwise fuzzy.
When you’re done, you can turn your scarf into a cowl by sewing the cast on and bind off edges together, then loop it around your neck.