Affiliate links may be included for your convenience. View our privacy and affiliates policy for details.
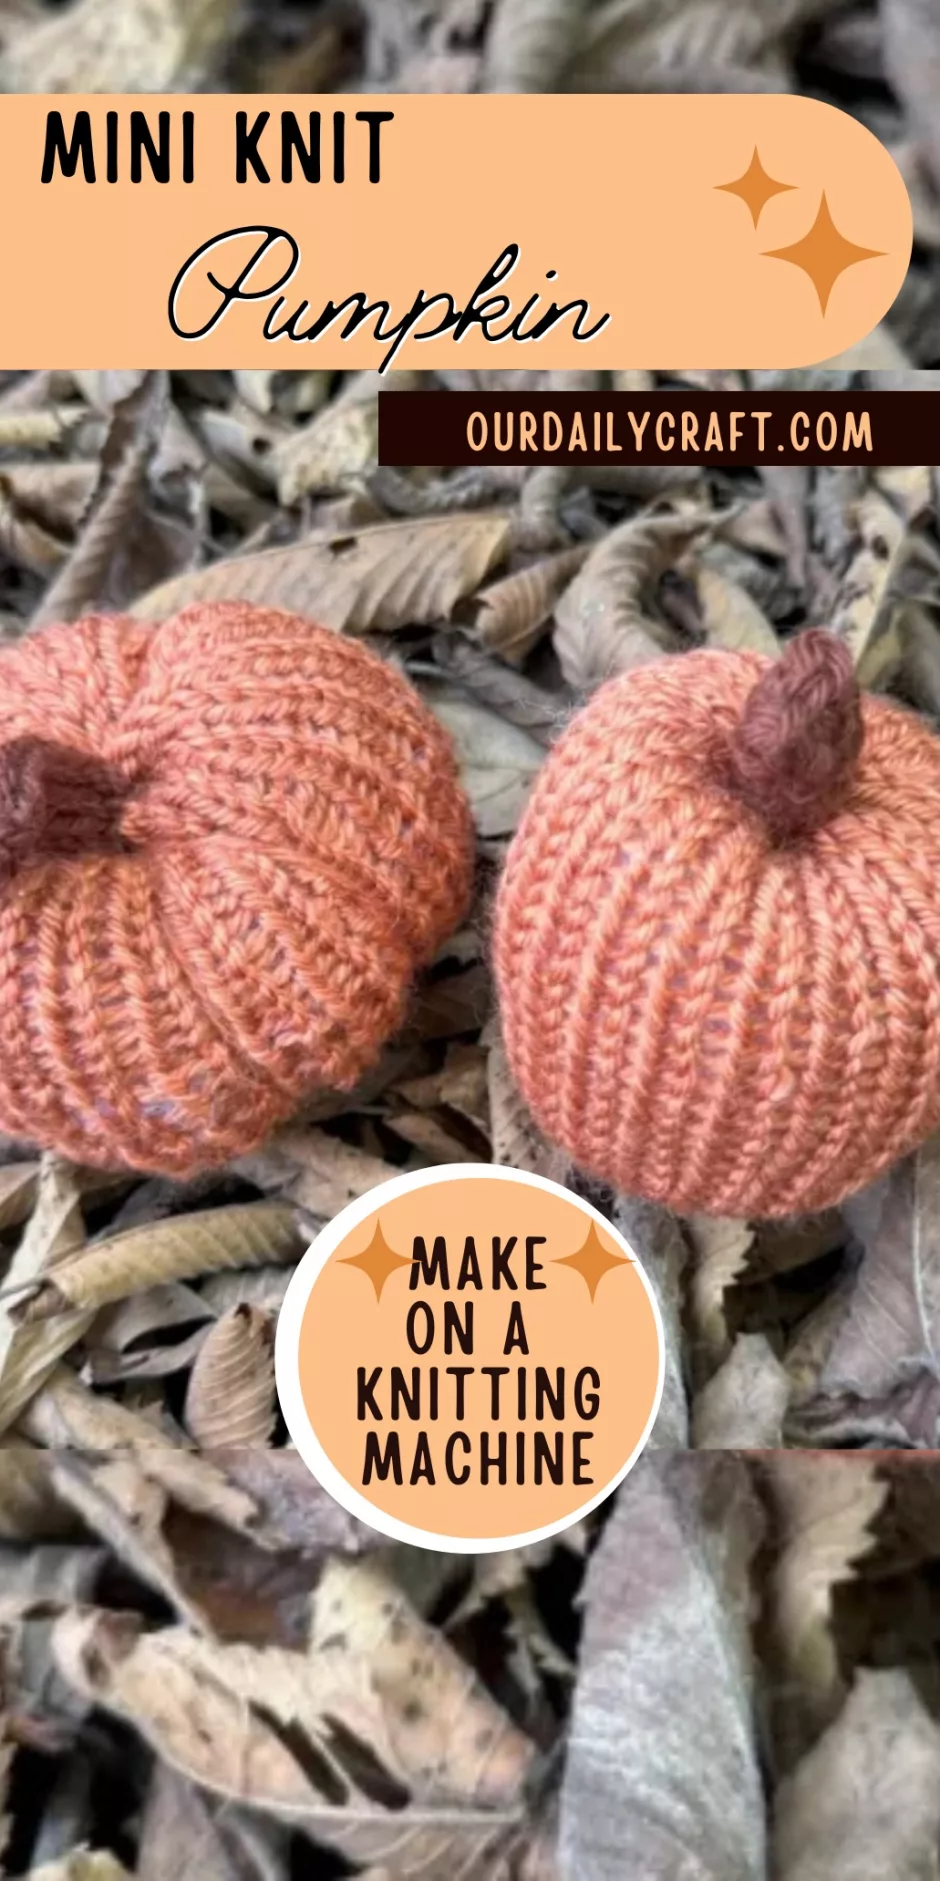
This knit mini pumpkin pattern made on the circular knitting machine is quick and easy to make, and you can do it a few different ways (and in different colors!) to make a bunch of pumpkins in no time.
Materials
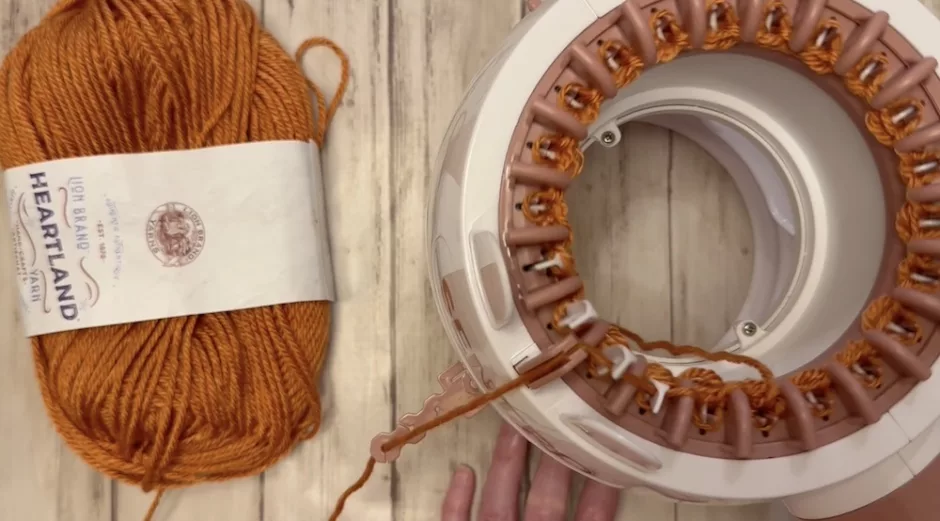
I have only made this knit mini pumpkin pattern with worsted weight yarn (specifically Lion Brand Heartland in Gateway Arch) but you could do it with DK weight yarn and get a slightly smaller pumpkin. You’ll probably need 15-20 yards of yarn per pumpkin.
If you want to knit or crochet a stem to go on top, you’ll need a small quantity of brown yarn as well.
You’ll also need a 22-pin circular knitting machine. I use the Sentro but an Addi or whatever brand is totally fine.
For finishing you will need scissors, a yarn needle and whatever stuffing you want to use. I used regular Polyfil.
Size
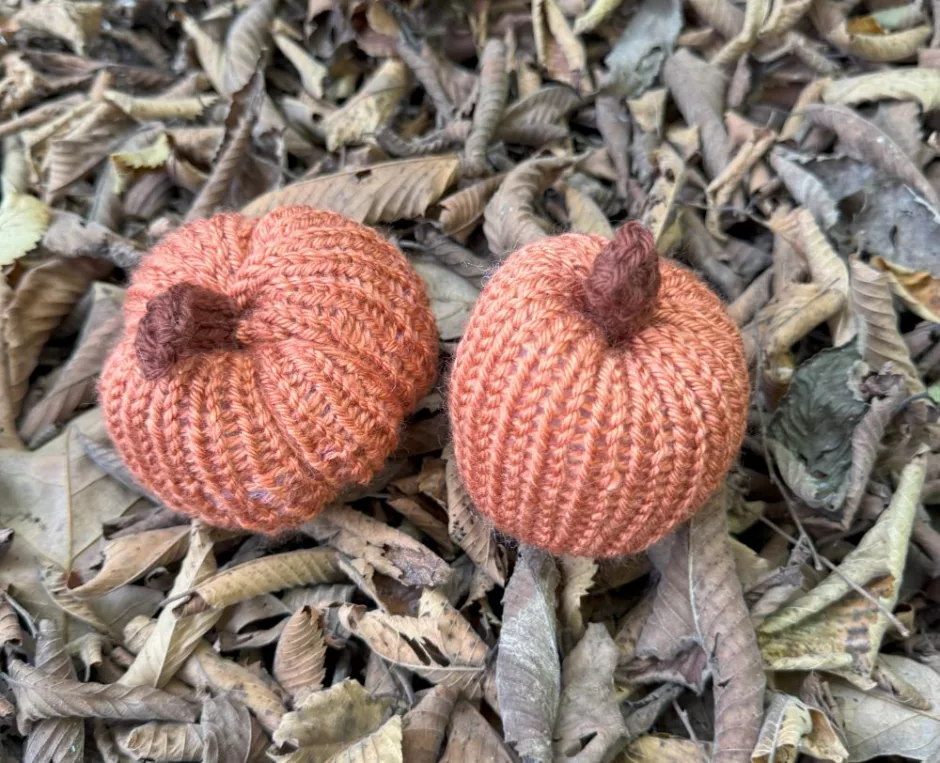
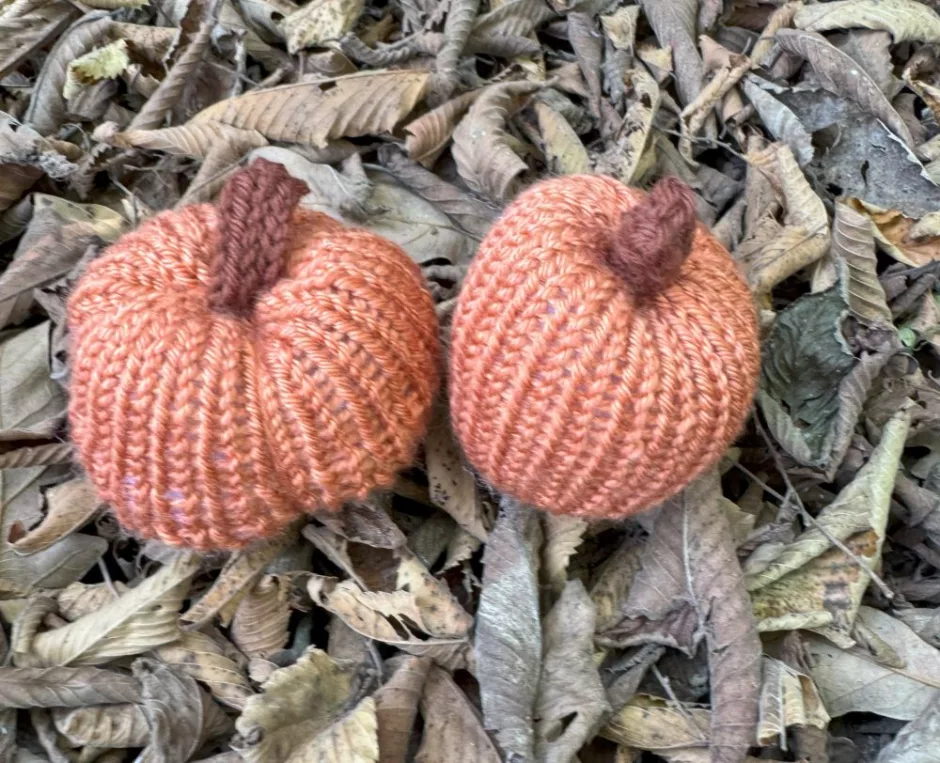
The size of your knit mini pumpkin will vary depending on how many rounds you work and how you stuff and finish it. The smaller one is about 9.5 inches/a little more than 24 cm around, while the bigger one is 12 inches/30.5 cm around. They are both about 3 inches/7.6 cm tall, excluding the stem.
Knit Mini Pumpkin Pattern
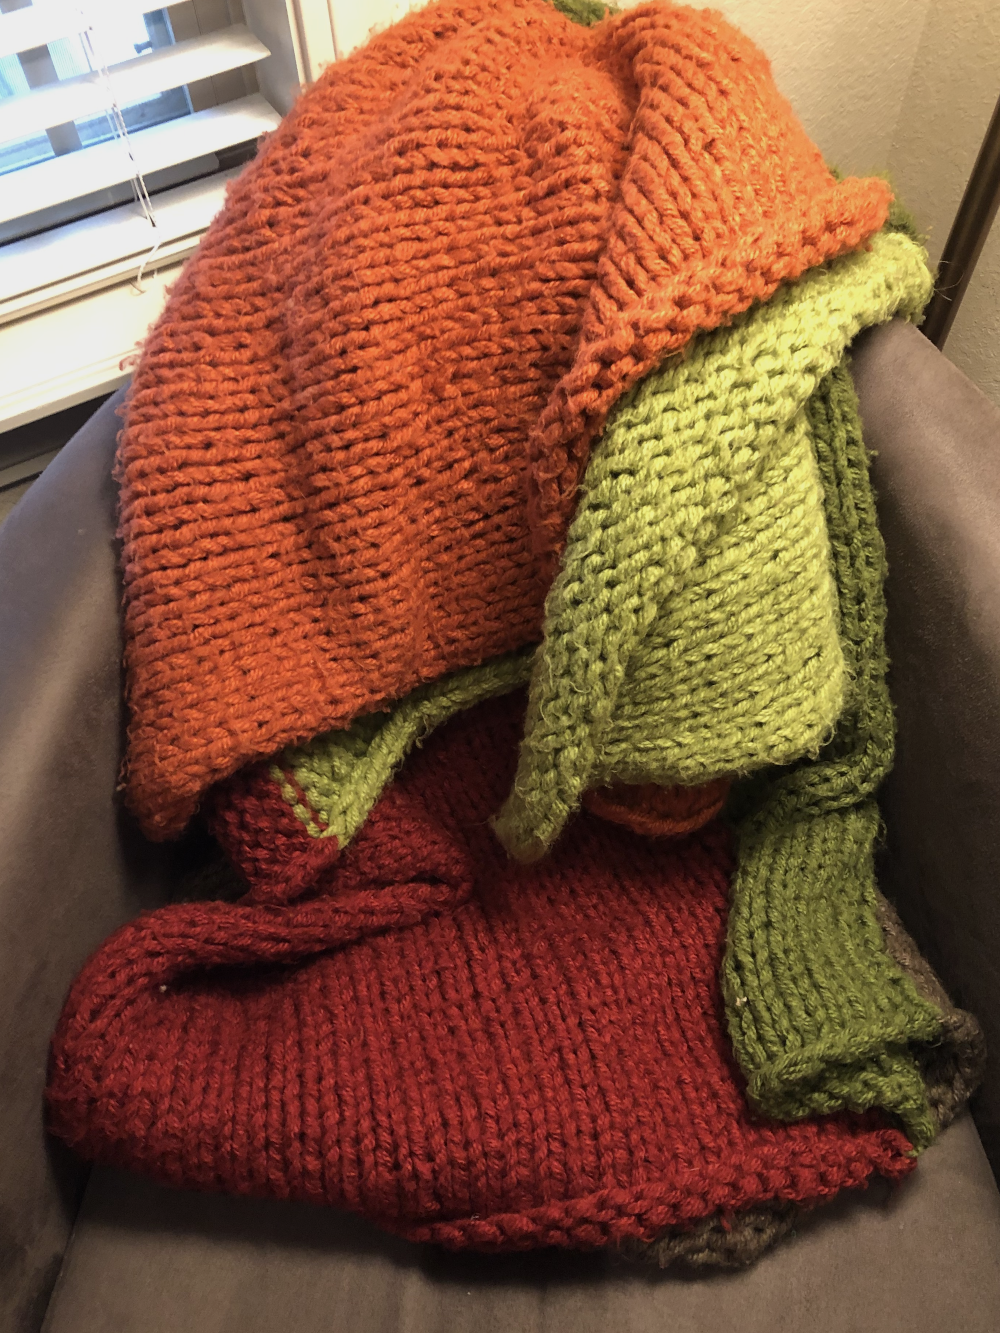
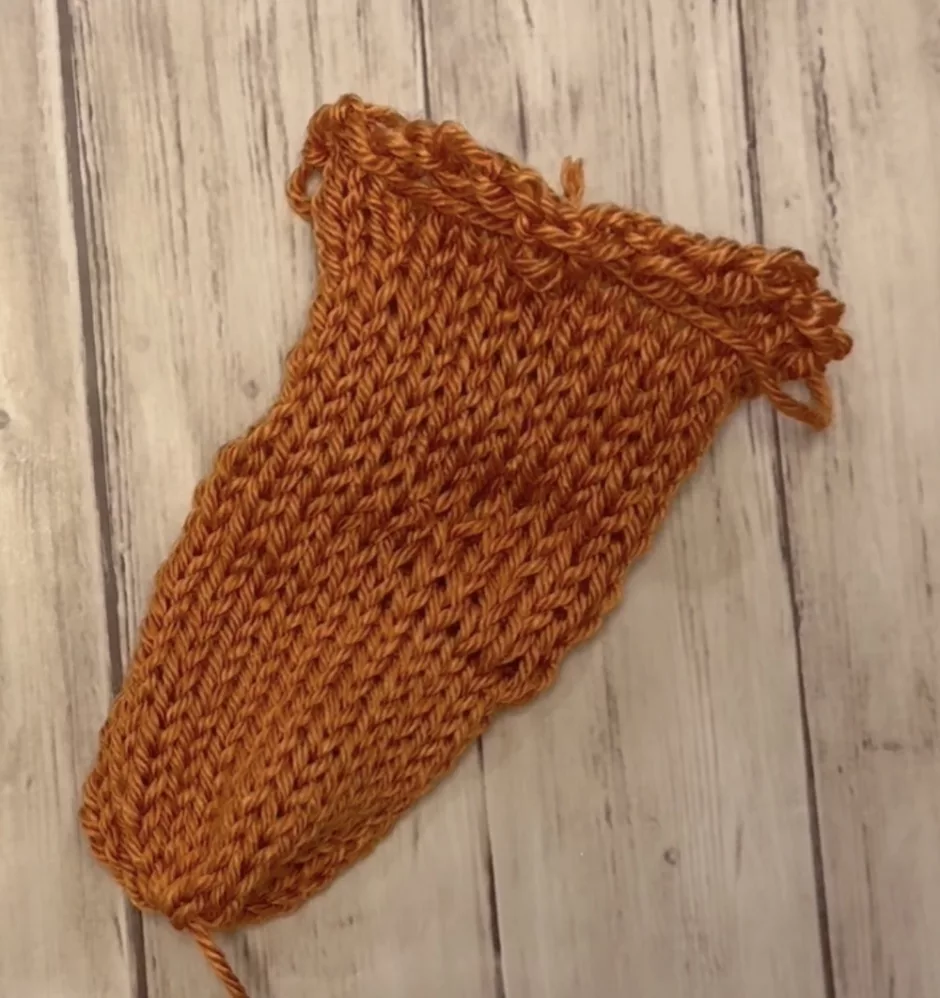
Using your orange yarn, cast on to your knitting machine by putting the yarn in front of the first hook and behind the second around.
Crank 25 to 30 rounds. The smaller one is 25 rounds and the bigger one is 30.
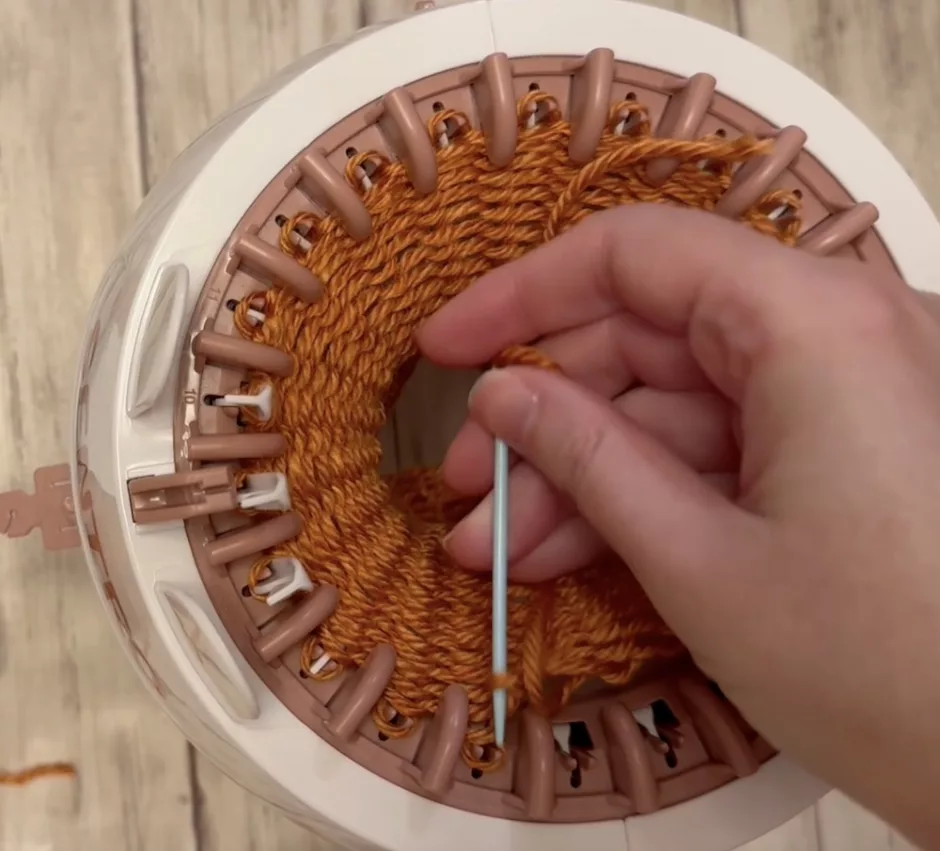
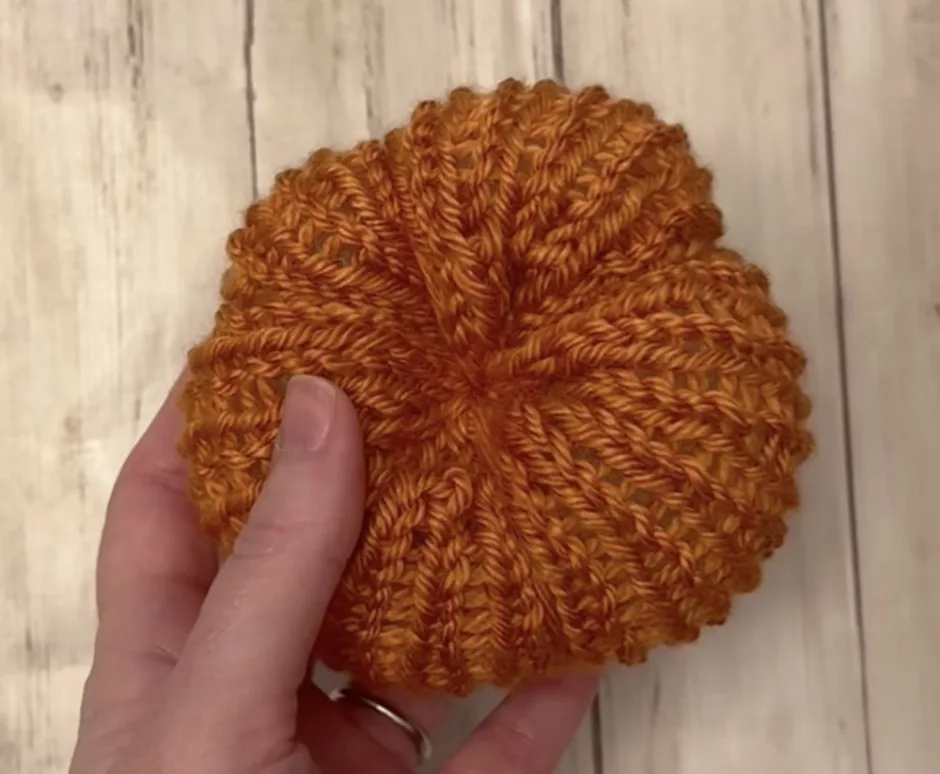
Cut yarn, leaving a long tail. Thread the yarn onto a yarn needle and crank a round, picking up the stitches and putting them on the yarn as you go.
Pull tight on the yarn and take the yarn needle through the stitches again to help tighten up the hole. Then put the needle through the hole and take the yarn to the inside of the pumpkin.
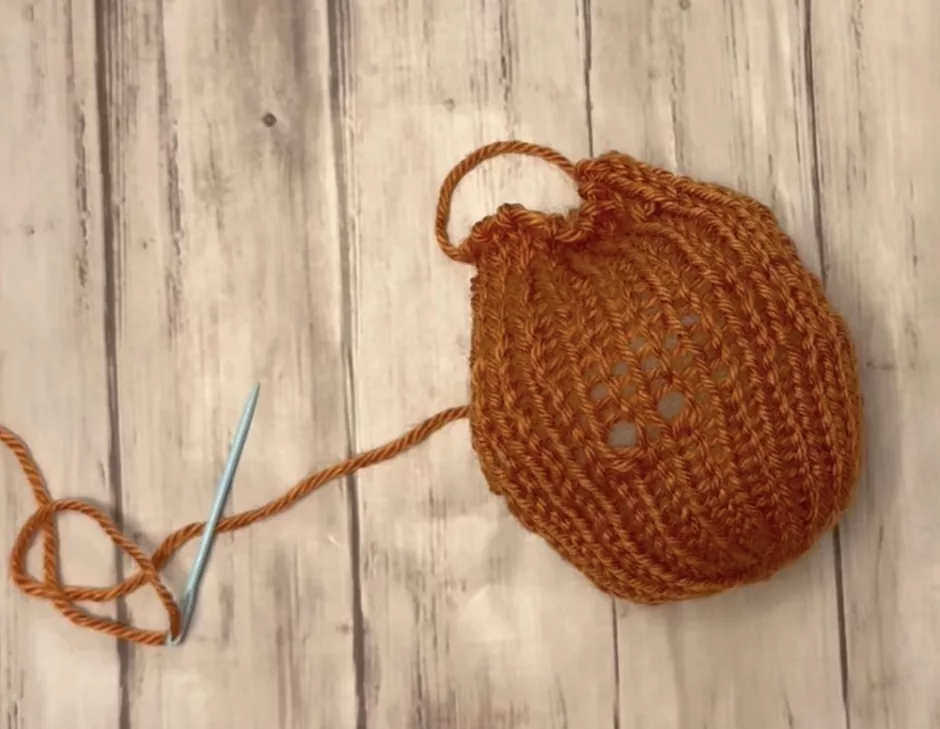
Stuff the pumpkin as desired. It helps to start pulling on the yarn end at the other side as you go to see how stuffed you’re making your knit mini pumpkin.
When the stuffing looks the way you want, pull on the yarn at the top to close. Thread yarn onto a yarn needle and close up the top.
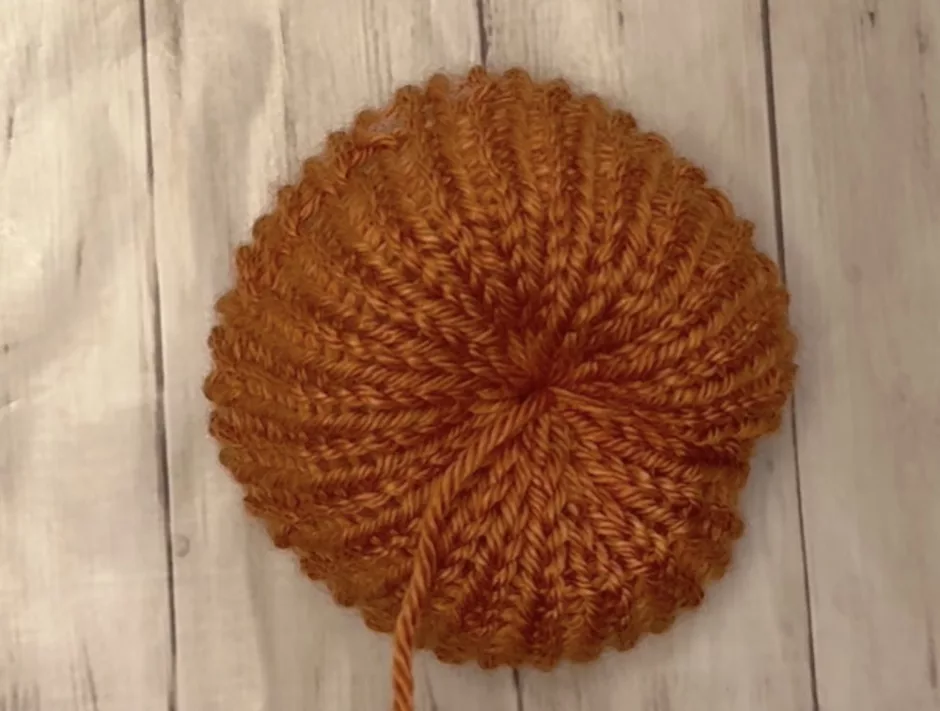
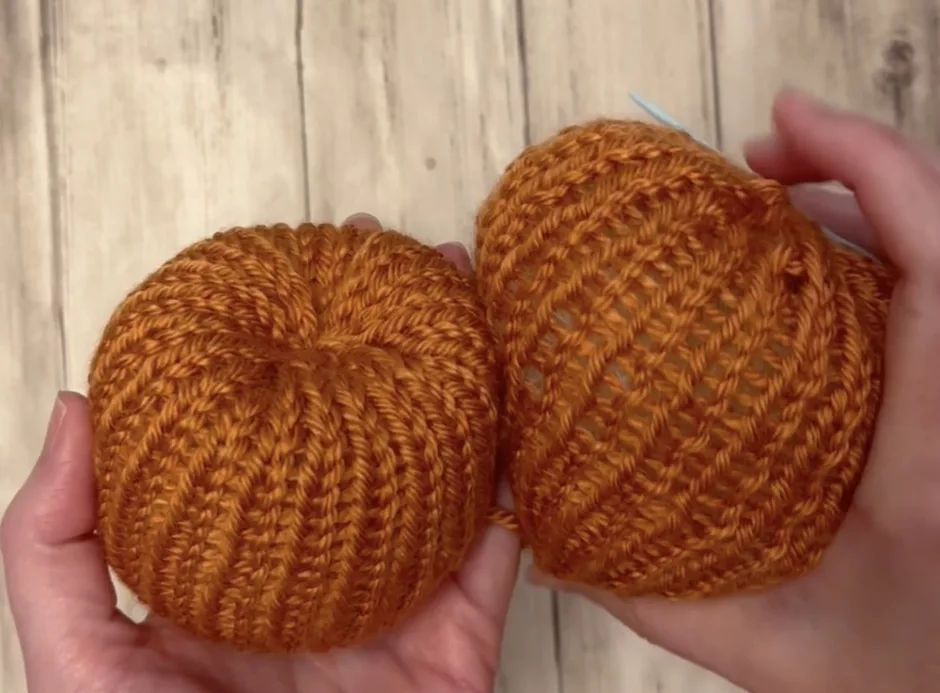
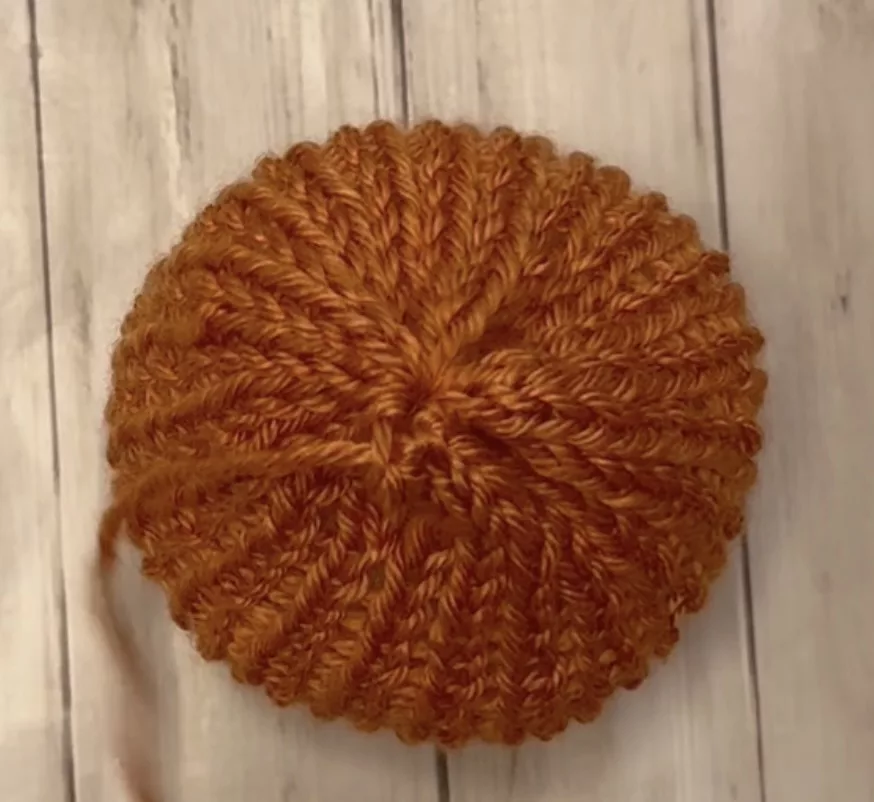
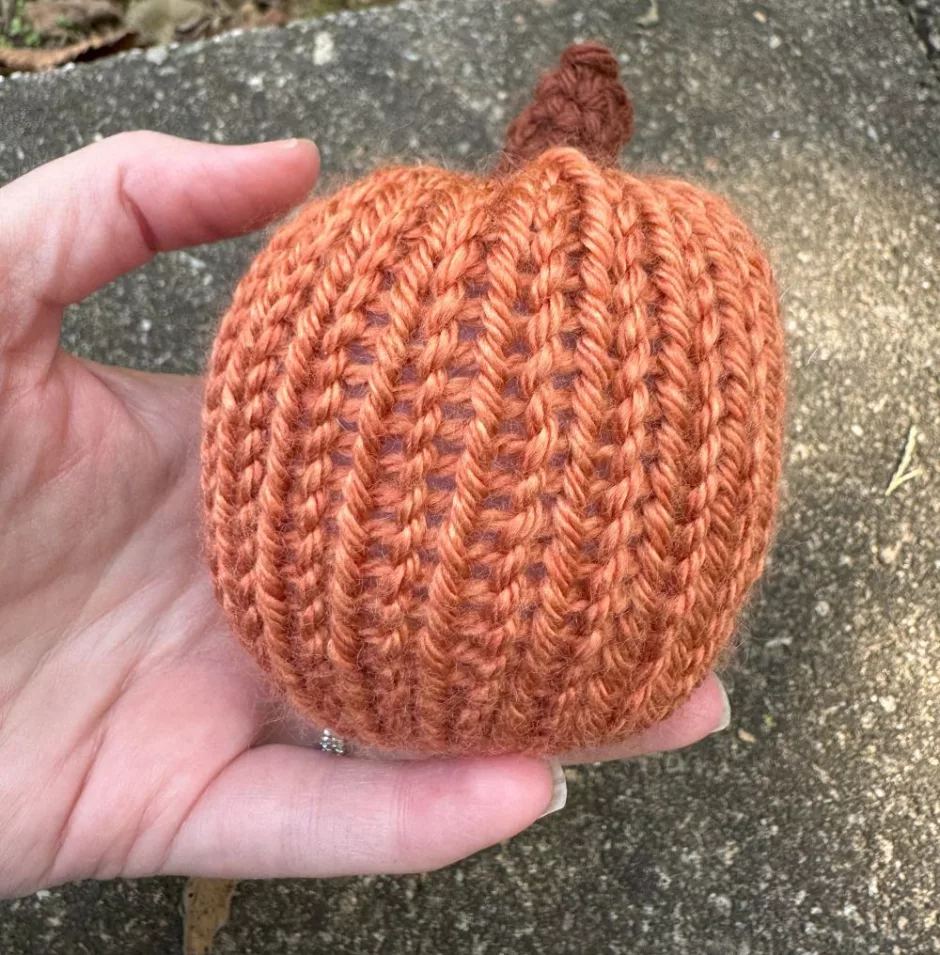
If you want the pumpkin to have veins, take the yarn around the outside of the pumpkin and then back through the center and pull tight.
Repeat a few times to finish the body of the pumpkin.
You can also just leave the outside smooth by taking the yarn into the pumpkin and trimming any excess. This reminded me of an apple so I’ve also whipped up a mini apple knitting machine pattern for you to try.
Options for Stems
You can leave your knit mini pumpkins without stems, which is ideal if you want to make a little stack.
If you don’t know how to knit or crochet, you can use a small piece of a stick, a pipe cleaner, even a little acorn hat might be cute as a pumpkin topper.
If you want to knit a stem, using a little knit cord is ideal. Use a machine, or with double pointed needles cast on 4 to 6 stitches. Join in the round and then work for a couple of inches/5 cm or so. Bind off, cut the yarn and use the yarn end to sew the stem to the pumpkin.
The crochet version I chained 4 then joined with a slip stitch to make a loop. Work in single crochet in rounds for a couple on inches/about 5 cm. Fasten off, cut yarn and use the yarn end to sew the stem to the top of the pumpkin.