Affiliate links may be included for your convenience. View our privacy and affiliates policy for details.
I was recently cleaning out my closet and found some things I didn’t want to keep but wanted to reuse the yarn, so I thought it would be a great time to show you how to take apart a sweater so you can use the yarn for something else.

This is a handknit sweater shown in the photos, but the procedure would be the same for a handmade crochet sweater or top. Things get a little different when you’re upcycling a storebought sweater, because the fabric is often cut and sewn by machine rather than being whole pieces stitched together. That merits its own discussion which I’ll hopefully get to soon.
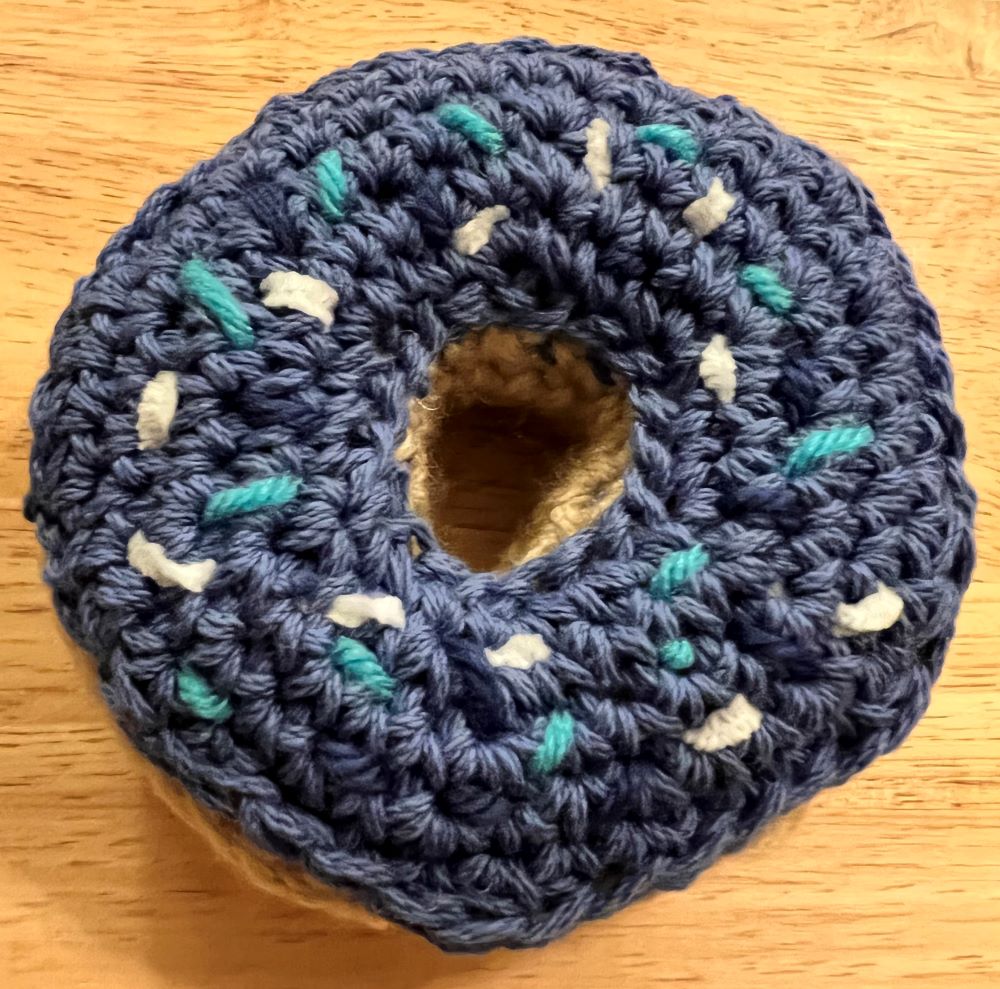
And because I’m sure you’re wondering: it’s a lovely sweater, it’s just too big. I meant for it to be boxy but it falls off my shoulders much more than I wanted. I don’t wear it as it is but hopefully I can make something that will put the yarn to better use.
Supplies for Taking Apart a Sweater

All you really need to take apart a sweater is a small pair of scissors and some patience. A yarn needle or small crochet hook can also be helpful when picking out the bind off edge.
Of course scissors should only be used as a last resort if the goal is to keep the yarn as intact as possible. But sometimes you just can’t find the woven in end, or you might get in a tangle you can’t figure out how to resolve. If patience fails you in that case, scissors can be useful.
Overview of How to Take Apart a Sweater

If the sweater you want to take apart is one you made, that’s a big help because you might remember how it was put together. In this case, I worked each piece flat and sewed them together, and I worked from the bottom up.
That means the bind off edges are at the top of each piece. That’s where we need to start in order to successfully unravel the yarn.
The key, then, is to separate all the pieces, starting by removing the sleeves, the neckline and shoulder seams, and then the side seams.
The process would be the same with crochet, and you also need to work from where you ended the project for ease in tearing it out.
Taking Apart a Sweater Step By Step
To go through that in a little more detail, here’s the step by step for how to take apart a sweater so you can reuse the yarn.
I started at the top both because I knew that’s where my bind offs were and because regardless of construction you want to take the sleeves off first.
If you can find the yarn end from when you sewed the seam, that’s ideal. But again, this is why we have scissors. If you can see the yarn used to sew the seam you can just cut it somewhere and unstitch from there.

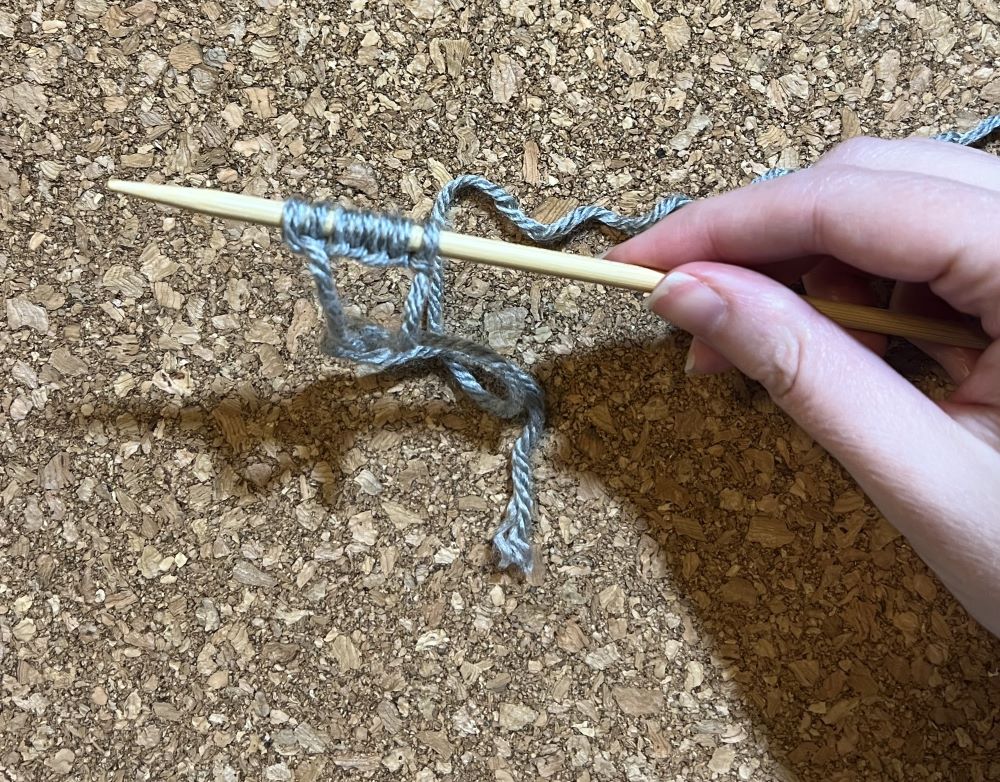
Remove both sleeves. Depending on how the sweater is constructed, if there is an attached collar/finishing at the top, you may need to remove that to get the sleeves totally free. Mine was a round of single crochet and, here I couldn’t find the yarn end so I did the cut and unravel bit.

Then you can remove the shoulder seams if there are any in the same way.
If the body of your sweater was worked in the round, you’re all set to begin unraveling from the bind off edge (or the fastened off stitch if it’s crocheted). Or you can pick out the side seams in the same way you removed the sleeves.

You may need to pull the yarn through the first couple of stitches before it begins to unravel freely.
Roll the yarn into balls. I started with the body pieces but it doesn’t actually matter.

If your sleeves were sewn together, undo the seam and then unravel the yarn from the bind off/finished edge in the same manner.

When you’re done you’ll have a pile of yarn balls of various sizes. So satisfying.
Does Yarn Need Treatment Before You Use it Again?
A big question people have when they take apart a sweater or unravel a knitting or crochet project is whether they need to do anything special to the yarn before using it again.
In my experience it rarely matters if the yarn is a little crimped from its first use. I did have one project I unraveled and tried to knit with some yarn that was fresh alongside the yarn that had been knit previously and you could clearly see a difference in texture. But I think that was something about the composition of that particular yarn and not the usual way of things.
In this case, this yarn is bamboo and the act of rolling it seemed to take most of the crimping out.
If you’re worried about it and you have a yarn swift, you can make the yarn into a hank (a long circle), tie it together in a few places so it doesn’t tangle, soak it in lukewarm water for 15 minutes. Then gently press out as much water as you can, put your hands inside the circle made by the yarn and spread them apart to put a little tension on the yarn and allow it to dry completely.
If you need more details on the process, this post from My Crochetory is a good one.
After than treatment it should have relaxed and look just like new yarn again. (Remember to roll it back into a ball before knitting or crocheting with it.)
Have you ever taken apart a sweater or something else you knit or crocheted to reuse the yarn? I’d love to hear how it went!