Affiliate links may be included for your convenience. View our privacy and affiliates policy for details.
Upcycling old fabric is fun and easy, and making a crocheted rug from an old sheet gives new life to otherwise unusable fabrics.
Why I Needed a Crocheted Rug
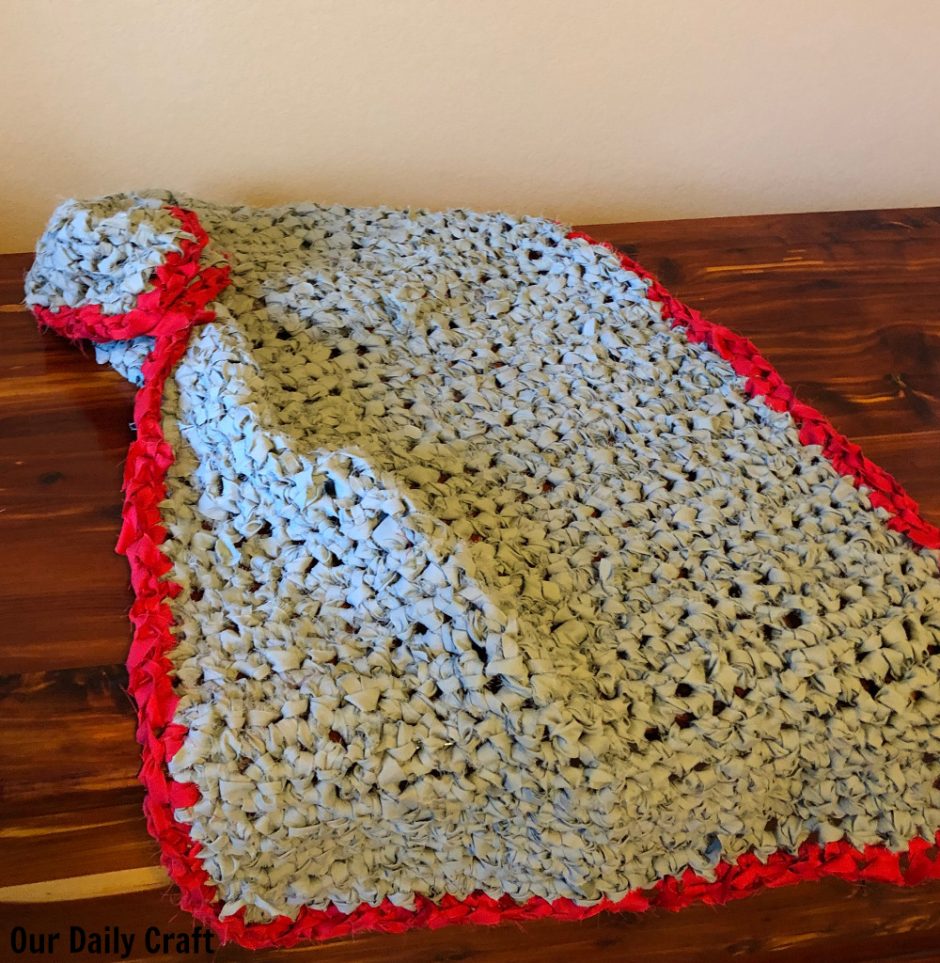
Last summer we performed what I took to calling the Great Room Swap of 2018. In order to move my daughter’s bedroom upstairs, we got rid of our guest room, moved my office to the old guest room and her bedroom to my old office (husband got the old bedroom downstairs as an office/game room/workout room; we’re all pretty happy).
But a consequence of moving everything was that I realized my feet and shoes are really dirty. There’s a permanent black spot in the carpet where my feet used to land at my desk (eww) and a corresponding mark on the wall where I would sometimes rest my feet as well (double eww).
I decided I wanted to try to keep the carpet cleaner in my new office, so I needed a rug to go under the desk.
Preferably something free to cheap and that would be machine washable, now that I knew how dirty it would be getting.
An upcycled crocheted rug was just the thing.
Making your own rugs is great because you can make them just the size you need, and use can use materials that otherwise wouldn’t be used.
How to Make a Crocheted Rug
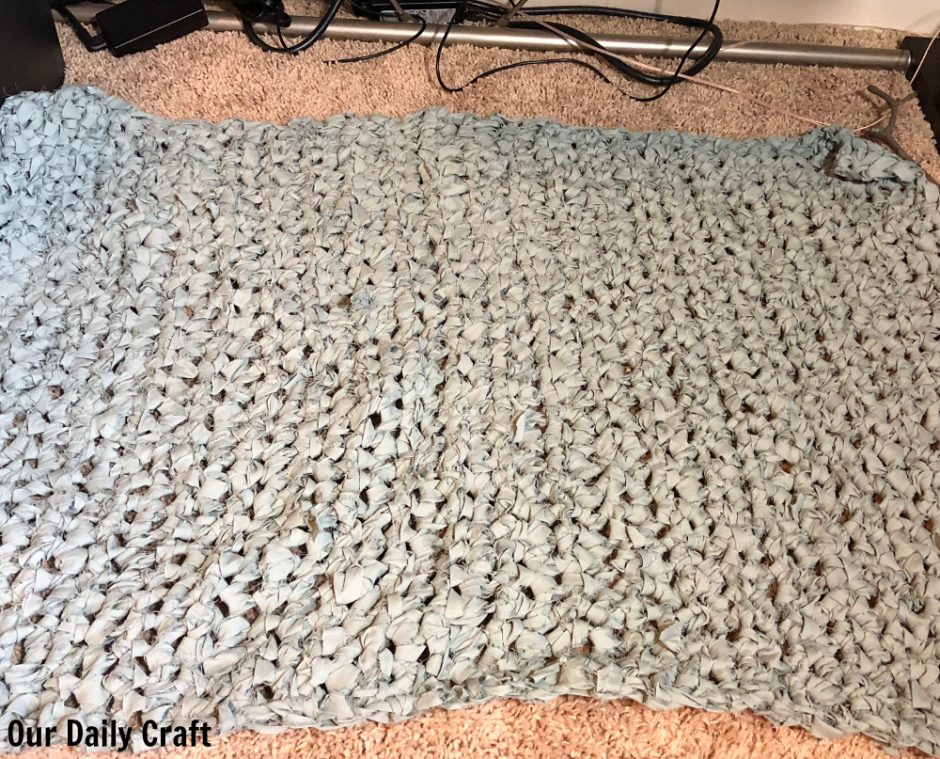
I am not super skilled at crochet so I kept my “design” super simple. It’s just single crochet all around.
First you need to know the basic size and shape of crocheted rug you need. My space is roughly 24 by 36 inches.
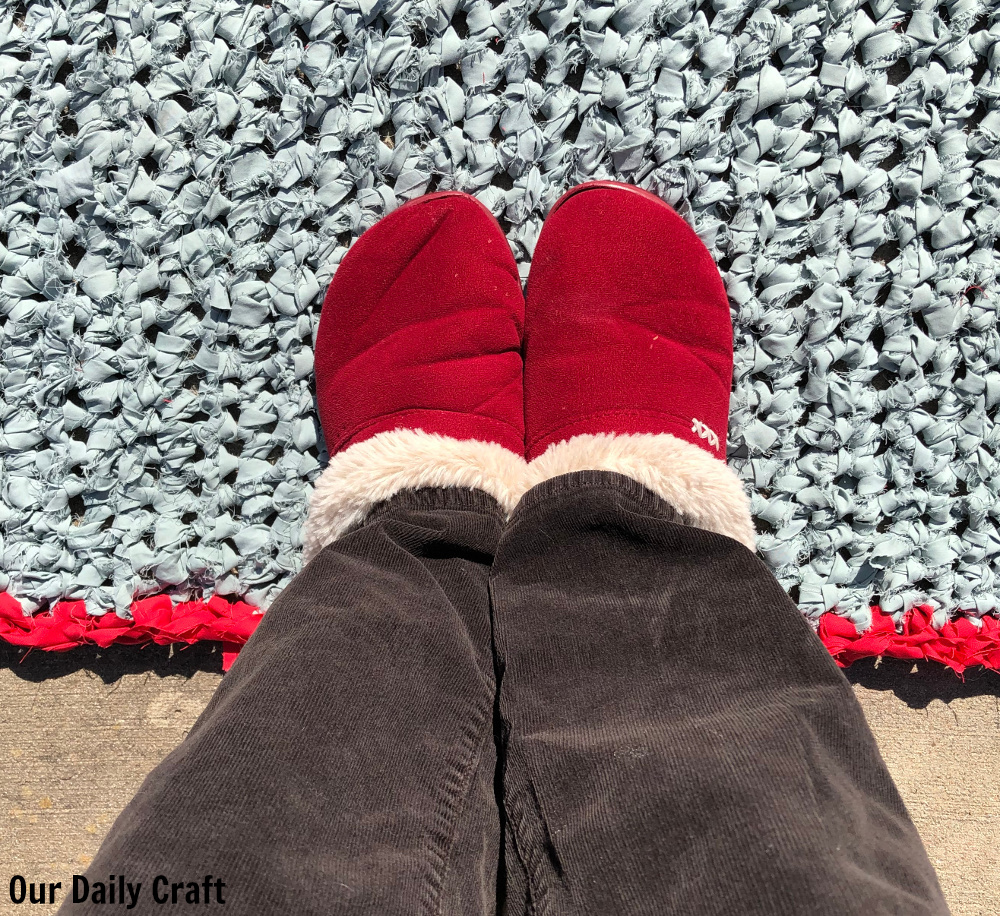
Then you need to know what you’re going to make your crocheted rug out of. I had an old king-sized sheet that I turned into fabric yarn just for this purpose, but of course you could use actual yarn if upcycling isn’t your thing. It took most of the sheet’s worth of yarn to make my rug, so just be aware this will probably take more yarn than you think.
Again you will probably want something durable and washable for your rug, such as cotton yarn.
Now, I’m a professional knitter and I know better than to just dive willy-nilly into a project, but. In this case I have to be honest, I guessed at how many stitches I would need to chain to make a rug the size I needed. I figured I could always rip it out if it didn’t work.
It was 30. And it worked just fine. I used a size p/16 hook because my homemade yarn is pretty bulky. Just make sure you use a hook that corresponds to your yarn weight and will make a semisolid fabric.
(If you want to be more scientific, using the yarn and hook of your choice, chain 15 or so and work a few inches of single crochet. Measure the width of your piece, divide 15 by whatever your width is, then multiply by the width you need. So if 15 stitches gets you 5 inches, that’s 3 stitches per inch, and you would need 72 stitches to make 24 inches across.)
Crocheted Rug Pattern
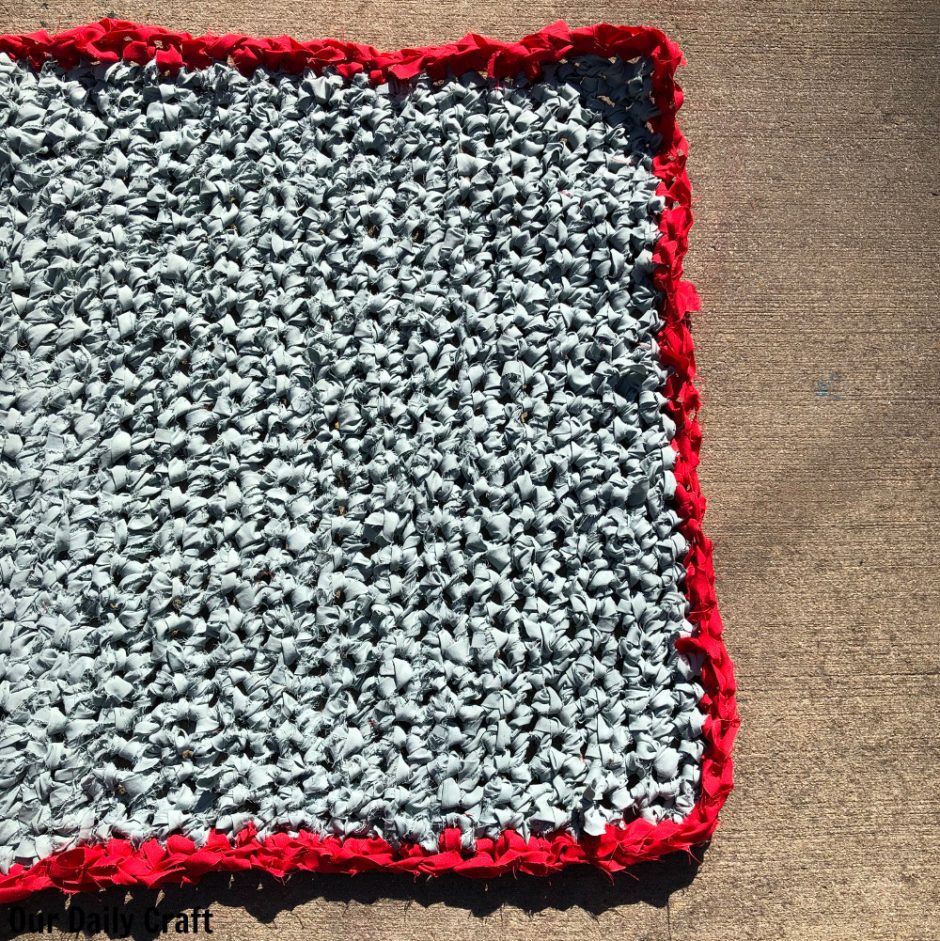
It feels silly calling this a pattern but here’s how I made my crocheted rug:
Chain 30 stitches (and 1 more to start the next row of stitches).
Single crochet across (30 stitches). Add 1 chain at the end of the row, turn and repeat.
Continue in this manner until piece is as long as you need. Fasten off the yarn.
Because I had that red fabric yarn from the tutorial, I used it around the edge of the rug just to make it a little more fun.
I like to start a crocheted edging a little away from a corner. Pick a place to start and stick your hook in the edge stitch. Make a single crochet, and single crochet around, work 2 stitches in each stitch at the corners. Fasten off and weave in ends as needed.
Do you upcycle fabric? I’d love to hear what you do with it!

3 Comments