Affiliate links may be included for your convenience. View our privacy and affiliates policy for details.
Using blanket stitch on cross stitch fabric is a great way to finish the edges and help reduce fraying. I used this technique on my cross stitch napkin rings, but it’s a great way to finish bookmarks or anything else that won’t be framed or finished so that the raw edges aren’t exposed.
Why is Finishing Edges Important?
Cross stitch fabric is woven, which means that when the edges are left open it can unravel. You’ve probably experienced this while working on a cross stitch project.
A little unraveling is fine if you have extra space around your project, but you don’t want it to keep unraveling. Finishing the sides in some way helps prevent or at least slow down the fraying, and it gives your project a nice finished look.
Using blanket stitch on cross stitch fabric is super easy and is a great finishing touch for beginners to do because working it on cross stitch fabric ensures your stitches are going to be even.
How to Work Blanket Stitch on Cross Stitch Fabric
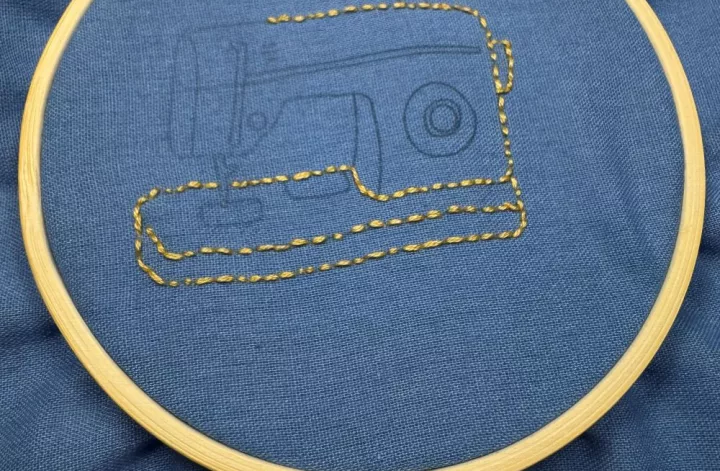
Once your main stitching on the cross stitch project is done, pick a corner to start your blanket stitch from. In this tutorial I’m working from right to left, but in my blanket stitch embroidery post I show working from left to right, so you can do whichever works better for you.
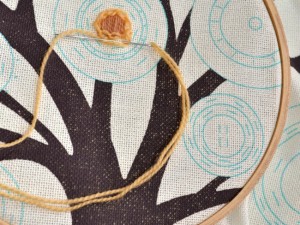
First you need to anchor the embroidery floss. Thread your embroidery needle with an arm’s length of floss (I used two strands for this) and tie a knot at the end. Take the needle from the back to the front through the fabric where you want the first stitch to be. Mine is in the third hole down from the edge.

I then took the needle between the threads of floss to tack down that first stitch. Make sure the knot stays toward the back and keep the needle at the front.
Decide how wide you want your stitches to be. I skipped one hole each time. Take your needle from the inside to the outside edge, going from front to back at the inside part of the stitch and back to the front at the outside edge. (This is easier to see in the photo than it is to explain in words.)
Make sure the needle is going over the thread as you pull the thread through. This makes the little stitch across the edge of the fabric.
Keep your spacing consistent as you work across the side.
Turning Corners and Finishing

That’s really all you need to know about stitching blanket stitch on cross stitch fabric. When you get the the corner, just turn and continue where you would have made the next stitch if you were working straight.

Your stitches may overlap a little and that’s totally fine.

If you need to add more thread, finish off the old thread by taking the needle to the back of the work and weaving the end under a few stitches. Then trim the remaining thread.

Tie a knot and attach the new thread to the project as before.
When you’re done stitching, finish the thread in the same way.

If any little threads of cross stitch fabric are sticking out of your edge, which you can see in these photos, you can trim them away carefully with very sharp scissors.
Now that you know how to use blanket stitch on cross stitch fabric, I hope you’ll try this finishing technique on a cross stitch project soon and let me know how it works out!