Affiliate links may be included for your convenience. View our privacy and affiliates policy for details.
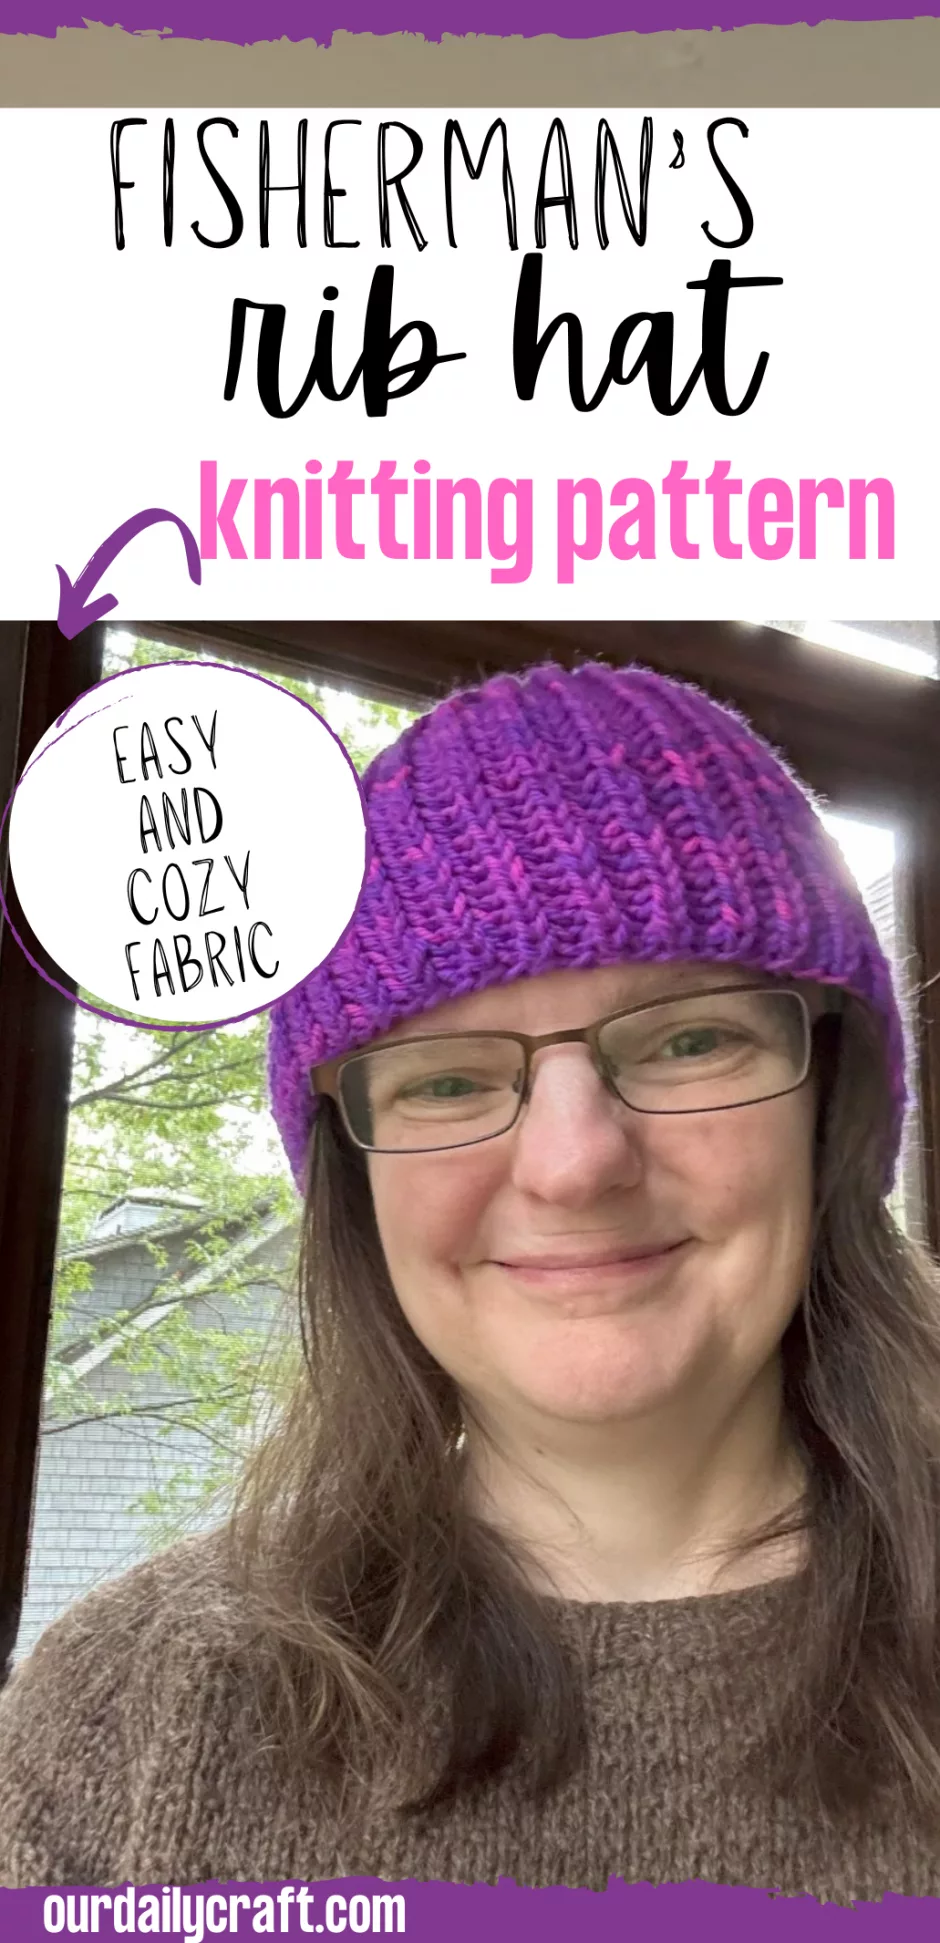
Fisherman’s rib is one of my favorite knitting stitches, and you can try it out for yourself with this fisherman’s rib hat knitting pattern.
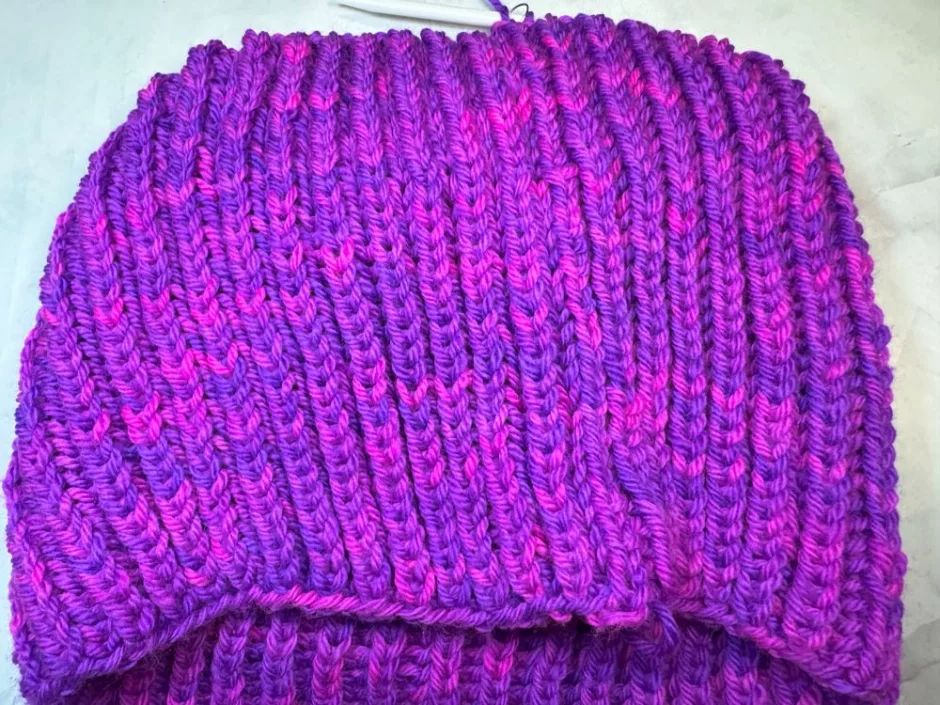
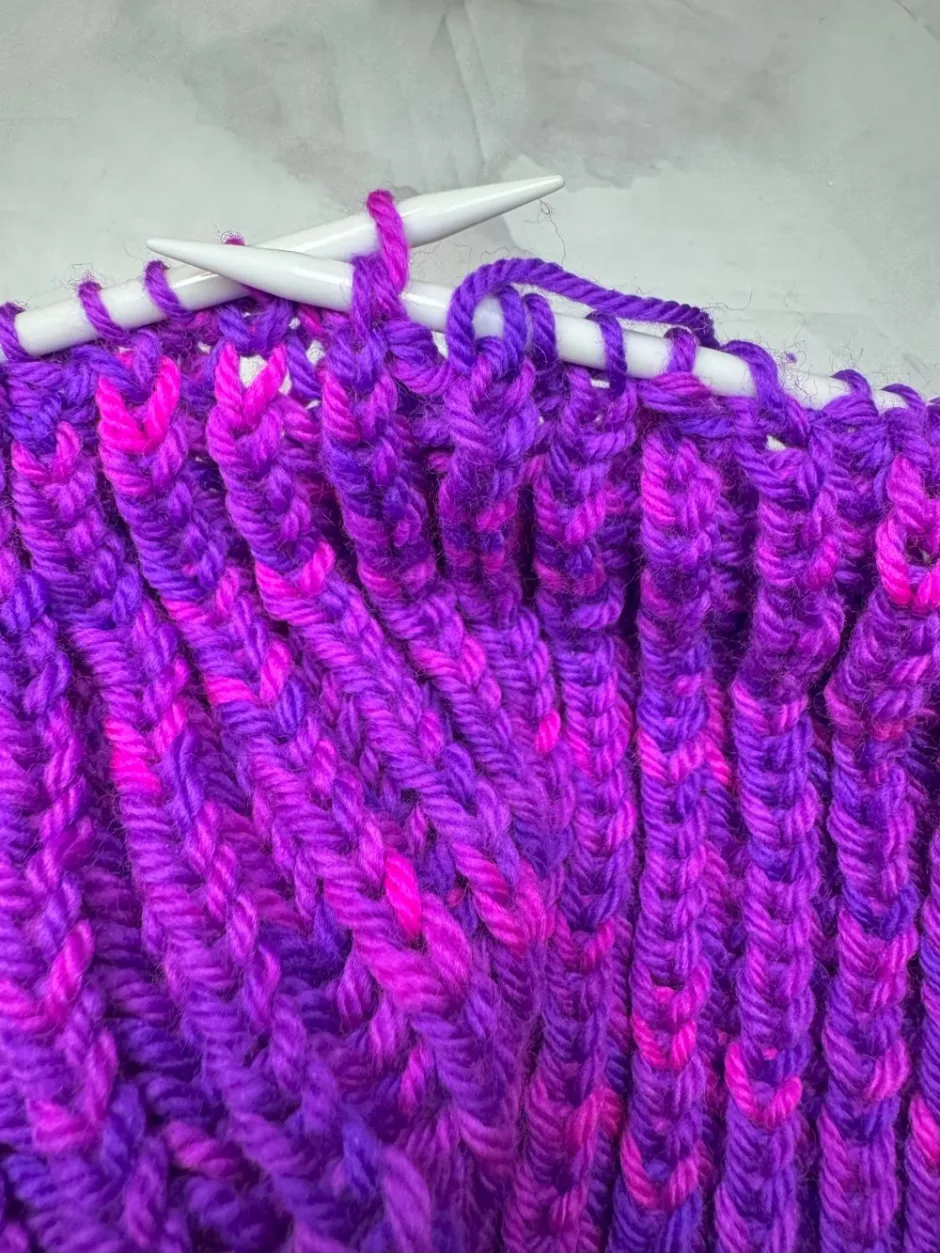
Fisherman’s rib has a ton of texture and loft, and looks like brioche knitting but I think it’s a lot easier. The fabric is warm and soft and it makes a hat that’s super comfortable to wear.
Also be sure to check out my Fisherman’s Rib Scarf knitting pattern! So easy and fun.
Supplies

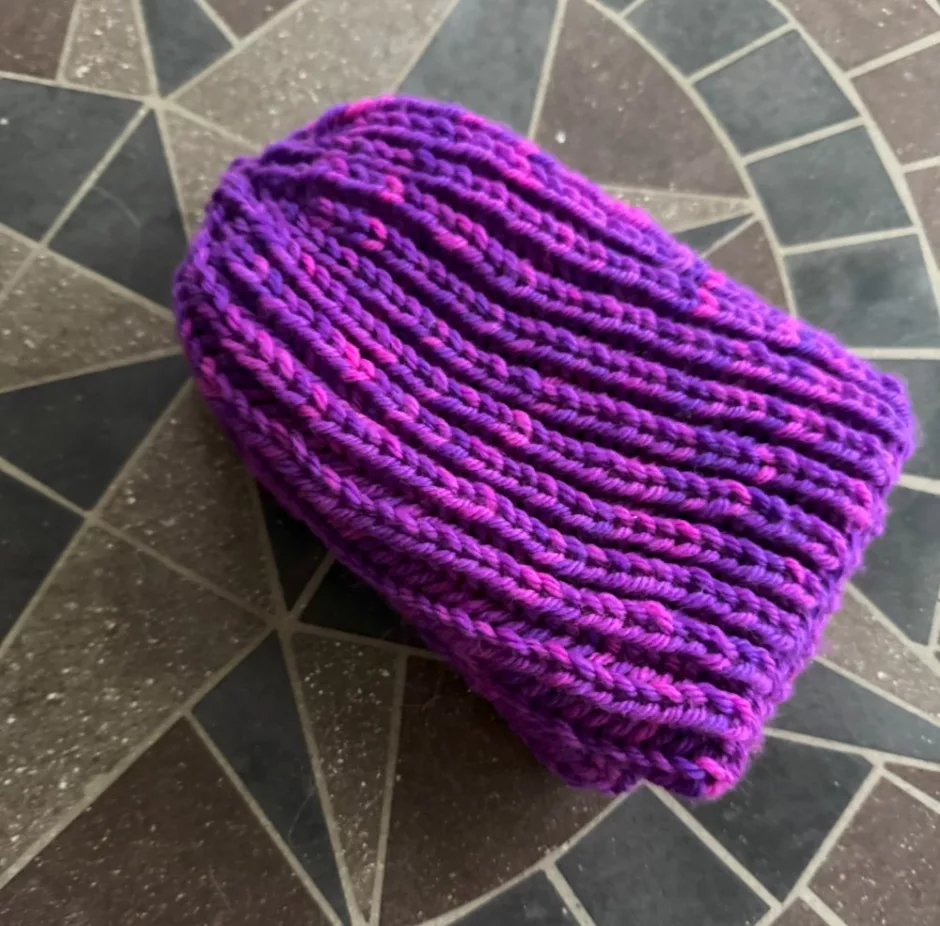
I made two of this hat (because I love it so much!) and they both used worsted weight yarn. The more heathered purple one took around 85 yards of yarn, while the brighter purple and pink one took 161 yards (proving that the same weight of yarn isn’t always interchangeable.
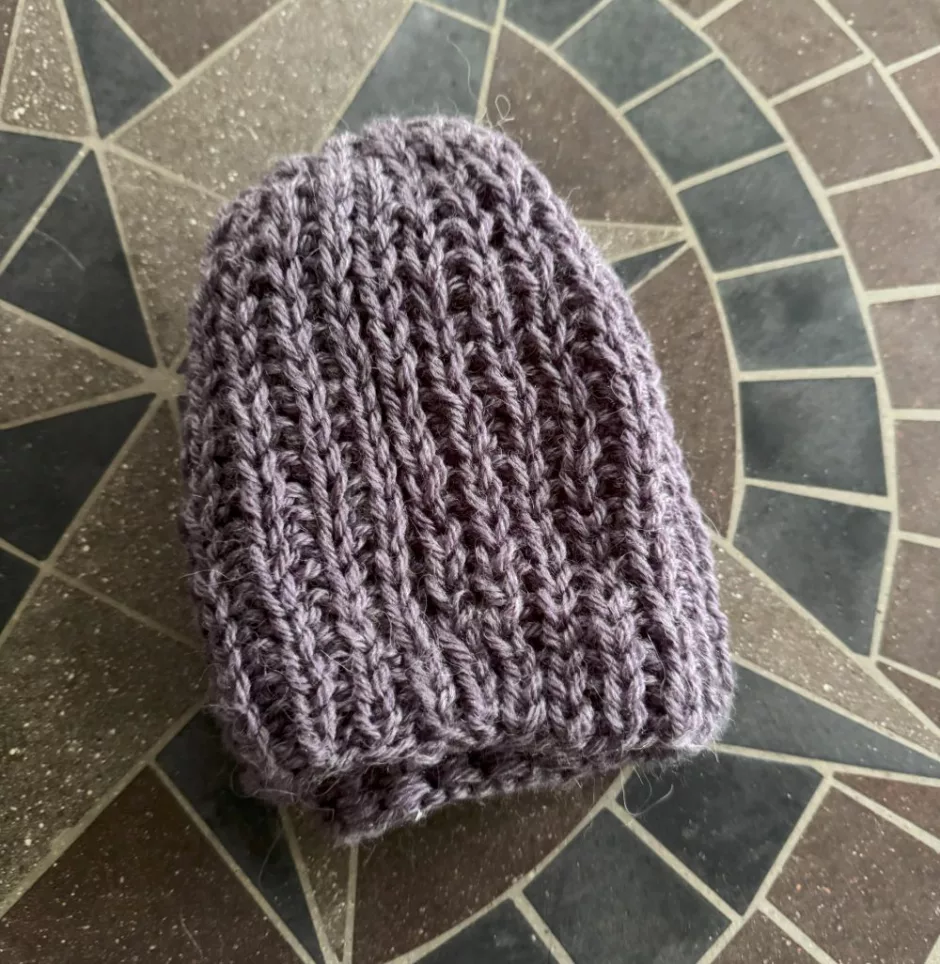
The lighter purple one is Mary Maxim Starlette, while the brighter one is from Three Birds Yarn, a local to me yarn dyer. Any worsted/medium/weight 4 yarn you like would be great for this project, especially if it’s wool or a wool blend.
You’ll also need a size 8 US/5 mm circular knitting needle that’s 16 inches long, and a set of double-pointed needles in the same size for finishing the top of the hat.
A stitch marker is handy for marking the end of the round, and a small pair of scissors and a yarn needle will help you finish the hat, too.
Add this pattern to your Ravelry queue.
Gauge
I did get slightly different gauge on my two hats, which makes them fit just a little bit differently. The lighter purple hat is 16 stitches and 13 rounds per 4 inches/10 cm of fisherman’s rib in the round, while the brighter one is more like 17 stitches and 20 rounds.
Size
Both hats are 7.5 inches/19 cm tall. The lighter hat is 19.5 inches/49.5 cm around, while the brighter one is more like 18.5 inches/47 cm. Both fit just fine on my head, because fisherman’s rib is super stretchy.
Want the PDF version of this pattern? You can get it here.
Fisherman’s Rib Hat Knitting Pattern
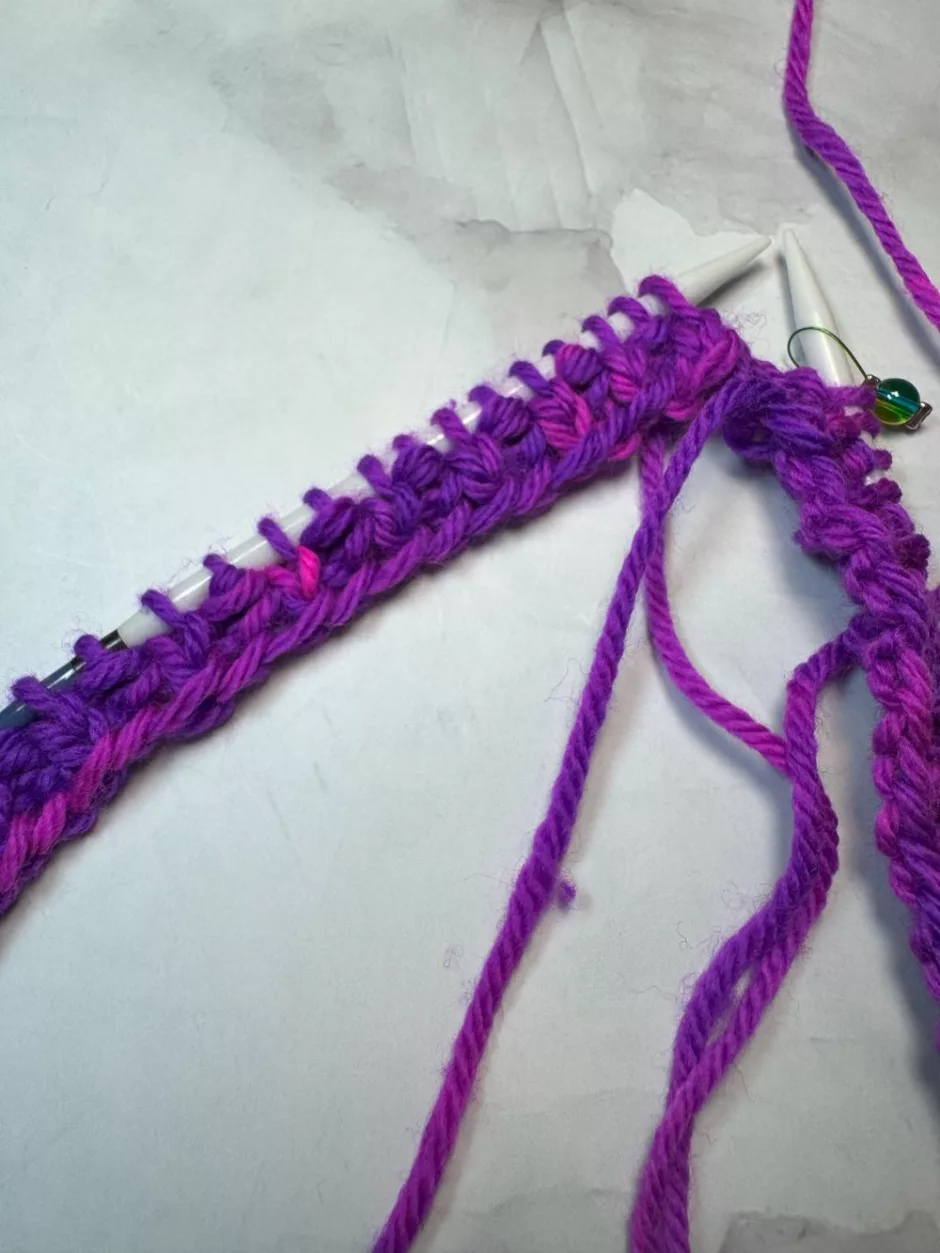
Using the circular needle, cast on 78 stitches. Join for working in the round, and place a stitch marker at the end of the round if desired.
Round 1: *Knit 1, purl 1. Repeat from * around.
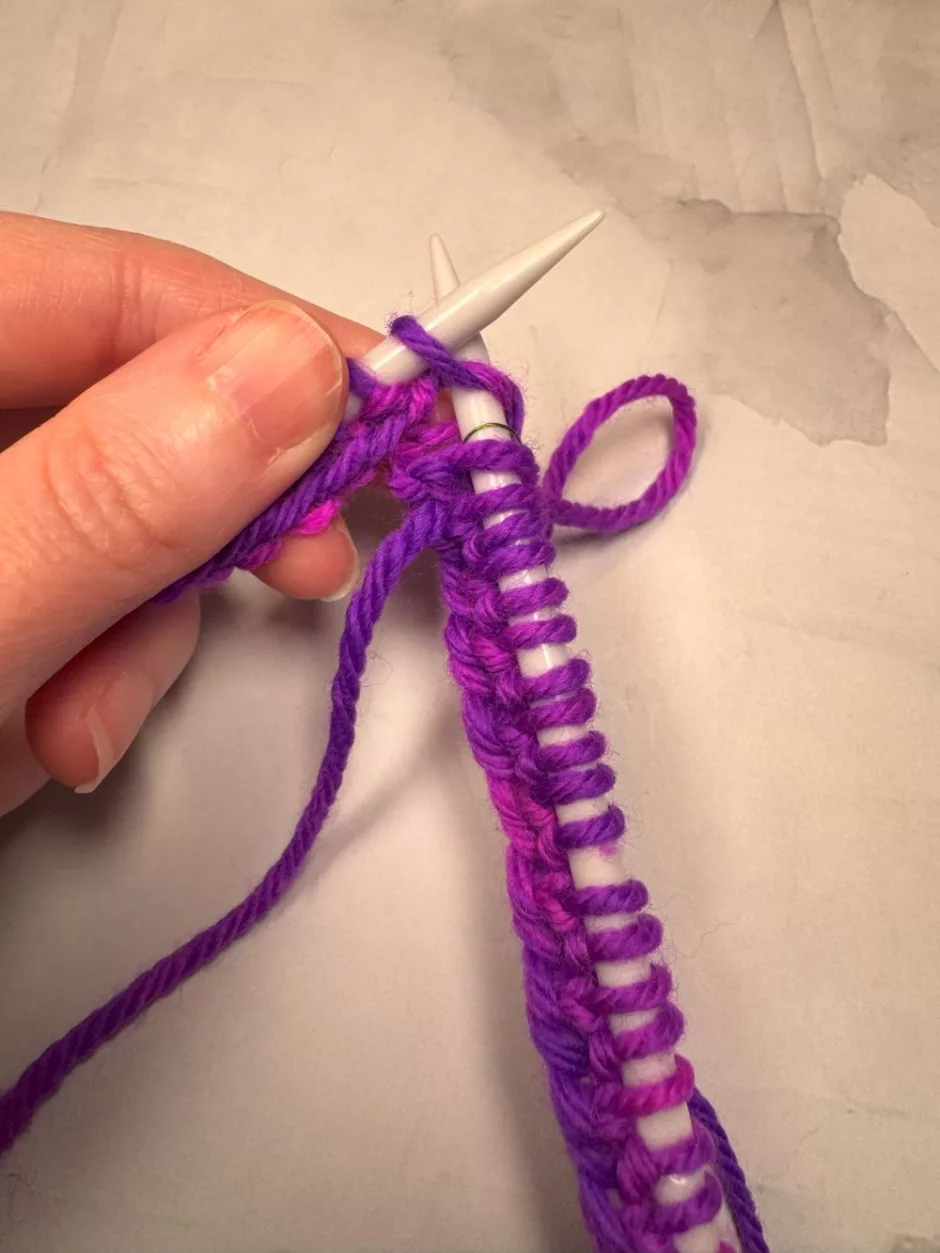
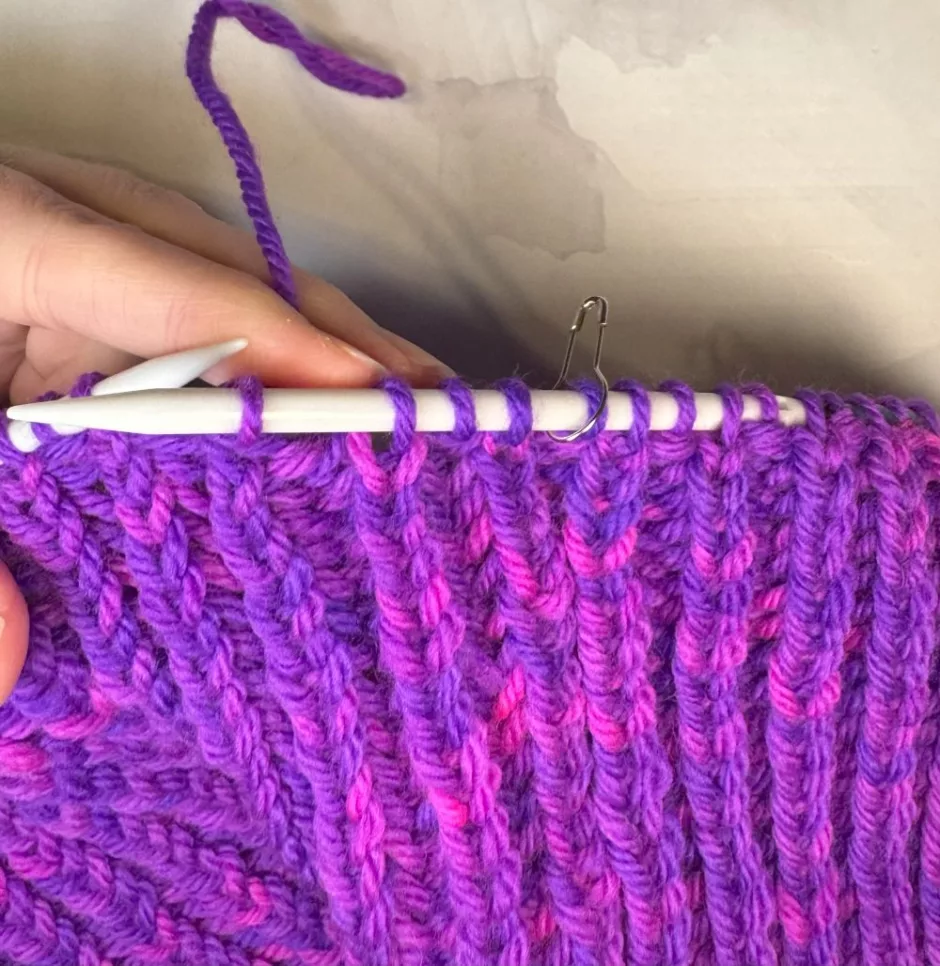
Round 2: *Knit 1 in the round below, purl 1. Repeat from * around.
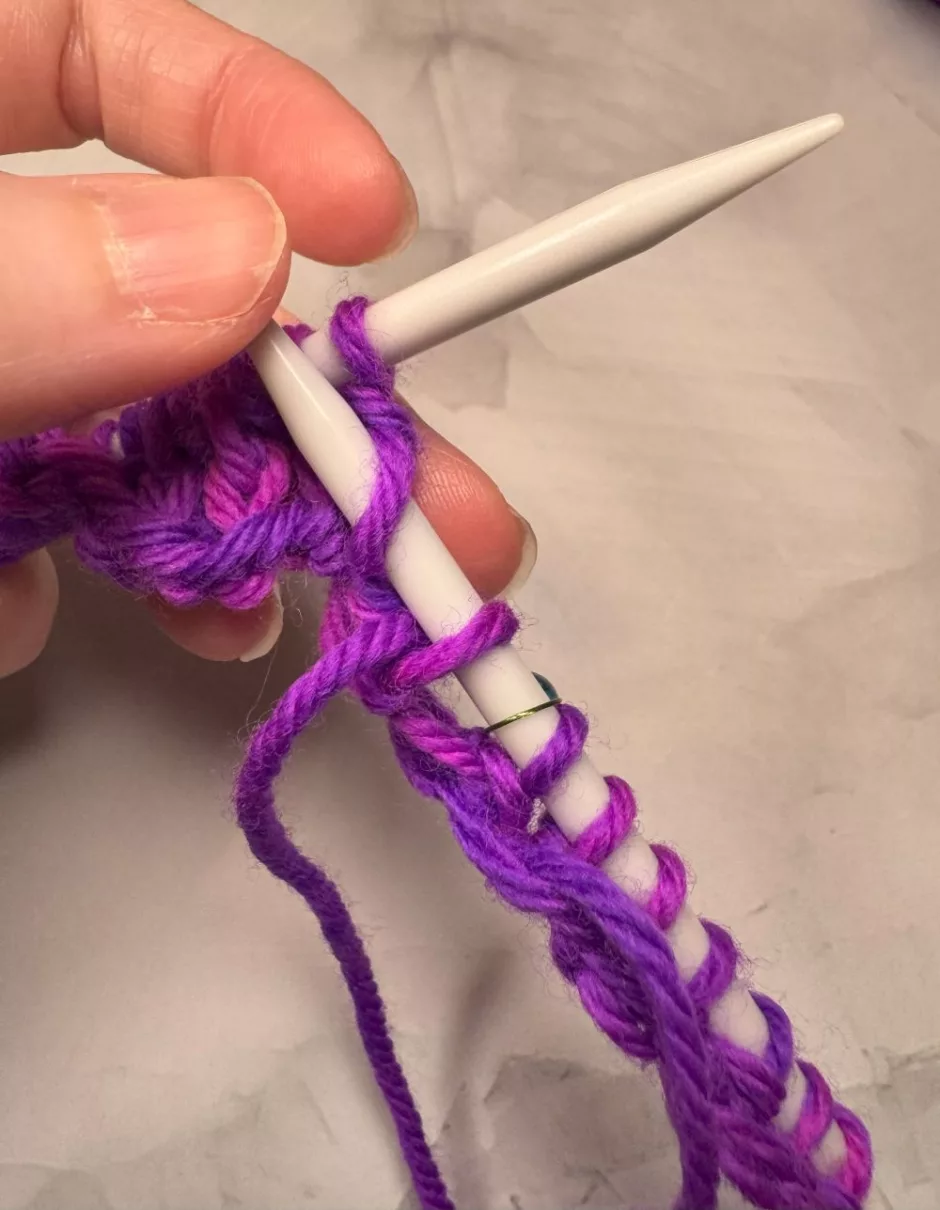
Round 3: *Knit 1, purl 1 in the round below. Repeat from * around.
Repeat rounds 2 and 3 until piece measures 7 inches/17.75 cm. End with round 3.
*Knit 1 in the row below, purl 1, knit 1 in the row below, slip the next 2 stitches to the right needle as if to knit them, purl 1, then pass the slipped stitches over the stitch you just worked. Repeat from * around. 52 stitches remain. Change to double pointed needles when it is too hard to work on circular.
*Knit 1, purl 1 in the row below. Repeat from * around. Note the stitches where the decreases were in the previous round look like knit stitches but they’re meant to be purled in the current stitch configuration. I don’t really know how to purl in the round below on those stitches, so I just grabbed the stitch and the threads from the decrease and purled them all together to give a similar look.
*Knit 1 in the round below, purl 1, slip the next 2 stitches, knit 1, pass the slipped stitches over. Purl 1, knit 1 in the round below, slip 2, purl 1, pass slipped stitches over. Repeat from * to the last 2 stitches, knit 1 in the round below, purl 1. 32 stitches.
*Knit 1, purl in the row below. Repeat from * around.
*Knit 1 in the round below, slip 2, purl 1, pass the slipped stitches over. Repeat from * around. 16 stitches.
*Knit 1, purl 1 in the row below. Repeat from * around.
*K2tog. Repeat from * around. 8 stitches.
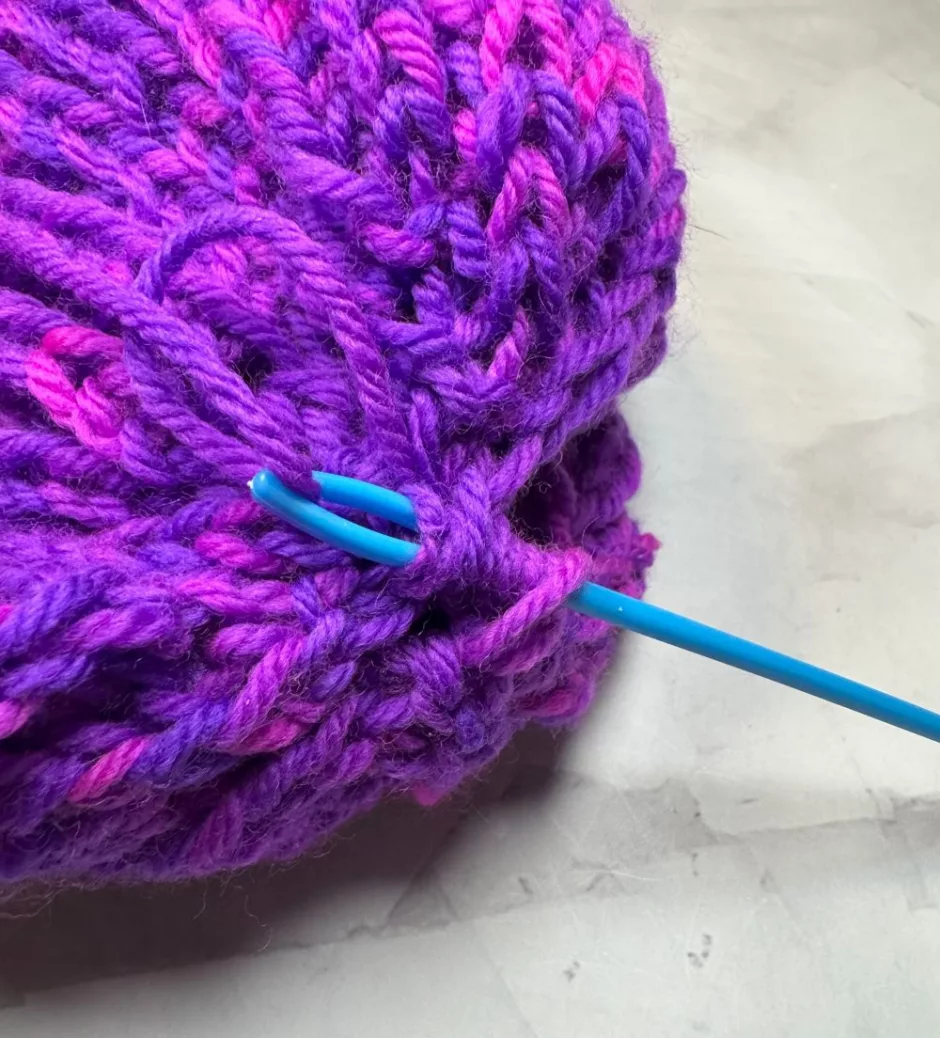
Cut yarn, leaving a long tail. Thread yarn onto yarn needle and slide remaining stitches off the needles and onto the yarn needle. Pull yarn tight to close the top of the hat. Weave the yarn through those stitches again, then poke it to the inside of the hat and weave in the end. Weave in the end from the beginning of the hat.
Like this pattern on Ravelry, or grab the PDF. Thanks for your support!