Affiliate links may be included for your convenience. View our privacy and affiliates policy for details.
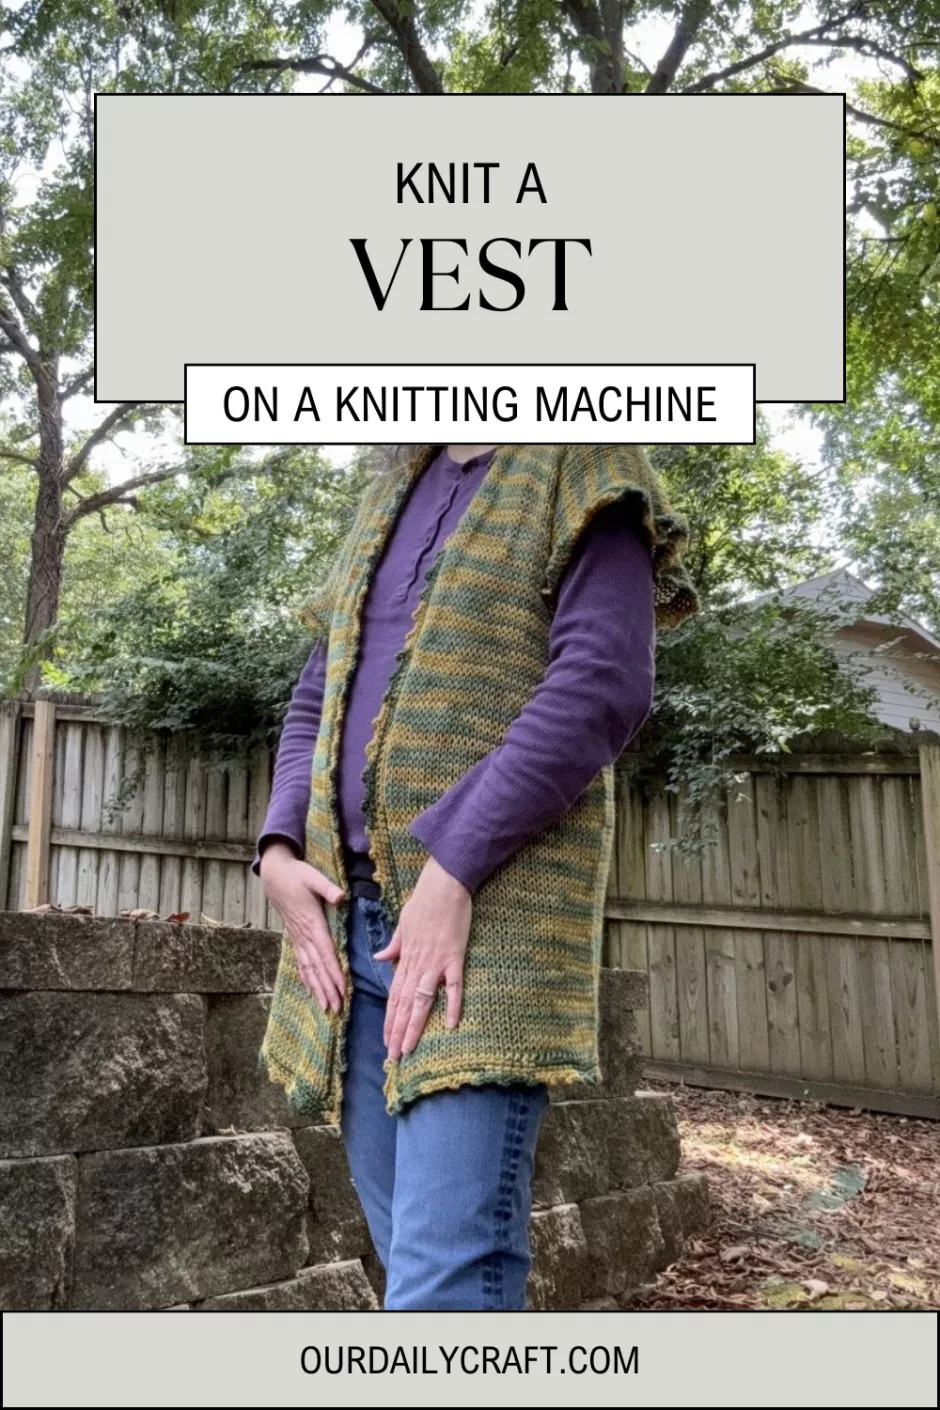
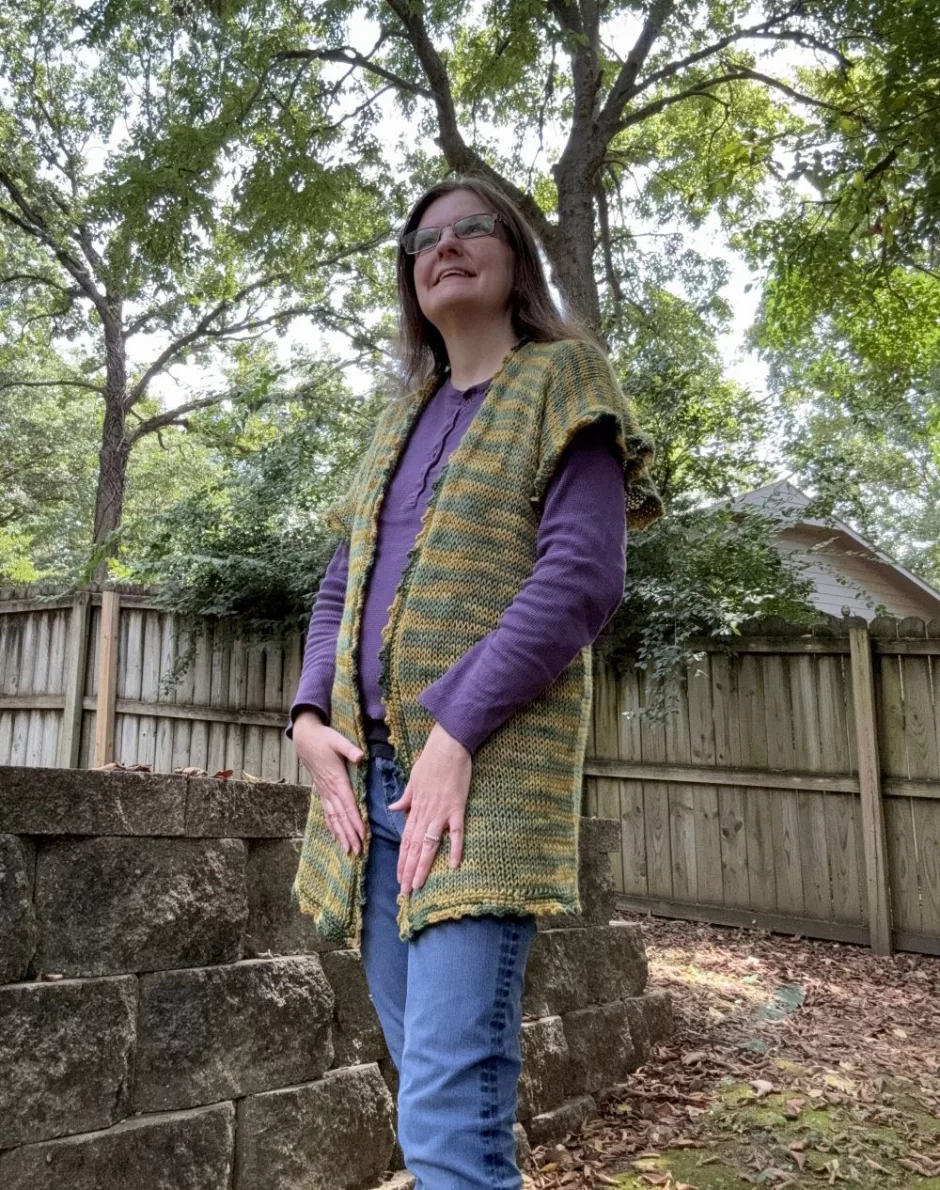
I can’t decide if this is a knitting machine vest or if it should have a different name, but whatever it is, it’s a fun and easy layer for fall and spring that you can make in panel mode on your circular knitting machine.
The body is made out of two panels that are sewn together, and I finished the edges with a tiny bit of crochet. You can use knitting if you’d rather I just didn’t want to have to pick up all those stitches!
Supplies
For this vest you will need worsted weight yarn (also known as medium or weight 4). I used about 450 yards of a 100 percent wool yarn from deep in the stash that was just called Andes (I found it on Ravelry and it was made by Elizabeth Austen and I swear it’s all the same dye lot though it doesn’t look it). How much you need will depend on how wide and long your panels are and how you decide to finish the edges.
You’ll also need a 40 to 48 pin circular knitting machine. I used my Addi King for this project, but as long as the machine you have can accommodate the size panel you need, you can use a Sentro as well. (Check out my post on the pros and cons of Sentro vs. Addi.) I marginally prefer the Addi for making panels because of the stopper, but it’s the same process either way.
I used waste yarn on both ends of both panels, so you’ll need some extra yarn for that, as well as a yarn needle and scissors. If you’re going to knit or crochet an edging, you’ll also need a really long circular knitting needle in a corresponding size to the yarn you’re using or a crochet hook (I used an H/8/5mm crochet hook).
Size
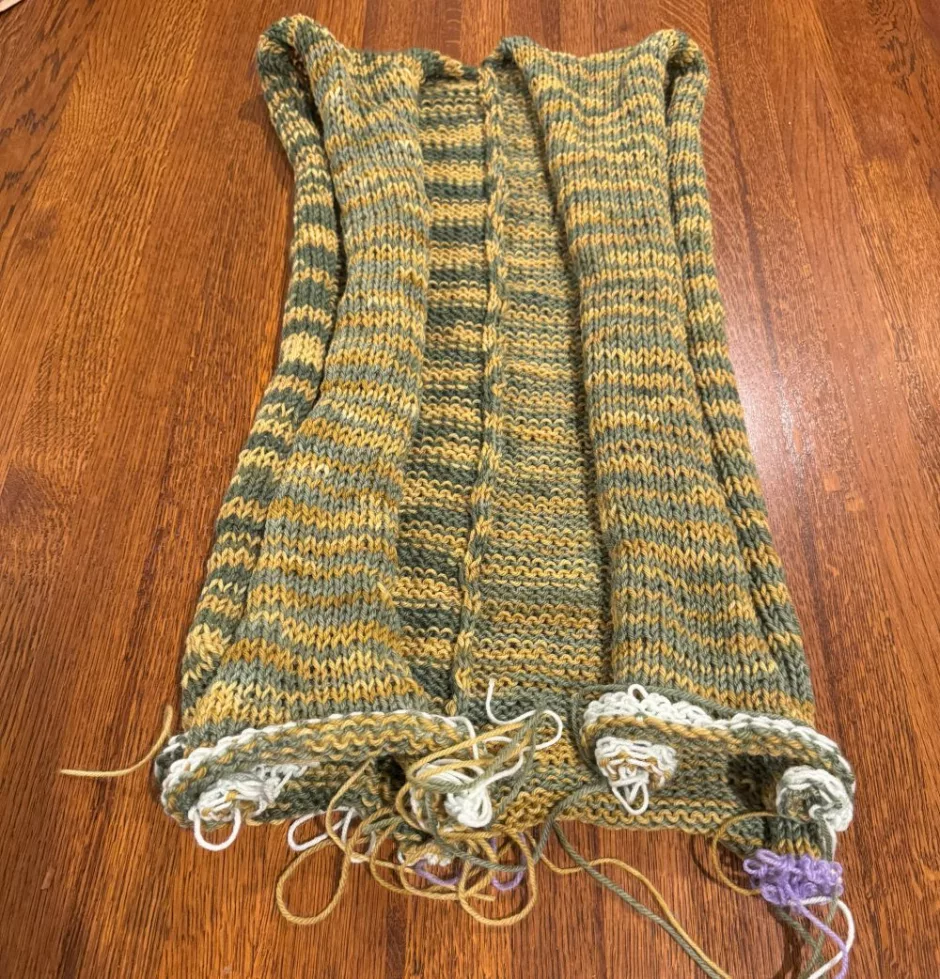
The size of your knitting machine vest can vary depending on how wide and long you make the panels. My panels were 10 inches/25.4 cm wide and ended up about 56 inches/142.24 cm long.
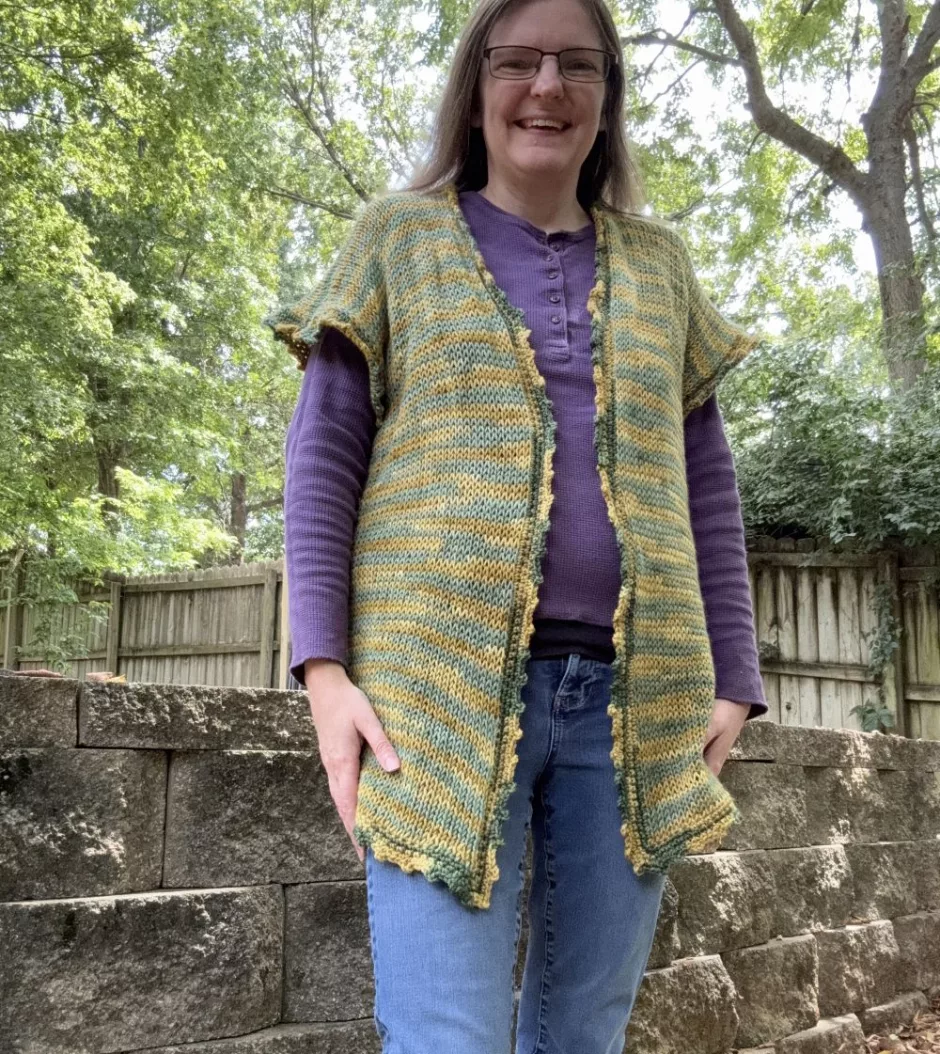
The panels are folded in half to give you the length of the vest and sewn together across the back to give you the width of your vest. So that makes mine about 20 inches/50.8 cm across the back and 28 inches/71 cm long when worn.
How to Adjust the Size
I made some logical guesses about the size of panels I wanted based on the gauge I got from a loop scarf worked in worsted weight yarn. The loop of 46 stitches was about 14 inches/35.5 cm around, which makes 3.28 stitches per inch/2.5 cm.
Because I wanted to wear this as an outer layer, I wanted some positive ease. Panels of 10 inches/25.4 cm gives me about 5.5 inches/14 cm of positive ease, which is nice for wearing over other clothes.
Doing a little math, 3.28 times 10 is 32.8, which would round to 33. I added one more stitch just because I like even numbers, and I knew I’d be losing a little to seams, so my panels are 34 stitches wide.
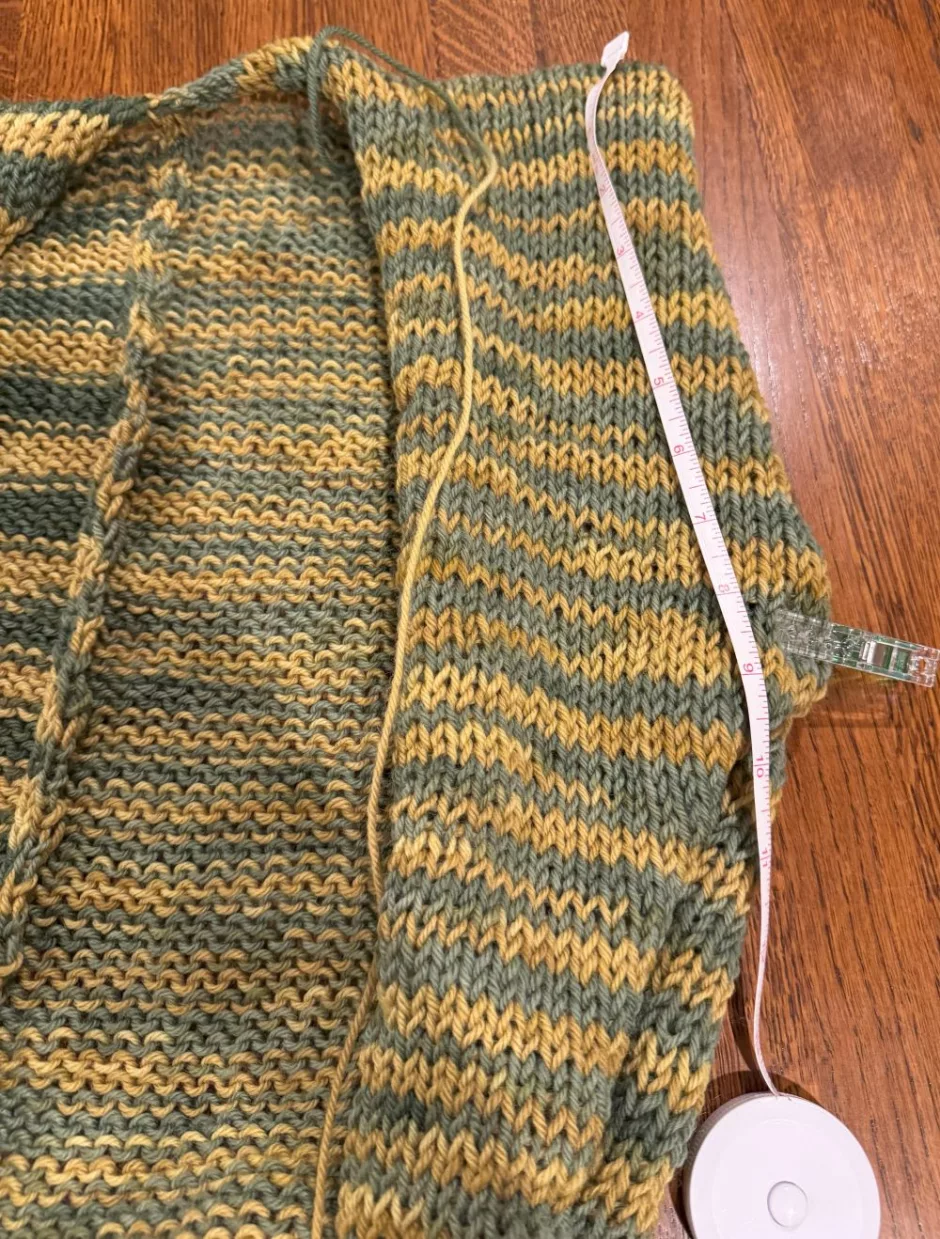
As to length, I think I just cranked out enough of a panel until it wasn’t distorted by the tension of the machine and measured the row gauge, which ended up being 16.5 rows per 4 inches/10 cm, or about 4 rows per inch/2.5 cm.
I decided to do 225 rows per panel, which gave me just a little more than 56 inches/142.24 cm in length. You can make yours as long or as short as you like. Measure on your body from your shoulder down to the length you’d like your vest to be, multiply by 2 and use your gauge (or mine if you just want to get close) to determine how many rows to crank.
My Knitting Machine Vest Pattern
If you want the pattern with my measurements so you can fill in your own, here’s how the knitting machine vest pattern goes.
Start with waste yarn and crank 34 stitches for a few rows (make sure you’re on the side you started on when you change colors).
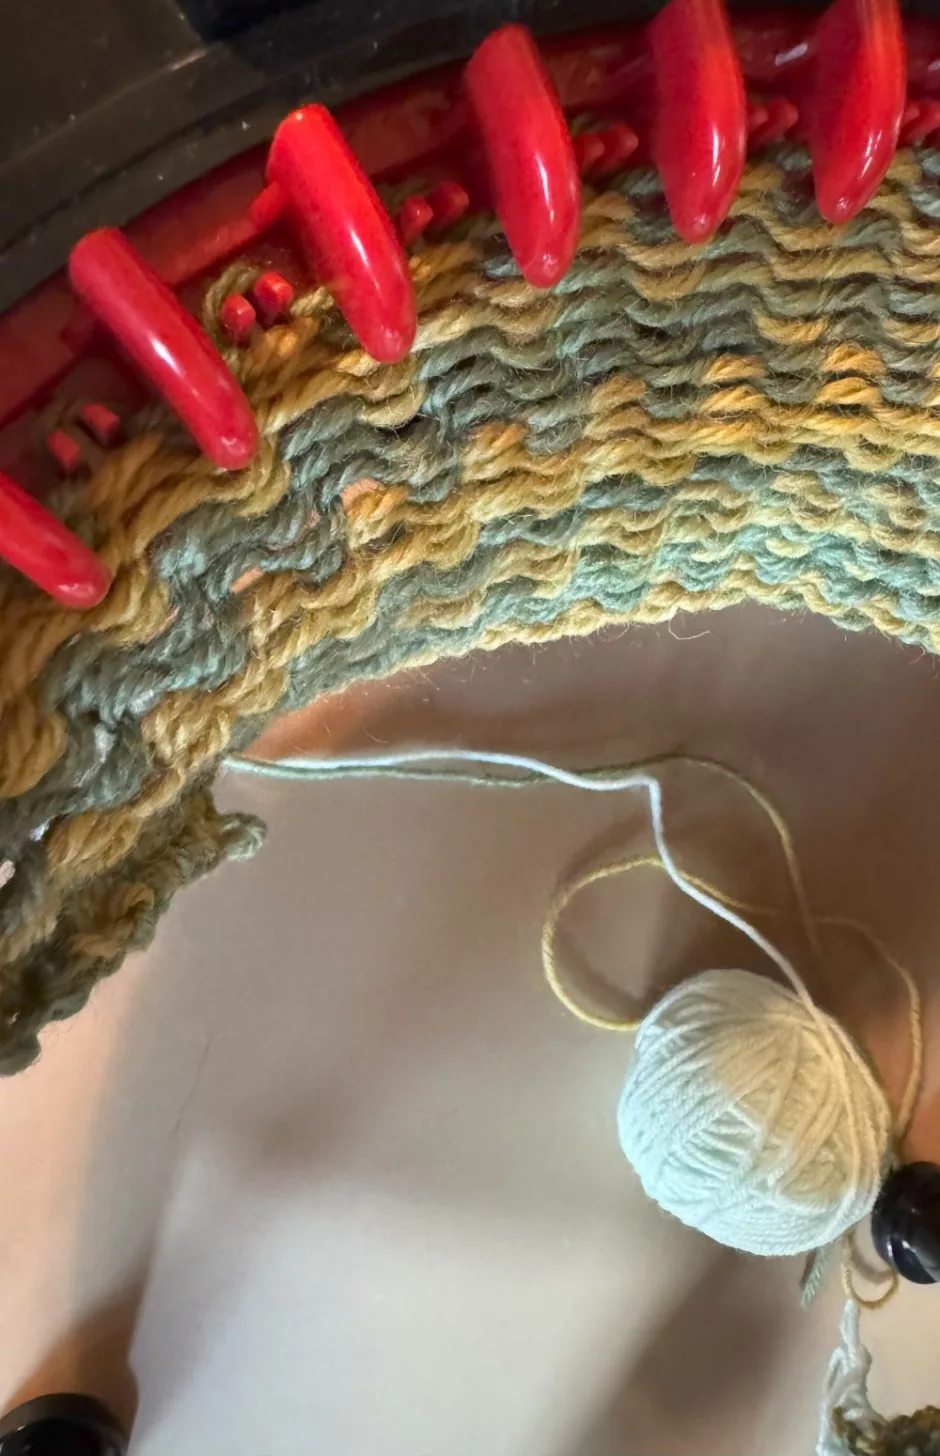
Add in your working yarn and crank 225 rows. Note that if your knitting machine has a row counter, it will only show half as many rows, because it only counts when you are at that end of the project.
Work a few more rows in waste yarn and remove the panel from the machine (I used a knitting needle but you don’t necessarily need to).
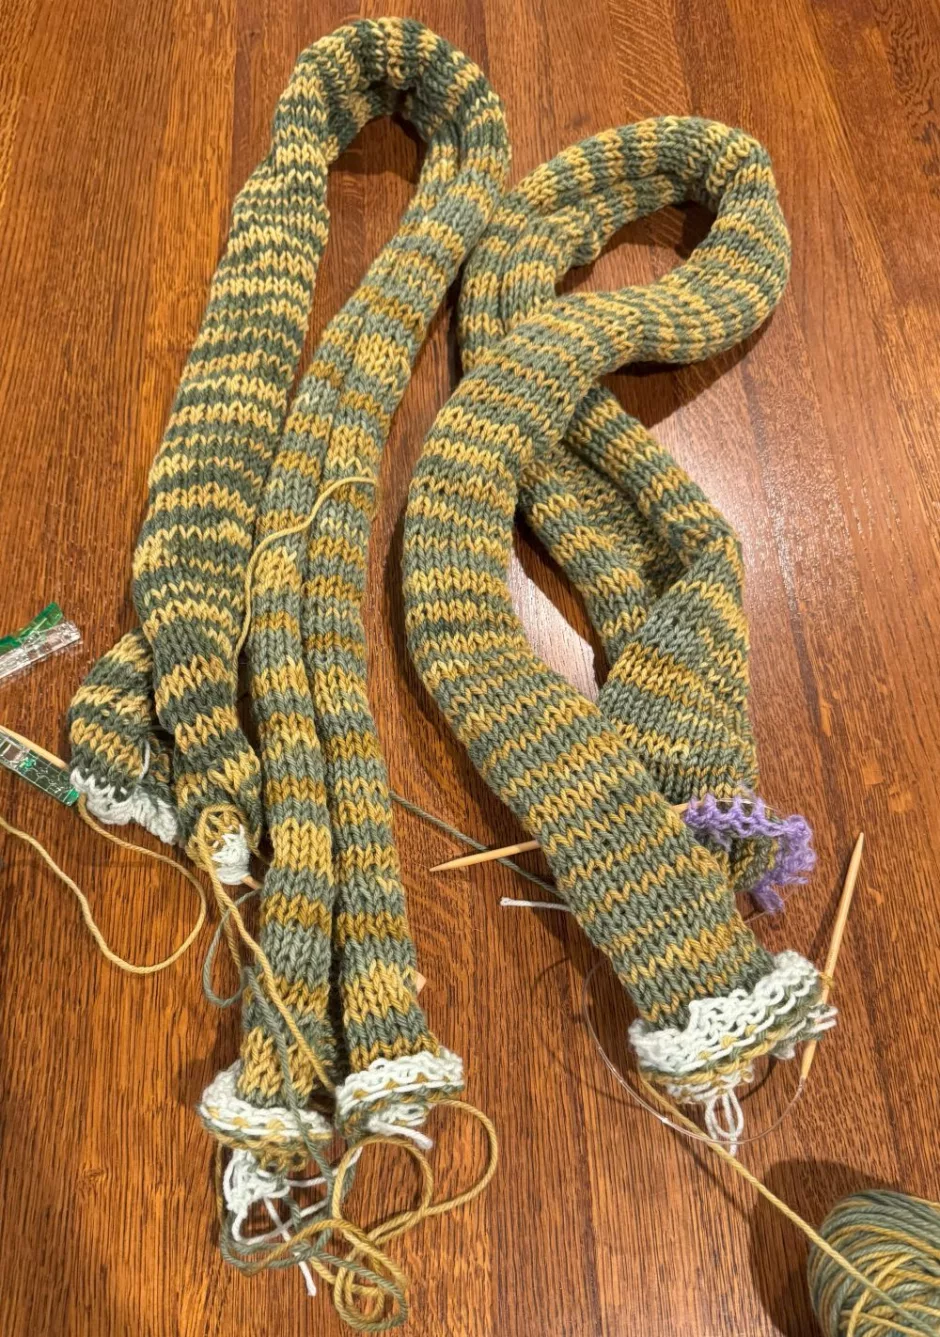
Work a second panel the same way.
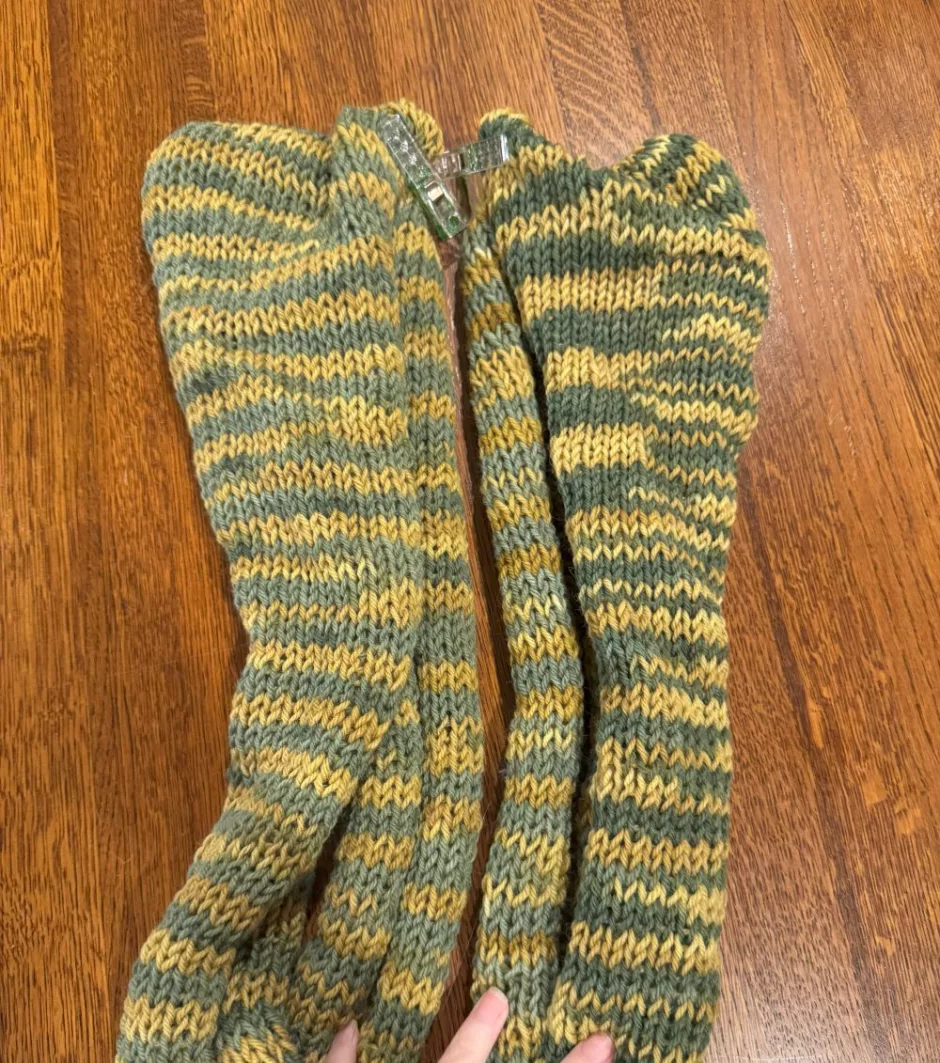
Fold the panels in half and mark the center.
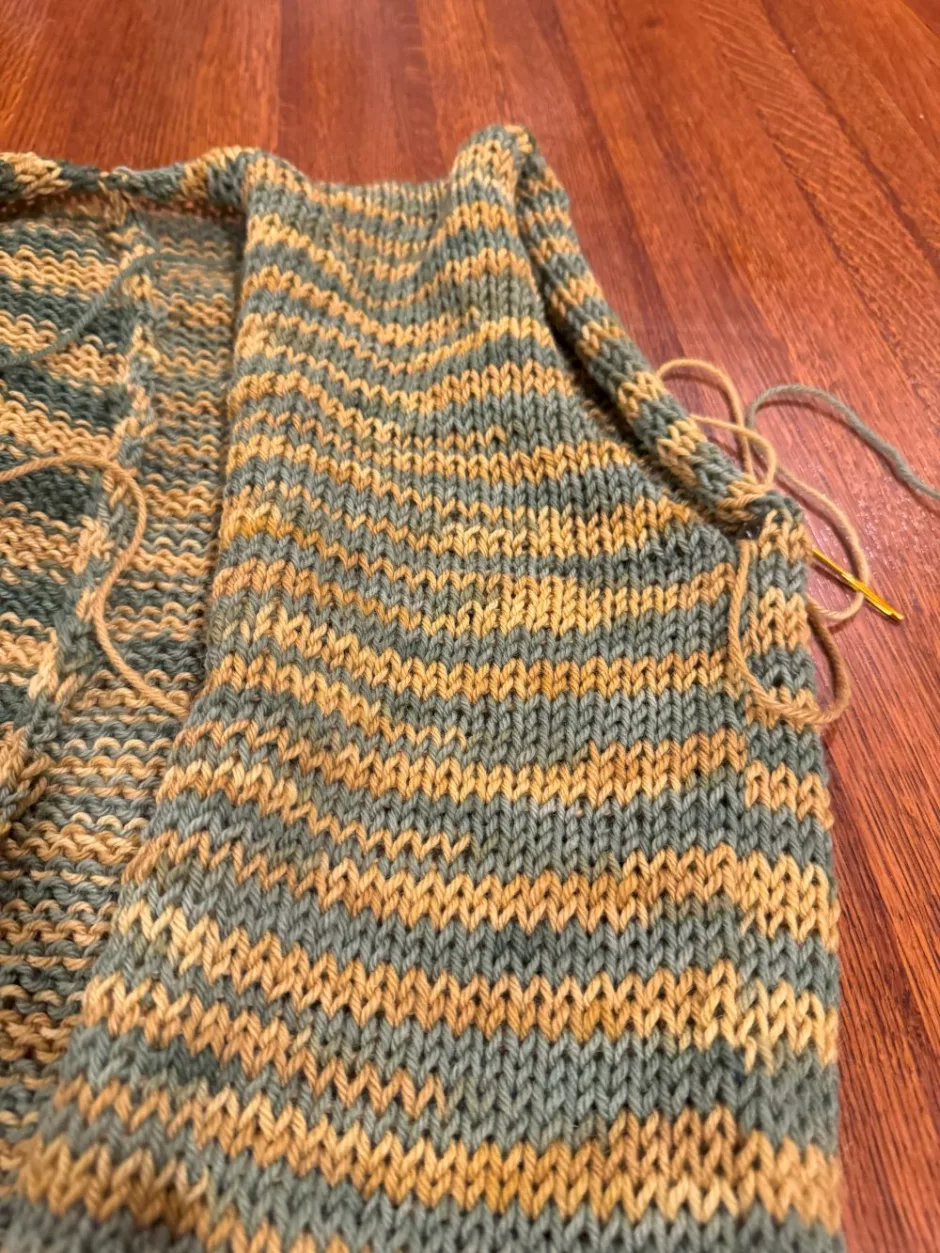
Decide which side is the back and sew the panels together starting at the bottom edge and working up to the center of the panel. I used mattress stitch for this.
Try the vest on and decide how deep you want your armholes to be.
Mine are 9 inches/22.86 cm. Mark where you want the armhole to end and sew the side seam from the bottom up to that point on each side.
Finishing the Vest
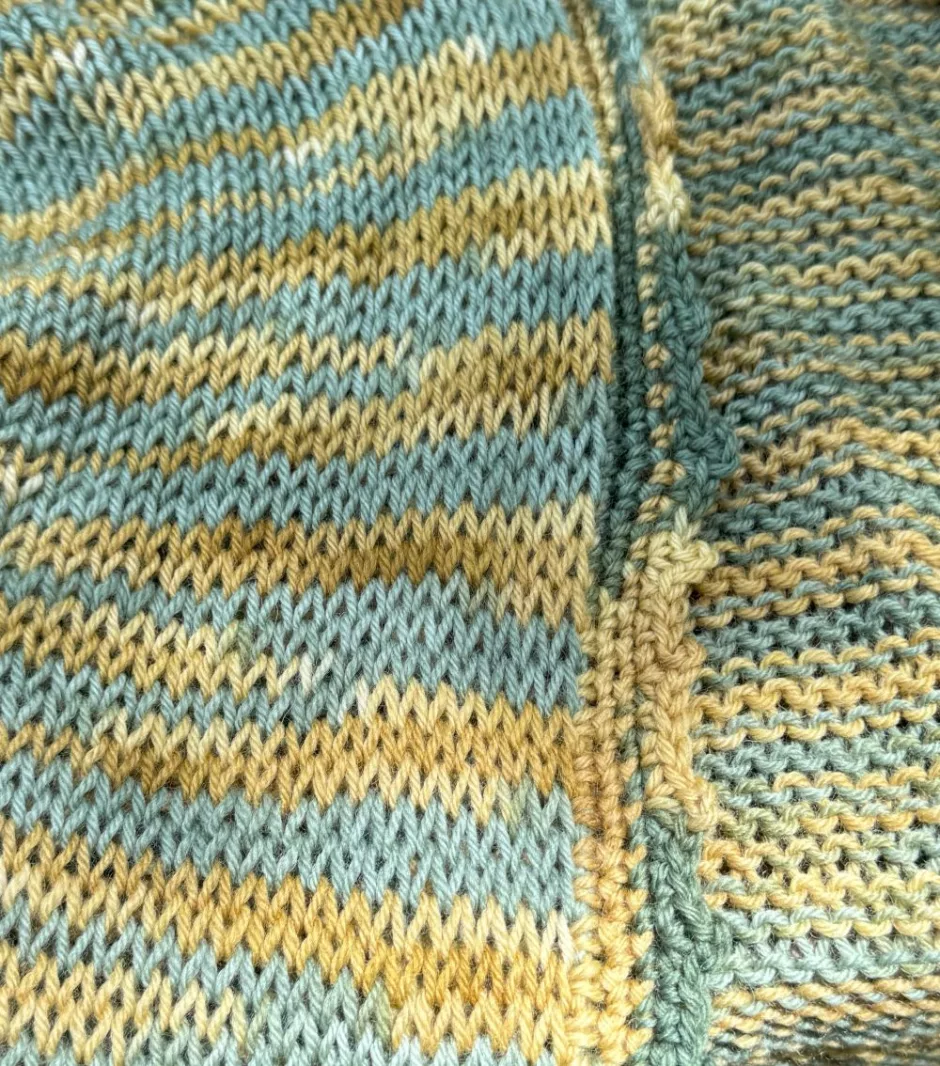
Because this knitting machine vest is stockinette stitch, the edges curl a lot so you will probably want to add some kind of edging.
I thought about knitting a bit of ribbing, but picking up stitches up one side and down the other and around the back was pretty daunting, so I used crochet instead.
I ended up doing three rounds of single crochet followed by a round of picot crochet. If you do this, count your stitches before you do the picots. I had 362, but I really wanted multiples of 3 so I could work a picot with two plain stitches between around, so I worked 2 stitches in the last stitch of the last single crochet round to give me 363.
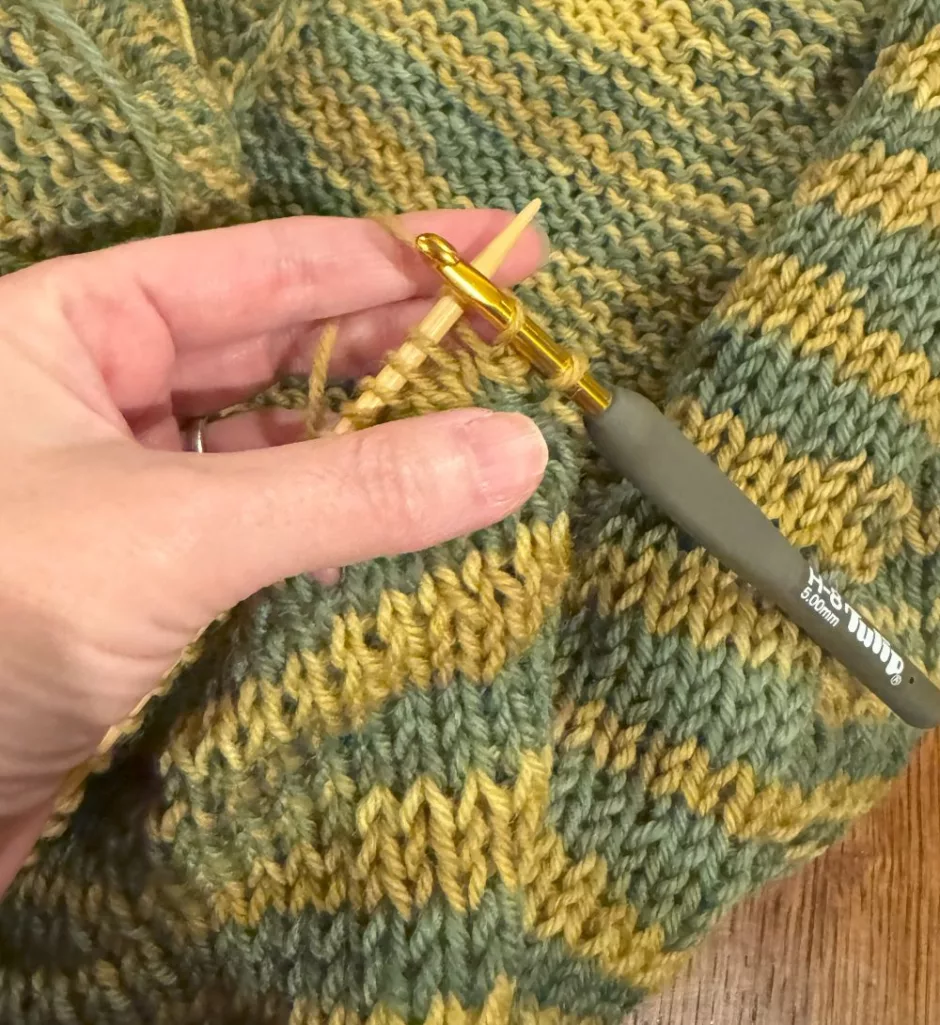
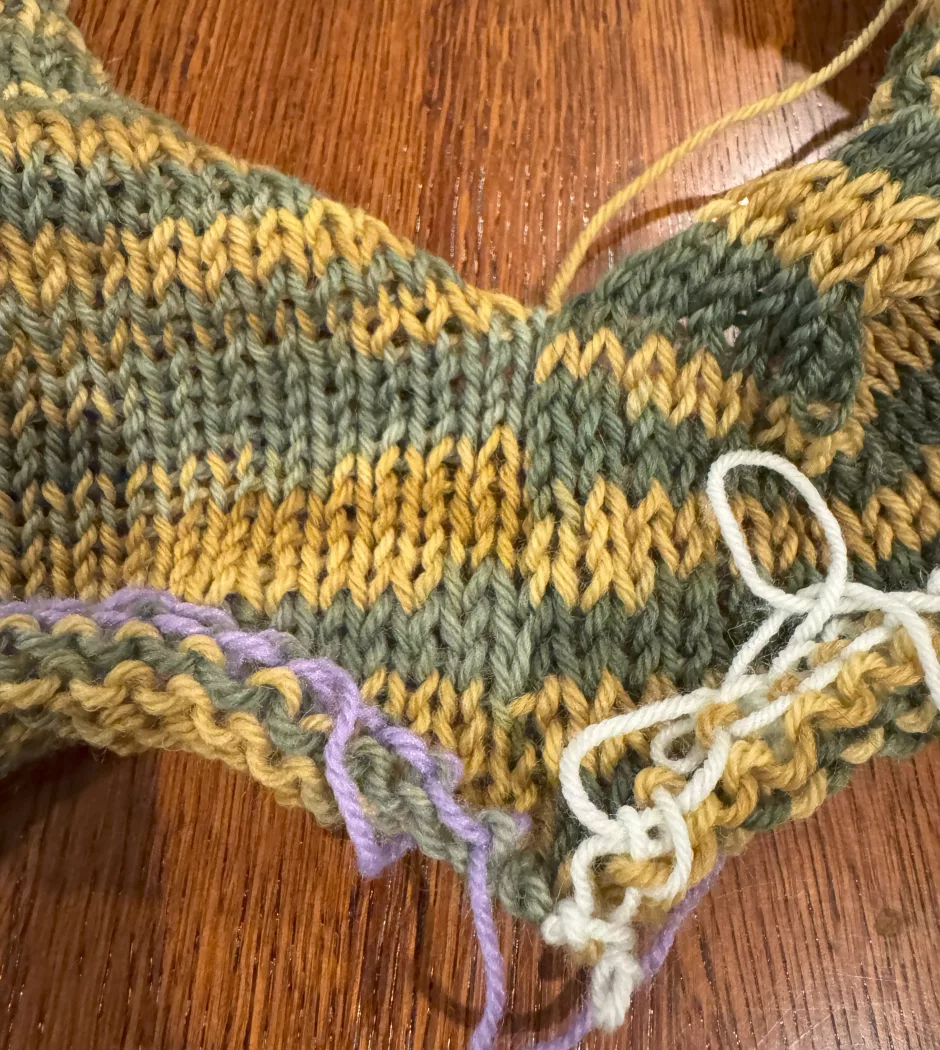
On the first round of crochet you’ll need to unravel the waste yarn and work into the loops left from the knitting machine. If you’re knitting a border you can just pick up those stitches and you’re ready to knit them. I used a knitting needle to help hold the stitches as I worked, but you can also just release one stitch at a time.
Then I did a picot by working a single crochet, chain 3, work another single crochet in the same stitch, then single crochet in the next 2 stitches. Repeat around. Fasten off and weave in ends.
I did the same thing on the armholes (and likewise ended up needing to add another stitch to them to get my picot round to work out the way I wanted).
You will probably also want to block the vest and pin down the edging to provide even more insurance against the edges curling.
If you have more yarn once all this is done, you could knit or crochet a belt to go with it. I’m thinking about adding a pocket or two but I’m not sure I have enough yarn.
This knitting machine vest pattern is really easy and relatively quick to make, and super easy to wear with your favorite fall outfits.