Affiliate links may be included for your convenience. View our privacy and affiliates policy for details.
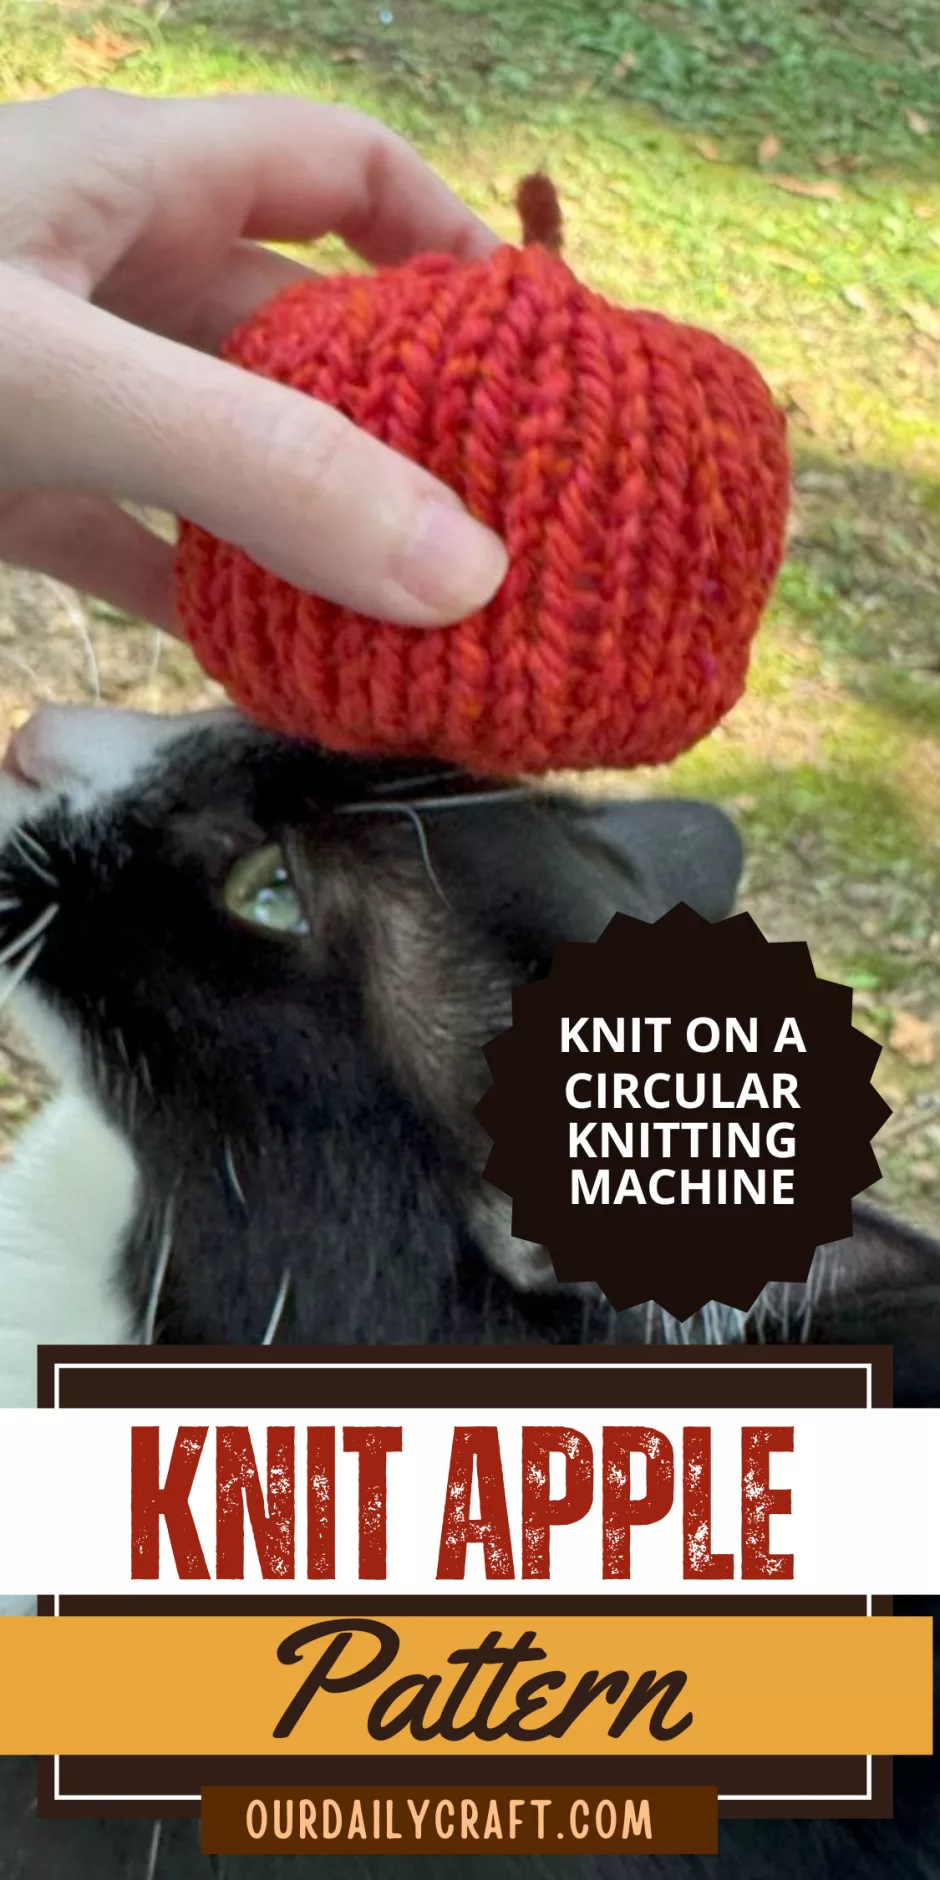
A circular knitting machine makes short work of this easy apple knitting pattern, but you could also knit it by hand. It’s basically the same as my mini pumpkin pattern, but styled like an apple.
Supplies
For this apple knitting pattern you’ll need a 22-pin circular knitting machine. Mine is a Sentro; you can also use the little Addi if that’s what you have.
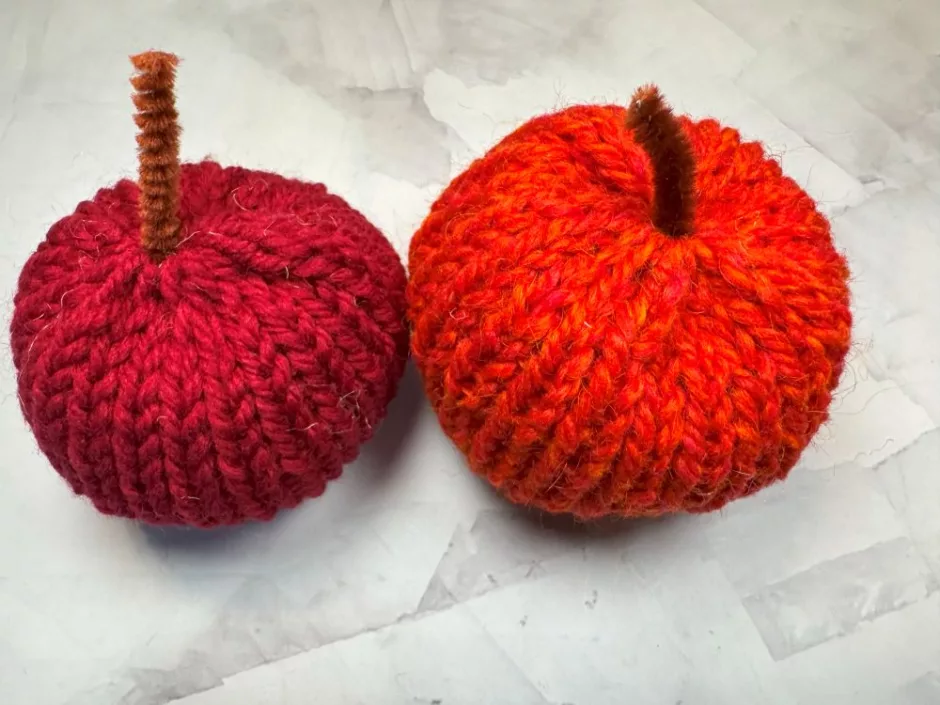
I used worsted weight wool yarn for both of my samples. The solid red is Brown Sheep Nature Spun in Scarlet (a great American made yarn, by the way); the one with flecks of orange is unknown deep stash. You’ll need about 15 yards/6 grams of whatever yarn you choose.
You’ll also need a yarn needle and a pair of scissors, as well as whatever you want to stuff your apples with. And whatever you want to make your stem with. I used a brown pipe cleaner. You can also use a little bit of knit cord. I just think they’re so little that a cord stem would be too big.
Size
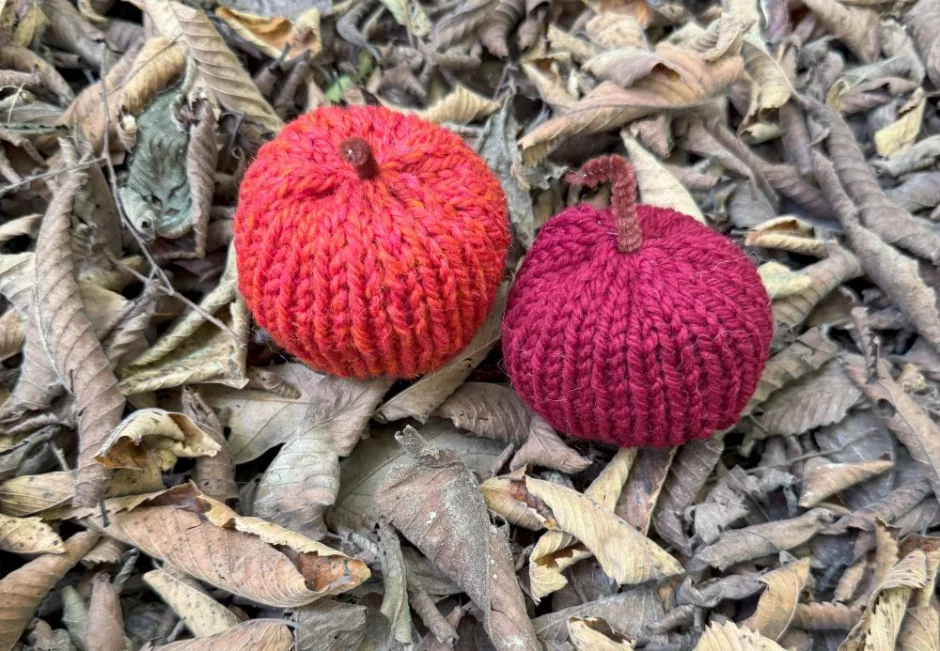
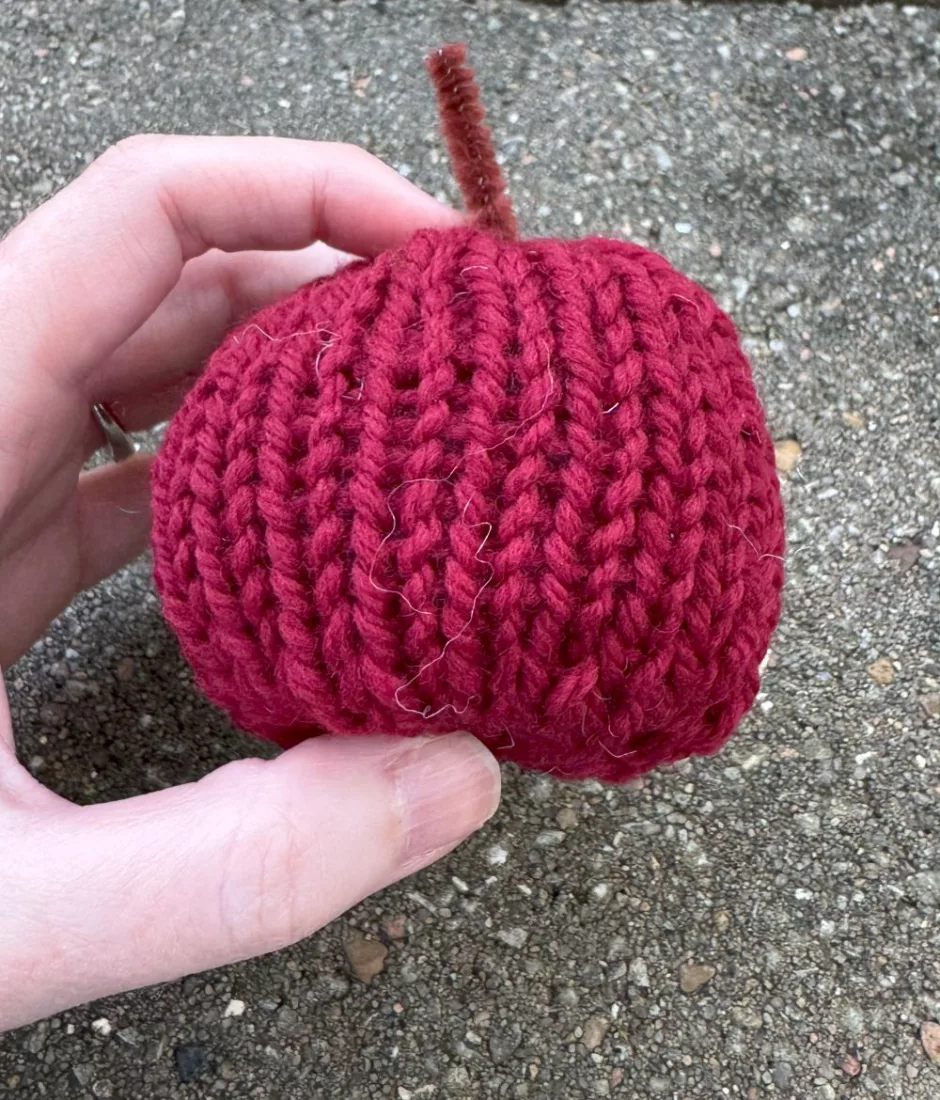
Both of my samples for this apple knitting pattern were the same number of stitches and rounds, but they came out slightly different sizes. The solid red is about 3 inches tall and 9 inches around (that’s 7.6 by 22.8 cm for our metric system friends).
The bigger one is just a little bit taller but 9.5 inches/a little more than 24 cm around. I think this is down to differences in how I stuffed them and the yarn I used. But it’s safe to say they are small.
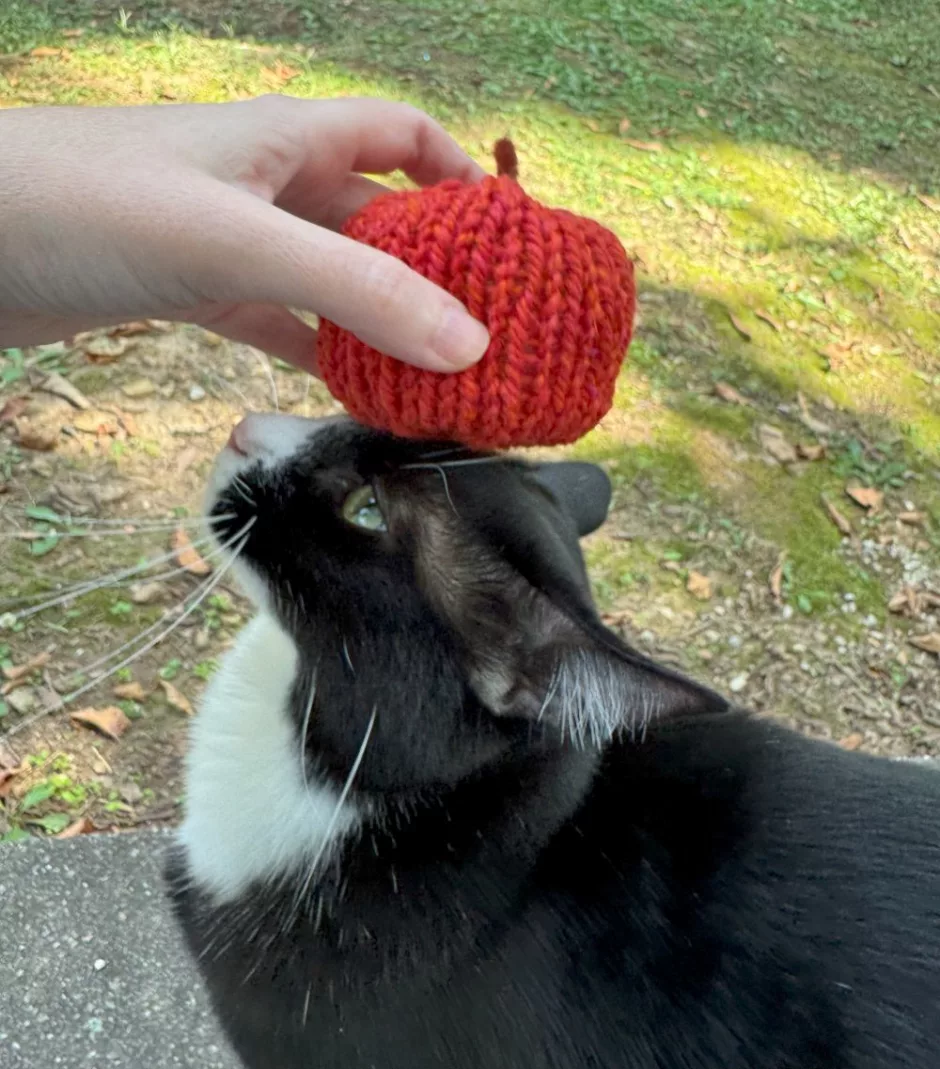
Cat for scale.
Apple Knitting Pattern
If you know how to make a tube on a knitting machine, that’s all we are doing here. Cast on as usual with the yarn of your choice and crank out 20 or so rounds (I counted out loud to keep track so it’s possible they aren’t exactly 20).
Cut the yarn, leaving a long tail. Thread the yarn onto your yarn needle and crank one more round, picking up the stitches as you go and sliding them onto the yarn.
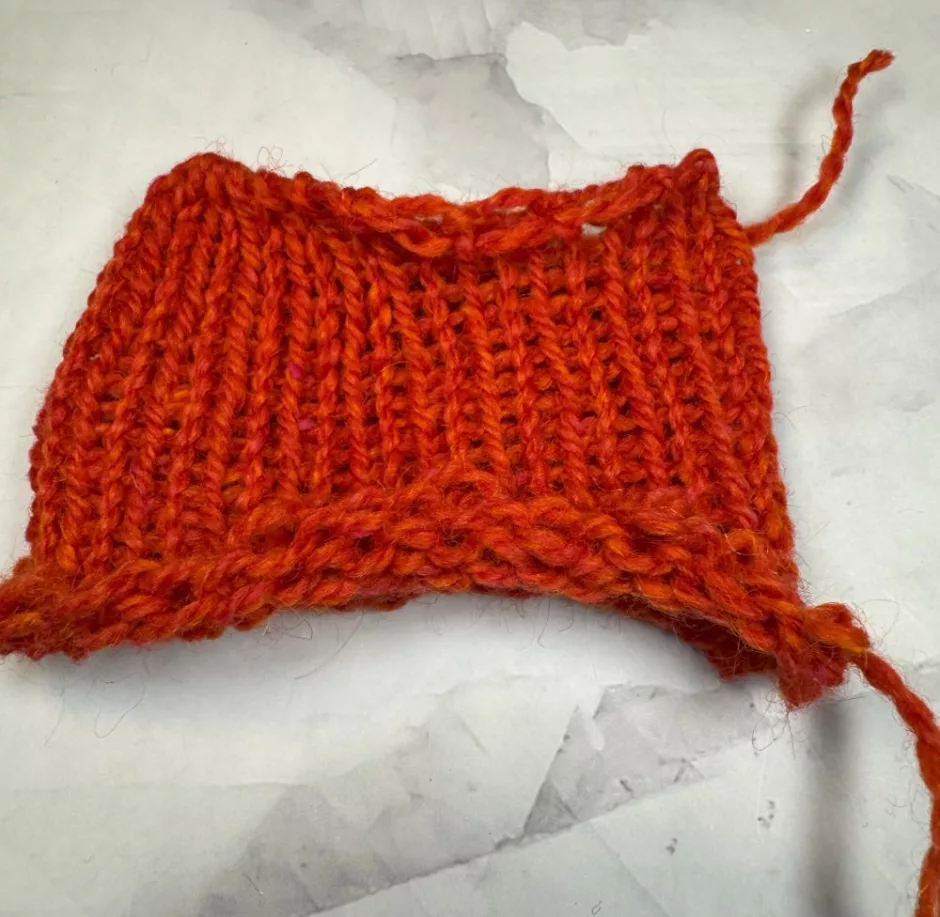
You now have a knit tube with yarn on both ends.
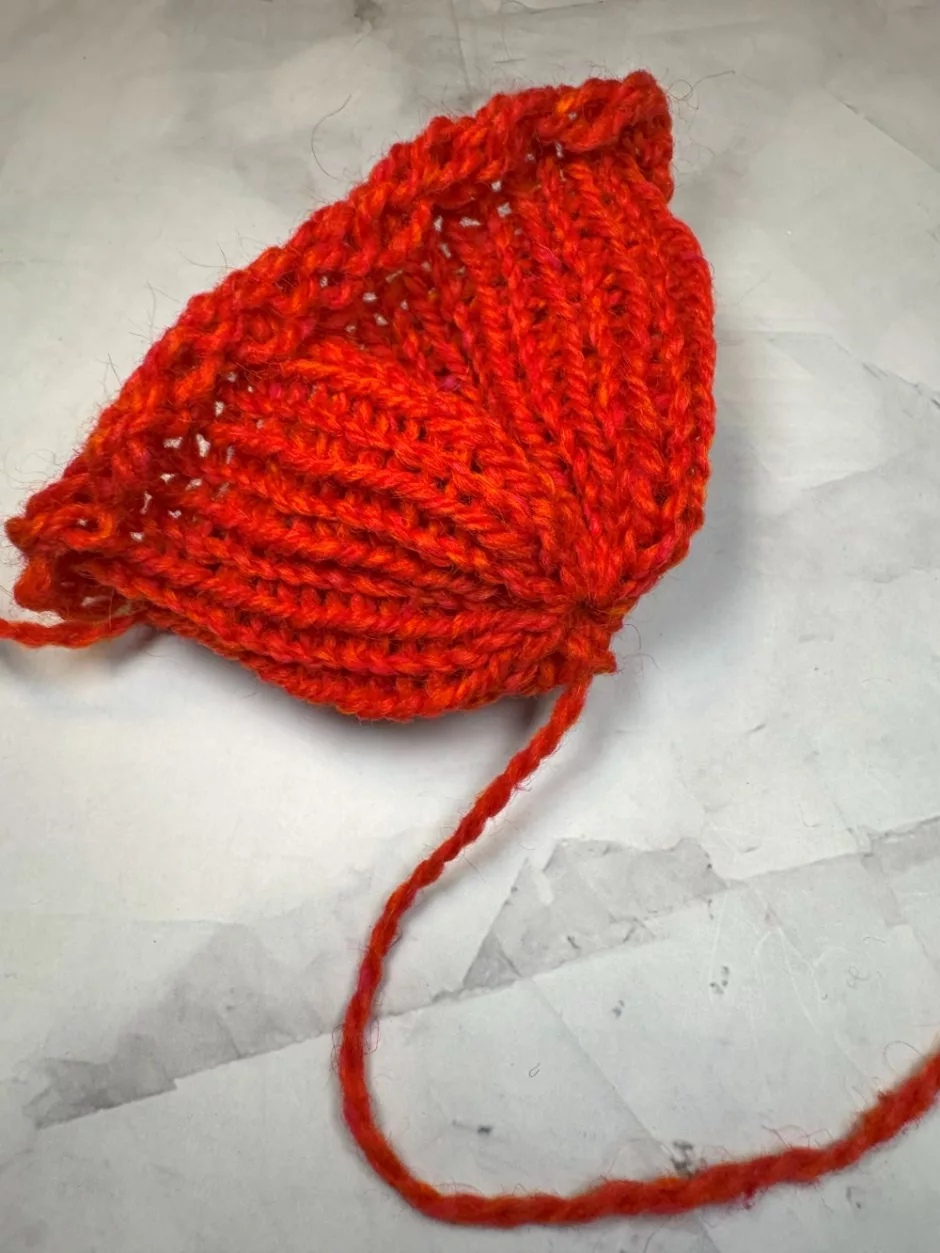
Pull the yarn tight on the side you just pulled off the machine.
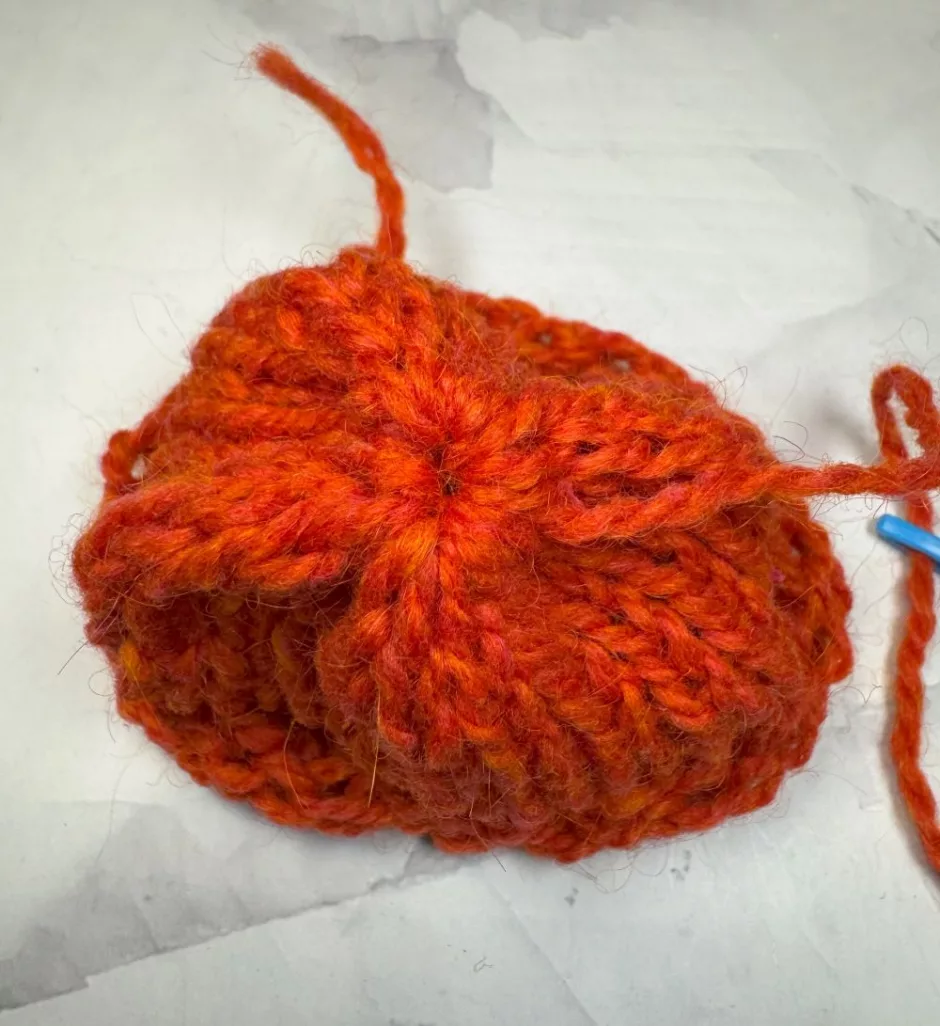
I like to take the needle back through the stitches and then up through the center of the hole and pull as tight as I can. It doesn’t have to be invisible but do the best you can.
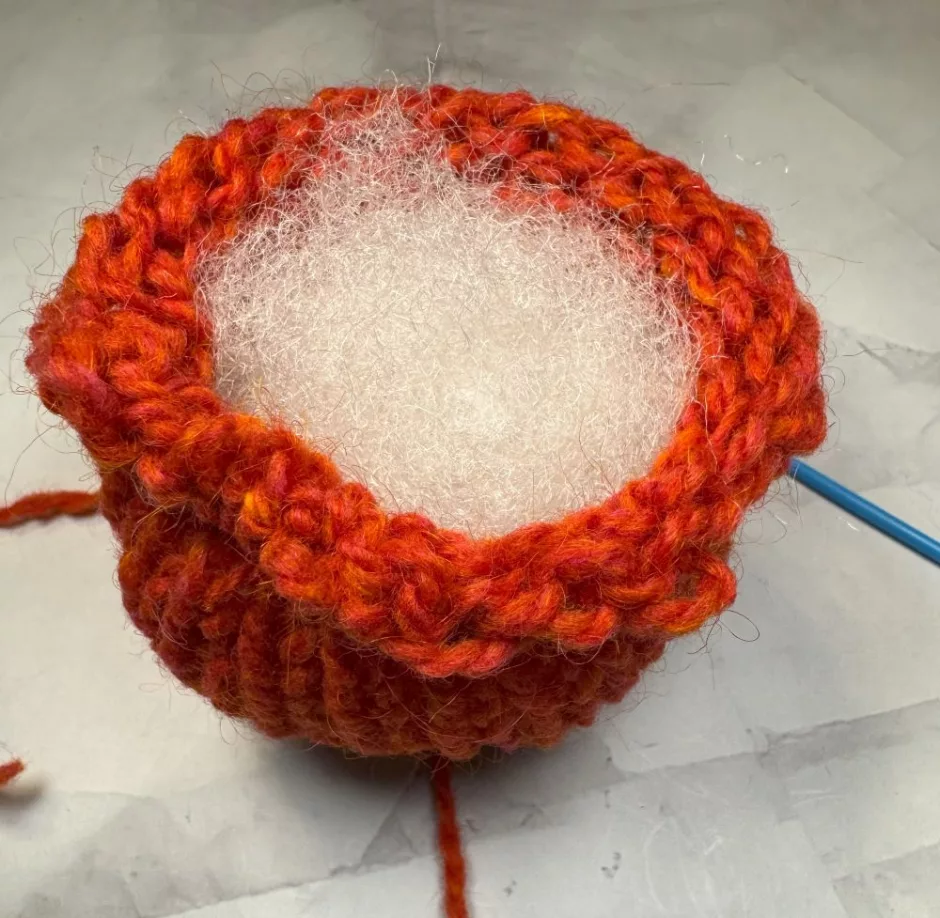
Start adding stuffing to the apple and, once you have some in there, pull on the other yarn end to close it up a bit and see how it looks. I think this stage looks like a little cauldron, which is totally an idea I’m stealing.
Add a little more stuffing as needed and when you think you’re done, pull the yarn tighter to close the hole as you can. Again you can run through the stitches more than once if it helps.

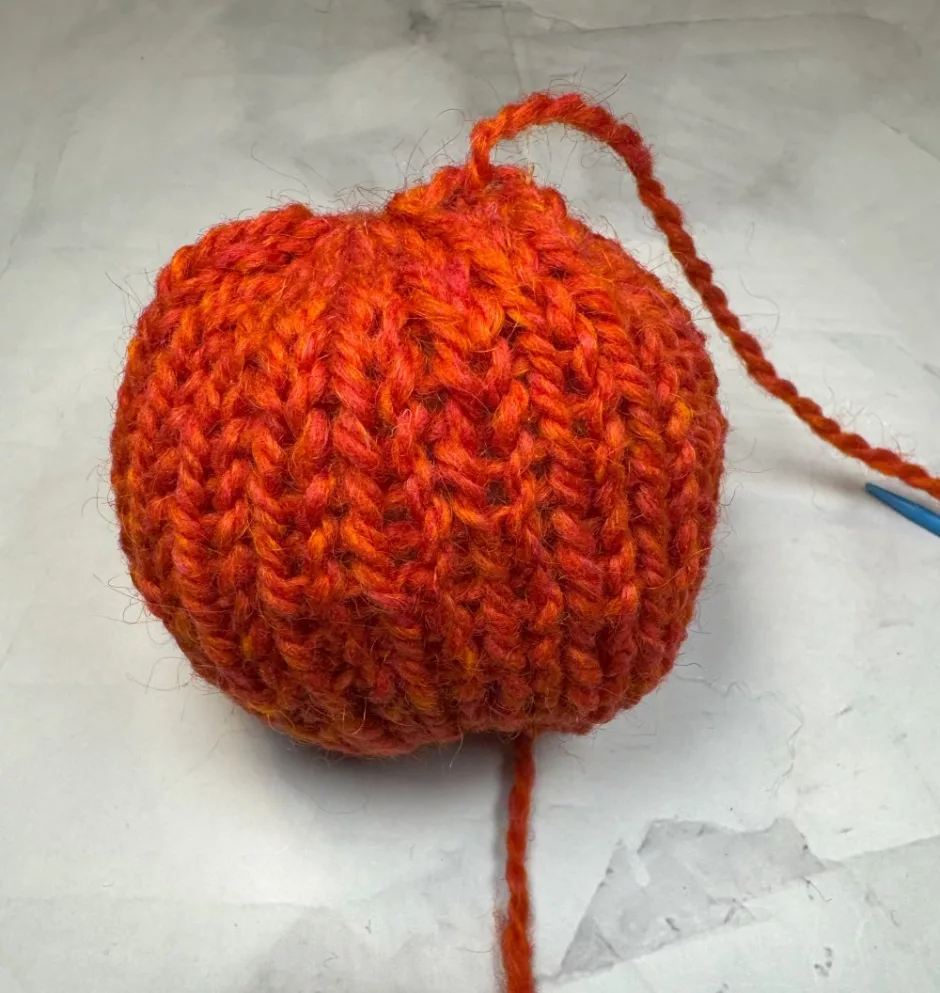
Here I like to stick the needle down through the center of the apple and pull it all the way through to the other side. Pull on it a little to give the apple some dimples. Stick the needle back through the apple to bury the yarn end and trim any excess.
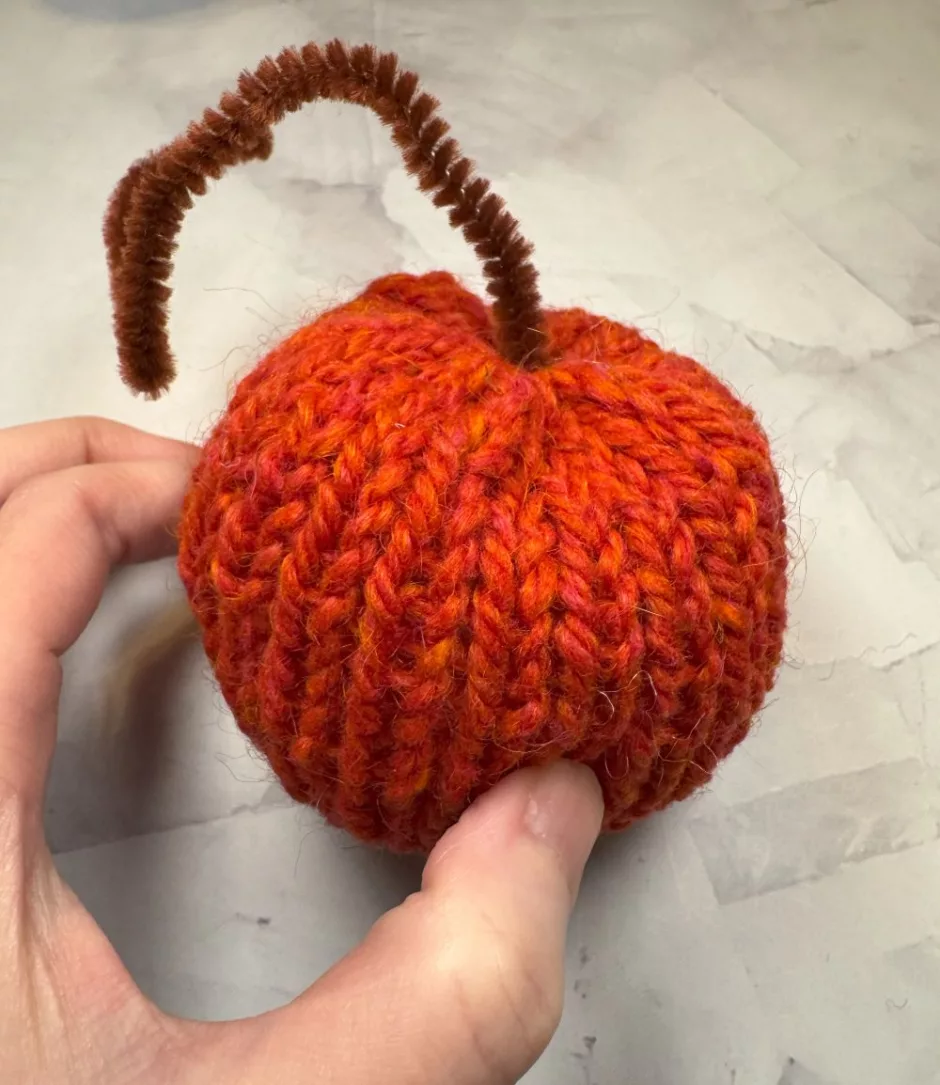
Decide which side is the top and add your pipe cleaner, or knit a bit of cord to sew on top. I loved the crazy long stem on this one, but it’s not super accurate.

If you want to make this apple knitting pattern with hand knitting, use a set of size 7 US/4.5 mm double pointed knitting needles. Cast on 22 stitches and join in the round. Knit for 20 rounds. Cut the yarn, thread it onto the yarn needle and finish as above (though you’ll have to sew up the cast on edge rather than pulling the yarn tight).