Affiliate links may be included for your convenience. View our privacy and affiliates policy for details.
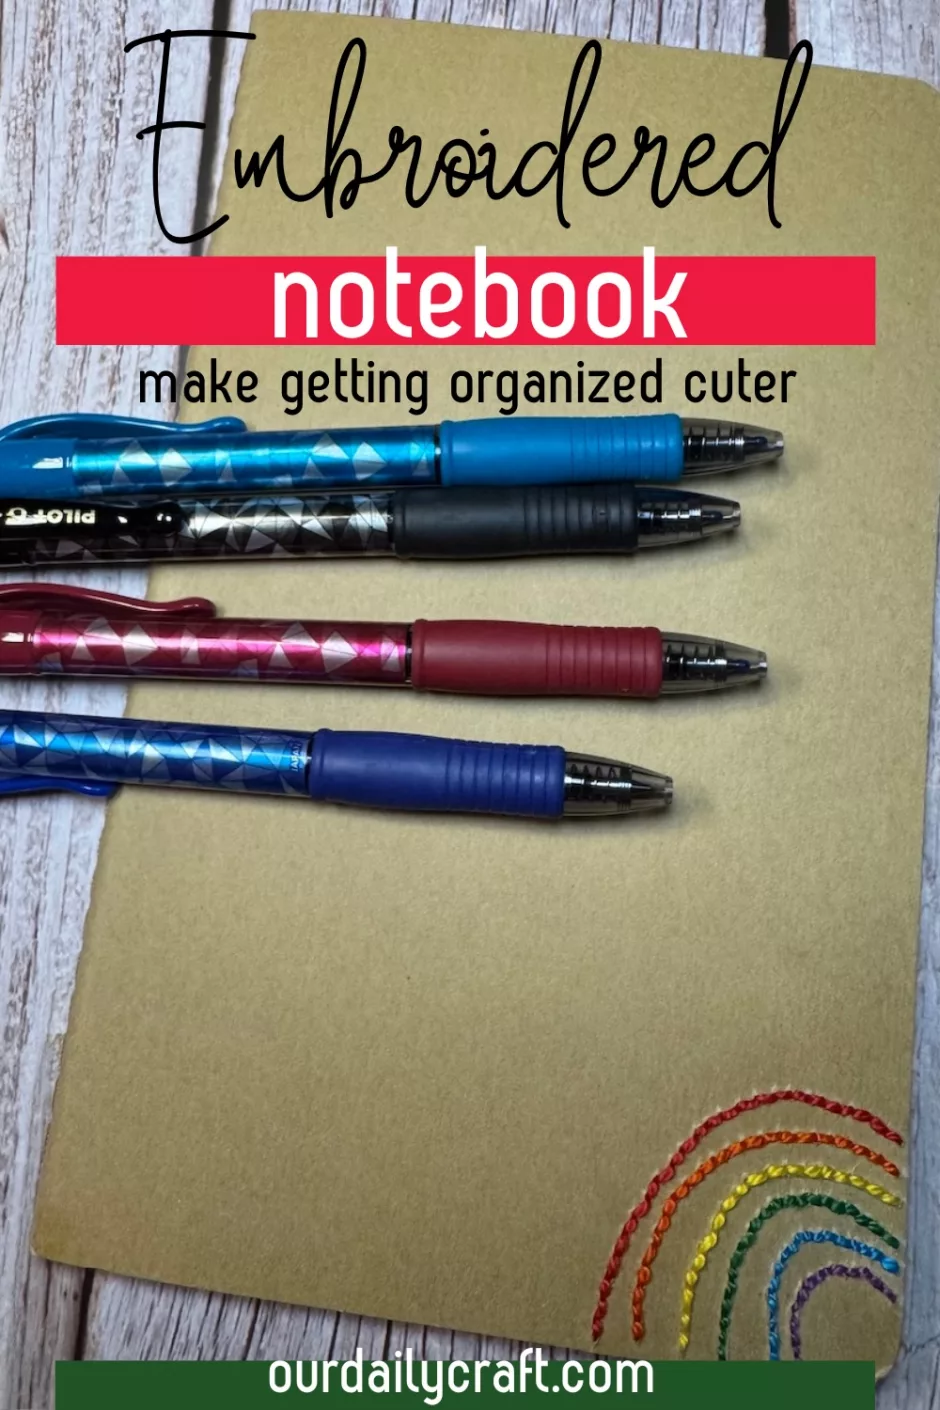
I wanted to make this embroidered notebook to try to encourage myself to carry a notebook around more often, because of course we’re more likely to use things if they are cute, right?
You can embroider whatever you like on a notebook cover to make it more fun. You could also draw, add paper, make a collage, or whatever sounds like fun to you. Here’s how I made my embroidered notebook.
Materials
To start, you need a notebook with a cover that you can punch holes in. Mine ins a Moleskine Cahier journal, which has a kraft paper cover that’s perfect for customization. This journal is unlined, and I think at this size they only offer plain paper, but you can get lined paper journals in a smaller size.
You could also buy a stitchable notebook to use for this project, but that’s a topic for another blog post.
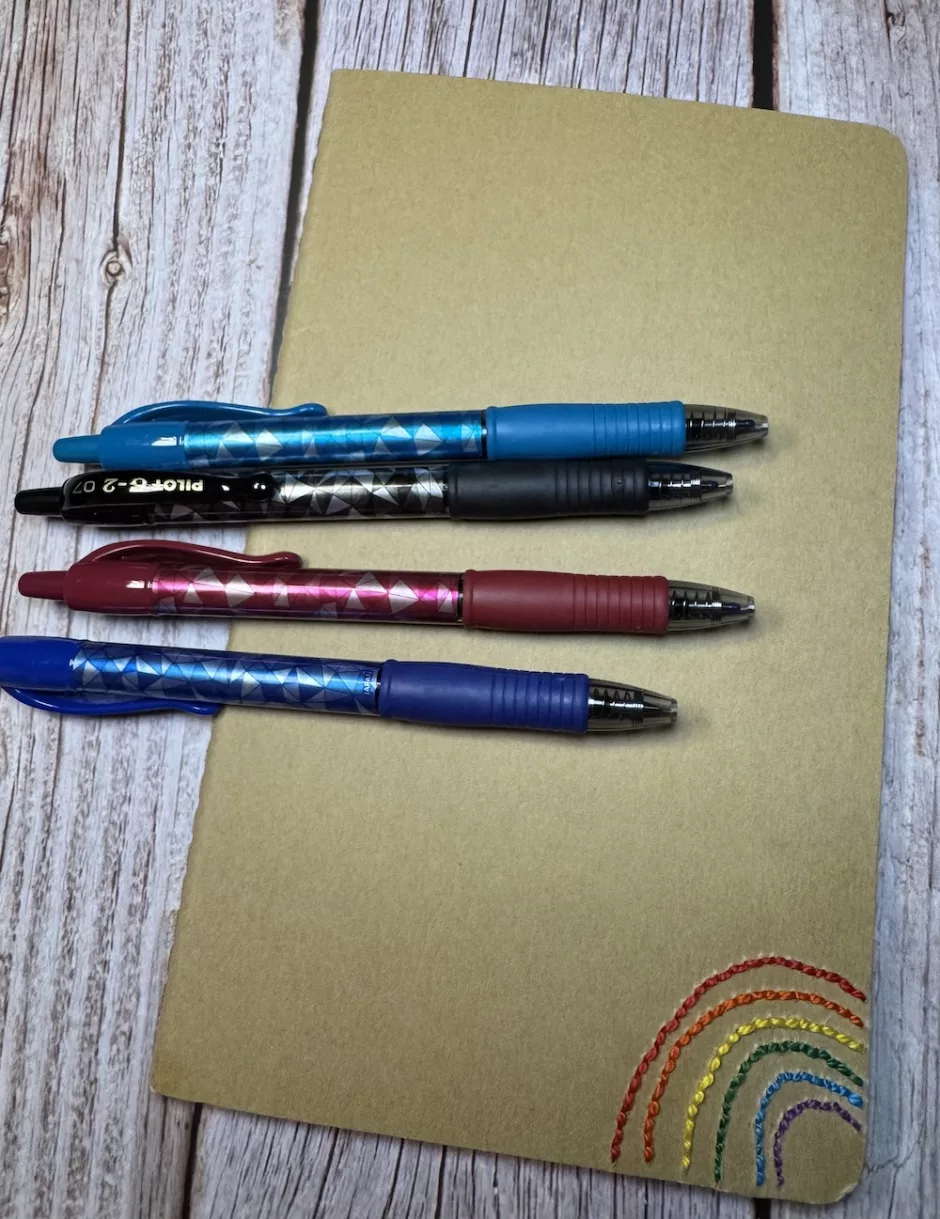
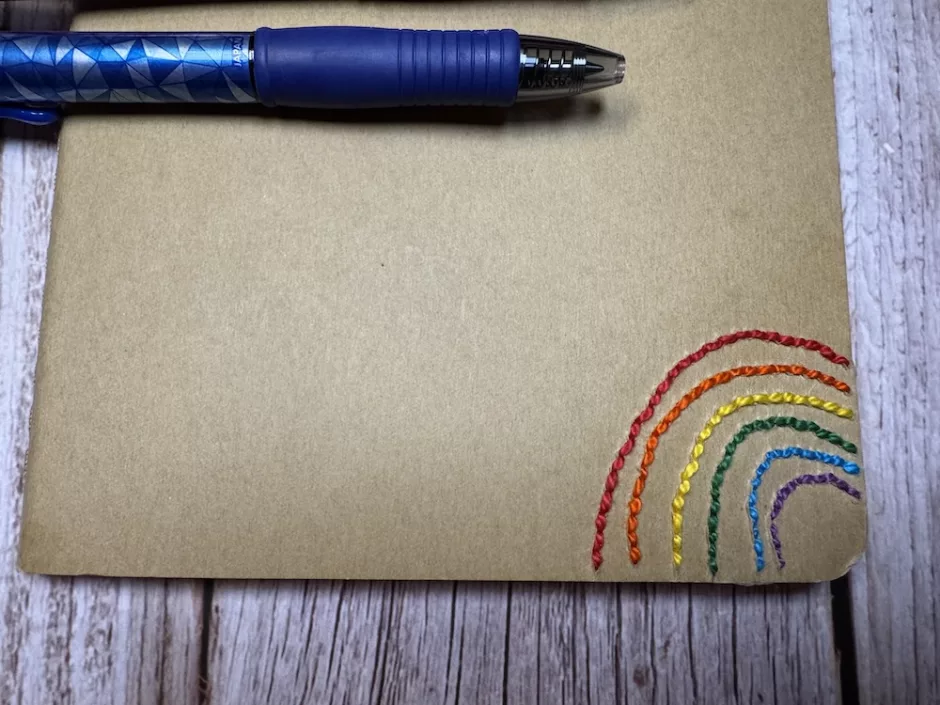
For the embroidery part I decided to stitch a rainbow, but whatever you want to do you’ll need a pencil to draw out your lines, a straight pin, sewing needle, scissors and embroidery floss in the colors you want to use. If you want to cover the back of the embroidery, which is a great idea, you’ll need card stock or heavy paper and adhesive of your choice (I used glue stick).
How to Make an Embroidered Notebook
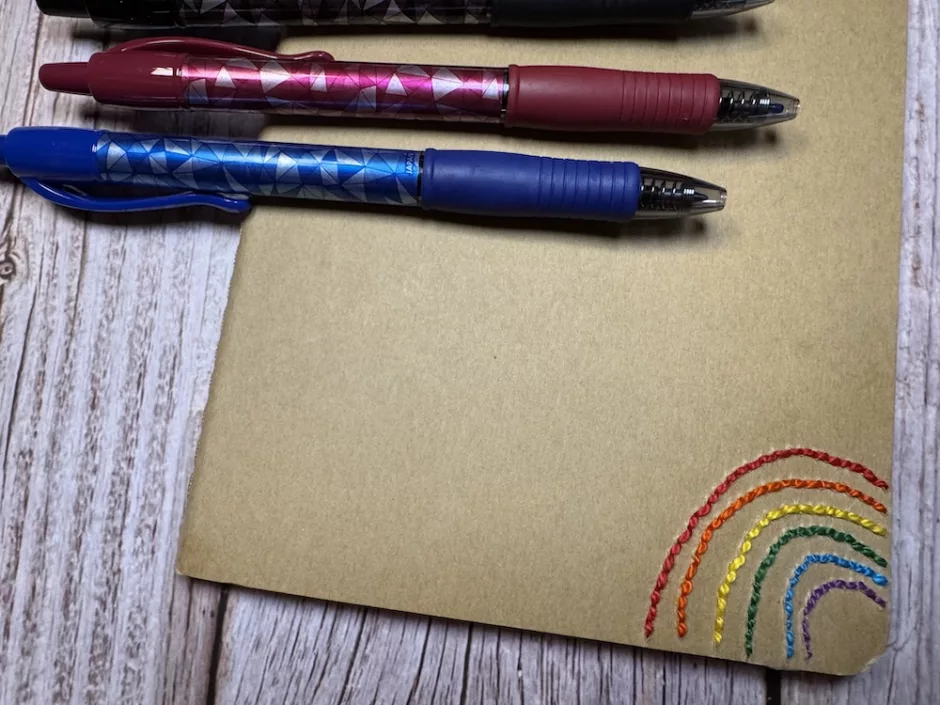
I decided to make my rainbow in the corner at the bottom of the notebook. I did a terrible job trying to draw it using round things and ultimately ended up just freehand drawing six arcs to make my rainbow.
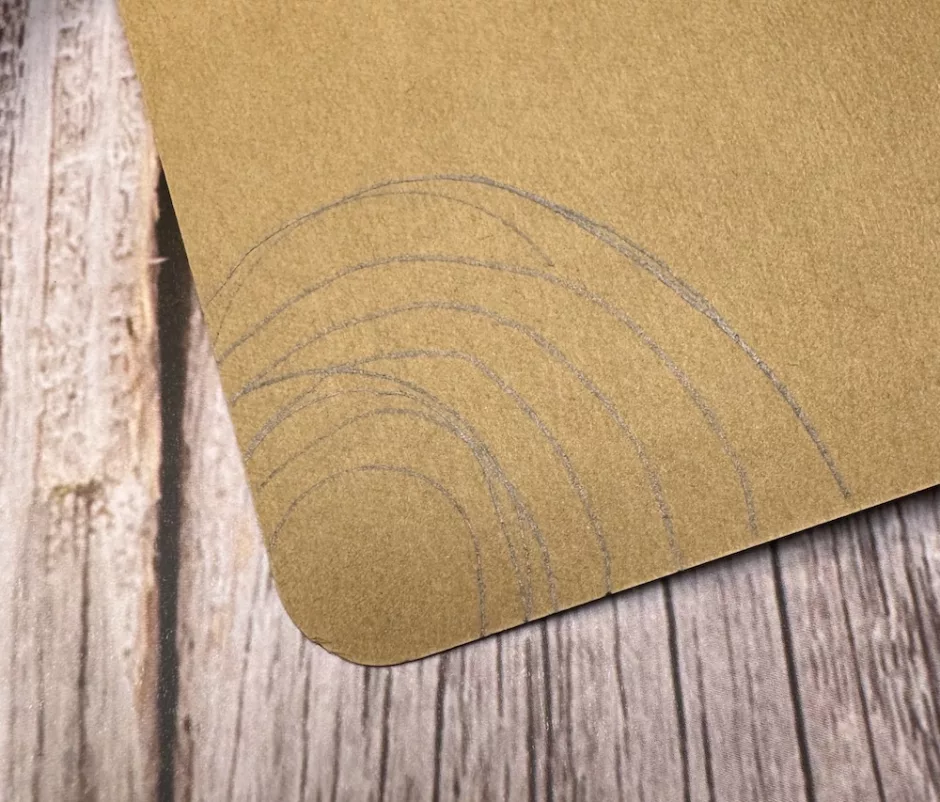
Draw on the inside of the cover if you’re bad at drawing like I am, and no one will see the messed up attempts.
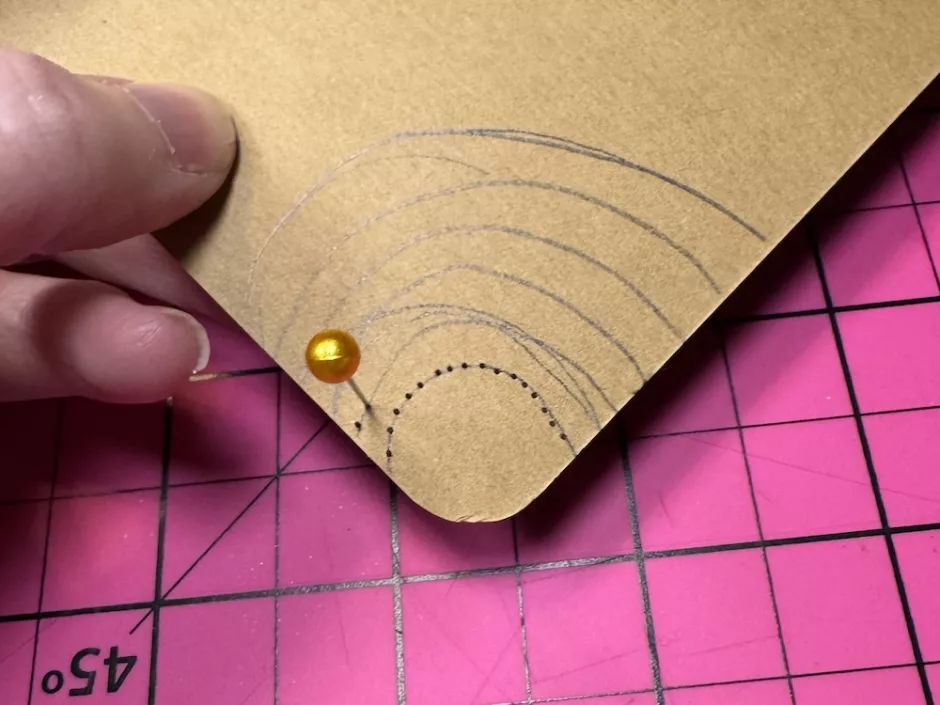
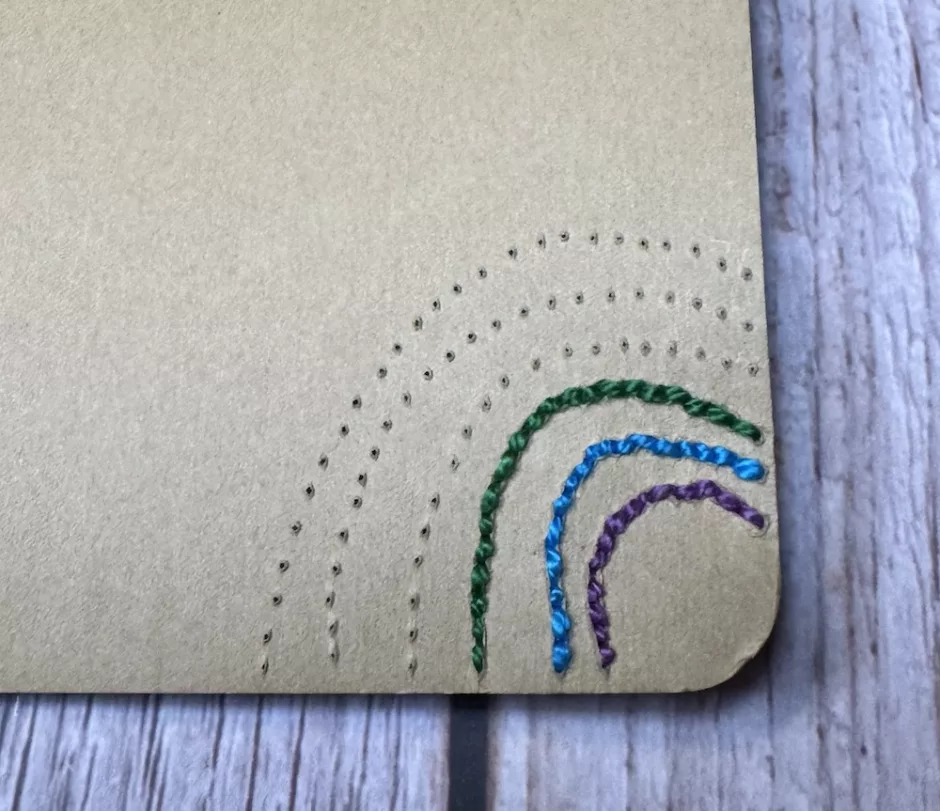
Use a straight pin or your sewing needle (I think a straight pin is a little sharper) to poke holes along your lines. Try to make them relatively consistent in spacing.
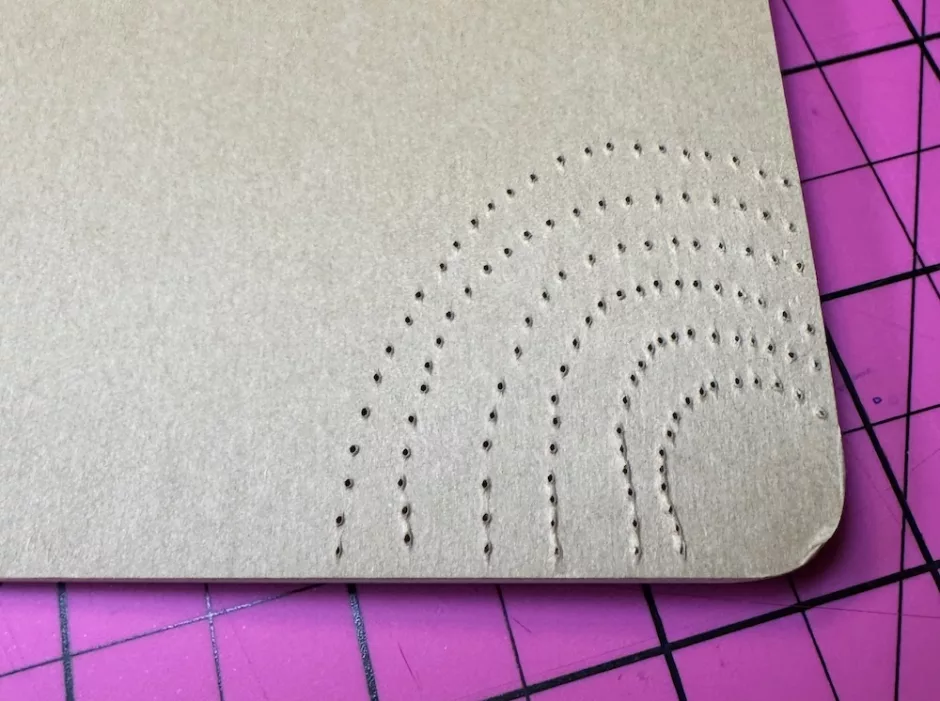
Don’t put them too close to each other or to the edge of the cover as they might pull out if the holes get too big when you stitch.
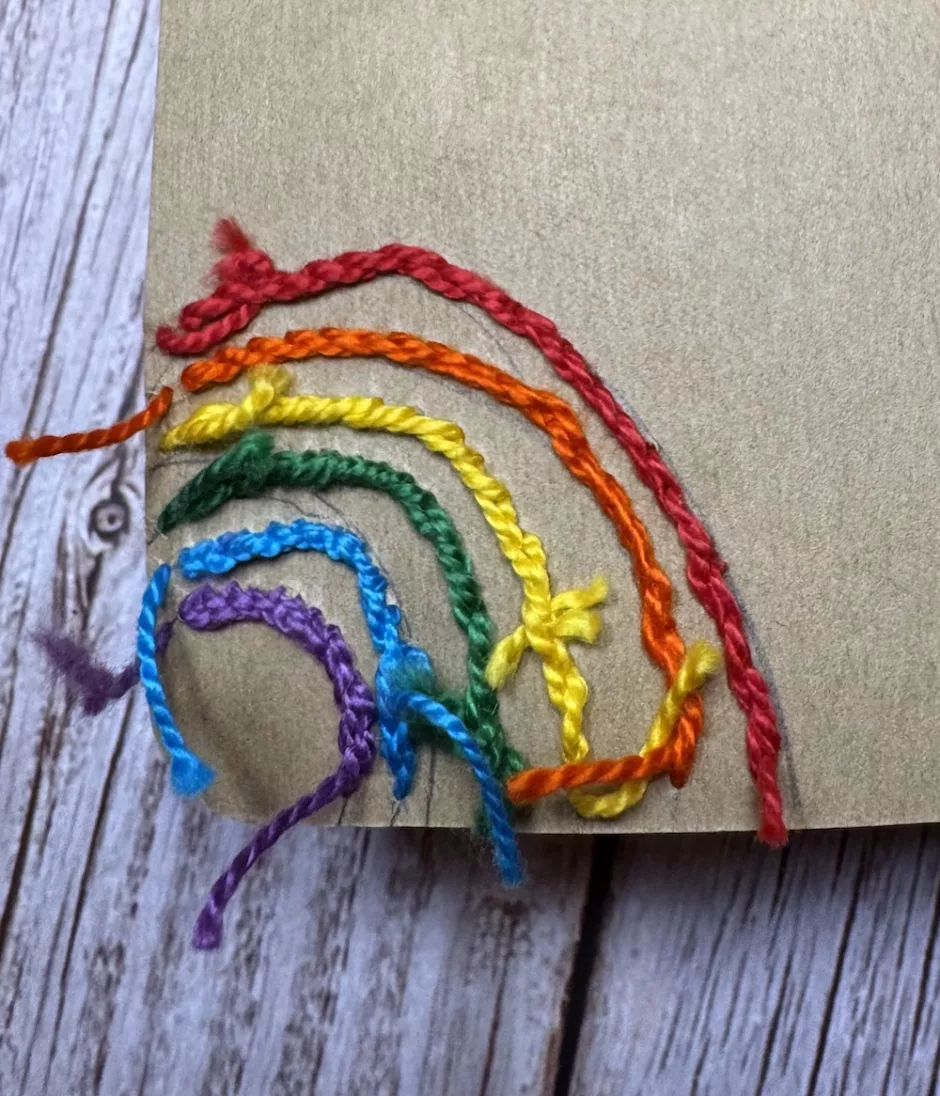
Instead of trying knots on the back I just left a little tail of thread at each end of the stitching line. For these I worked back stitch so the stitching line would be solid on the front.
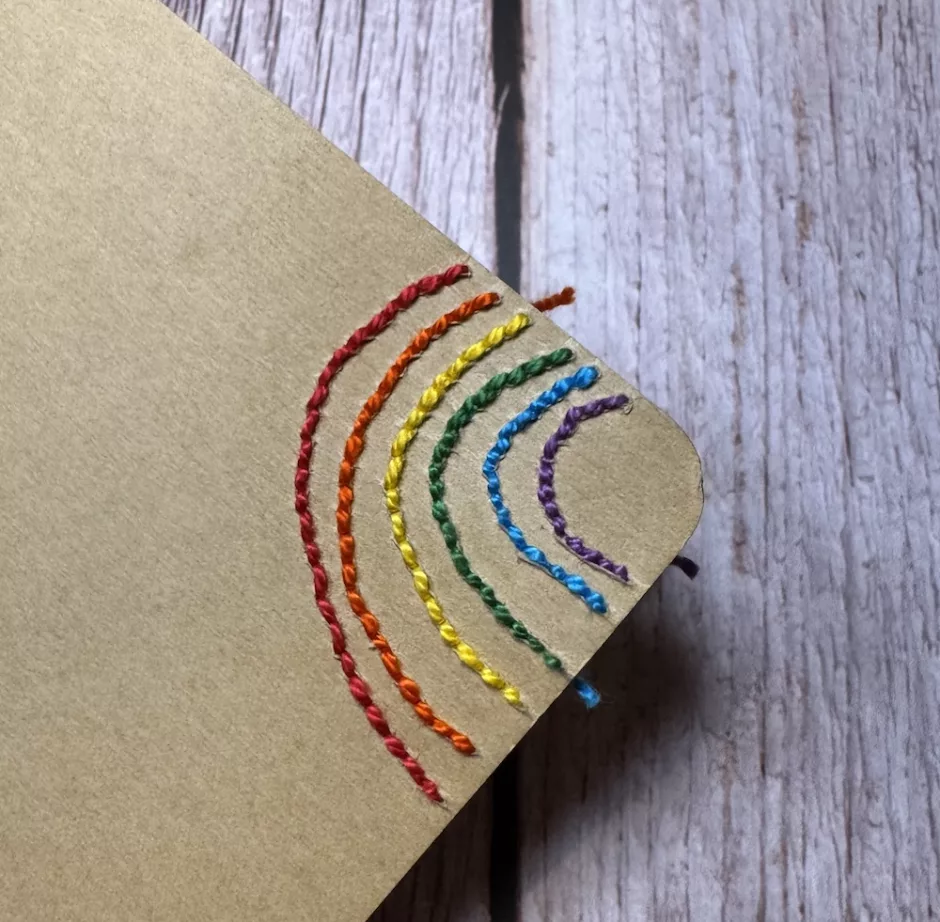
Continue to stitch until all your holes are filled.
Covering the Back
You can leave your embroidered notebook just like this if you want, but I wanted to cover the stitching so the back of the cover would be smooth again for writing.
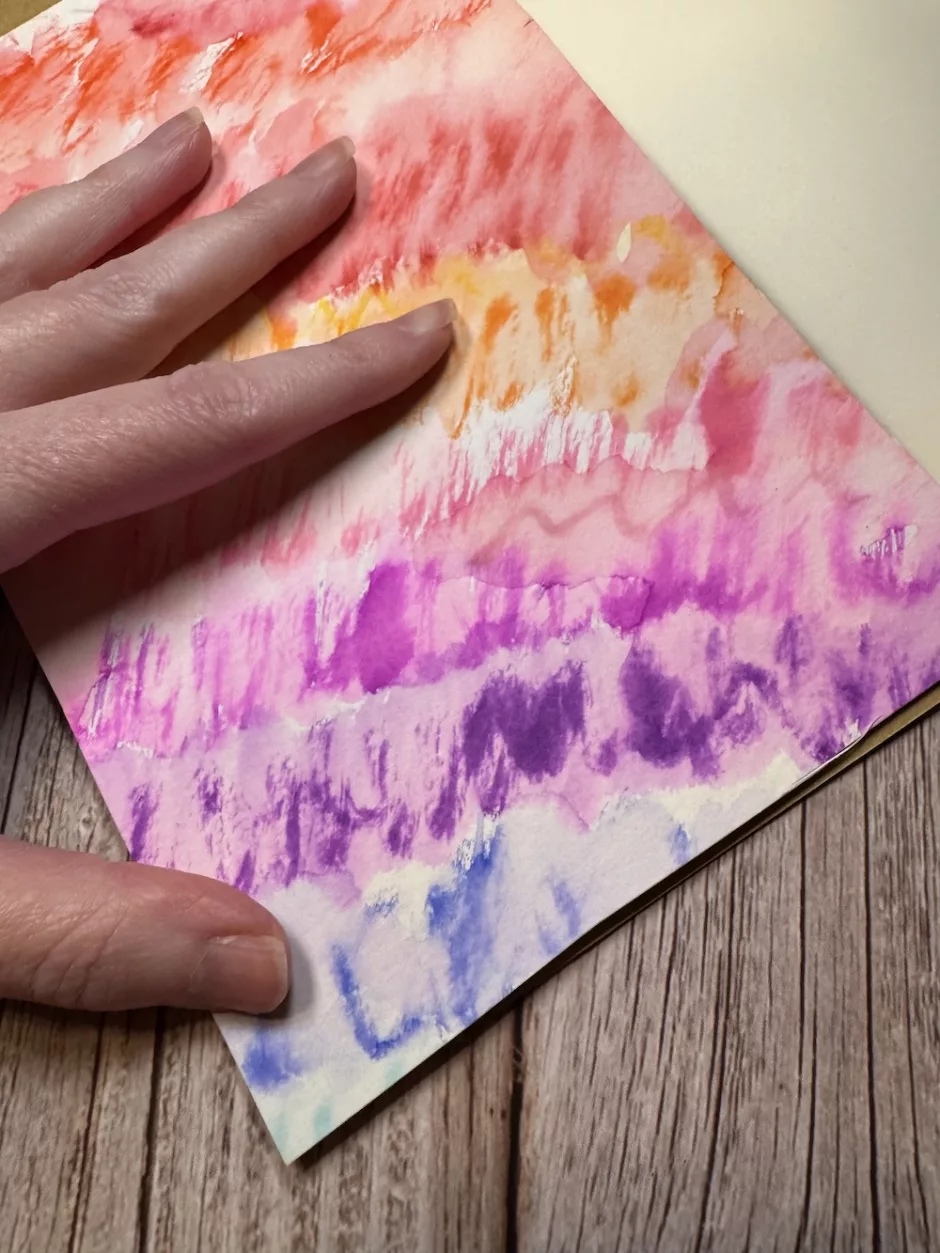
Originally I thought I would just cover the part where I had stitched with a piece of paperboard, but then I found this piece of watercolor pen covered paper (some of which I used to make holiday cards previously) in my stash that was just about the perfect size to cover the inside cover, so I used that instead.
You can use double-sided tape or glue stick to apply the paper to the inside of the cover. You might want to put a book or something else heavy on the notebook while the glue dries to make sure it stays flat and secure.
I haven’t started using my embroidered notebook yet but I hope to fill it with notes, quotes and other fun stuff soon and I’ll be sure to share how I’m using it.