Affiliate links may be included for your convenience. View our privacy and affiliates policy for details.
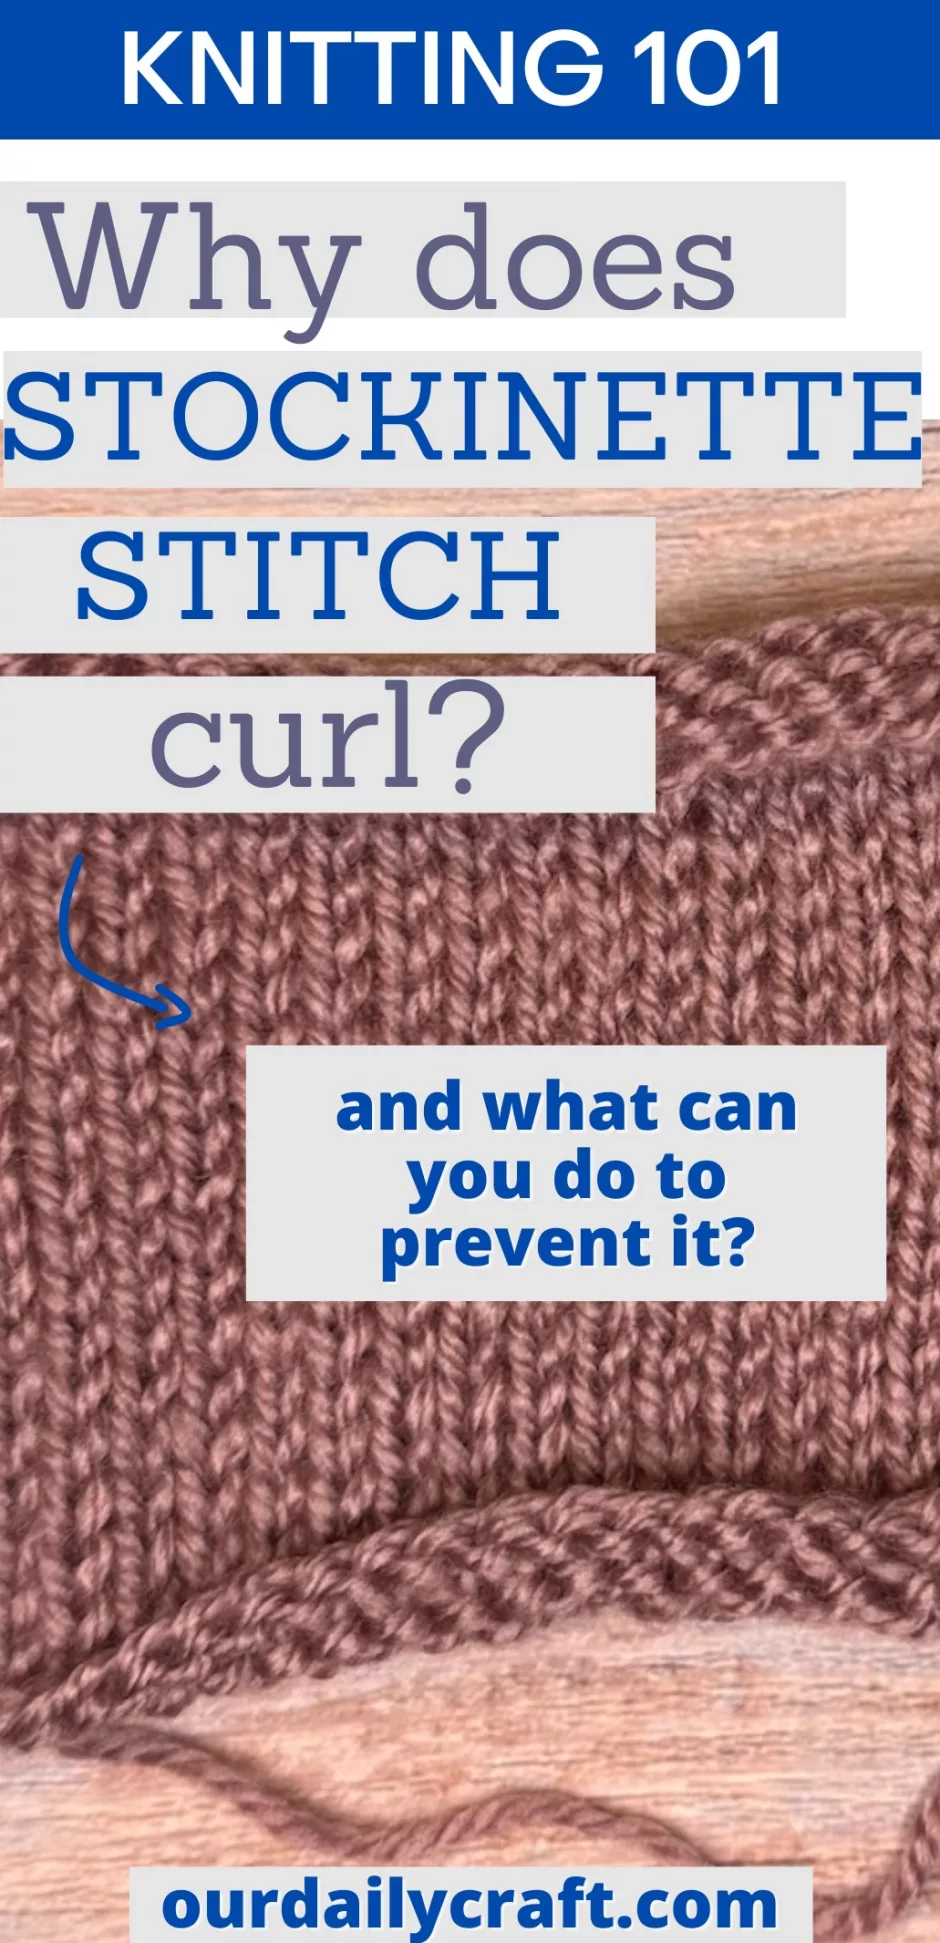
The first time most people knit stockinette stitch (that is, knit one row and purl one row repeating) they may think they’ve done something wrong when they see the dreaded stockinette stitch curl.
But the problem isn’t with the knitter; it’s the structure of the fabric that causes the problem.
If you’ve ever wondered why stockinette stitch curls and what can be done to prevent it, this post is for you.
Why Does Stockinette Stitch Curl?
The reason for stockinette stitch curl has to do with the difference between the knit stitch and the purl. As Elizabeth Zimmermann put it in her classic, Knitting without Tears, “each stitch is infinitesimally shorter on the front than on the back, and infinitesimally wider horizontally.” This causes the fabric to curl up on itself.
More specifically, stockinette curls to the front/knit side on the top and bottom of a piece of knitting, and to the back/purl side on the sides.
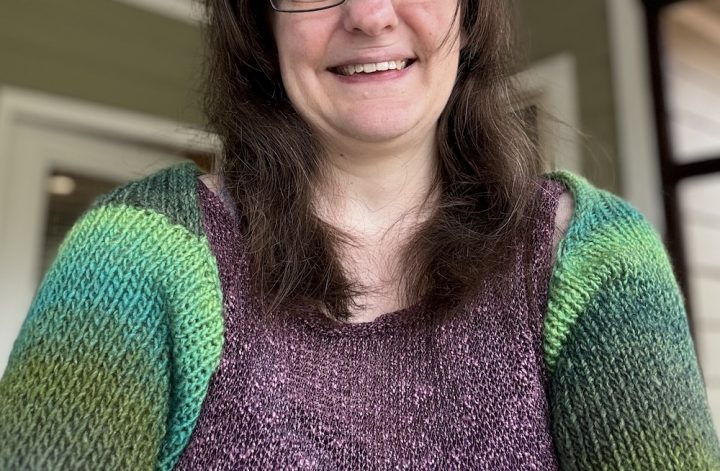
Sometimes that curling at the top and bottom is used as a design element. Edges of sweaters and other garments worked in stockinette stitch will naturally curl to the front, which makes a find edging choice when you don’t need or want ribbing.
Adding a purl row on the right/front/knit side after a few rows of stockinette will stop it from curling wildly and give a nice finished look. You can see this on the tunic I made in the post on how to turn a sweater into a tunic.
But what if you don’t want your stockinette to curl? Is there a way to stop it? Let’s consider some options.
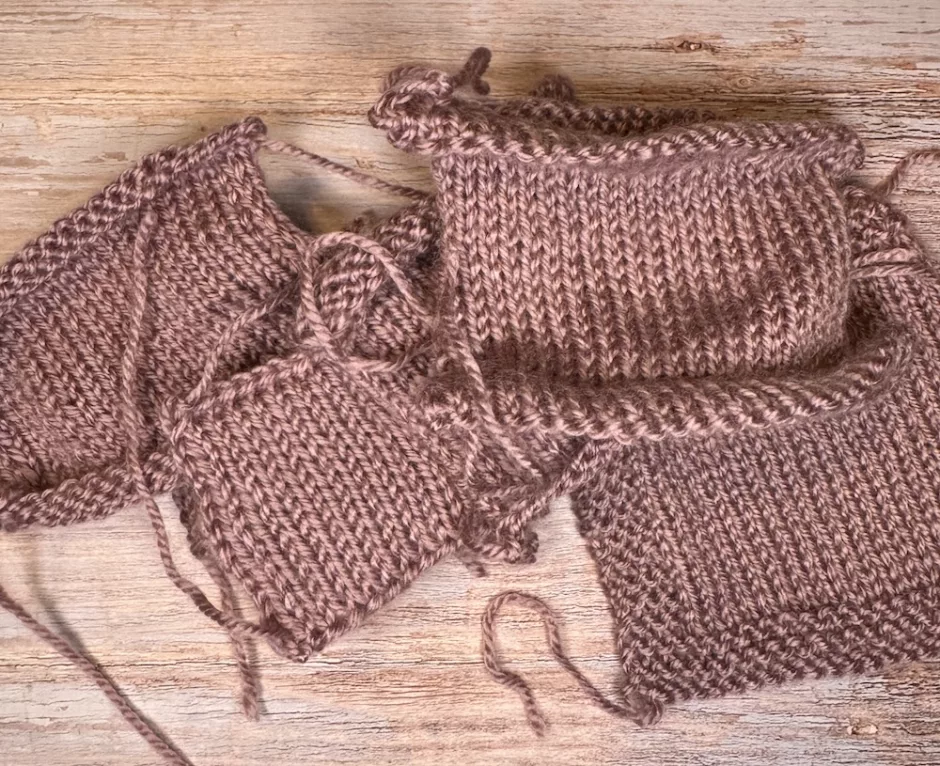
First, a note on the swatches: all of them are worked in Mary Maxim Mellowspun DK on size 6 US/4 mm straight needles, except for the circular swatch, which was knit on size 5 US/3.5 mm double pointed needles.
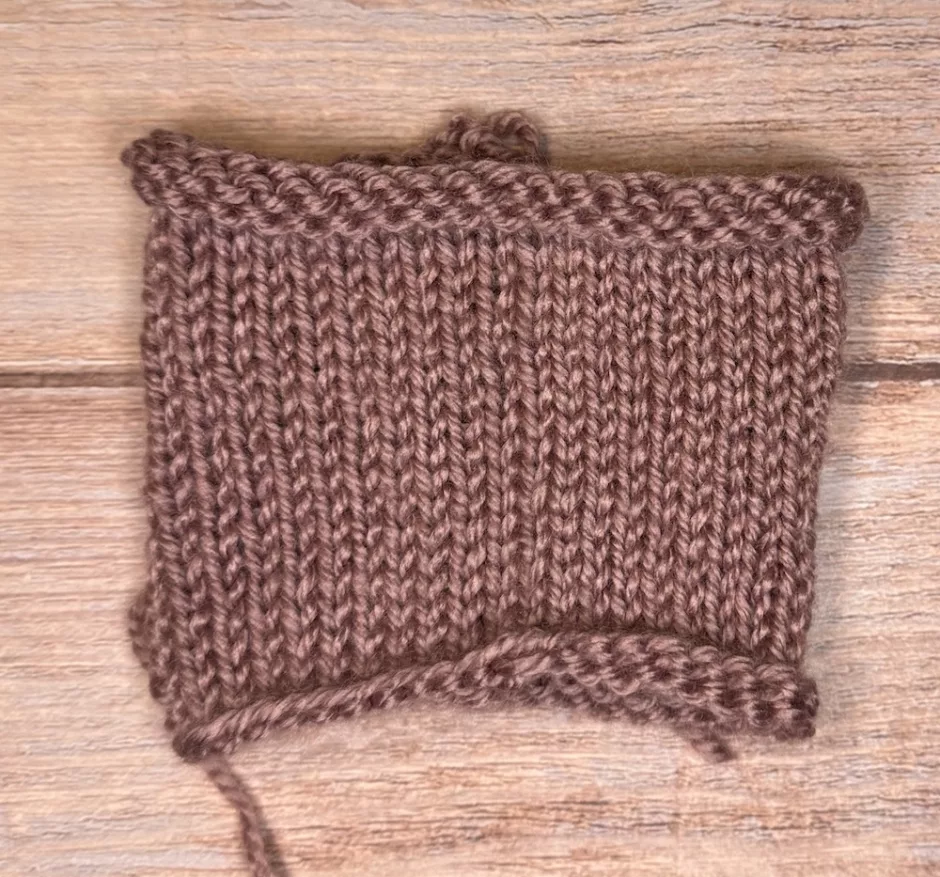
Adding Borders
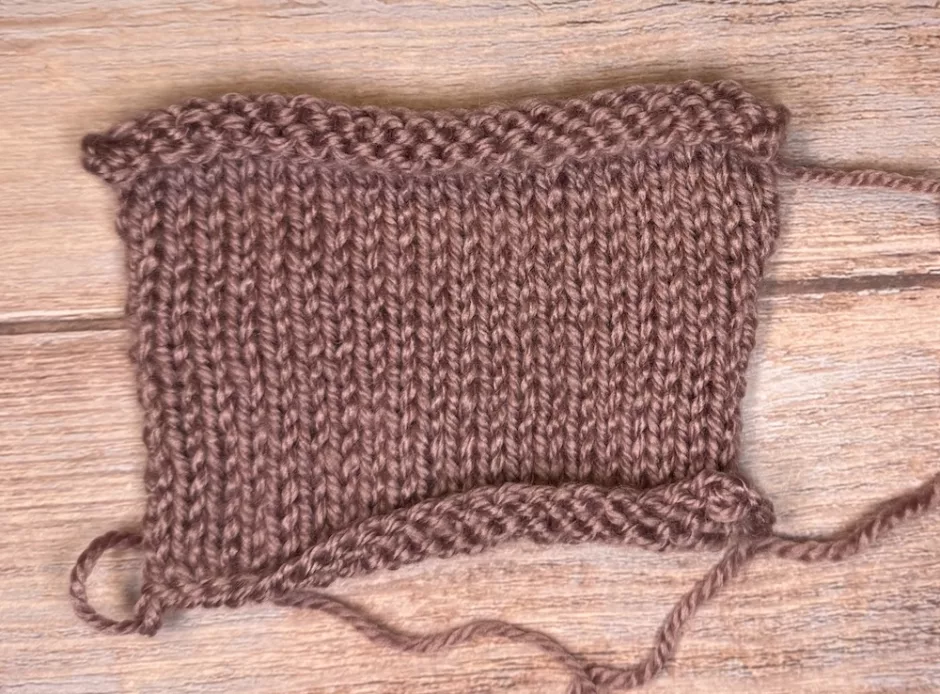
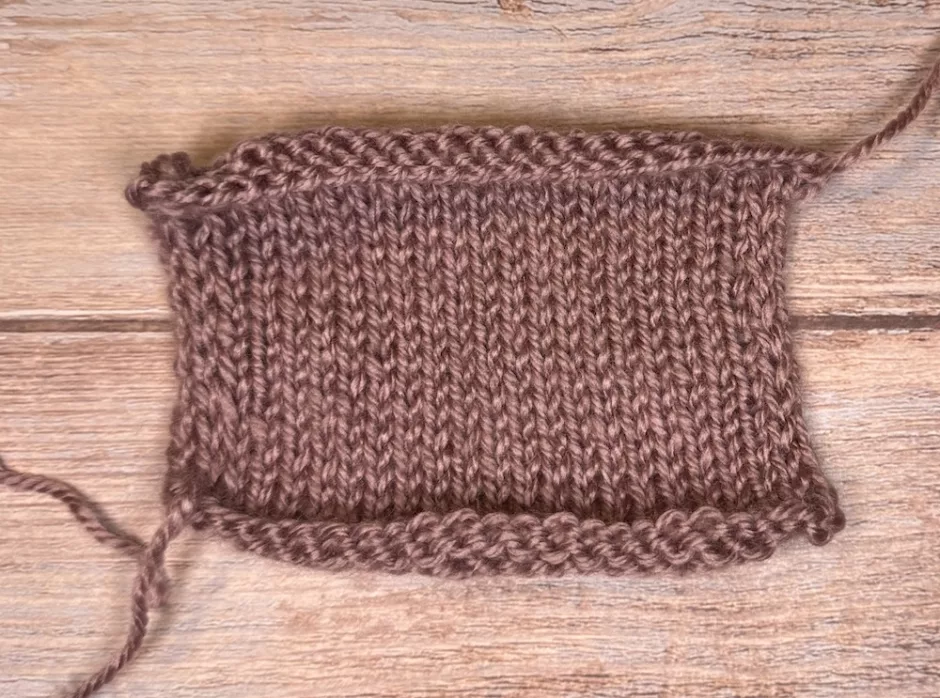
Zimmermann’s solution? “The borders of anything made in this stitch should be made in a stitch that will not curl, such as garter stitch, seed stitch, or ribbing.” This is the solution I tend to go for, too.
How much of a border do you need? I tend to default to 4 rows on the top and bottom, and 4 stitches on each side.
This swatch was cast on with the long tail cast on and I considered the first row a wrong/back side row. Knit 4 rows, then the next row will be a wrong/back/purl side row.
On the purl side you’ll knit 4, purl to the last 4, and knit those 4.
On the knit/front/right side, knit all stitches.
If you have trouble remembering to knit those stitches on every row you can place a marker after the first 4 stitches and before the last 4 stitches of the row to remind you.
This is an easy way to keep stockinette from curling.
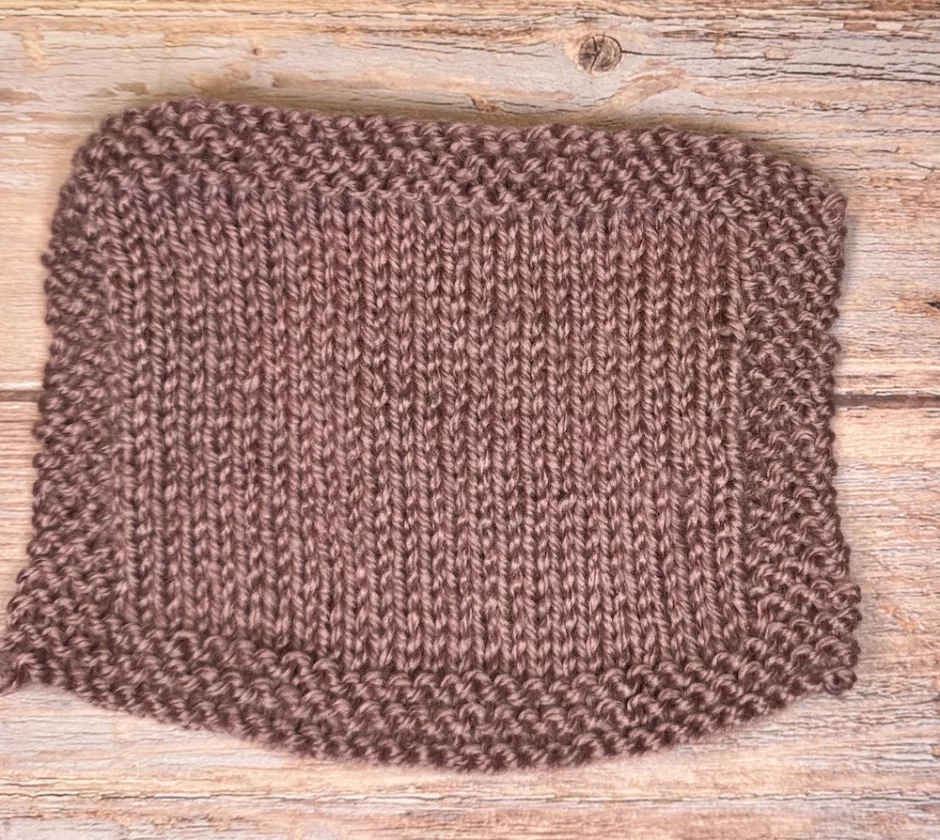
Slipping Stitches
In online knitting groups I sometimes see people recommend slipping the first stitch of every row as a way to prevent the stockinette stitch curl.
It’s not totally effective but it can help a little bit on the sides but does nothing for the top and bottom edges.
Here I slipped the first stitch of each row as if to purl. On right/front/knit side rows I slipped with the yarn in back, and on wrong/back/purl side rows slip with the yarn in front.
More Detailed Slip Stitching
A more involved method of slipping stitches at the edge is also a little more effective.
For this one on the right/front/knit side you knit the first stitch, slip the second stitch with the yarn in front, then knit the third stitch. Knit across to the last 3 stitches and repeat that knit, slip, knit again.
On the wrong/back/purl side, slip the first stitch with the yarn in front, knit the second stitch and slip the third with the yarn in front. As before repeat this in the last 3 stitches of the row.
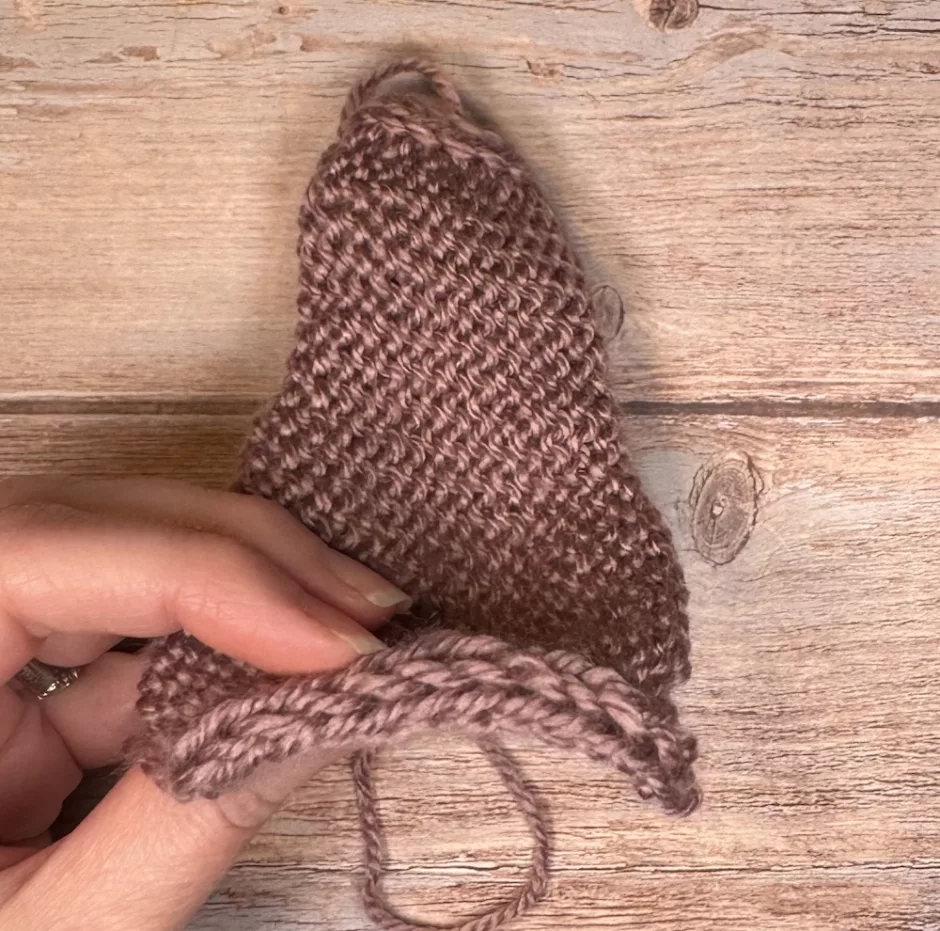
I was introduced to this method in Laura Nelkin’s Hoodola pattern, and I would say it does keep the stockinette from curling but that section flipped inward on portions of my hood.
It also makes that part of the knitting a bit thicker, almost like an applied I-cord. Again if you have trouble remembering to work the end stitches differently, add stitch markers. Also again this doesn’t help the curl at the cast on and bound off edges.
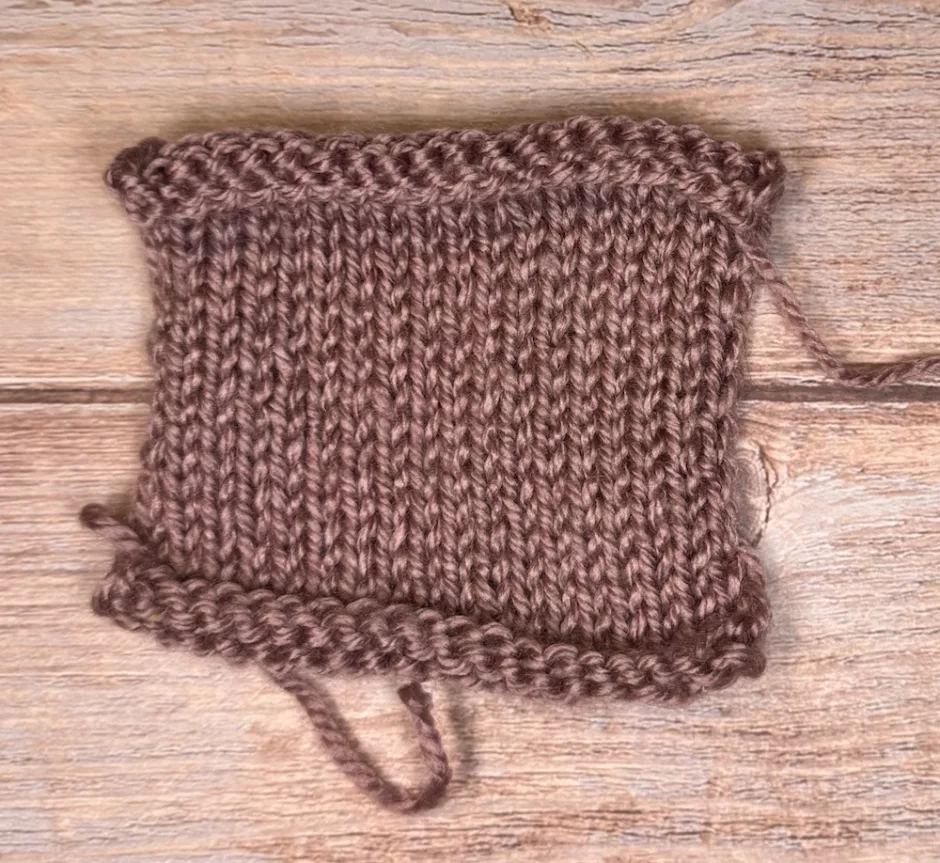
Knitting Hems
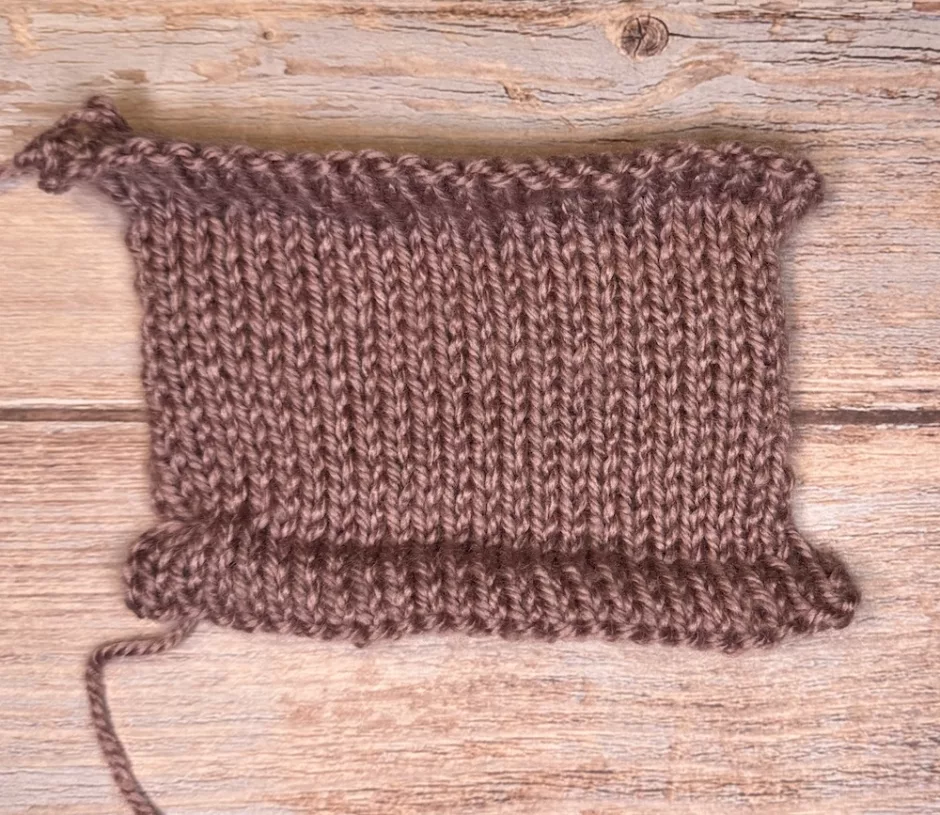
You can stop stockinette stitch curl on the cast on and bind off edges by adding hems to your project. I have a more detailed post on how to knit a folded hem either while you are knitting a project or after.
But the basic procedure goes like this. Start by working a few rows in stockinette stitch, then purl a row on the right/front/knit side. Work the same number of rows again (not counting the purl row). On the next row, fold the fabric on the purl row with the cast on edge to the back. Pick up a stitch from the cast on and work it together with the stitch on the needle. Repeat across, then continue in stockinette stitch as established.
When your piece is as long as you’d like, purl a row on the right/front/knit side and work the same number of rows of stockinette as you used on the cast on side. Fold that piece to the back and pick up a stitch from the back to work with the stitch on the needle as you bind off. It’s almost like a three-needle bind off but the second set of stitches isn’t on a needle.
As you can see from my swatch the sides will still curl in a bit so it looks like the hem is wider than the rest of the fabric.
Double Knitting to Stop Stockinette Stitch Curl

These last couple of options add more fabric (and thus more knitting time and yarn usage) to your project, which is sometimes OK and sometimes not.
Double knitting is a method that makes a two-sided fabric that has knit stitches on each side. It’s non-curling but gives you the look of stockinette stitch and is fully reversible.
You can work it in a solid color, use a different color on each side, or add stripes or other designs that will show in the opposite color on the other side of the project.
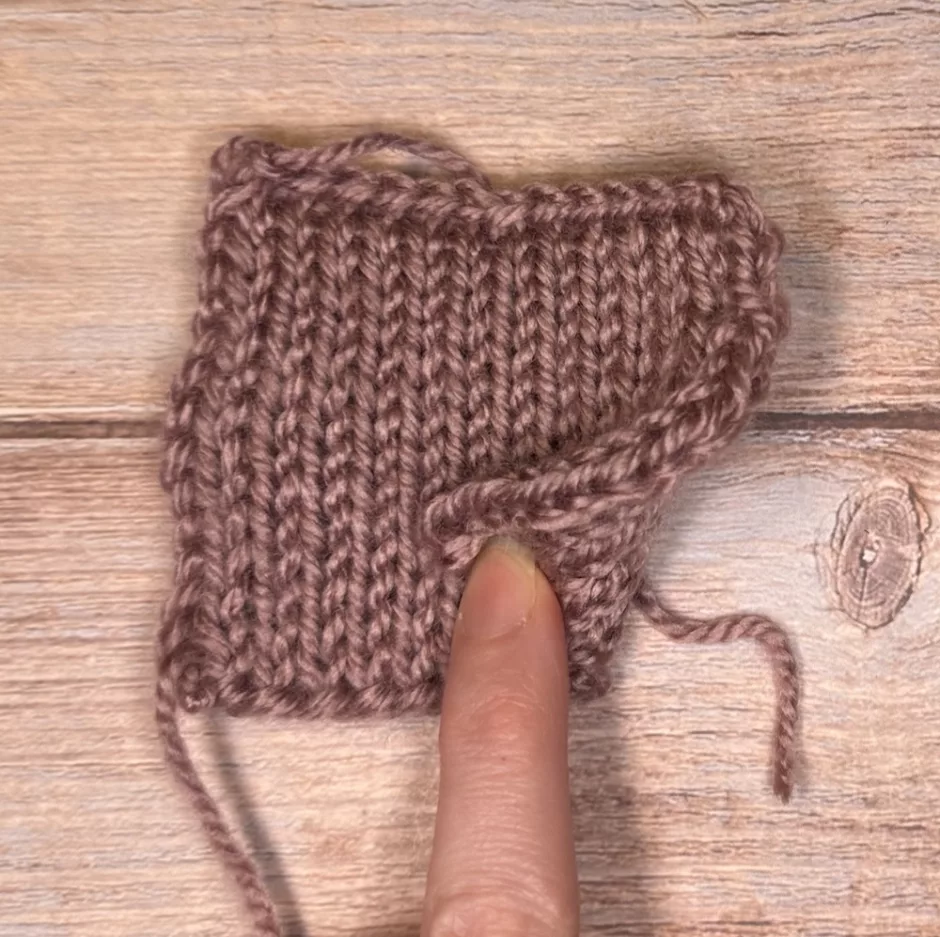
It’s a fun skill to know and is useful for things like washcloths and scarves.
Here I’ve worked a solid color swatch, which is done on a even number of stitches. For each row, *knit 1, slip 1 with yarn in front. Repeat from * across. Technically going across and back is one row because that works the stitches on each side of the fabric.
Repeat to desired length. You can bind off in the usual way if you like but for this one I knit two stitches together as I bound off.
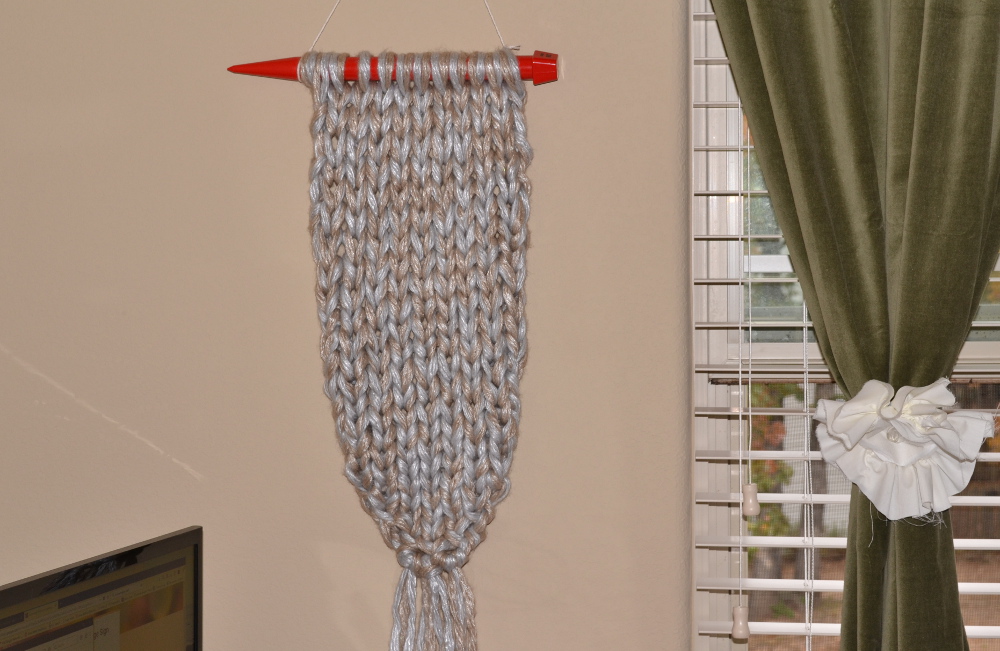
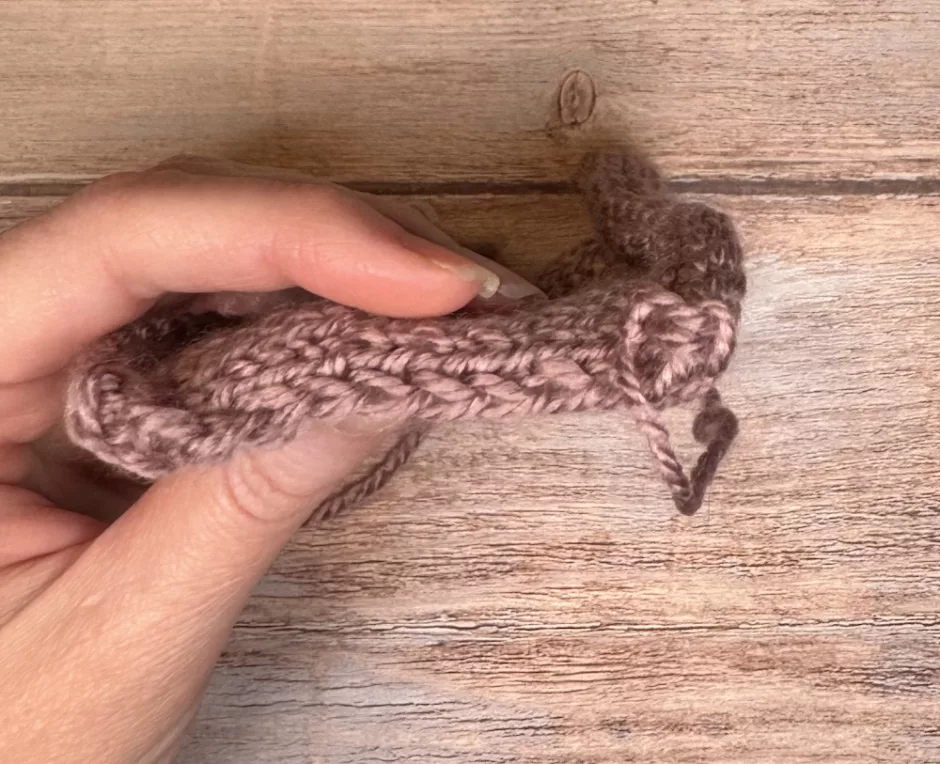
Knitting a Tube
Another way to stop stockinette stitch curl on the sides of a project is to knit it in the round instead of flat. This makes a tube that is only worked in knit stitches, so you don’t get the conflict between the size of knits and purls.
The cast on and bind off edges can still curl with this method, but you can sew the ends closed or work a three-needle bind off at the end (see above) to prevent curling.
As with double knitting, you won’t always want the additional thickness or yarn usage of knitting a tube, but it’s great for scarves.
If you use a different way to stop stockinette stitch curl, I’d love to hear about it so I can try it out!