Affiliate links may be included for your convenience. View our privacy and affiliates policy for details.
Knowing how to seam garter stitch is important when joining pieces worked flat such as for a garter stitch afghan, sweater or other project. The process is a little bit different from mattress stitch on stockinette stitch, but it’s easy to do.
Knitting garter stitch flat is actually easier than knitting in the round (as in my garter stitch cowl) because to work garter stitch in the round you have to knit a round and purl around, where working flat is knit every stitch of every row. And if you seam it right the seam is less obtrusive than the ridge where you switch between knits and purls in the round.
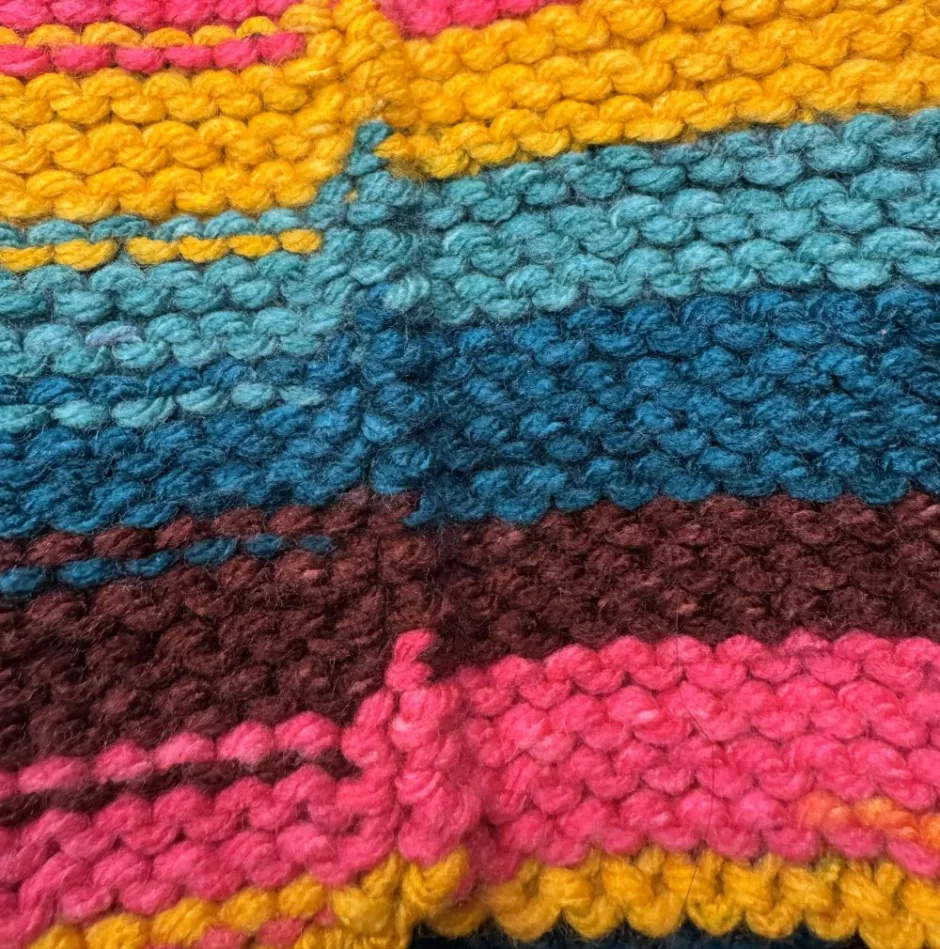
It should be noted that because I’m showing seaming garter stitch on multicolored yarn with a solid colored piece of yarn (Red Heart Super Saver O’Go, to be precise), you can still see the yarn from the seam when it’s finished. I think this is helpful for seeing where the yarn is going, but if you’re working with a solid color yarn and matching yarn on the seam it will be invisible.
How Seaming Garter Stitch Works
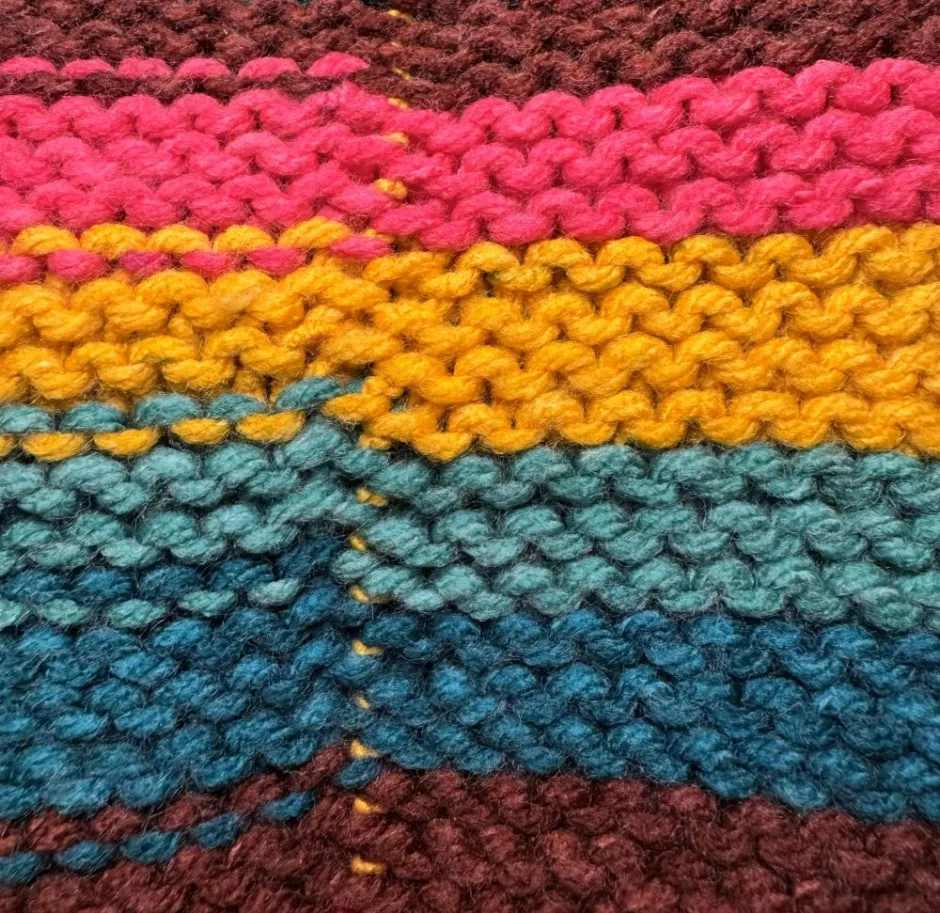
The main thing you need to know when getting ready to seam garter stitch is a bit about the structure of the stitches. Each ridge of garter stitch is made up of two rows, and when you look closely it’s sort of like a wave, with a set of loops at the top of the ridge and another set on the bottom.
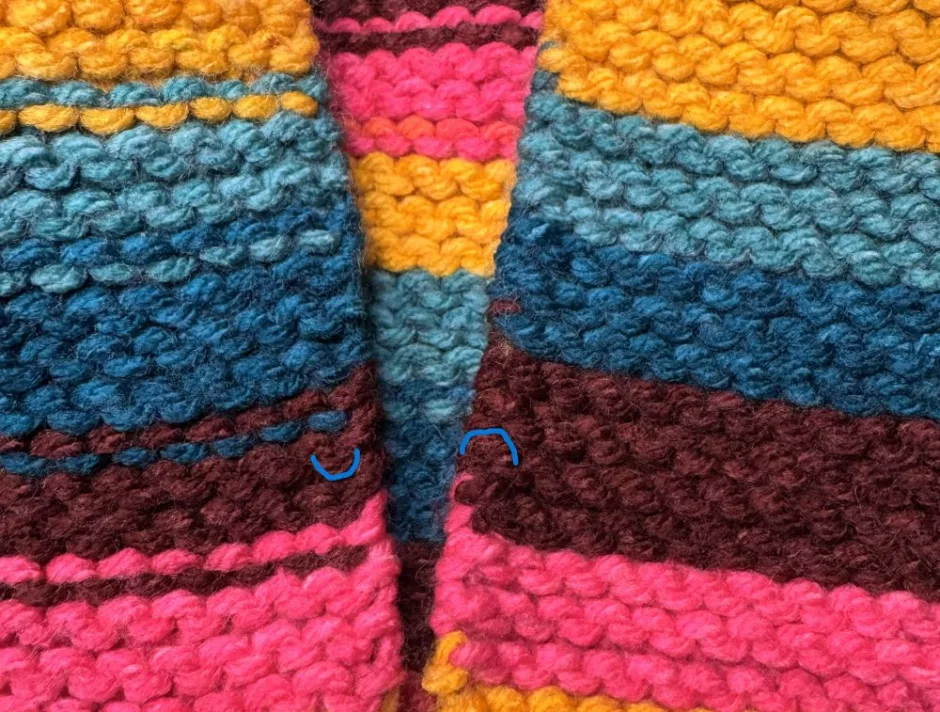
Sometimes people refer to these as smiles, for the stitches on the bottom, and frowns for the stitches on the top. I just like to think of them as top and bottom. Whichever works for you. You can see this emphasized in blue on the photo above.
To connect pieces of garter stitch in an unobtrusive way, you want to connect tops to bottoms, or smiles to frowns. That makes it look like the row is continuous — going from up to down or smile to frown without interruption.
How to Seam Garter Stitch
Here I’m working from the bottom of a piece of garter stitch that I’m sewing into a tube. Start by stitching into the cast on edge on the opposite side from where your yarn end is (whether you’re using the tail or have added a new piece of yarn) to connect them.
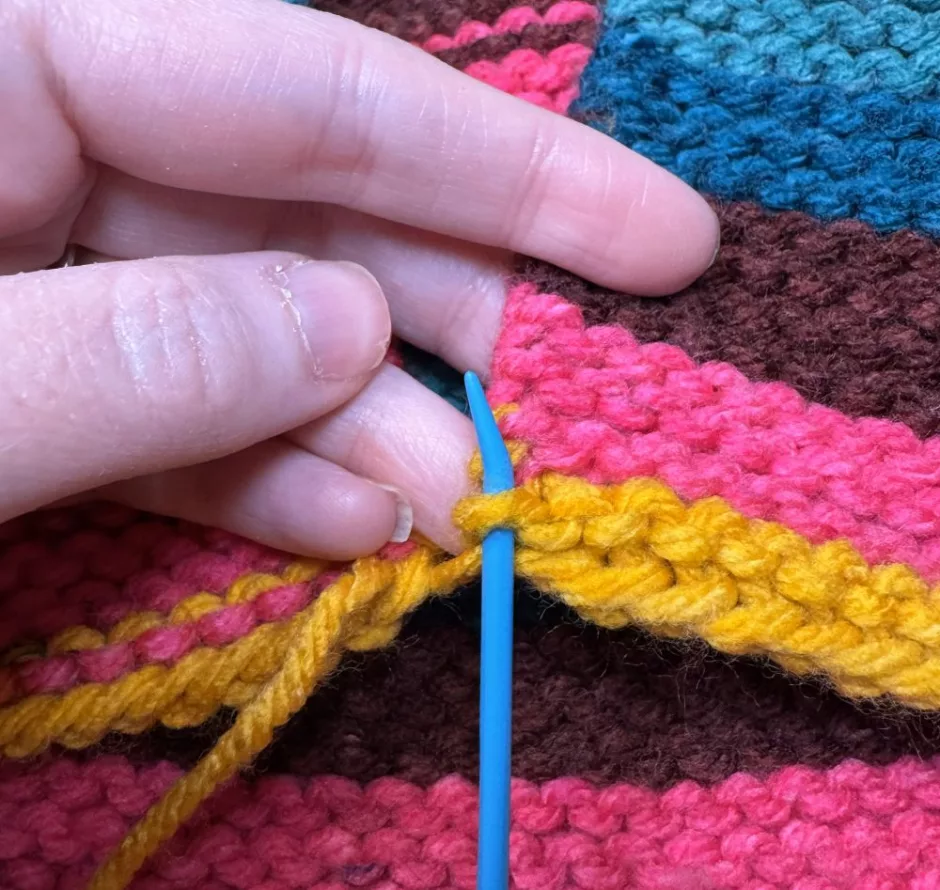
One side of the fabric (whether you’re connecting two pieces or two edges of the same piece) will be worked through the top stitches/frowns and one through the bottom stitches/smiles. Here I started on the right hand side as the pieces face me and worked through the top of the stitch at the edge of the fabric.
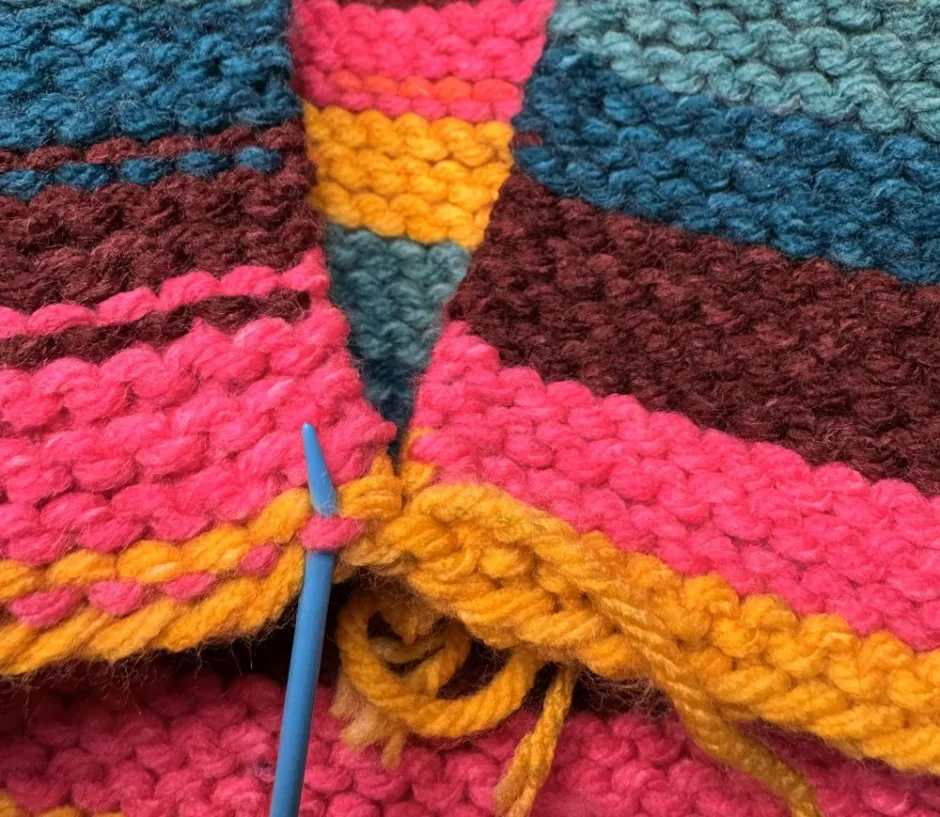
That means on the other side (which here is the left side of the fabric as it faces me) I need to stitch into the bottom stitch of the wave.
Pull the yarn through loosely to start, then every inch/2.5 cm or so you can pull a little tighter to close it up.

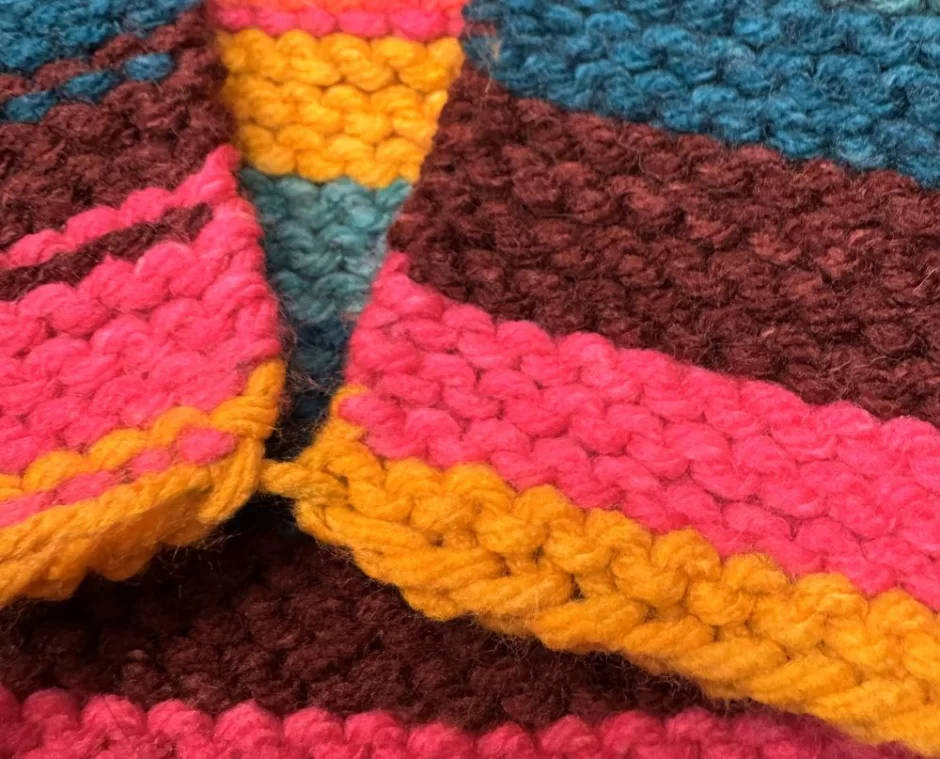
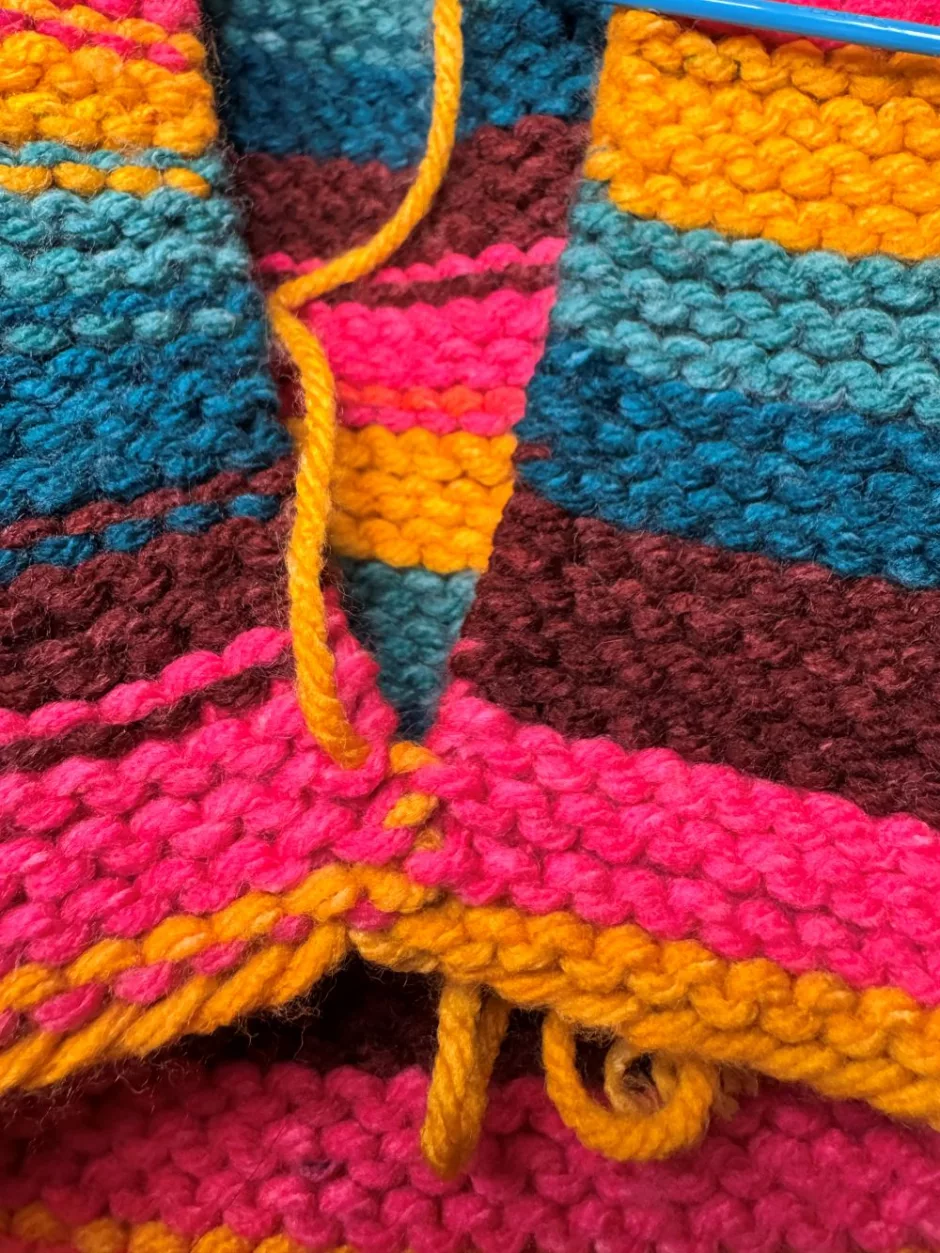
That’s all there is to it. Just keep going through the tops on one side and the bottoms on the other until the seam is done.
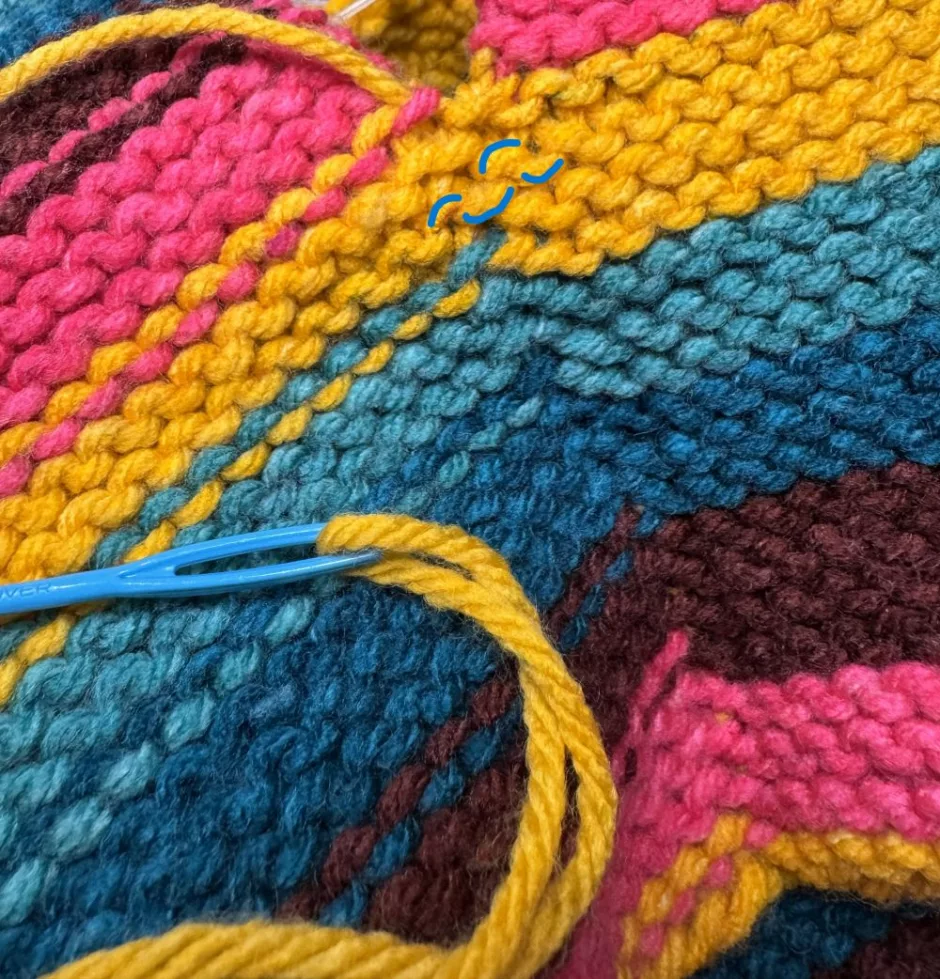
As mentioned above, here you can see a little bit of the yarn used for the seam because it’s not the same color as all of the surrounding yarn. But if you look in the yellow sections you’ll see that the yarn is pretty well hidden, and that the lines of garter stitch are uninterrupted across the seam. (Again shown in blue above.)
How does it look on the back? There’s a visible ridge there but I don’t mind the look of it. It wouldn’t bother me if I were flipping up the bottom of a hat or a cuff, for example.
Now you know how to seam garter stitch!